


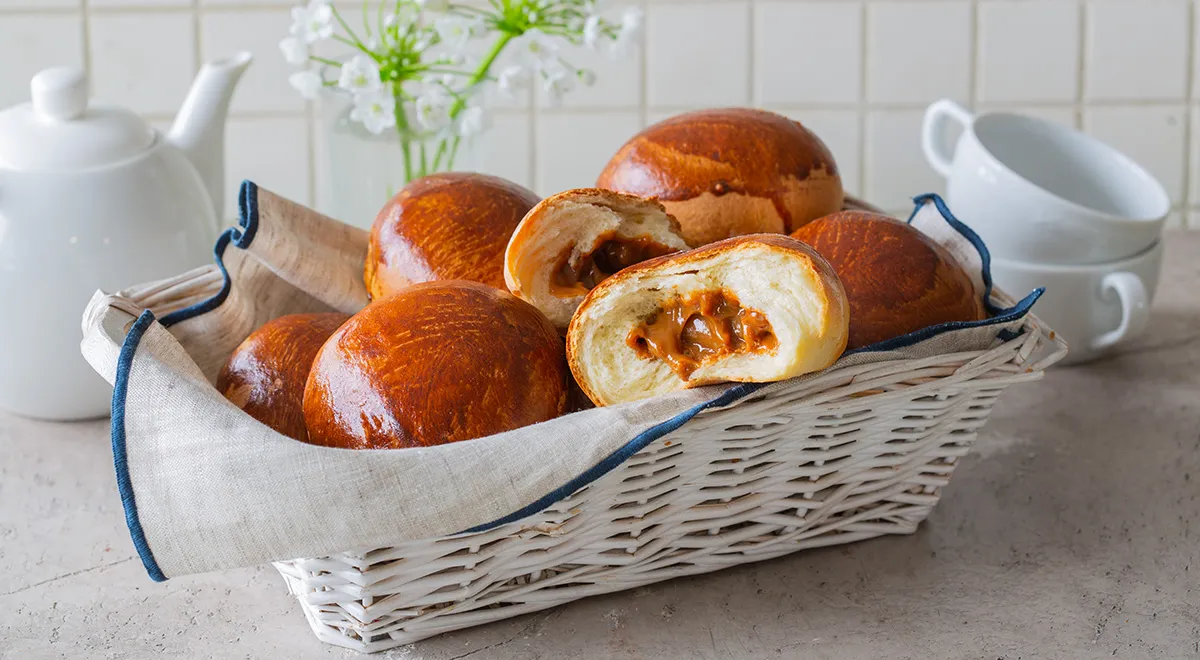
Few things compare to the pure, nostalgic pleasure of biting into a warm, soft bun filled with luscious sweetened condensed milk. These bulochki so sgushchenkoy are a cherished Eastern European classic, beloved for their pillowy yeast dough and decadent, caramel-like filling. While they require a bit of patience and technique, the reward is an irresistible homemade treat that rivals any bakery. Whether you're a seasoned baker or an adventurous beginner, this guide will walk you through every step to achieve bakery-quality results. Let’s unlock the secrets to these dreamy buns.
About This Russian Classic
In Russian households, bulochki so sgushchenkoy hold a special place. The combination of a tender, slightly sweet yeast dough with the thick, creamy richness of boiled condensed milk creates a harmony of textures and flavors. Traditionally served for breakfast, afternoon tea, or as a dessert, these buns are a testament to the beauty of simple, quality ingredients. The process involves a sponge starter, gentle kneading, and careful shaping to ensure perfect softness. For more inspiration on working with dough, explore our Catalan sponge recipe, which also highlights the importance of technique.

Ingredients
-
For the dough:
250 ml whole milk
100 g granulated sugar
650 g all-purpose flour (plus extra for dusting)
2 large eggs (C0 size)
90 g unsalted butter
8 g vanilla sugar
8 g salt -
For the filling and glaze:
350 g boiled sweetened condensed milk (dulce de leche)
1 egg yolk
1.5 tbsp heavy cream (10% fat)
Using high-quality ingredients is key. For the butter, we recommend a planetary mixer to achieve a smooth, elastic dough effortlessly.
Step-by-Step Instructions
Step 1: Prepare the sponge. Warm the milk to 35°C. Pour into a large bowl. Add 1 tbsp sugar and the yeast; stir well. Add 100 g sifted flour and mix again. Cover with a clean towel and let rest in a warm spot for 20 minutes until bubbly.
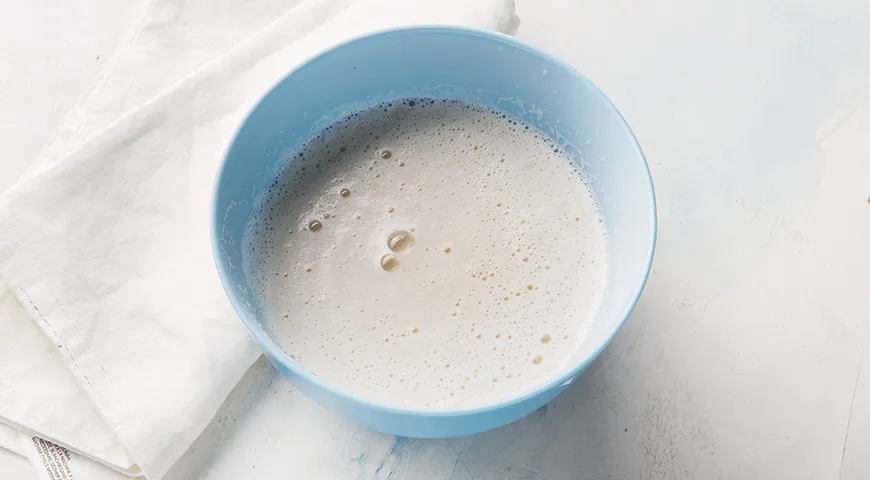
Step 2: Activate the sponge. The mixture should develop small bubbles on the surface, indicating the yeast is active. If not, your environment may be too cool. Ensure your kitchen is draft-free.
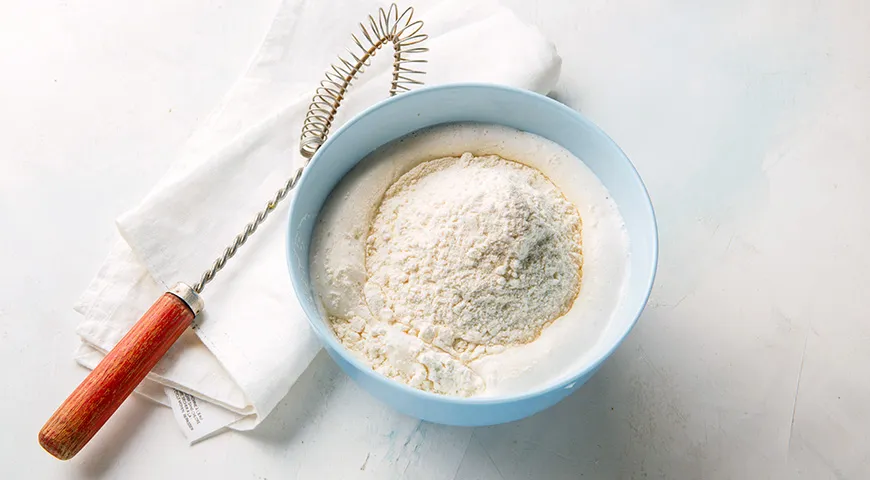
Step 3: Prepare the egg mixture. In a separate bowl, beat the eggs with the remaining sugar, vanilla sugar, and salt. Melt the butter and let it cool slightly. Pour the beaten eggs into the sponge, then add the rest of the sifted flour. Start kneading.
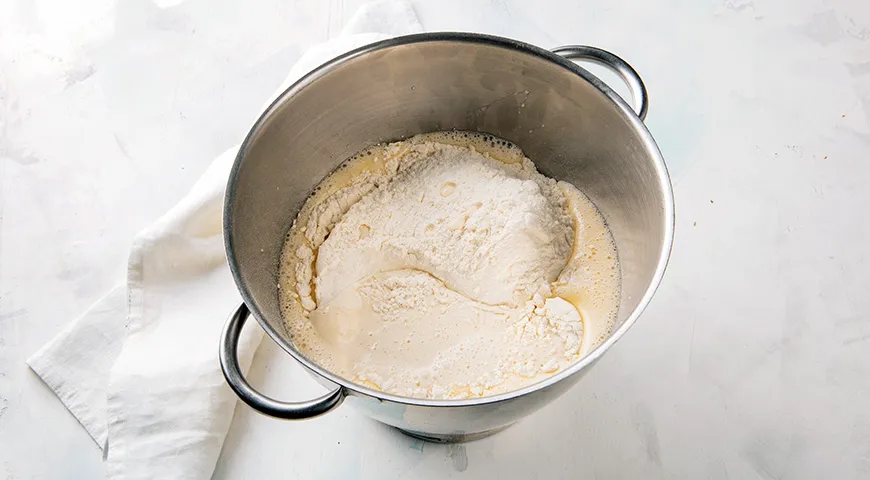
Step 4: Add butter and knead. Pour in the melted butter. Knead by hand or with dough hooks until the dough is smooth, elastic, and no longer sticky. This may take 8–10 minutes. Using a food processor for nut butter can also handle dough kneading if you're short on time.
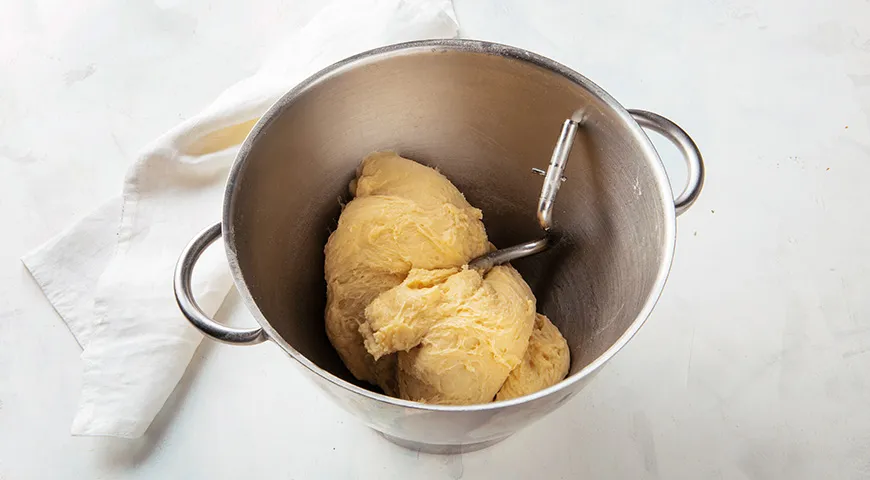
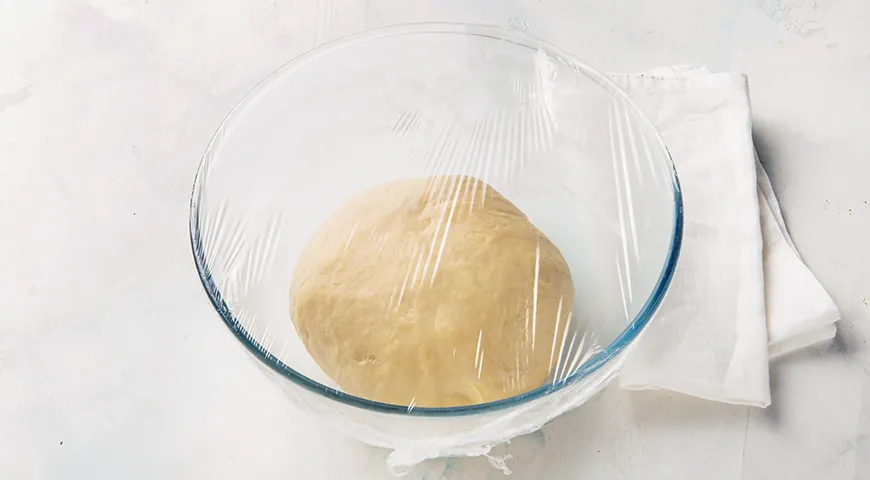
Step 5: First rise. Shape the dough into a ball, cover with a towel, and let rise in a warm place for 1 hour, until doubled in volume. A consistent temperature is crucial; consider using a non-toxic air fryer on a low setting to create a proofing box.
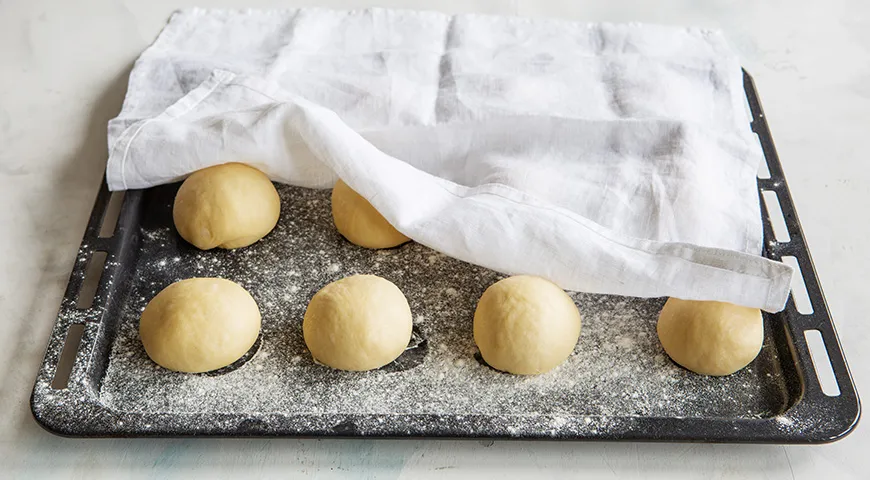
Step 6: Divide and shape. Turn the dough onto a lightly floured surface. Divide into 12 equal pieces. Roll each into a ball, cover, and rest for 20 minutes. This relaxes the gluten for easier shaping.
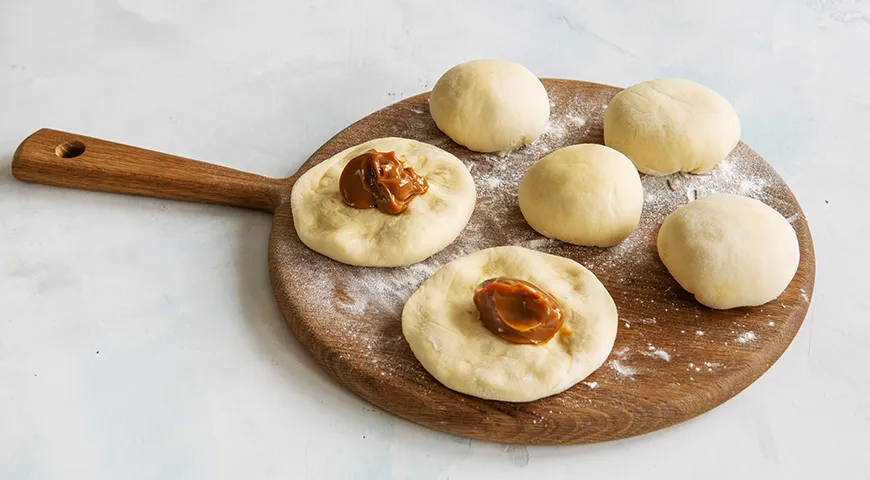
Step 7: Fill and seal. Flatten each ball into a disc about 3 mm thick. Place a teaspoon of boiled condensed milk in the center. Bring the edges up and pinch tightly to seal. Ensure no filling escapes during baking.
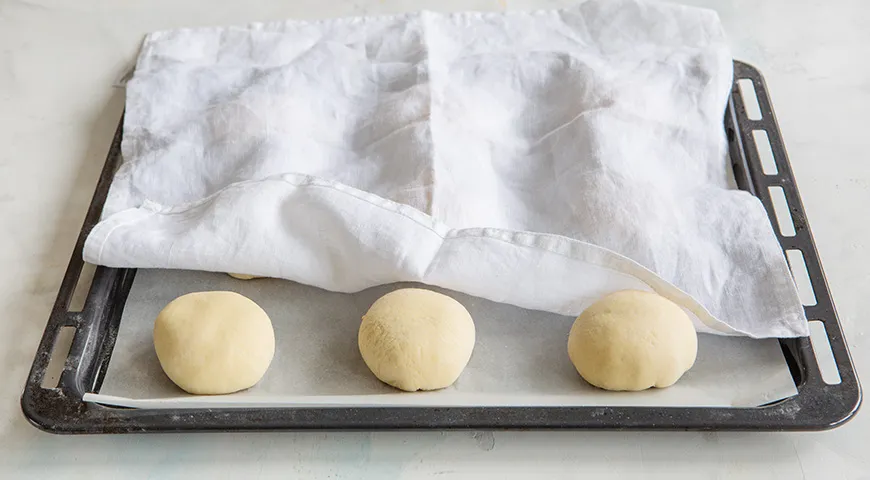
Step 8: Second rise. Place the shaped buns on a parchment-lined baking sheet, cover with a towel, and let rise for 20 minutes. Meanwhile, preheat the oven to 190°C. For even baking, an commercial countertop convection oven works wonders.
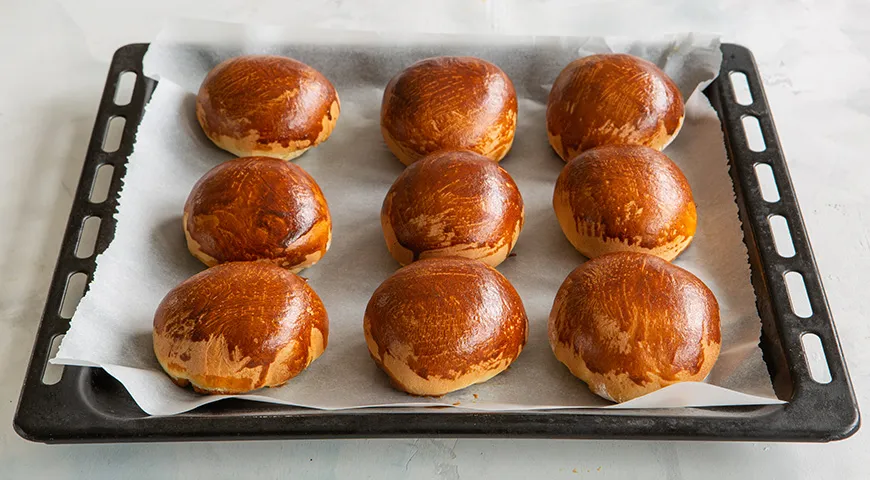
Step 9: Glaze and bake. Whisk together the egg yolk and cream. Brush the buns gently. Bake for about 20 minutes, until deep golden brown. Let cool slightly before serving. The aroma alone will bring everyone to the kitchen.
Tips for Perfect Buns
- Use a microwave pressure cooker to quickly warm milk without scorching.
- For a glossy finish, add a pinch of salt to the egg glaze – it also balances sweetness.
- If the dough feels too sticky, resist adding too much flour; a light dusting is enough. A best oil sprayer can help grease your hands for easier handling.
- Boiled condensed milk (dulce de leche) can be made at home by simmering an unopened can for 3 hours, but store-bought works perfectly.
- To test doneness, tap the bottom of a bun – if it sounds hollow, it's ready.
Variations to Try
While the classic filling is beloved, you can experiment. Replace the boiled condensed milk with homemade jam, chocolate-covered raisins for crunch, or a sprinkle of cinnamon. For a savory twist, omit sugar from the dough and fill with cheese. You can also shape the buns into braids or knots for a different look. For more creative baking ideas, check our George Howell coffee pairings to find the perfect brew.
Frequently Asked Questions
Can I use regular sweetened condensed milk instead of boiled?
Boiled condensed milk is thicker and caramel-like, preventing leakage. Regular condensed milk is too runny and will seep out. For best results, use the boiled version.
Why did my buns turn out dense?
Dense buns often result from under-proofing or over-kneading. Ensure the dough doubles during the first rise and handle it gently. Also, check your yeast's freshness using a refrigerant leak detector – old yeast loses its power!
Can I freeze the unbaked buns?
Yes! Shape and fill the buns, place on a tray, freeze until solid, then transfer to a freezer bag. Bake from frozen, adding 5–7 minutes to the baking time.
How should I store leftover buns?
Keep in an airtight container at room temperature for up to 2 days. Reheat briefly in a toaster oven or wall oven microwave combo for that fresh-from-the-oven feel.
Can I make the dough in a bread machine?
Absolutely! Use the dough cycle, but reduce the flour by 50 g to avoid over-drying. The machine does the kneading and first rise. Then proceed with shaping and baking.
What if I don't have vanilla sugar?
Substitute with a teaspoon of vanilla extract added to the eggs, or use a vanilla bean pod. For a deeper flavor, try organic vodka to make your own vanilla extract at home.
Pairing Suggestions
These sweet buns are divine with a cup of strong coffee or tea. For an indulgent breakfast, serve alongside a sweet dessert wine like a late-harvest Riesling. They also freeze well for last-minute guests – just wrap tightly and reheat.
If you're looking for more comforting baked goods, explore our lava flavors collection for creative fillings. And for the perfect kitchen tools, check our best espresso machine under 2000 to craft an Italian-style caffè alongside these buns.
Happy baking, and enjoy every bite of these golden, filled treasures!







