


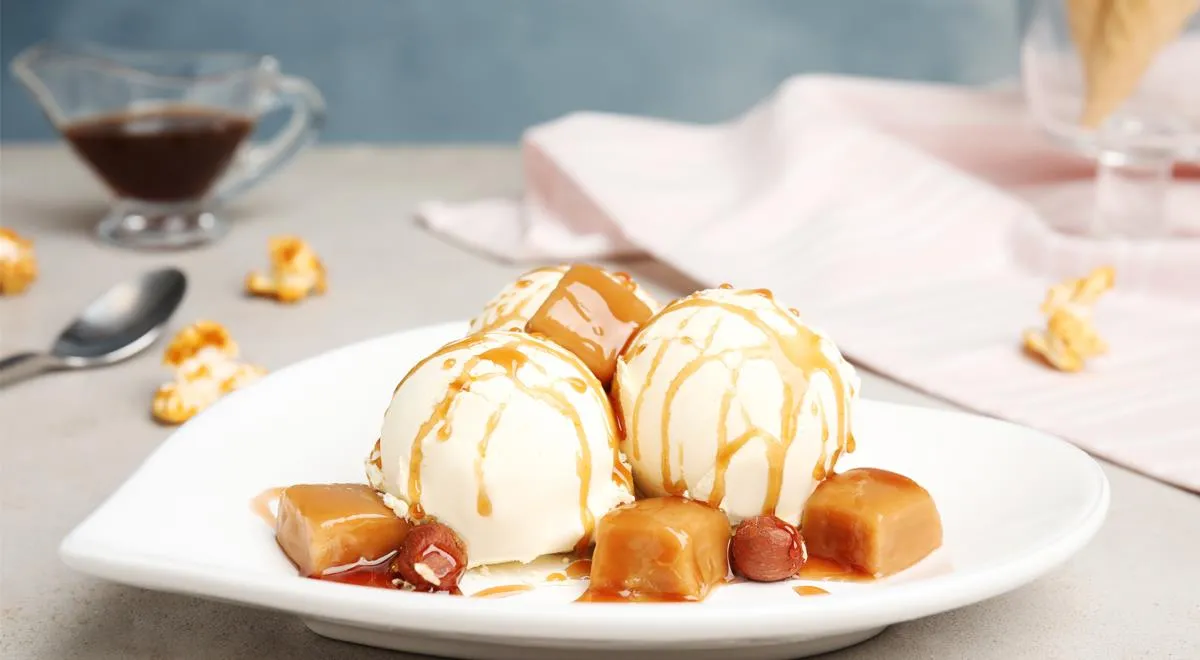
Imagine the first spoonful of homemade ice cream: a creamy, velvety texture that melts on your tongue, carrying whispers of vanilla and pure dairy sweetness. This isn’t just any frozen dessert—it’s a revelation made from humble 10% fat cream. In this guide, we’ll unlock the secrets to crafting an ethereal 10% cream ice cream that rivals artisanal gelato, using simple techniques that any home cook can master. From tempering eggs to aerating the base, every step is designed to deliver a luscious, crystal-free finish. Let’s embark on this culinary journey together.
About This Recipe
This recipe transforms everyday 10% cream into a dessert of extraordinary elegance. Originating from a classic Russian approach, it emphasizes gentle heating, precise whisking, and repeated freezing to break ice crystals. The result is a light, scoopable ice cream with a clean dairy flavor, perfect for pairing with fresh berries or dark chocolate shavings. For more inspiration on crafting frozen treats, explore our best undercounter ice maker machine guide for professional-grade freezing equipment.

Ingredients
- 1 liter of cream (10% fat)
- 200 g granulated sugar
- 4 large eggs (C1 size)
- 1 teaspoon vanilla sugar
Using fresh, high-quality ingredients is key. For an even richer flavor, consider organic cream from local dairies. If you’re a fan of perfectly measured sweetness, check out our best organic vodka pairing—a splash can elevate the finish.
Step-by-Step Instructions
Step 1: Prepare the Eggs
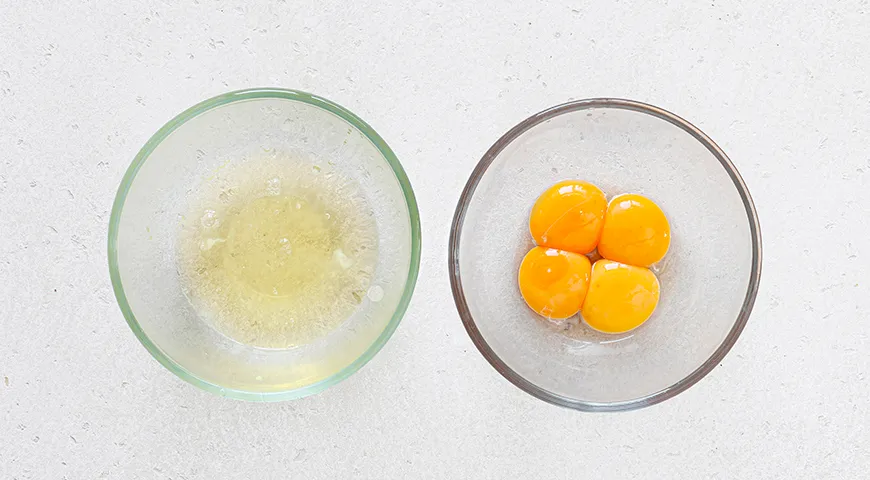
Remove eggs from the refrigerator in advance—room-temperature eggs whip much better and incorporate more air. Carefully separate yolks from whites, placing each component in a large bowl. Let them rest on the counter to stay warm.
Step 2: Heat the Cream
Pour the cream into a heavy-bottomed saucepan. Warm over low heat until hot but not boiling—steam should just begin to rise. Alternatively, microwave in 10–20 second bursts at full power. Use an immersion blender to check consistency; our best non-toxic immersion blender ensures even heating without scorching.
Step 3: Whisk Yolks with Sugar
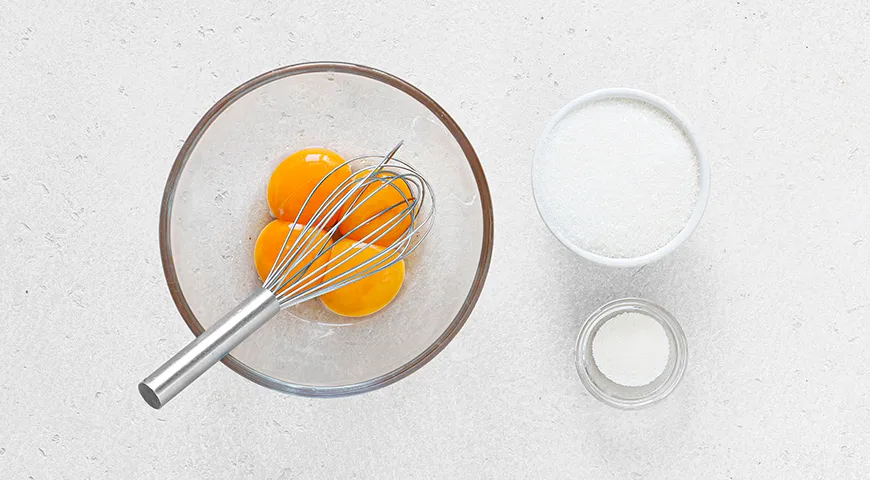
In the bowl with yolks, add half the granulated sugar and all the vanilla sugar. Beat with a mixer on high speed until pale, thick, and doubled in volume. Add 2–3 tablespoons of hot cream, then beat again. For reliable results, a best planetary mixer provides even aeration.
Step 4: Temper the Yolk Mixture
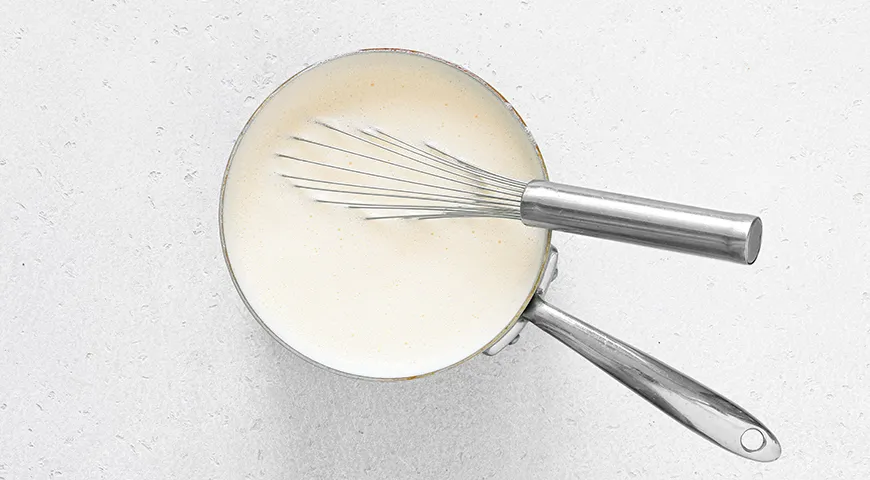
Gradually pour the remaining hot cream into the yolk mixture in a thin stream, whisking constantly. Once fully combined, pour the mixture back into the saucepan. This technique prevents curdling and builds a silky base.
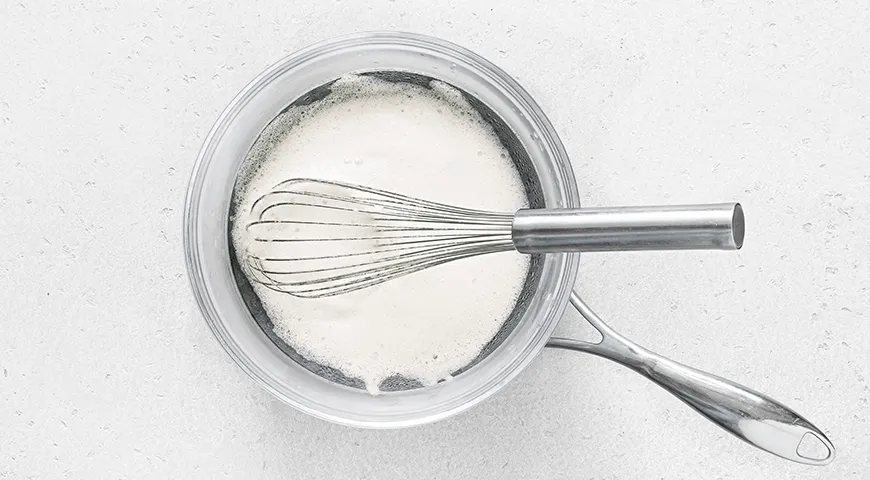
Step 5: Cook the Custard Base
Cook over low heat, stirring gently with a silicone spatula, until the mixture thickens enough to coat the back of a spoon (about 170°F / 77°C). Do not let it boil. Remove from heat, whisk again with a mixer, and cool to room temperature. For precise temperature control, a best commercial countertop convection oven can double as a proofing chamber, but a simple thermometer works.
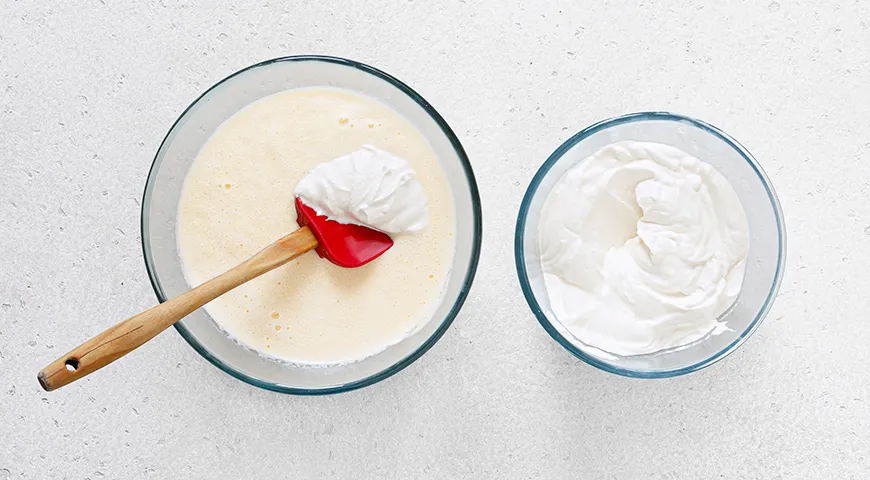
Step 6: Whisk Egg Whites
Add the reserved sugar to the whites and stir. Place the bowl over a water bath (double boiler) and heat, stirring, until sugar dissolves and whites reach about 50°C (122°F). This step ensures stability. Transfer to the counter and beat with a mixer until stiff peaks form—5 to 7 minutes. A best food processor for nut butter isn’t needed here, but a good mixer is essential.
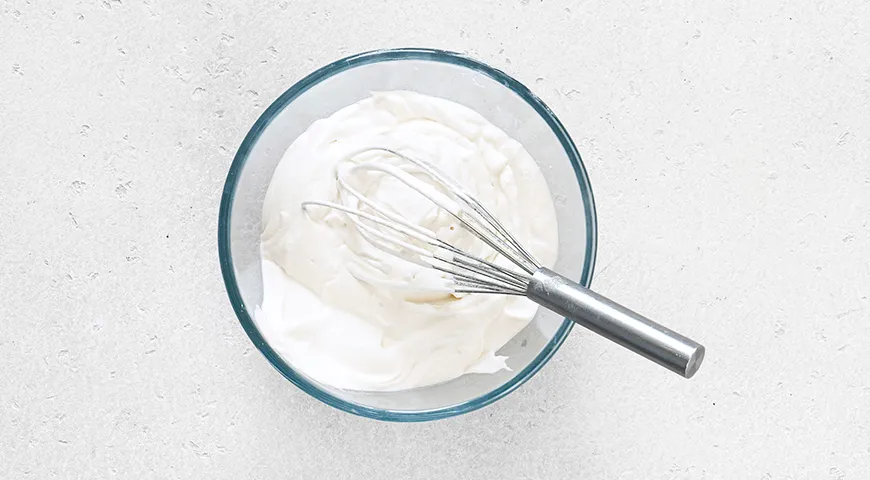
Step 7: Fold Whites into Custard
Gently fold the whipped egg whites into the cooled custard base in two additions. Use a silicone spatula with light, upward strokes to preserve the airy structure. This creates the ethereal texture that defines premium ice cream.
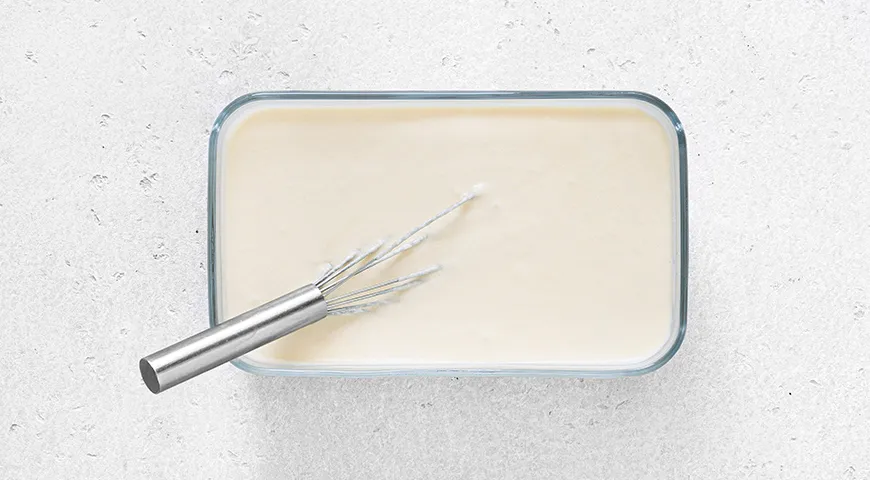
Step 8: First Freeze
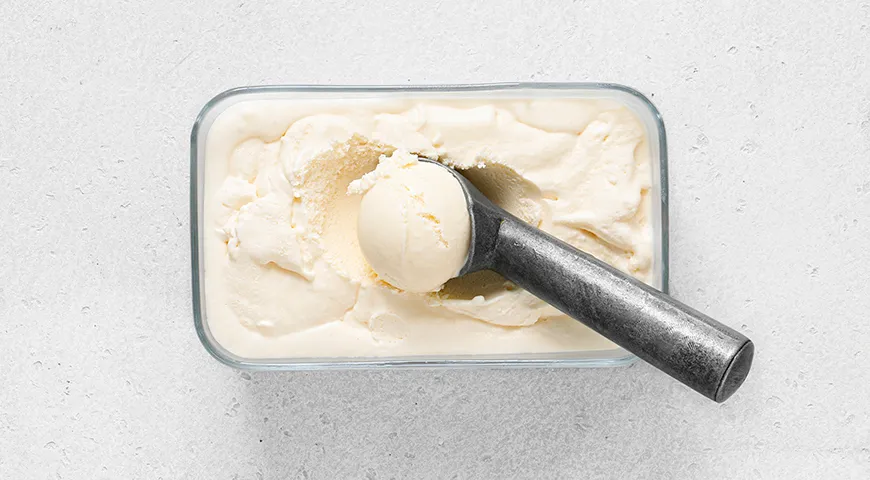
Transfer the mixture into a freezer-safe container. Cover tightly with a lid or plastic wrap and freeze for 1 hour. Then remove and whisk thoroughly with a fork or mixer to break up ice crystals. Return to freezer.
Step 9: Repeat Whisking
Repeat the whisking process 2–3 more times at 30-minute intervals. This crucial step ensures a smooth, creamy texture without large ice crystals. After the final stir, freeze for 6–8 hours or overnight.
Step 10: Serve
Before serving, let the ice cream stand at room temperature for 15 minutes to soften slightly. Scoop into bowls and garnish with fresh fruit, a drizzle of honey, or a sprinkle of sea salt. For an extra touch, consider a best chocolate covered raisins topping.
Tips & Tricks
- Always use room-temperature eggs for maximum volume when whipping.
- If you don't have a heavy-bottomed saucepan, use a best microwave pressure cooker to heat cream gently.
- To avoid curdling, never let the custard exceed 80°C.
- For a richer flavor, substitute half the cream with best sweet wine with high alcohol content—but reduce sugar.
- Use a best air fryer non toxic for quick chilling of bowls if needed.
Variations
Infuse the cream with vanilla bean, lavender, or cinnamon. For a chocolate version, melt 100 g dark chocolate and stir into the custard. A best espresso machine under 2000 can provide concentrated coffee for an affogato-style twist. Vegan? Swap cream with coconut milk and use aquafaba instead of egg whites—check our best oil sprayer for greasing molds.
FAQ
Can I use heavy cream instead of 10% cream?
Yes, but the texture will be richer and denser. Reduce sugar slightly and expect a more decadent result. A best refrigerant leak detector ensures your freezer maintains a constant temperature.
Why do I need to whisk the ice cream during freezing?
Whisking breaks down ice crystals that form as the mixture freezes, creating a smooth, creamy consistency. Without it, the ice cream will be icy and grainy.
Can I make this without an ice cream maker?
Absolutely—this recipe is designed for a no-churn method. The manual whisking process mimics the aeration of a machine. For consistent results, a best wheatgrass juicer isn't needed, but a sturdy mixer helps.
How long does homemade ice cream keep?
Store in an airtight container for up to 2 weeks. To prevent freezer burn, press plastic wrap directly onto the surface. A best 48 inch built in refrigerator offers optimal storage conditions.
Can I use egg substitutes?
For a vegan version, replace eggs with 1/2 cup aquafaba (chickpea brine) whipped to stiff peaks. The texture may be slightly less rich but still delightful.
What is the best way to scoop hardened ice cream?
Dip your scoop in hot water before each scoop. A best steam canner isn't related, but steam helps soften the scoop.
Is it necessary to use vanilla sugar?
Vanilla sugar adds depth, but you can substitute 1 teaspoon vanilla extract. For a more intense flavor, use a best coffee maker for airbnb to brew a strong vanilla-infused syrup.
Enjoy this silky, homemade ice cream as a testament to the beauty of simple ingredients. For more culinary adventures, browse our Catalan sponge cake recipe for a perfect pairing.







