


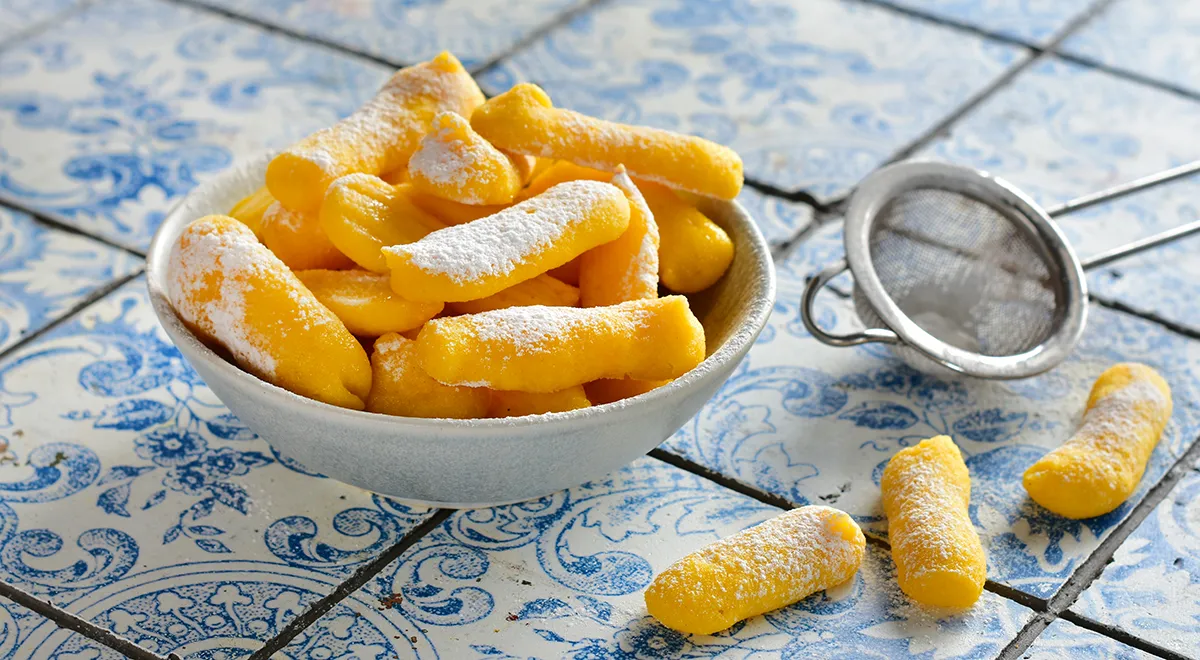
Recreate a beloved Soviet-era childhood treat with this simple yet sophisticated recipe for homemade corn sticks. These light, airy, and subtly sweet snacks are made from a simple choux pastry base using corn flour, then quickly cooked in the microwave to achieve a delicate crunch. Perfect for an afternoon snack, a party appetizer, or a nostalgic dessert, these corn sticks are infinitely better than anything from a bag. In this guide, we'll walk you through each step, share expert tips, and offer creative variations to make the recipe your own.
About This Recipe
Corn sticks, known as kukuruznye palochki in Russian, are a classic snack from the Soviet era, traditionally made from extruded cornmeal. This homemade version uses a technique similar to choux pastry—cooking corn flour in milk and butter, then enriching it with eggs—to create a dough that puffs up beautifully in the microwave. The result is a batch of crispy, golden sticks that are lightly sweetened with powdered sugar. This recipe is not only quick (requiring just 5 minutes in the microwave) but also allows you to control the quality of ingredients, making it a healthier and more delicious alternative to store-bought versions. For more inspiration on creating light, crispy snacks, check out our collection of Catalan sponge cake recipes that share a similar airy texture.

Ingredients
- 120 ml whole milk
- 80 g unsalted butter, cut into small cubes
- Pinch of salt
- 2 large eggs
- Corn flour, about 100 g (the recipe specifies adding until a stiff dough forms; adjust as needed)
- Powdered sugar, for dusting
For the best results, use high-quality butter and fresh eggs. If you're looking to upgrade your mixing tools, a planetary mixer can help achieve a perfectly smooth dough effortlessly.
Step-by-Step Instructions
Step 1: Prepare the Corn Dough
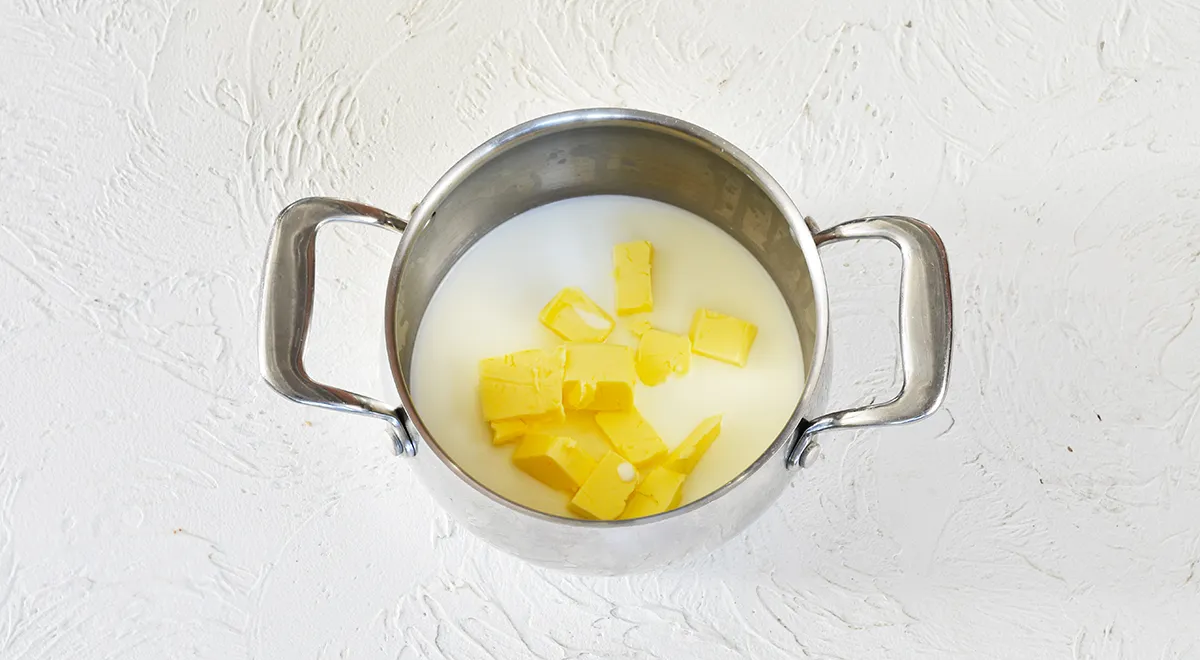
In a medium saucepan, combine the milk and cubed butter. Place over medium heat and stir until the butter melts and the mixture comes to a gentle boil. This forms the base of your choux-like dough.
Step 2: Incorporate the Corn Flour
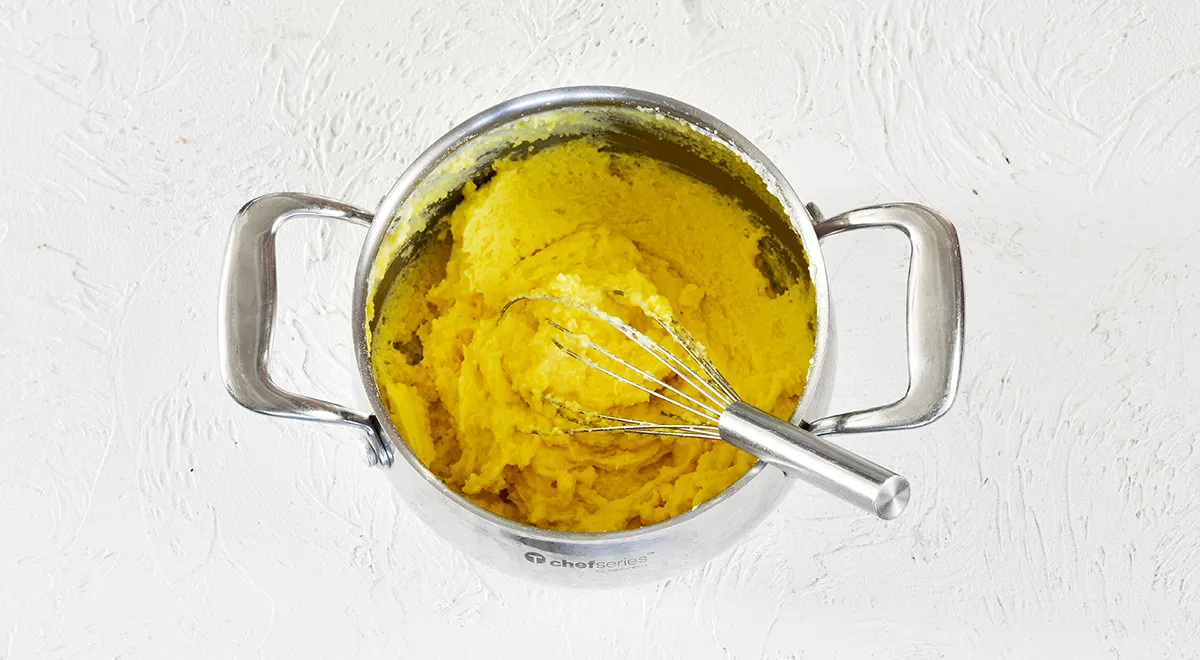
Reduce the heat to low. Gradually add the corn flour while stirring vigorously with a silicone spatula (a silicone spatula works well for this). Continue to cook the mixture, stirring constantly, for about 5 minutes until it thickens noticeably and pulls away from the sides of the pan. Remove from heat and let cool slightly.
Step 3: Add Eggs and Seasoning
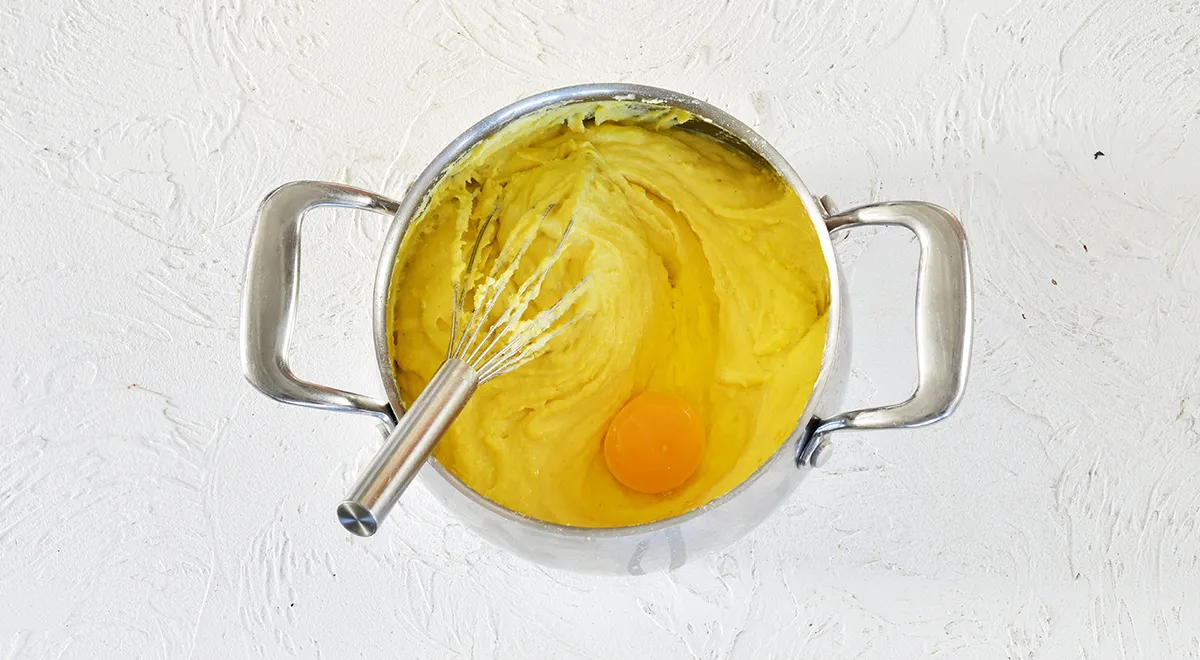
To the slightly cooled dough, add the pinch of salt and beat in the eggs one at a time. Mix thoroughly with the silicone spatula until the dough is smooth, glossy, and completely homogeneous. A food processor can also be used to ensure a lump-free consistency.
Step 4: Transfer Dough to a Piping Bag
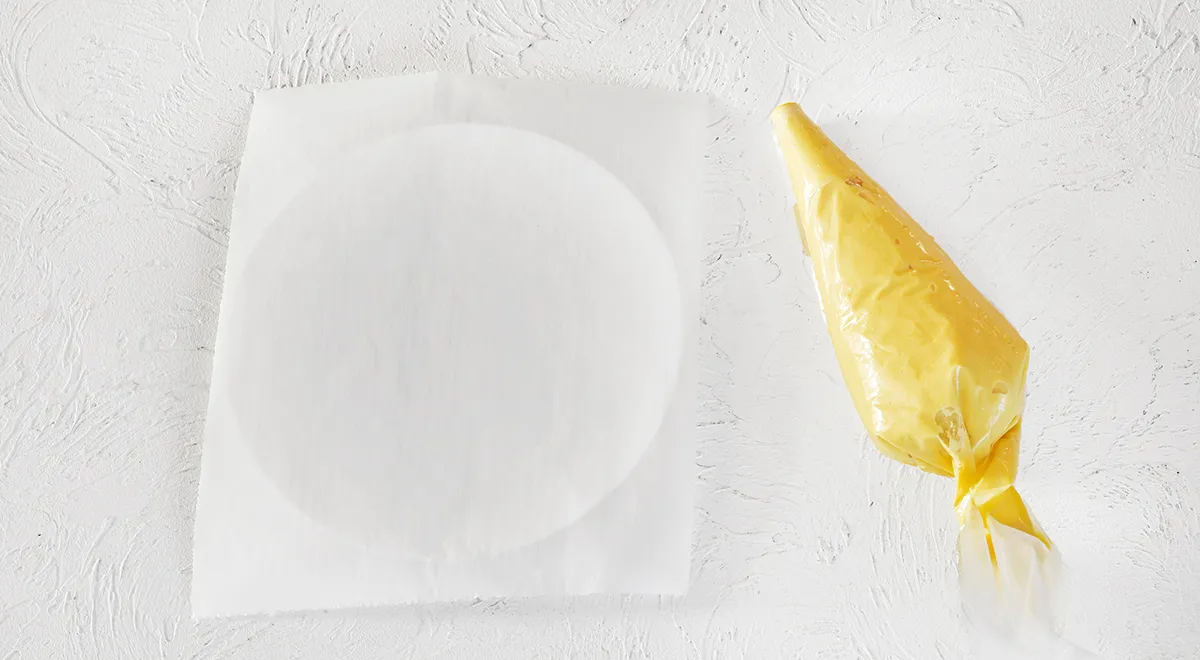
Line a microwave-safe plate with parchment paper. Transfer the dough into a piping bag fitted with a plain round tip, or simply use a sturdy plastic zip-top bag with a corner snipped off. For clean, even lines, a quality piping bag is ideal—check out our review of espresso machines for similar precision in coffee making.
Step 5: Pipe and Microwave
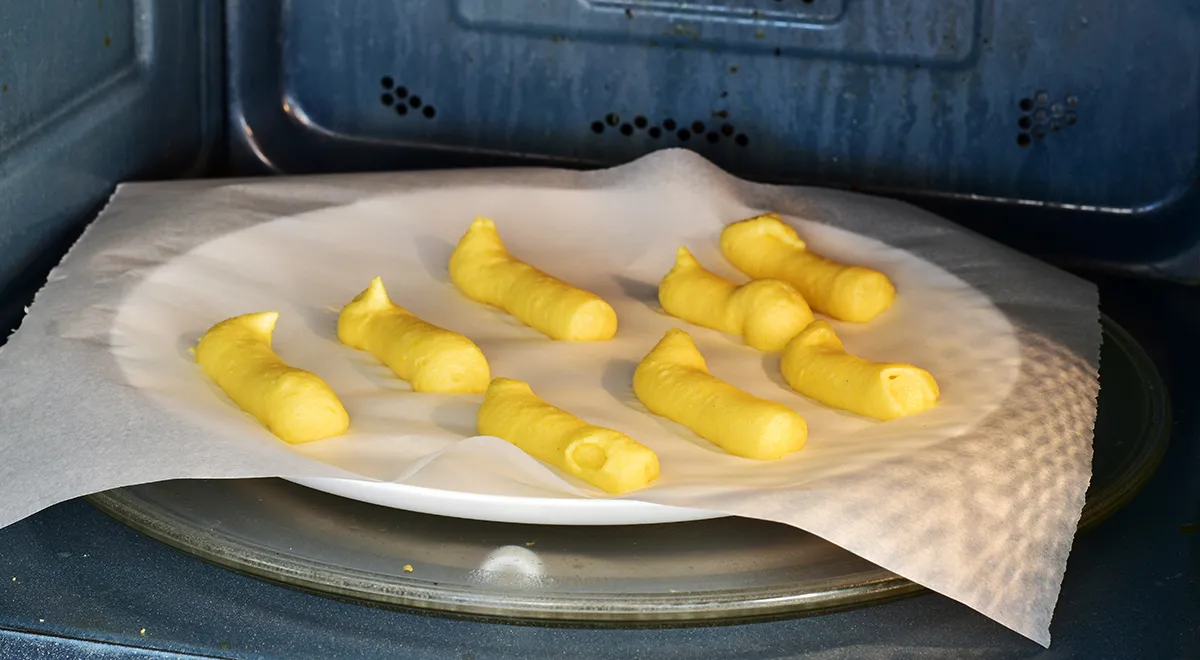
Pipe small sticks of dough onto the prepared plate, leaving space between each. Microwave on medium power for 5 minutes. The sticks will puff up and become golden. Cooking time may vary depending on your microwave's wattage. For consistent results, consider using a microwave-combination oven with precise controls.
Step 6: Cool and Dust
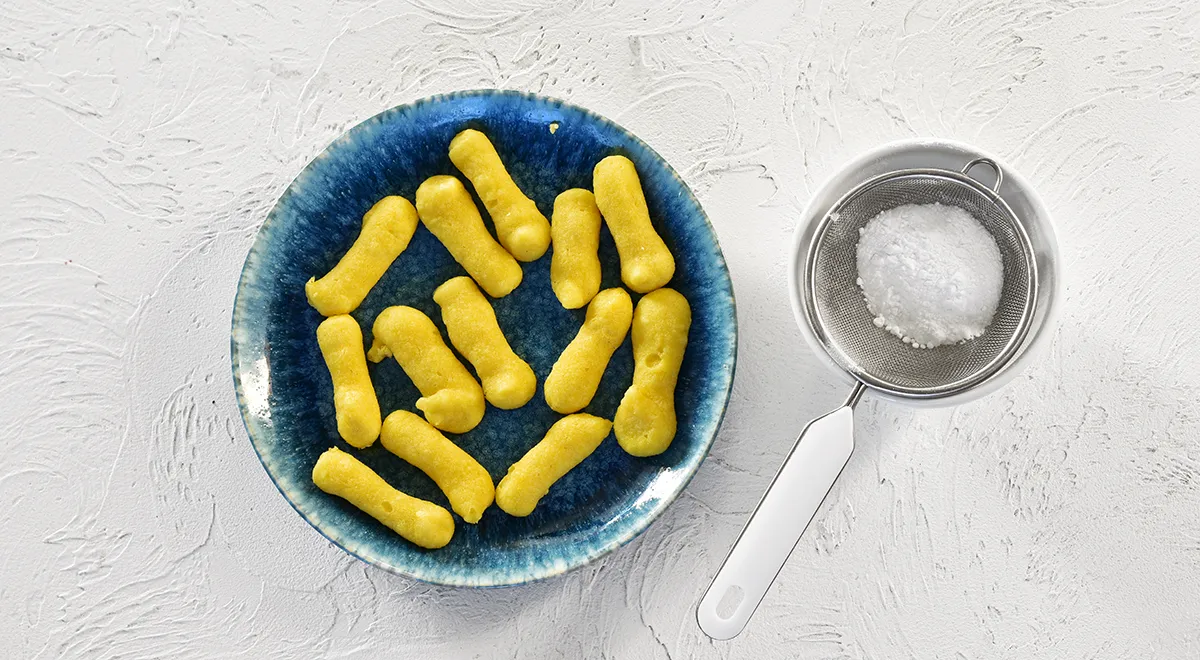
Transfer the cooked corn sticks to a wire rack to cool completely. They will firm up as they cool. Repeat with the remaining dough. Once all sticks are cool, dust generously with powdered sugar. Serve immediately or store in an airtight container.
Tips for Perfect Corn Sticks
- Use fresh eggs: They provide better structure and lift. If you're in doubt about egg quality, a refrigerant leak detector isn't related, but keeping your fridge at optimal temperature ensures eggs stay fresh.
- Don't overmix after adding eggs: Stir just until incorporated to keep the dough light.
- Pipe evenly: Uniform sticks cook evenly. For perfect consistency in other kitchen tasks, a wheatgrass juicer can be handy for fresh juices.
- Monitor microwave time: Every microwave is different. Start checking at 4 minutes to avoid burning.
- Cool completely before storing: Any residual moisture can make them soft. A built-in refrigerator with good humidity control can help maintain crispness in storage.
Variations
- Cheesy Corn Sticks: Add 50 g of grated Parmesan or cheddar cheese to the dough before piping for a savory version.
- Herb-Infused: Mix in dried rosemary, thyme, or garlic powder for an aromatic twist.
- Sweet Spice: Add a teaspoon of cinnamon or vanilla extract to the dough for extra warmth.
- Chocolate Drizzle: Melt dark chocolate and drizzle over cooled sticks for an indulgent treat. Pair with chocolate-covered raisins for a platter.
- Gluten-Free Option: This recipe is naturally gluten-free; just ensure your corn flour is certified gluten-free.
FAQ
Can I bake these corn sticks instead of microwaving?
Yes. Pipe onto a parchment-lined baking sheet and bake at 180°C (350°F) for 12–15 minutes, or until golden and puffed. Keep an eye on them as oven temperatures vary. A convection oven provides even heat for best results.
Why are my corn sticks chewy instead of crispy?
Chewiness often results from undercooking or too much moisture. Ensure you cook the dough on the stovetop for a full 5 minutes to reduce moisture, and microwave on medium power for the correct time. Using a microwave pressure cooker may alter cooking times—adjust accordingly.
Can I use cornmeal instead of corn flour?
Cornmeal has a coarser grind, which will yield a grittier texture. For the authentic light and airy sticks, corn flour (fine corn flour or masa harina) is recommended. If you only have cornmeal, grind it finer in a high-speed blender before using.
How do I store homemade corn sticks?
Store in an airtight container at room temperature for up to 3 days. To restore crispness, reheat in a microwave for 30 seconds or in a low oven for a few minutes. A non-toxic air fryer can also re-crisp them without added oil.
Can I make the dough ahead of time?
Yes. The dough can be refrigerated in a piping bag for up to 24 hours. Let it come to room temperature before piping, as cold dough is harder to pipe. For other make-ahead ideas, explore our organic vodka reviews for cocktail pairings.
What if I don't have a piping bag?
A resealable plastic bag with a small corner snipped off works perfectly. Just ensure the cut is not too large to control the flow. For a more professional touch, invest in a reusable piping bag set—similar to the precision needed for espresso machines.
Enjoy Your Homemade Corn Sticks
These homemade corn sticks are a delightful, nostalgic treat that are surprisingly easy to make. Whether you enjoy them as a quick snack or a party favorite, their delicate crunch and sweet finish are sure to impress. Experiment with the variations to suit your taste, and don't forget to share them with friends and family. For more unique recipes, browse our collection of au jus recipes for hearty meals, or learn about the best undercounter ice maker machines to keep drinks chilled alongside your corn sticks.







