


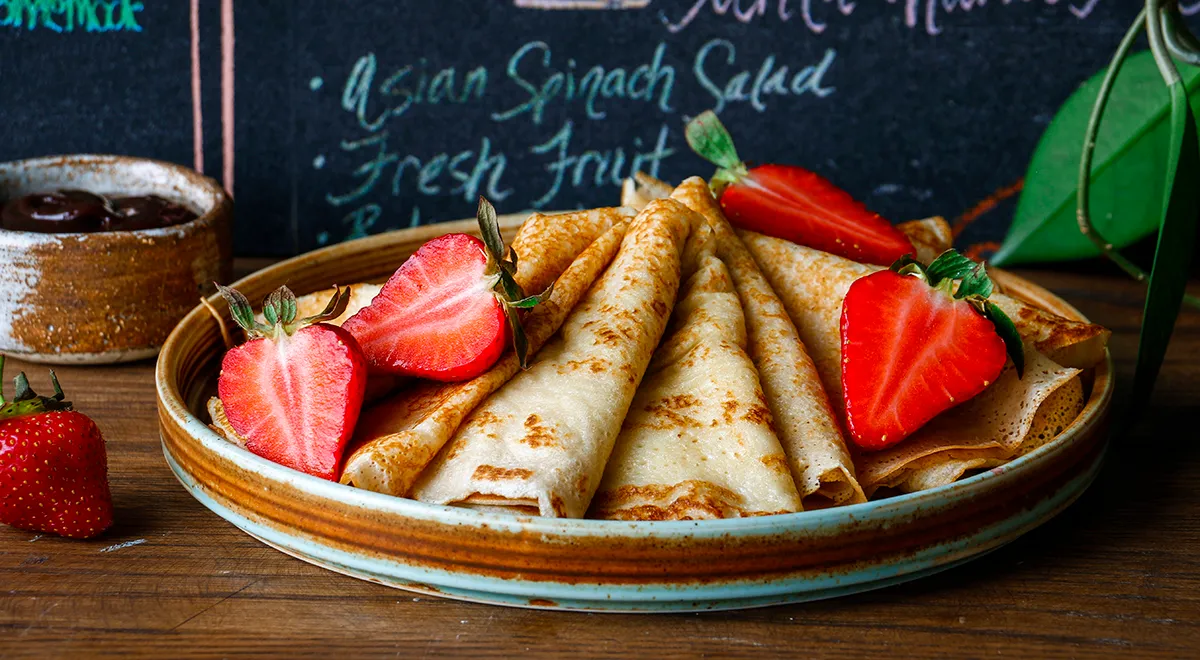
There is something magical about thin, lacy pancakes—blini—that embody the soul of Russian home cooking. This recipe for thin blini made with four eggs and tangy sour milk delivers an impossibly tender, flexible crêpe that can be wrapped around sweet or savory fillings. Whether you are mastering blini for Maslenitsa (the Russian pancake festival) or simply craving a refined breakfast, this guide will walk you through every step with professional precision.
About This Recipe
Traditional Russian blini are celebrated for their delicate texture and subtle tang. Unlike classic crêpes, these pancakes use sour milk (or buttermilk) combined with a touch of starch and baking soda, which creates a lighter, more elastic batter. The four eggs add richness and a beautiful golden color, while a brief resting period allows the flour to hydrate fully, ensuring a silky-smooth result. If you enjoy exploring global pancake traditions, you might also appreciate our guide to Catalan sponge cake for another delicate texture.

Ingredients
- 200 g all-purpose flour
- 2 tbsp cornstarch
- 4 large eggs (C0 size), at room temperature
- 4 tbsp vegetable oil (plus extra for the pan)
- 1 tbsp sugar
- ½ tsp baking soda
- ½ tsp salt
- 500 ml sour milk (or buttermilk), lukewarm
Note: Sour milk gives these blini their characteristic tang. If you don’t have it, you can make a quick substitute by adding 1 tablespoon of lemon juice or vinegar to whole milk and letting it sit for 10 minutes.
Step-by-Step Instructions
Step 1: Prepare the Eggs and Sour Milk
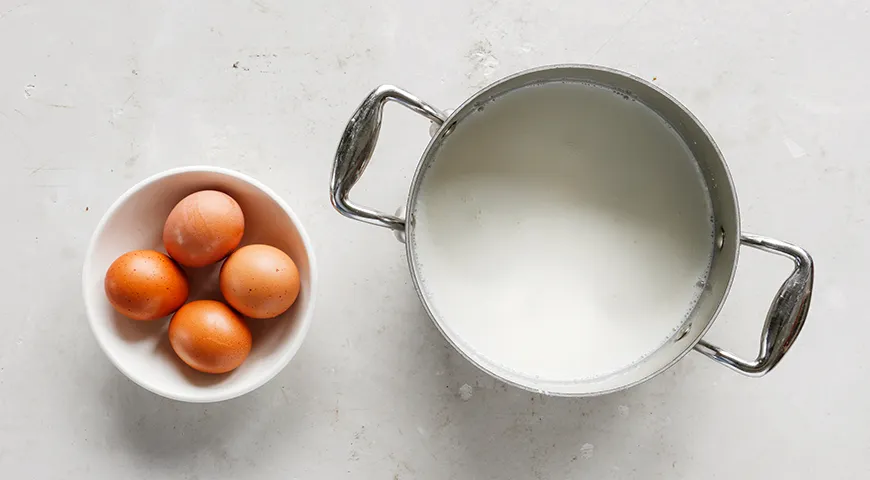
Take the eggs out of the refrigerator well in advance and let them come to room temperature. Pour the sour milk into a small saucepan and warm it gently over low heat. Do not overheat—if the milk curdles, it will ruin the batter. The ideal temperature is about 40°C, just warm to the touch.
Step 2: Beat the Eggs
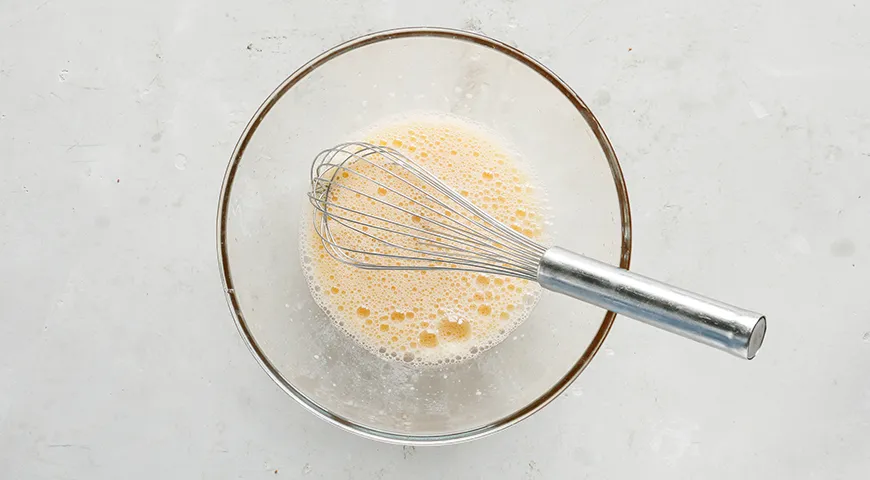
Crack the eggs into a deep bowl, add salt and sugar. Whisk vigorously by hand or use an electric mixer until the whites and yolks are fully incorporated and the mixture is pale and slightly frothy. A planetary mixer makes this task effortless, but a simple whisk works wonderfully too.
Step 3: Combine Wet Ingredients and Sift Dry
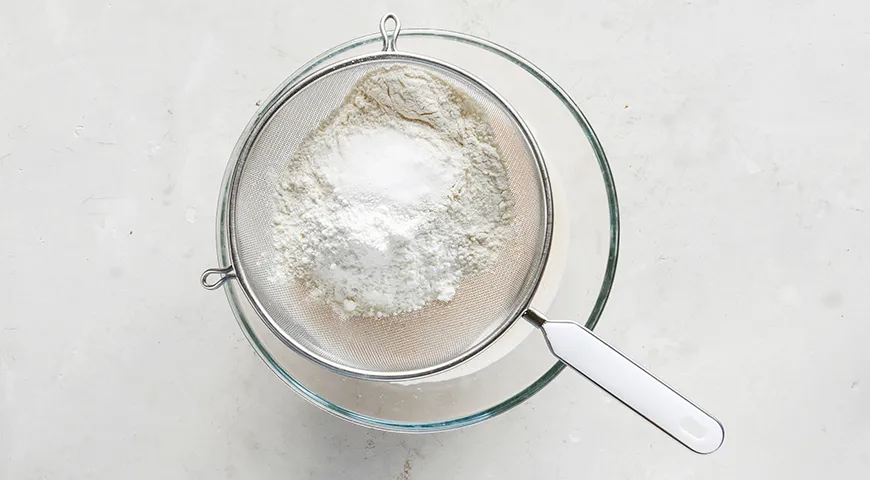
Pour the warm sour milk into the egg mixture and stir to combine. In a separate bowl, sift together the flour, cornstarch, and baking soda. Sifting is crucial—it aerates the flour and ensures the baking soda dissolves evenly, preventing bitter spots in the finished pancakes.
Step 4: Make the Batter
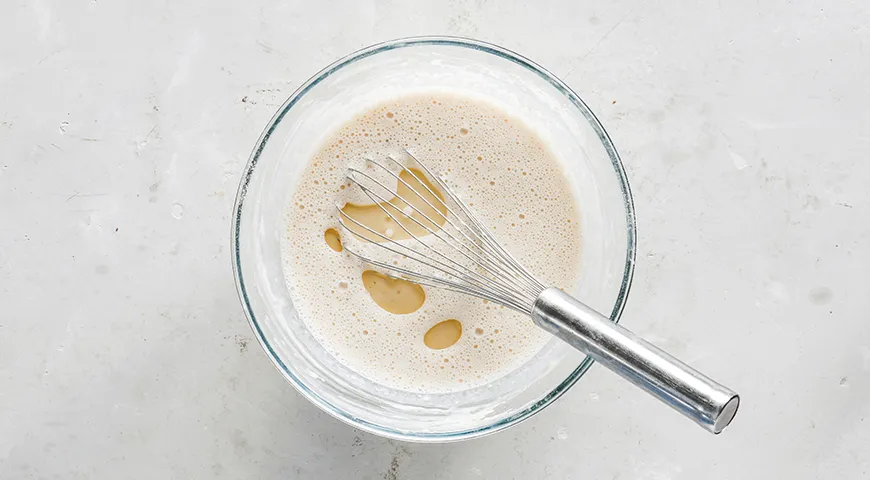
Gradually add the dry ingredients to the liquid mixture, whisking continuously until smooth. Use an immersion blender or a whisk for about 2–3 minutes—no lumps should remain. Add 3 tablespoons of vegetable oil and mix again. Let the batter rest at room temperature for 10 minutes. During this time, the flour absorbs moisture, making the batter more fluid and easier to spread.
Step 5: Heat the Pan
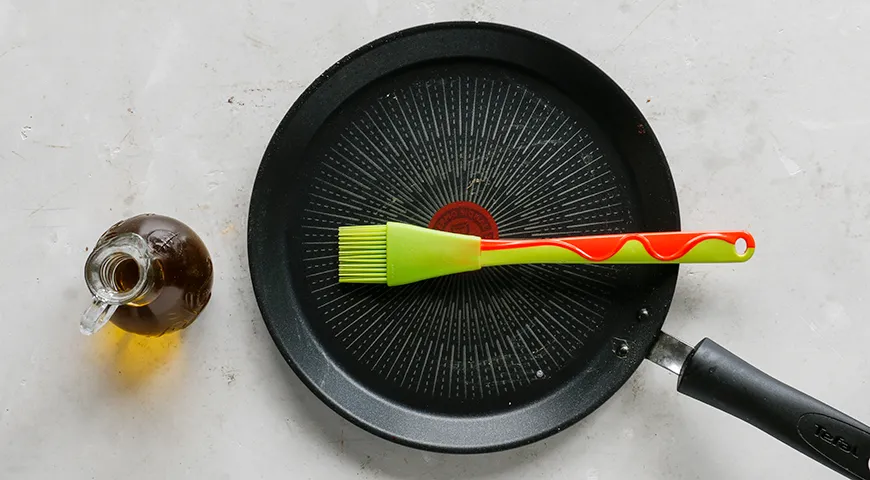
Place a non-stick or cast-iron skillet (20–22 cm diameter) over high heat for 2 minutes. Then reduce the heat to medium-high. Lightly grease the pan with a thin layer of vegetable oil. For even heating, a convection oven is not needed here, but a quality stovetop skillet is essential.
Step 6: Pour and Spread the Batter
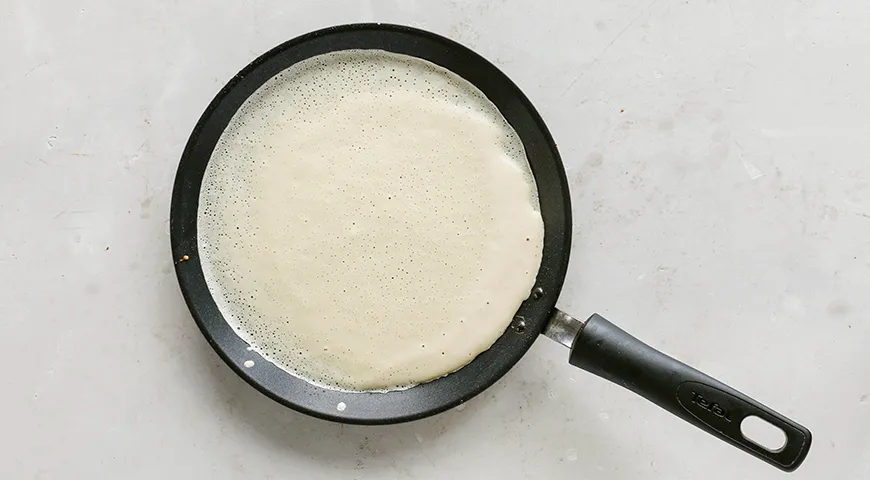
Pour a ladleful (about 120–140 ml) of batter into the center of the hot pan. Immediately tilt and rotate the pan so the batter flows evenly across the bottom in a thin, even layer. Work quickly—the batter sets fast. If you prefer an ultra-thin crêpe, a food processor can help you achieve a perfectly smooth batter beforehand.
Step 7: Cook the First Side
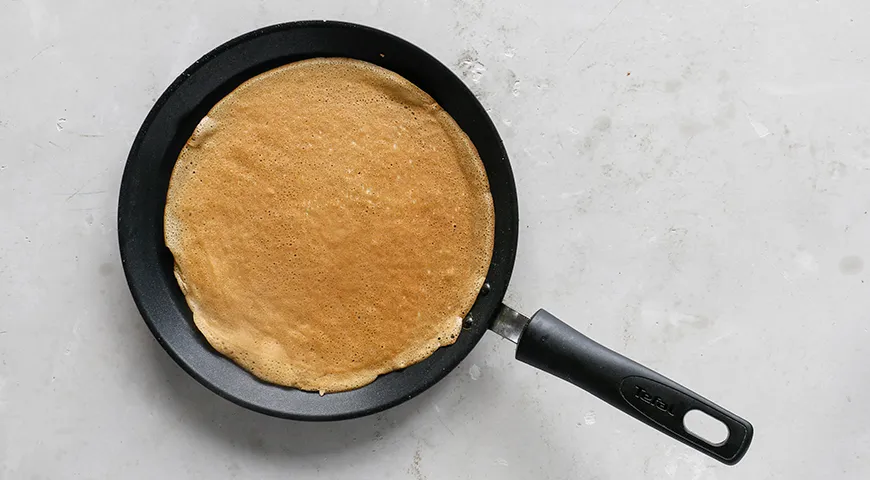
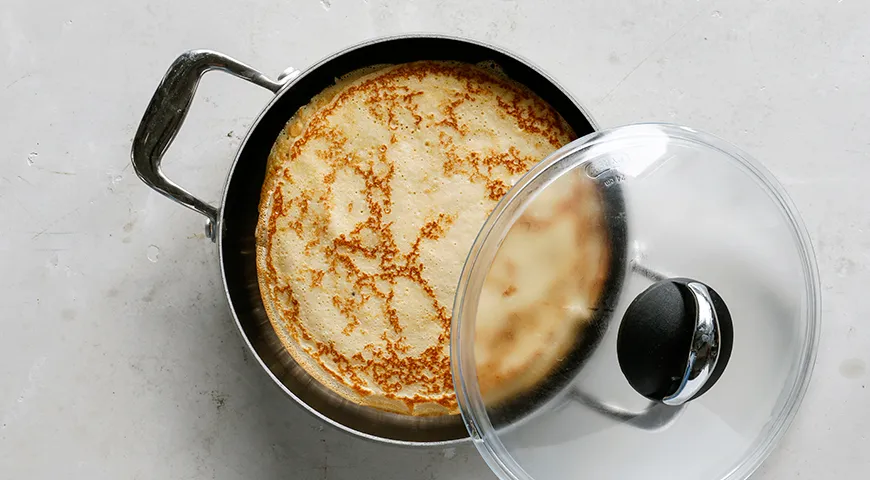
Cook for 1 to 1½ minutes, until the edges turn golden brown and the surface becomes matte. Slide a thin spatula underneath to check doneness, then flip carefully. Cook the second side for 45 seconds to 1 minute. The finished blin should be speckled with light brown spots and extremely pliable.
Step 8: Repeat and Keep Warm
Continue cooking the remaining batter, stacking the blini in a warm, covered dish to keep them soft. Once all are done, you can serve immediately or store. For best results, use a refrigerator if storing for later—blini freeze beautifully.
Tips for Perfect Blini
- Use room-temperature eggs and lukewarm milk to prevent the batter from seizing.
- Resting the batter is non-negotiable—it relaxes the gluten and yields tender pancakes.
- For extra flavor, substitute two tablespoons of the vegetable oil with melted butter or ghee. Ghee, like oil, does not burn at high heat. A quality oil sprayer helps you coat the pan evenly.
- If your batter thickens as it sits, whisk in a splash of warm milk or water.
Variations
These thin blini are incredibly versatile. For a savory version, reduce the sugar to 1 teaspoon and fill with smoked salmon, cream cheese, and dill. For sweet cravings, serve with sour cream, honey, or berry jam. You can even add a shot of organic vodka to the batter for extra crispness—a pro tip from Russian chefs.
Frequently Asked Questions
Why use sour milk instead of fresh milk?
Sour milk (or buttermilk) provides acidity that reacts with the baking soda, creating carbon dioxide bubbles that make the blini light and airy. It also adds a subtle tang that balances the richness of the eggs.
Can I make the batter ahead of time?
Absolutely. Prepare the batter up to 24 hours in advance and refrigerate. Let it come to room temperature and whisk well before cooking. For longer storage, freeze the cooked blini separated by parchment paper in an airtight container.
Why did my blini turn out rubbery?
Overmixing the gluten is the usual culprit. Mix just until smooth, and do not overbeat after adding the flour. If they’re still tough, try using a glass mixing bowl and gentle folding technique.
Can I replace cornstarch with something else?
Yes, potato starch or rice flour work similarly, though the texture may be slightly different. Cornstarch helps tenderize the crumb and gives a silky feel.
How do I prevent blini from sticking to the pan?
Ensure the pan is properly preheated and lightly oiled. A non-toxic air fryer might not be suitable for stovetop cooking, but for pancakes, a well-seasoned cast-iron skillet or quality non-stick pan is best. Re-oil between every second or third pancake.
What is the best way to reheat leftover blini?
Stack them in a steamer for 2–3 minutes, or wrap in foil and warm in a microwave pressure cooker on low. Avoid high heat, which dries them out.
Can I use this batter for sweet crêpes?
Yes! Add an extra tablespoon of sugar and a teaspoon of vanilla extract. Fill with Nutella, strawberries, or the best chocolate-covered raisins for dessert.
Conclusion
These thin blini on sour milk with four eggs deliver exactly what a perfect pancake should be: delicate, slightly tangy, and endlessly adaptable. Whether you serve them for a leisurely brunch or as part of a festive Maslenitsa spread, they are sure to impress. For additional kitchen inspiration, browse our guide on espresso machines to accompany your blini with a boutique coffee experience. Enjoy the art of Russian pancake making!







