


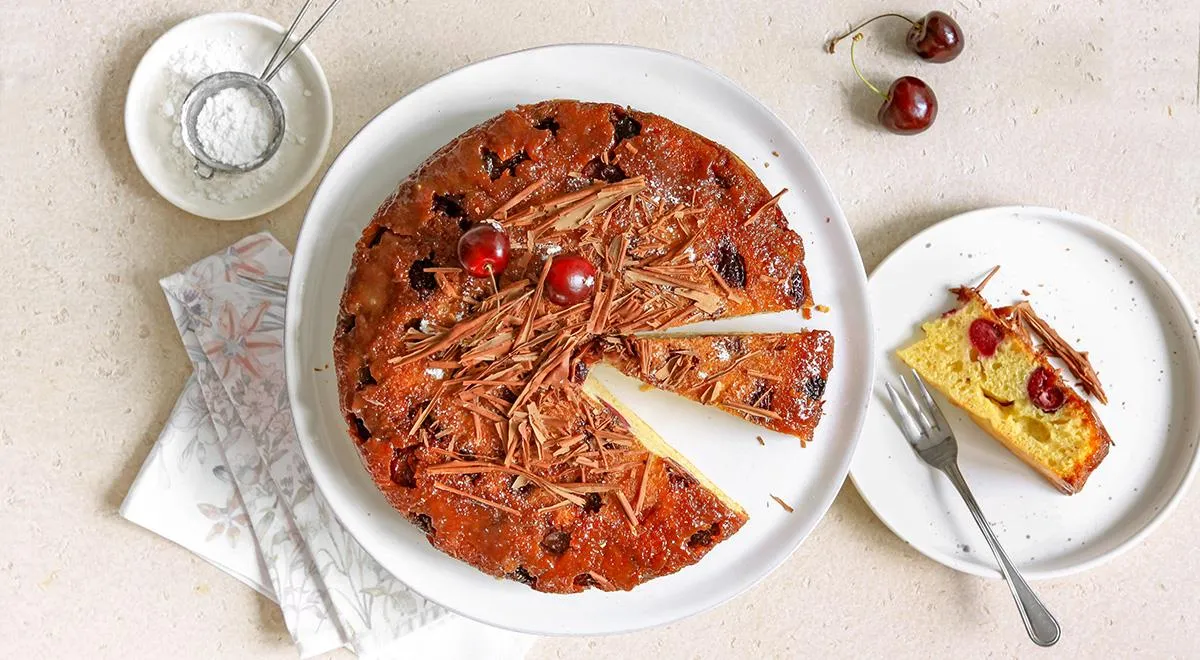
Imagine a warm, fruit-studded cake that emerges from a single skillet, its caramelized bottom glistening like amber. This Skillet Berry Cake is a revelation for those who crave homemade comfort without firing up the oven. Born from the Russian tradition of yagodnyj pirog na skovorode, it transforms any seasonal berry—cherry, currant, raspberry, or plum—into a rustic masterpiece. Using a cast-iron skillet ensures even heat distribution, but any heavy-bottomed pan will work. The secret lies in a simple caramel layer that creates a naturally glossy finish, while the tender, milk-based batter bakes to a golden perfection. Whether you're camping, living in a small kitchen, or just want to simplify your baking, this recipe delivers.

About This Recipe
This skillet berry cake is a versatile, oven-free dessert that celebrates the bounty of summer fruits. The technique of caramelizing sugar in the pan before adding fruit and batter is a classic European method known as tarte Tatin meets Russian sharlotka. The result: a moist, fluffy cake with a jewel-toned berry topping that inverts beautifully onto a plate. Using high-quality castor oil for greasing is optional, but the recipe relies on basic pantry staples. It's also a fantastic way to use slightly overripe berries, making it a zero-waste hero.
Ingredients
- 400 g cherries (or any mixed berries such as currants, raspberries, strawberries, or plums)
- 25 g unsalted butter
- 2 tbsp sugar (for caramel)
- 1 tsp cornstarch (or potato starch)
- 220 g all-purpose flour
- 150 ml whole milk, room temperature
- 120 g granulated sugar
- 50 ml neutral vegetable oil (e.g., sunflower or canola)
- 2 large eggs (C1 size) at room temperature
- 10 g baking powder
Optional: 5–8 g vanilla sugar, powdered sugar or grated chocolate for garnish.
Step-by-Step Instructions
Step 1: Prepare the Berries
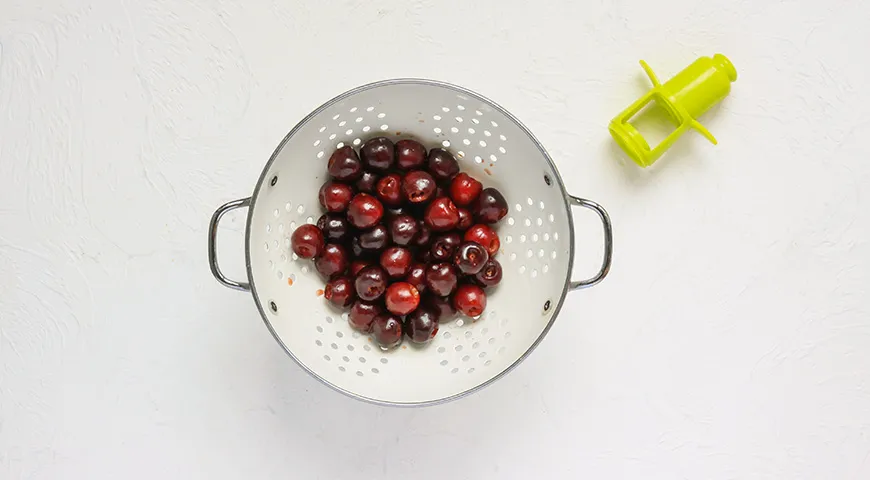
Pick over the cherries, rinse under cold running water, and drain in a colander. Let them dry on paper towels. Remove pits using a cherry pitter or the tip of a knife. If using other berries, simply rinse and dry.
Step 2: Make the Caramel Base
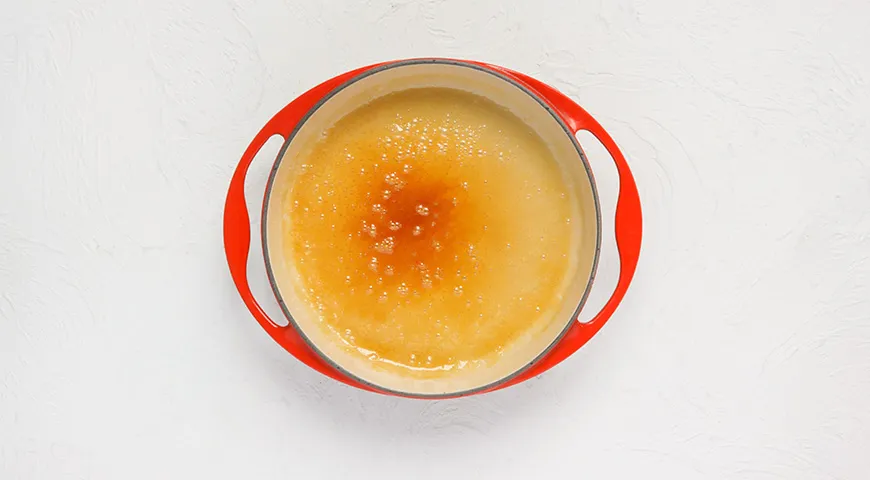
In a 24–26 cm skillet (preferably cast iron), melt the butter over medium heat. Add 2 tablespoons sugar and stir constantly until it melts and turns a deep amber color. Remove from heat immediately and set aside. The caramel will continue cooking from residual heat.
Step 3: Prepare the Batter

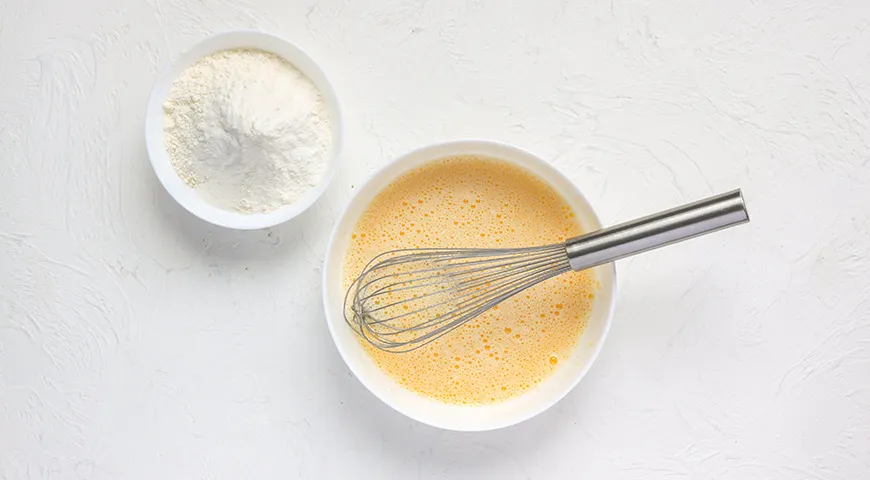
Ensure all ingredients are at room temperature. In a bowl, whisk eggs with 120 g sugar (and vanilla sugar if using) until light and frothy, using a planetary mixer or hand whisk. Pour in milk and vegetable oil, mixing gently. In a separate bowl, whisk flour with baking powder, then sift into the wet mixture. Stir until just combined; the batter should be thick but pourable—like a ribbon that slowly settles.
Step 4: Assemble the Cake
Once the caramel has cooled slightly (but is still liquid), scatter the prepared berries evenly over the caramel. Sprinkle cornstarch on top to absorb excess juices. Pour the batter over the fruit, spreading gently to cover. Do not stir.
Step 5: First Bake (Stovetop Method)
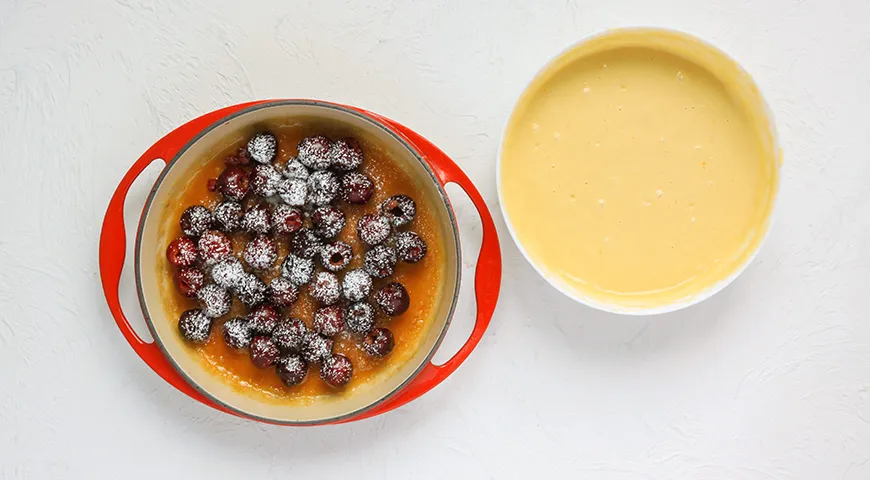
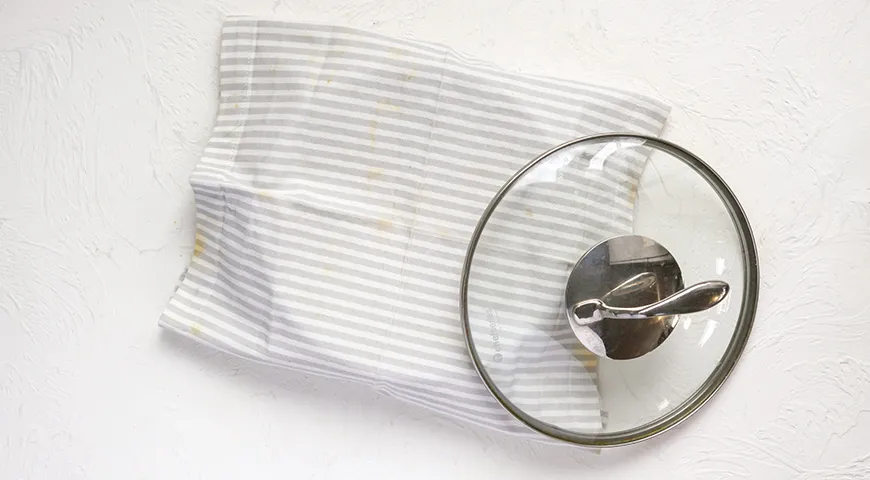
Cover the skillet with a clean kitchen towel and then a tight-fitting lid (e.g., glass or metal). Make sure the towel edges are tucked in and away from the flame. Place over medium heat and bake for 30 minutes. The towel absorbs condensation, preventing sogginess—a trick used by professional bakers.
Step 6: Flip and Finish
Lightly grease a large plate with vegetable oil using an oil sprayer for even coverage. Invert the skillet onto the plate in one confident motion. The cake should release with the caramelized berries on top. Return the skillet to the stovetop, cover again with towel and lid, and bake for another 5 minutes to firm the bottom.
Step 7: Cool and Serve
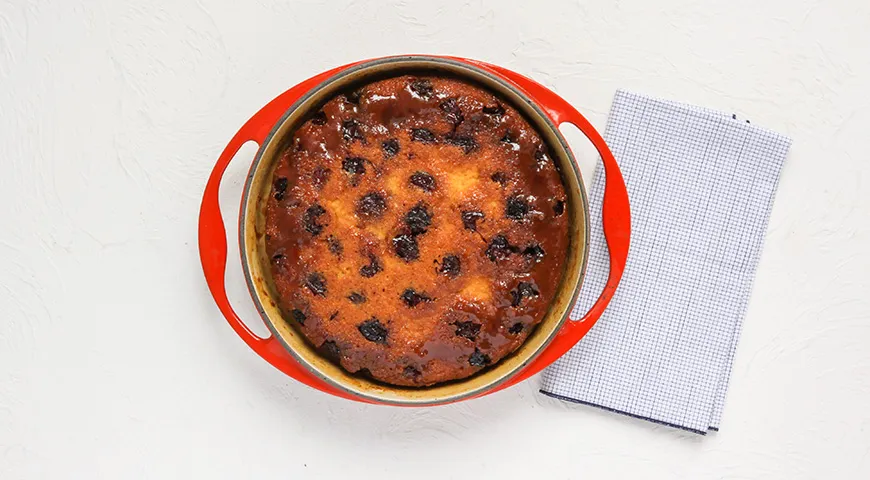
Allow the cake to cool for at least 15 minutes. Dust with powdered sugar or grated chocolate if desired. Serve warm or at room temperature with a dollop of creme fraiche or a scoop of vanilla ice cream. For a coffee pairing, consider brewing with a best espresso machine under $2000 for a sophisticated finish.
Tips for Success
- Use a heavy-bottomed skillet—non-toxic air fryer enthusiasts will appreciate the even heat.
- Keep the heat medium-low to avoid burning the caramel; adjust if your stove runs hot.
- The towel must be clean and dry—use a dedicated pastry towel for best results.
- Berries can be fresh or frozen; if frozen, thaw and drain thoroughly first.
Variations
Swap cherries for sliced plums, nectarines, or a mix of blackberries and raspberries. For a tropical twist, use diced mango and pineapple with a sprinkle of coconut flakes. Those avoiding gluten can substitute a 1:1 gluten-free flour blend. The same batter works beautifully in a commercial countertop convection oven at 180°C for 25–30 minutes if you prefer oven baking.
FAQ
Can I use a regular non-stick skillet?
Yes, but avoid metal utensils to protect the coating. Cast iron or stainless steel yields a superior caramel crust.
Why does the towel not catch fire?
The lid protects the towel from direct heat, and moisture from condensation keeps it damp. Ensure the towel is 100% cotton and not polyester.
Can I make this dairy-free?
Replace butter with vegan butter or coconut oil, and use oat milk or almond milk. The texture may be slightly denser.
How do I store leftovers?
Cover with foil and keep at room temperature for up to 2 days, or refrigerate for up to 5 days. Reheat slices in a microwave pressure cooker to restore moisture.
Can I add nuts or spices?
Absolutely. Fold in 50 g of toasted almonds or walnuts, or add cinnamon, cardamom, or ginger to the batter.
What if my caramel hardens before adding berries?
Gently rewarm the skillet over low heat until the caramel liquefies again. Do not let it burn.
Conclusion
This Skillet Berry Cake proves that you don't need an oven to create a showstopping dessert. Its rustic charm, vibrant fruit topping, and tender crumb make it a favorite for spontaneous tea parties, brunch gatherings, or a simple weekend treat. Experiment with your favorite berries and enjoy the process. For more inspiration, explore our Catalan sponge cake recipe or discover the best chocolate-covered raisins for a sweet garnish. Happy baking!







