


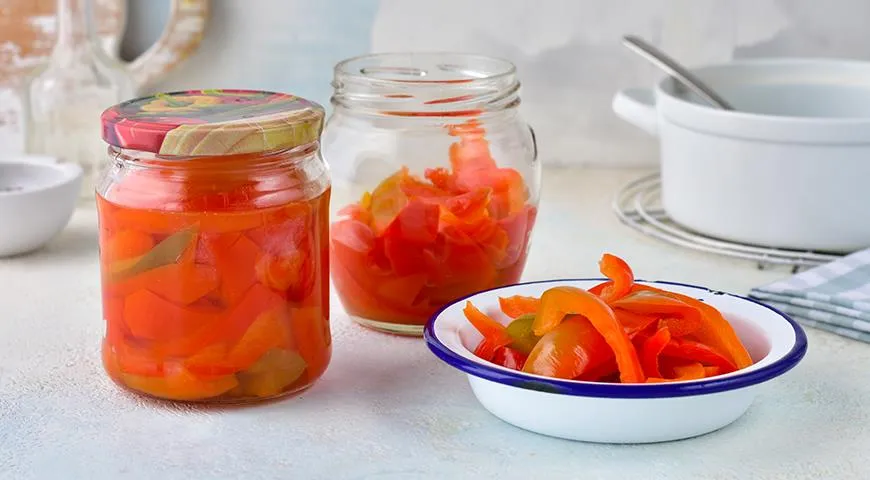
There exists a quiet magic in a pantry jar—a sealed moment of summer warmth that, months later, can transform a simple broth into a symphony of flavor. This traditional Russian preparation of bell peppers, or zagotovka iz perca, is precisely that kind of alchemy. Designed primarily for enriching soups, these preserved peppers also lend their sweet-tart brilliance to sauces, braises, and even grain salads. With a technique that prizes simplicity and purity of ingredient, you’ll create a versatile staple that elevates everyday cooking. Let’s embark on the art of pepper preservation, a practice that rewards patience with profound depth of taste.
About This Preparation
This method relies on three core elements: perfectly ripe bell peppers, coarse salt, and a touch of vinegar. The gentle blanching softens the flesh while retaining its structure, and the pasteurization ensures a shelf-stable product. The result is not a limp pickle but a tender yet firm pepper piece that holds its shape in hot liquids, releasing color and umami. Do not limit its use to soups alone—these peppers are exquisite folded into a creamy risotto or stirred into a lentil stew. For the best outcome, select peppers with thick, juicy walls and uniform color; any hue works, but a mix of red, orange, and yellow yields a visually stunning jar.

Ingredients
- 2 kg (about 8–10 medium) bell peppers, mixed colors
- 2–3 tablespoons coarse sea salt or kosher salt
- 100 ml white wine vinegar (or apple cider vinegar)
- Sterilized jars and lids (0.5 L or 1 L)
Note: The salt and vinegar amounts are adjustable to your palate; the recipe’s beauty lies in its adaptability. If you prefer a milder tang, reduce the vinegar slightly.
Step-by-Step Instructions
Step 1: Prepare the Jars
Thoroughly wash your jars and lids in hot, soapy water, then sterilize them. This can be done in a boiling water bath for 10 minutes or using a steam canner for a gentle, even sterilization. Place the jars on a clean towel and keep them warm until ready to fill.
Step 2: Wash and Prep the Peppers
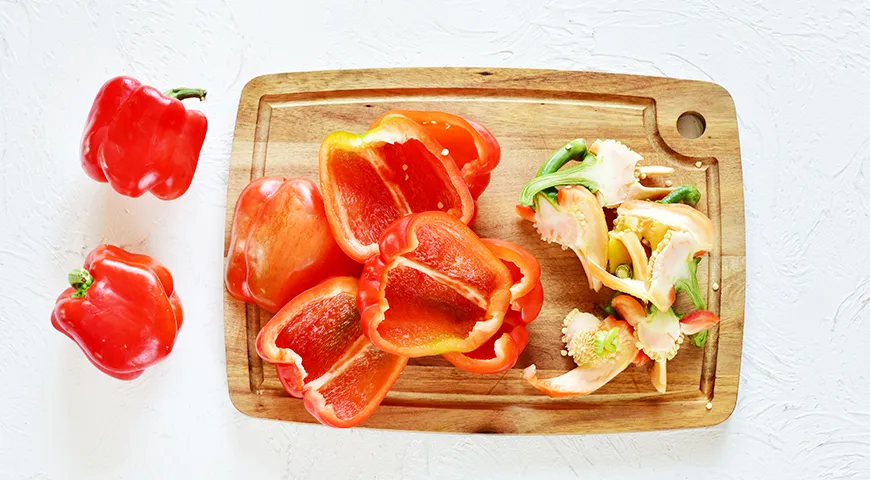
Rinse the peppers under cool running water. Using a sharp knife, cut around the stem and remove the core along with all seeds and white membranes. A glass bowl is ideal for holding the prepared peppers.
Step 3: Cut Into Wedges
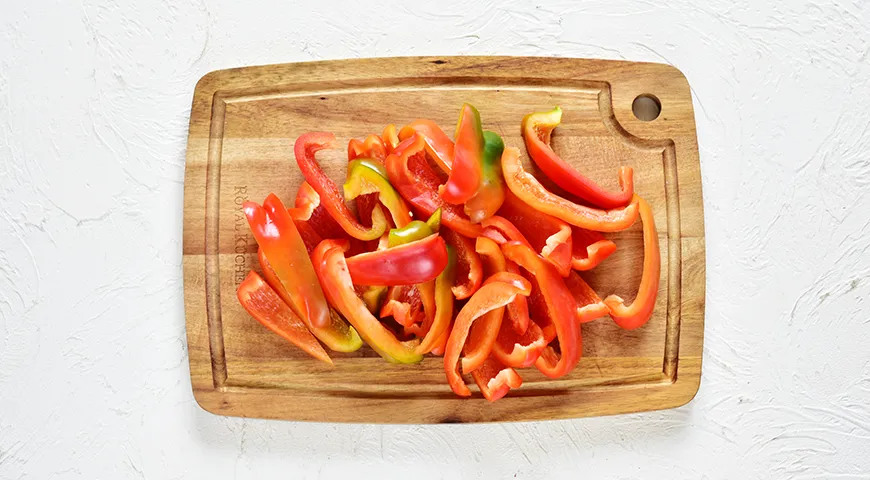
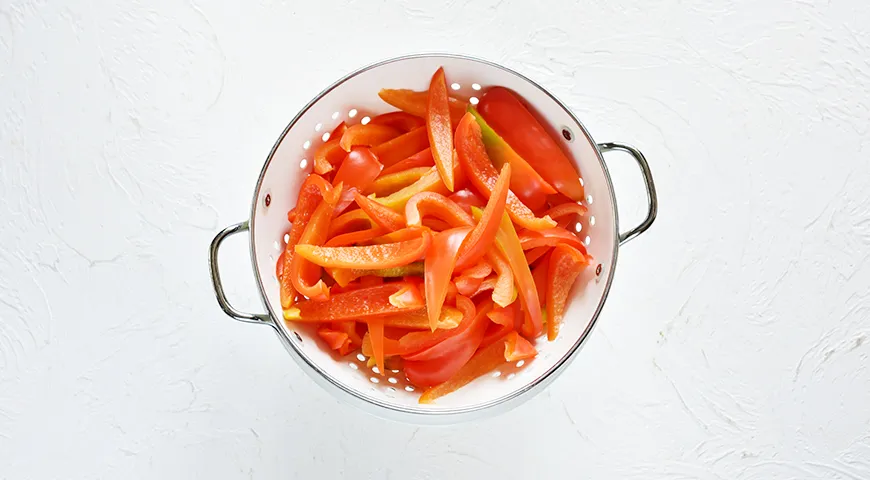
Slice each pepper lengthwise into 4–6 wedges, depending on size. Aim for uniformity so they pack neatly. If you prefer a finer dice for sauces, you can pulse the wedges in a food processor after blanching—though for classic soup preparation, wedges are ideal.
Step 4: Blanch the Peppers
Bring a large pot of water to a rolling boil. Place the pepper wedges in a colander or blanching basket and lower them into the water for 2–3 minutes. This softens the cell walls without cooking them through. For a quicker alternative, you can use a microwave pressure cooker to steam-blanch in under 2 minutes.
Step 5: Pack the Jars with Salt and Vinegar
While the peppers are still warm, pack them tightly into the sterilized jars, layering with salt as you go. Pour the vinegar evenly over the top. The liquid should nearly cover the peppers; if needed, add a little boiling water to fill, but the peppers will release some moisture.

Step 6: Pasteurize and Seal
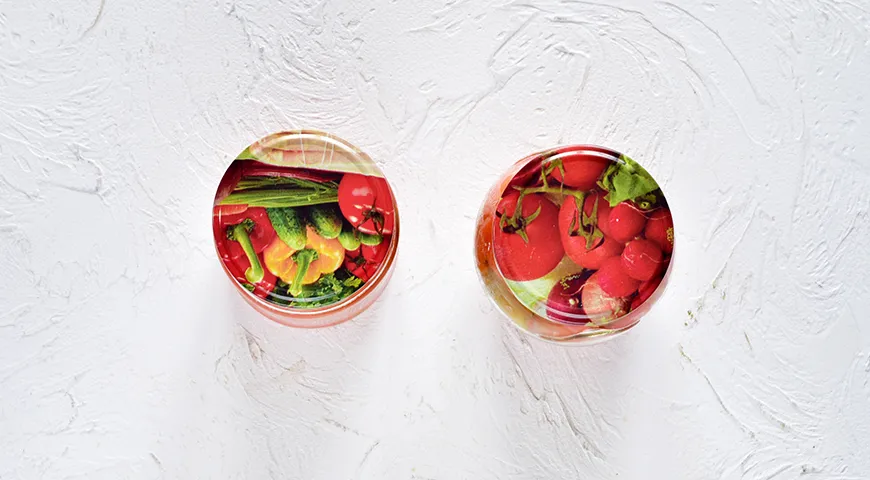
Place the lids on the jars, screwing them just fingertip-tight. Submerge the jars in a water bath canner or a commercial countertop convection oven set to 90°C for pasteurization. Process 0.5 L jars for 50–55 minutes, and 1 L jars for 55–60 minutes. After processing, remove jars, let them cool undisturbed for 12–24 hours, then check the seals. Store in a cool, dark pantry.
Tips for Success
- Choose high-quality peppers: Look for firm, glossy peppers with no blemishes. They should feel heavy for their size, indicating thick flesh.
- Sterilization is non-negotiable: Any hint of contamination can spoil your batch. Use a steam canner for gentle, reliable sterilization.
- Don’t over-blanch: Three minutes is the maximum—overcooked peppers will turn mushy and lose their structure.
- Use a kitchen scale: For accurate salt distribution, weigh the peppers after prepping. Typically, 1 tablespoon of salt per 500 g of peppers is a safe ratio.
- Cool slowly: Rapid cooling can cause jars to break or seals to fail. Let them cool naturally on the counter.
Variations
Once you’ve mastered the base recipe, explore these creative twists:
- Garlic & Herb: Add 2 peeled garlic cloves and a sprig of thyme or rosemary to each jar before filling. The flavors infuse beautifully over time.
- Spicy Kick: Include a small dried chili or a teaspoon of red pepper flakes for heat. Pair with a sweet wine with high alcohol content for a bold contrast.
- Pepper Paste: After blanching, puree the peppers in a food processor with salt and vinegar, then jar and process. This paste is a fantastic base for sauces.
- Roasted Peppers: For a smoky depth, roast the peppers under a broiler or in an air fryer non-toxic until skins char, then peel before packing. Adjust pasteurization time to 45 minutes for 0.5 L jars.
- Cold Soup Base: Use the preserved peppers to whip up a refreshing gazpacho. Blend with tomatoes, cucumber, and a drizzle of oil sprayer olive oil. Serve with an ice cube from your undercounter ice maker.
Frequently Asked Questions
Can I use frozen peppers instead of fresh?
Fresh peppers yield the best texture and flavor. Frozen peppers release too much water during blanching, leading to mushy results. For a quick alternative, consider using a non-toxic immersion blender to puree frozen peppers directly into soup without preserving.
How long will these preserved peppers last?
Properly sealed and stored in a cool, dark place, they will maintain peak quality for up to 12 months. Once opened, refrigerate and use within 2 weeks. A 48-inch built-in refrigerator provides ample space for multiple opened jars.
Can I reduce the vinegar for a less tangy result?
Yes, you can cut the vinegar by half, but be aware that vinegar acts as a preservative. For safety, maintain at least 50 ml per kilogram of peppers. If you prefer a milder flavor, add a splash of organic vodka to the jar—vodka’s high alcohol content helps preserve while adding neutral notes.
What if my jars don’t seal?
No need to panic—store the unsealed jar in the refrigerator and use within a week. To avoid future failures, ensure rims are clean and lids are new. A planetary mixer is not needed here, but a simple lid tool can help check tightness.
Can I use these peppers in a sauce for meat?
Absolutely. The sweet-acidic peppers pair wonderfully with roasted meats. For a quick sauce, sauté the peppers with onions, then deglaze with store-bought au jus for prime rib and finish with butter. This turns a simple weeknight dinner into a restaurant-level dish.
Is it necessary to blanch the peppers?
Blanching softens the peppers just enough to allow easy packing and reduces enzymatic activity that can cause spoilage. Skipping this step may result in firmer peppers, but the pasteurization time must be increased by 10 minutes. For convenience, a microwave pressure cooker can steam-blanch in minutes.
Conclusion
Preserving bell peppers is a small act of culinary foresight that pays dividends all winter long. With a handful of ingredients and a little patience, you create a versatile stockpile that enriches soups, sauces, and sides. Whether you enjoy a quiet afternoon of canning with a cup of coffee from the best espresso machine under 2000, or prefer to listen to music while you work, the reward is a pantry filled with flavor. Embrace this Russian tradition and let each jar be a taste of sunshine on a cold day.







