


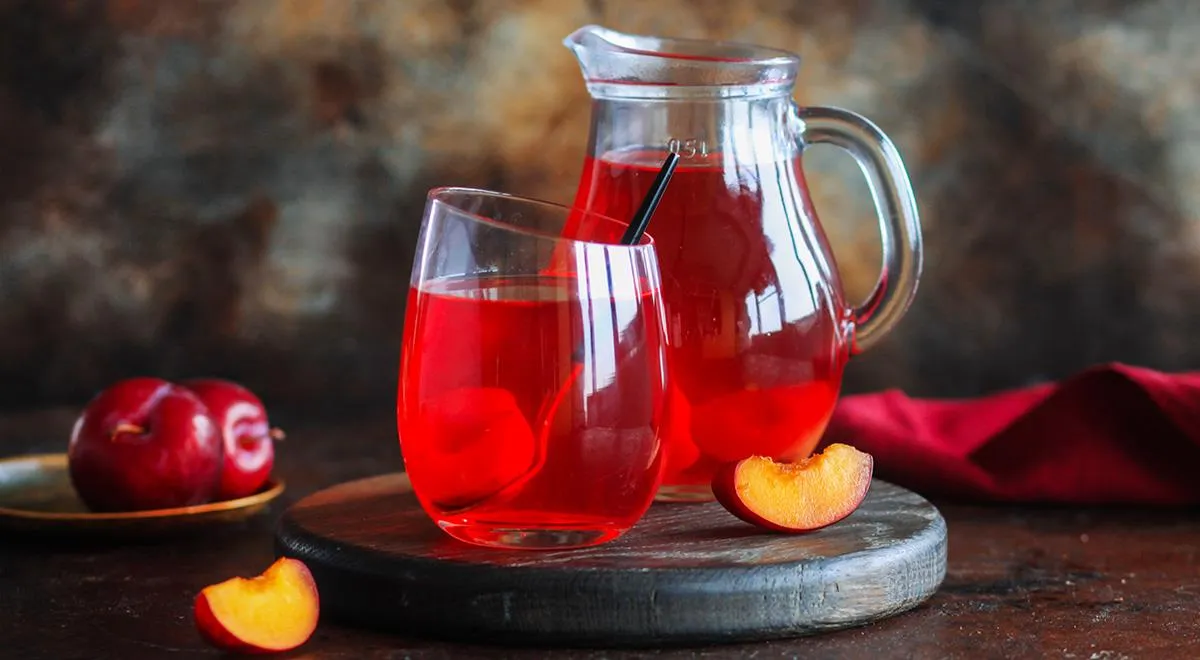
There is a quiet magic in capturing the essence of summer fruit—those deep, jewel-toned plums that hang heavy on the branch—and sealing them into a jar for the coldest months ahead. This Pitless Winter Plum Compot recipe, a cherished tradition from Eastern European kitchens, transforms simple ingredients into a luminous, ruby-red elixir that tastes of sun-warmed orchards and patient craftsmanship. With no stones to worry about, each sip offers pure, unadulterated plum flavor balanced by a gentle sweetness and a whisper of citrus. Perfect for cozy winter evenings or as a sophisticated base for cocktails and desserts, this compot is an essential addition to any pantry. The process is straightforward yet deeply satisfying, and the result is a gift you give to your future self.
About Plum Compot: A Winter Tradition
Compot, or kompot, is a beloved beverage across Russia and much of Central and Eastern Europe, where fresh fruit is preserved in a light syrup to be enjoyed year-round. Unlike heavy syrups or cloying jams, this preparation highlights the fruit's natural character. Pitting the plums not only makes for effortless drinking but also prevents any bitterness from the stones, ensuring a perfectly smooth, elegant taste. The addition of a squeeze of lemon juice brightens the flavor and helps preserve the vibrant color. For those new to home canning, this recipe is an excellent starting point—there is no need for complex equipment beyond a sterilized jar and a good-quality pot. To ensure your jars are perfectly sealed, consider using a best steam canner for a reliable, hands-off process.

Ingredients
The beauty of this compot lies in its simplicity: only three main ingredients (plus water) are needed, yet the result is deeply aromatic and complex. Use the highest-quality plums you can find—firm, fragrant, and deeply colored.
- Red plums (with pits) – 1 kg (choose ripe but not overripe fruit)
- Granulated sugar – 400 g
- Drinking water – 3 L (filtered or bottled with neutral taste)
- Fresh lemon juice – 1 tablespoon (optional, for brightness)
For storing, you will need a 3-litre glass jar with a new lid. Using the right container matters: explore best glass jars for long-term preservation.
Step-by-Step Instructions
Follow these steps carefully to create a flawless compot. Each stage builds on the last, so take your time and enjoy the process.
Step 1: Prepare the Plums
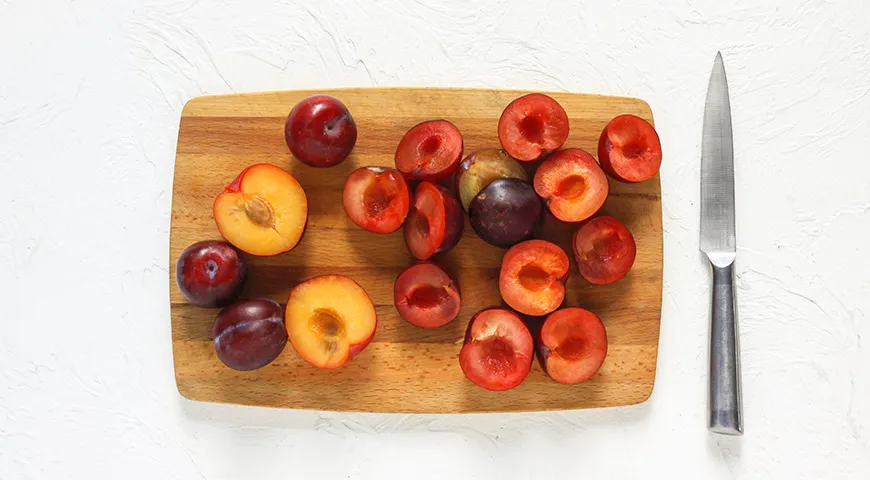
Rinse the plums thoroughly under cool running water and pat them dry with a clean kitchen towel. Using a sharp paring knife, cut each plum in half along the natural seam, then gently twist and lift out the pit. Discard the pits. The halves should be clean and intact. For extra efficiency, a best food processor for nut butter might be overkill here, but a good knife is essential.
Step 2: Sterilize the Jar
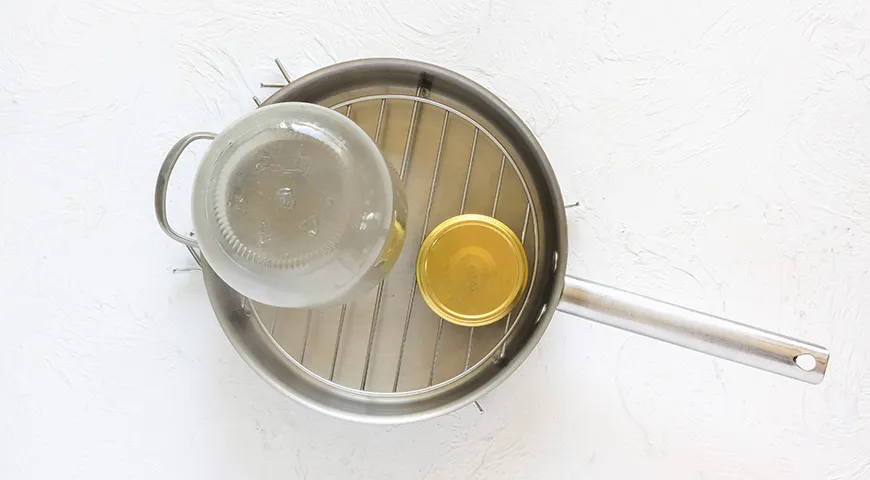
Sterilize a 3-litre glass jar using your preferred method. One convenient approach: pour a small amount of water into the jar and microwave it for 5–7 minutes on high (if microwave-safe). Alternatively, use a best microwave pressure cooker for even heating. Separately, boil the metal lid and sealing ring in water for about 10 minutes. Allow everything to air-dry on a clean towel.
Step 3: Fill the Jar with Plums
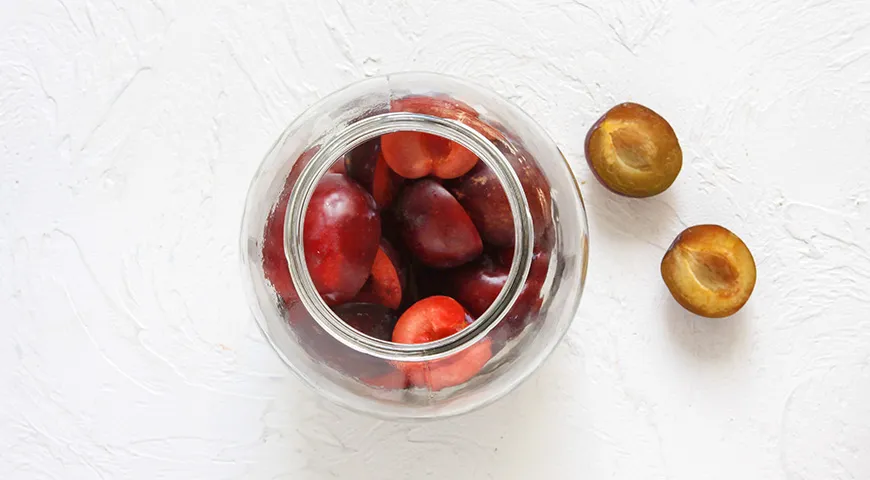
Place the plum halves into the sterilized jar, cut-side down or loosely packed. Aim to fill about one-third of the jar—this ratio gives a concentrated compot that is not too watery. You can adjust the amount depending on how intense you want the flavor. A best planetary mixer won't help here, but steady hands will.
Step 4: First Infusion
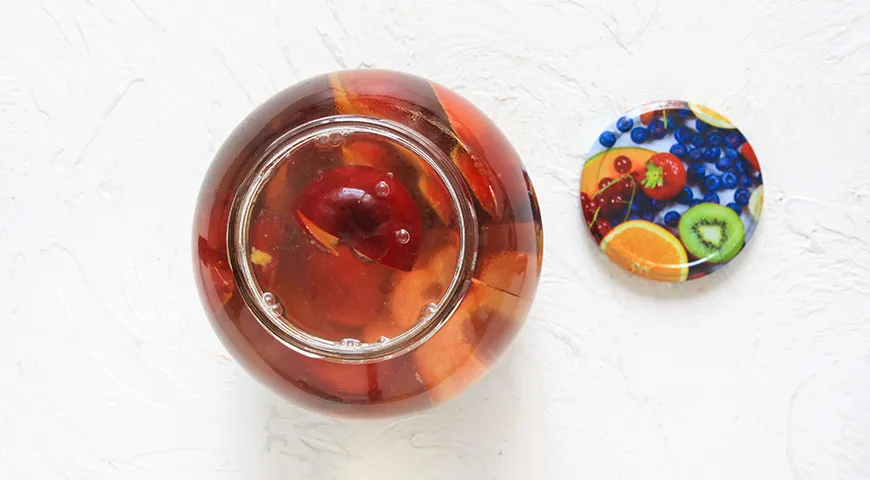
Bring the 3 litres of water to a rolling boil. Carefully pour the boiling water into the jar over the plums, leaving about 1 cm of headspace. Cover loosely with the lid (do not screw tight yet) and let it steep for 15 minutes. This initial infusion extracts the plum essence and softens the fruit. Using a best commercial countertop convection oven might seem unrelated, but precise temperature control is key in canning.
Step 5: Make the Syrup
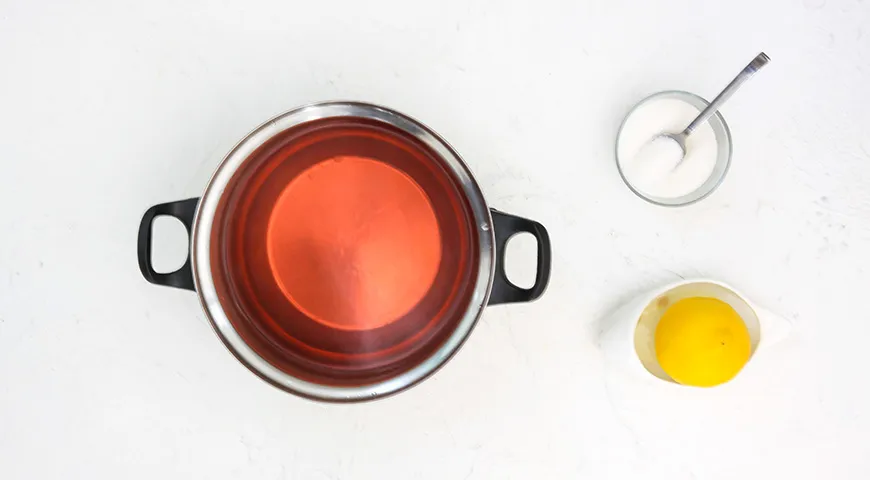
After 15 minutes, carefully pour the liquid from the jar back into a saucepan (use a lid to hold back the plums). Add the sugar to the liquid and place over medium heat. Stir gently until the sugar dissolves completely, then bring to a boil and let it simmer for 3–5 minutes. Stir in the lemon juice if using. The syrup should become clear and slightly thickened. A best oil sprayer might not be needed, but a best wheatgrass juicer could be used for fresh juice alternatives.
Step 6: Seal and Cool
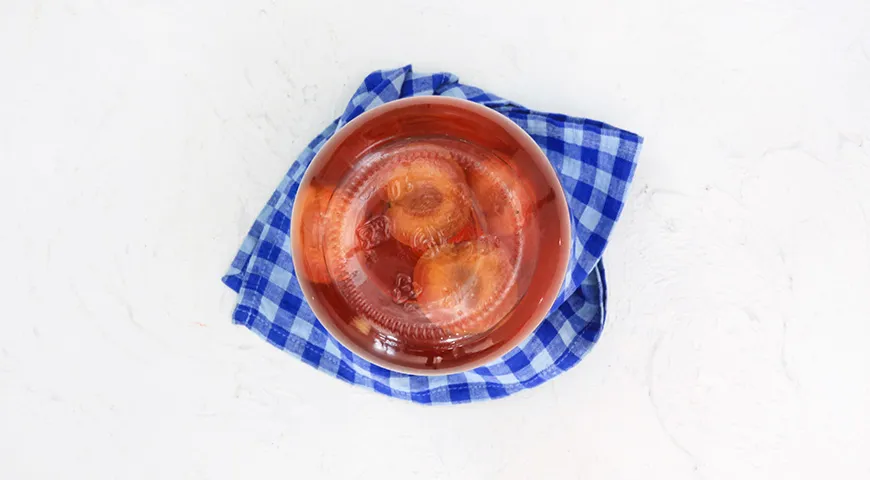
Pour the hot syrup back into the jar over the plums. Immediately seal with the sterilized lid, screwing it tight. Invert the jar (turn it upside down) and let it cool at room temperature. You can wrap it in a thick towel or blanket to ensure slow cooling, which aids in creating a vacuum seal. After completely cooled, store in a cool, dark place. For peace of mind, a best refrigerant leak detector won't be necessary, but a simple check of the lid's concave shape confirms a proper seal.
Tips for Perfect Compot
- Use plums that are just ripe but still firm to the touch; overripe fruit may turn mushy.
- Always use filtered or bottled water with neutral taste to avoid chlorine or mineral off-flavors.
- Adjust sugar to your preference—some like it less sweet. The 400 g here yields a balanced mild syrup.
- Add a cinnamon stick, a star anise, or a few cloves for a spiced version.
- For a more concentrated flavor, let the compot sit for at least one month before opening. Patience rewards.
- If you’re scaling the recipe, a best non-toxic immersion blender can help puree the leftover plums into a sauce, but for compot, leave them whole.
Variations
This compot is wonderfully adaptable. Try these twists:
- Spiced Plum Compot: Add 1 cinnamon stick, 3 cloves, and a piece of star anise to the jar before the first infusion.
- Plum-Rosemary Compot: Place a sprig of fresh rosemary in the jar with the plums for a herbal note that pairs beautifully with fatty meats.
- Low-Sugar Plum Compot: Reduce sugar to 200 g and add a squeeze of lemon for acidity. The natural sweetness of ripe plums will still shine.
- Adult Compot: After opening, add a splash of best organic vodka or a dry sparkling wine for an elegant cocktail base.
- Mixed Fruit Compot: Replace half the plums with halved apricots or peaches for a stone fruit medley.
FAQ
Can I use yellow plums instead of red?
Absolutely. Yellow plums will produce a lighter, more honeyed compot. The flavor is slightly different but equally delicious. Just ensure they are also pitted.
How long does this compot keep?
When properly sealed and stored in a cool, dark pantry, it will last up to 12 months. Once opened, refrigerate and consume within 5–7 days. A best 48-inch built-in refrigerator provides ample space for large batches.
Can I reuse the plums after making compot?
Yes! The softened plums are perfect for spooning over yogurt, pancakes, or ice cream. You can also puree them for a jam-like spread. A best air fryer non-toxic could dry them into fruit leather.
Why did my compot turn cloudy?
Cloudiness often results from overripe fruit or inadequate sterilization. Always use fresh, firm plums and ensure your jars are scrupulously clean and dry. A best undercounter ice maker machine is irrelevant here, but proper cooling prevents cloudiness.
Can I double the recipe?
Certainly. Simply multiply all ingredients proportionally and use multiple 3-litre jars. Just ensure you have enough pot size to boil the syrup. A best coffee maker for Airbnb won't be needed, but a large stovetop kettle helps.
What if my compot is too sweet?
Serve it diluted with sparkling water or add a squeeze of fresh lemon juice. You can also balance sweetness by adding a pinch of salt when reheating.
Conclusion
This Pitless Winter Plum Compot is more than a recipe—it is a ritual of preservation, a celebration of summer’s bounty. Each jar you seal becomes a small treasure, ready to open on a snowy evening and transport you back to warmer days. Whether you savor it chilled, warm, or as an ingredient in more elaborate creations—like a plum sorbet or a glaze for roasted duck—this compot will earn a permanent place in your home canning repertoire. For those who love to garnish, try a handful of best chocolate-covered raisins on the side for an indulgent contrast. Happy preserving!







