


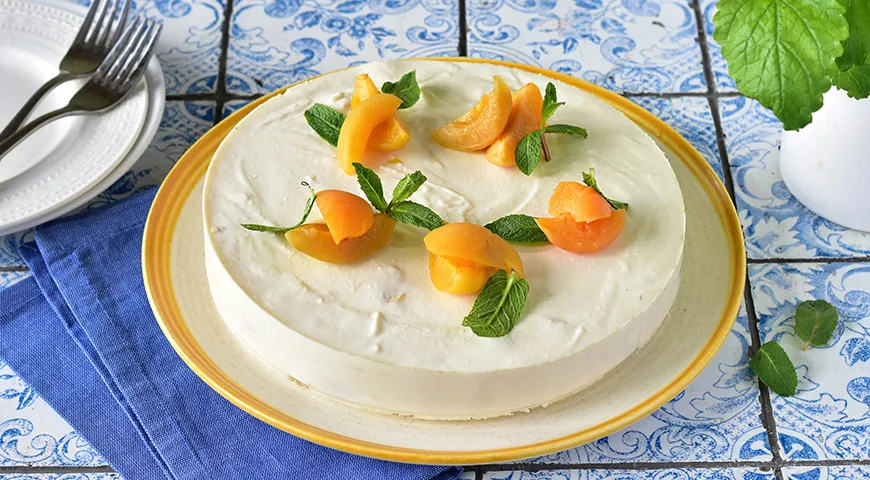
There is something utterly luxurious about a cake that requires no oven, no precise temperature control, and no elaborate techniques. This no-bake curd and fruit cake with sweetened condensed milk embodies the art of effortless elegance, where simple ingredients transform into a creamy, fruit-studded dessert that rivals any baked confection. The secret lies in the alchemy of gelatin-stabilized curd and syrup, a technique that yields a silky, mousse-like texture punctuated by juicy pieces of canned peaches or apricots. Whether you are a seasoned home baker or a novice seeking a showstopper, this recipe promises a refined result every time.
About This No-Bake Cake
No-bake cakes have long been a staple of home kitchens across Eastern Europe and beyond. Their appeal is timeless: they require minimal equipment, are forgiving of substitutions, and deliver a dessert that is both visually stunning and deeply satisfying. This particular version pairs the tangy freshness of curd (or cottage cheese) with the caramel sweetness of condensed milk, creating a balanced cream that envelops tender fruit pieces. The gelatin provides just enough structure to allow clean slices, while the fruit syrup glaze adds a glossy finish reminiscent of a French entremets. It is a dessert that celebrates restraint—no flour, no butter, no eggs—yet feels entirely indulgent.

Ingredients
- 500 g full-fat curd (tvorog) or cottage cheese, preferably 9% fat
- 200 ml sweetened condensed milk (about ¾ of a standard can)
- 400 g canned peaches or apricot halves in syrup
- 20 g powdered gelatin (or 5 gelatin leaves)
- 100 ml syrup from the canned fruit
- For the glaze: 2 tablespoons fruit syrup + 1 tablespoon water
- Optional: a few mint leaves for decoration
For the best texture, use full-fat curd. If using cottage cheese, opt for a small-curd variety and blend until smooth. The fruit should be well-drained; reserve the syrup for both the gelatin and the final glaze. A high-quality immersion blender is ideal for puréeing the curd to a silky consistency.
Step-by-Step Instructions
Step 1: Prepare the Form
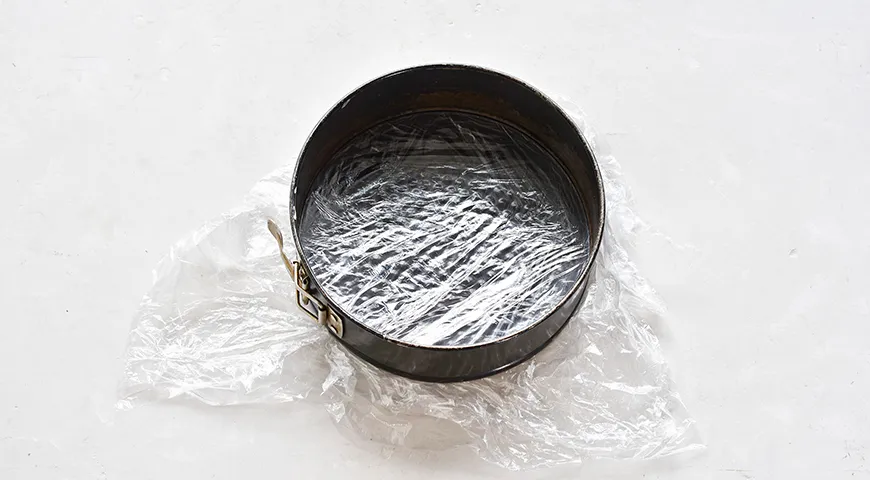
Line a 20 cm springform pan or a pastry ring with two layers of plastic wrap, allowing the edges to overhang. If using a silicone mold, lightly grease it with neutral vegetable oil. This preparation ensures effortless unmolding later.
Step 2: Cut the Fruit and Bloom the Gelatin
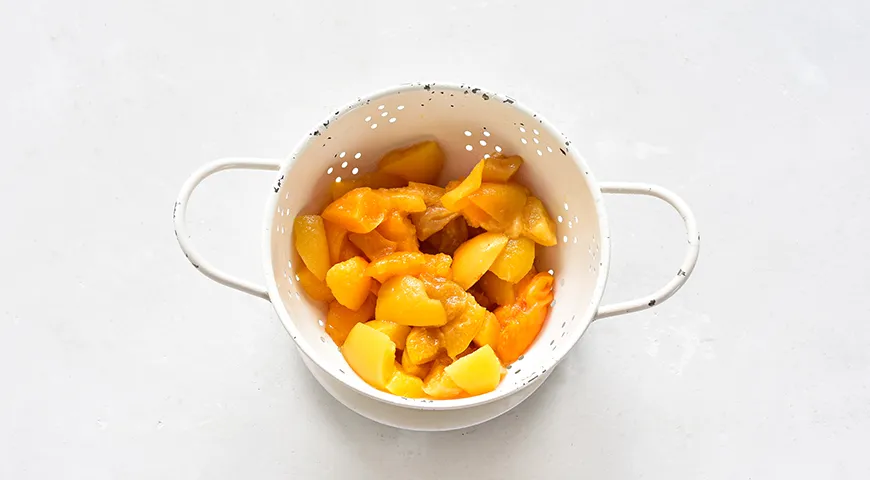
Drain the canned fruit thoroughly, reserving the syrup. Set aside 2–3 perfect peach or apricot halves for the final decoration. Cut the remaining fruit into 1.5 cm cubes and place them in a colander to drain further. Pour 100 ml of the reserved syrup into a small saucepan or microwave-safe bowl. Sprinkle the powdered gelatin evenly over the surface and let it bloom for 10–15 minutes. If using gelatin leaves, soak them in very cold water until soft.
Step 3: Dissolve the Gelatin
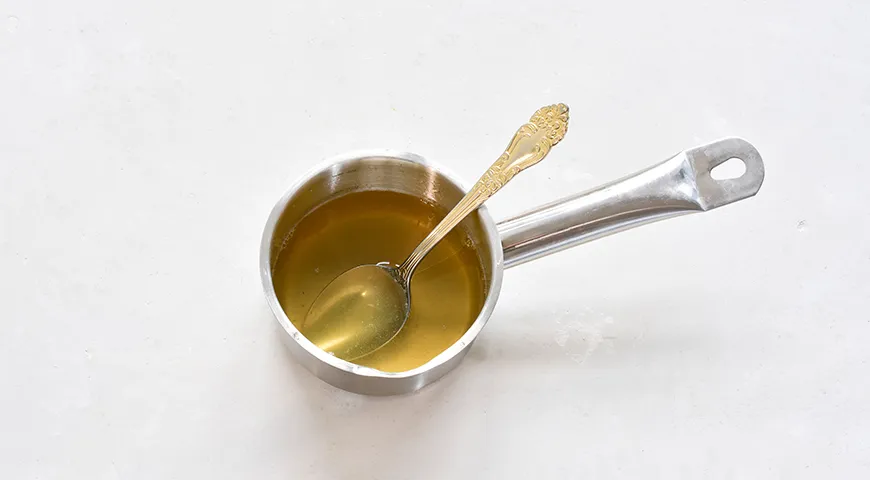
Gently warm the syrup and gelatin mixture over low heat or in the microwave, stirring frequently. Do not let it boil—just heat until the gelatin is fully dissolved and the liquid is clear. If using leaf gelatin, squeeze out the excess water and stir the leaves into the warm syrup until melted.
Step 4: Make the Curd Cream
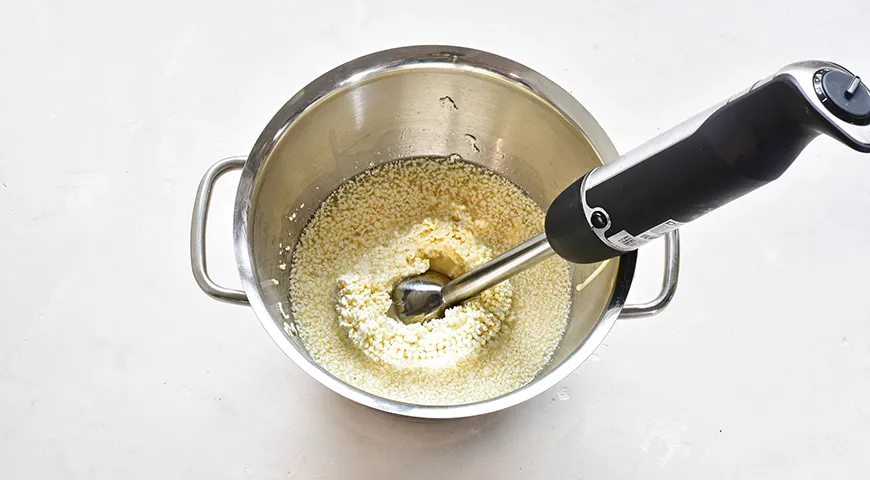
Blend the curd until completely smooth using a glass food processor or an immersion blender. Alternatively, pass it through a fine sieve for an ultra-luxurious texture. In a large bowl, combine the smooth curd, sweetened condensed milk, and the warm gelatin syrup. Mix thoroughly with a silicone spatula, hand mixer, or stand mixer fitted with the paddle attachment. The mixture should be homogeneous and slightly thick.
Step 5: Fold in the Fruit
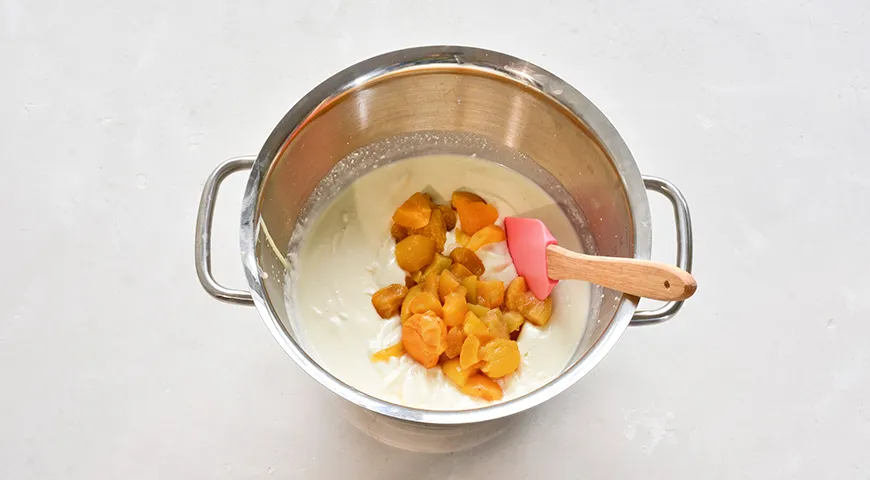
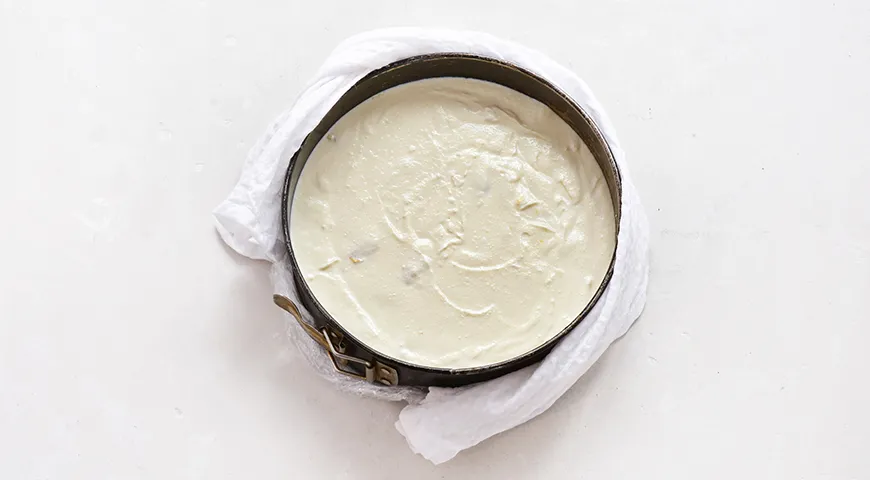
Gently fold the drained fruit pieces into the curd cream. Take care not to overmix; you want the fruit distributed evenly without breaking the cubes. Pour the mixture into the prepared form and smooth the top. Tap the pan firmly on the counter a few times to release any large air bubbles. Cover with plastic wrap and refrigerate for at least 4 hours, preferably overnight, until fully set.
Step 6: Unmold the Cake
Once the cake is fully set, remove the plastic wrap from the top. Place the pan on a serving plate or cake board. Wrap a kitchen towel dampened with warm water around the sides of the pan for 30 seconds to loosen the cake. Carefully lift off the ring or springform sides. Transfer the cake to its serving dish.
Step 7: Decorate and Glaze
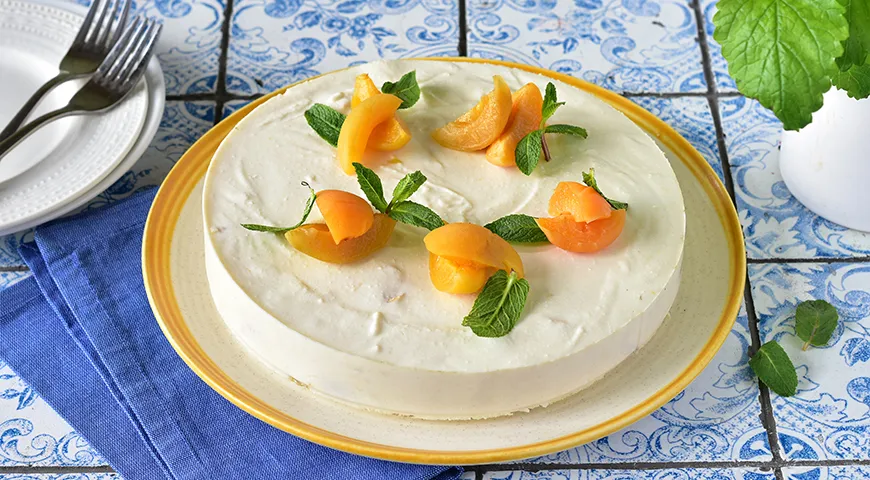
Arrange the reserved fruit halves artfully on top. For the glaze, mix 2 tablespoons of the reserved fruit syrup with 1 tablespoon of water and warm briefly. Using a pastry brush, coat the fruit with the glaze to give them a beautiful shine. Return the cake to the refrigerator until ready to serve.
Tips for Perfection
- Curd texture: For a silky cream, process the curd with an immersion blender or press through a fine sieve. If you prefer a more rustic texture, leave some small lumps.
- Gelatin setting: Test the gelatin by placing a small spoonful of the cream onto a chilled plate; it should start to thicken within a minute. If not, gently rewarm and add a little more dissolved gelatin.
- Fruit variations: Fresh berries, mango, or even poached pears work beautifully. Adjust sweetness accordingly.
- Quick chill: For faster setting, place the cake in the freezer for 30 minutes, then move to the fridge. Do not freeze solid.
Variations to Explore
The base cream is remarkably adaptable. Replace the fruit with dark chocolate chunks and crushed chocolate-covered raisins for a Italian-inspired twist. For a tropical version, use canned mango and passion fruit syrup, and top with toasted coconut flakes. If you enjoy layered desserts, pour half the cream into the form, add a layer of crumbled Catalan sponge cake (pa de pessic) soaked in syrup, then the remaining cream—a delightful hidden surprise. The cake also pairs wonderfully with a dollop of lightly whipped cream infused with vanilla or a splash of organic vodka for an adult twist.
Frequently Asked Questions
Can I use fresh fruit instead of canned?
Yes, but fresh fruit may release more juice and can affect the setting. Blanch or lightly cook firm fruits like peaches or apricots first, and drain well. Avoid overripe fruit. If using berries, toss them in a little warm syrup before folding in.
How long does the cake need to set?
A minimum of 4 hours, but overnight (8–12 hours) yields the best sliceable consistency. The gelatin continues to firm up over time.
Can I replace gelatin with agar-agar?
Yes, but note that agar-agar sets at room temperature and requires boiling for activation. Use 2 teaspoons of agar powder dissolved in the fruit syrup, boil for 2 minutes, then cool slightly before mixing into the curd cream. The texture will be slightly firmer and less creamy.
How should I store leftovers?
Cover the cut surface with plastic wrap or place in an airtight container. Refrigerate for up to 3 days. The fruit may weep slightly, so enjoy within the first two days for best appearance.
Can I make this cake dairy-free?
Substitute the curd with a firm silken tofu (well-drained) and use coconut condensed milk. Replace gelatin with agar-agar as above. The flavor will be different but still delicious. For the best results, use a high-speed blender to achieve a smooth cream.
Why did my cake not set properly?
Several reasons: gelatin may not have been fully dissolved, the syrup mixture was too hot and weakened the gelatin, or the cream was too cold when the gelatin was added. Ensure the gelatin is completely dissolved without boiling, and let the syrup cool slightly before mixing with the curd. If the cake still seems soft, refrigerate for another 2–4 hours; it may set with more time.
More Culinary Inspiration
If you enjoy no-bake creations, explore our guide to the best microwave pressure cooker for quick custards, or learn about the best espresso machine under $2000 to pair with this cake. For a savory contrast, consider a steam canner for homemade fruit preserves that make excellent gifts. The possibilities are endless when you build a well-equipped kitchen. And if you ever need to check for any leaks in your refrigeration, the best refrigerant leak detector ensures your ingredients stay fresh. Whether you are a professional or a home enthusiast, every tool counts.







