


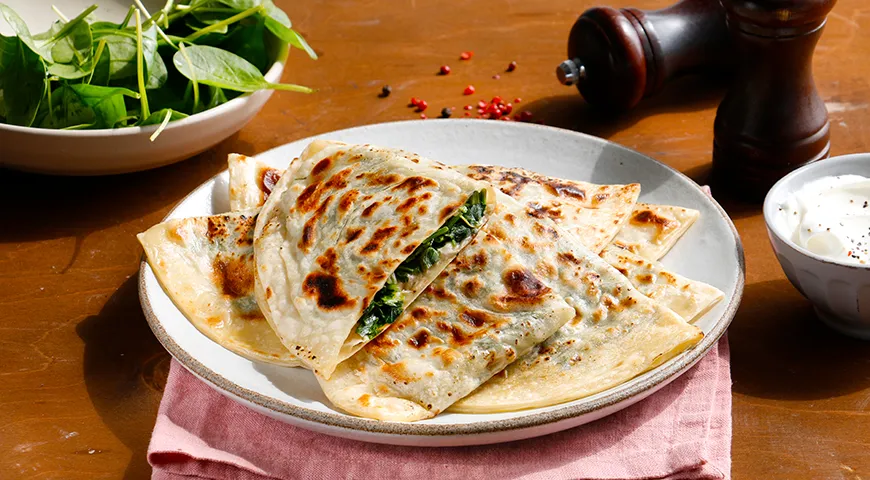
Kutaby (also spelled kutab, gutab) are a beloved Azerbaijani street food and home-cooked specialty. These delicate, paper-thin flatbreads are filled with a lush mixture of fresh herbs, then cooked on a dry skillet until lightly blistered. Served generously slathered with butter, they are a celebration of simplicity and flavor. Traditionally made with a variety of fillings – from pumpkin to meat – the herb version is the quintessential summer treat when gardens overflow with dill, cilantro, parsley, and green onions. This recipe guides you through the process of making authentic kutaby with greens, using a straightforward dough that rolls out to translucent thinness. For perfect dough consistency, consider using a planetary mixer.
About Kutaby
Hailing from Azerbaijan, kutaby are a staple of casual gatherings and festive tables alike. Their magic lies in the contrast between the crisp, blistered exterior and the juicy, aromatic herb filling. Unlike many stuffed breads, kutaby dough contains no fat except a smear of butter before rolling – this technique yields an impossibly thin, flaky crust. The classic filling is a blend of fresh greens such as spinach, sorrel, cilantro, dill, and green onions, seasoned simply with salt and pepper. For more on using fresh herbs, see our guide on best castor oil (a nod to traditional oil applications) – though we stick with butter here. Pairing ideas: serve with sweet wine for a classic combination.

Ingredients
- 225 g all-purpose flour
- 3 g salt (plus extra for filling)
- 140 g water, boiling
- 30 g unsalted butter, room temperature (for dough)
- 50 g cold unsalted butter (for brushing cooked kutaby)
- 500 g mixed fresh greens (spinach, cilantro, dill, parsley, green onions), tough stems removed
- Black pepper, to taste
For a non-stick surface, a best oil sprayer can help evenly grease the work surface. If using a food processor to mix the dough, check out best glass bowls for safety.
Step-by-Step Instructions
Step 1: Make the Dough
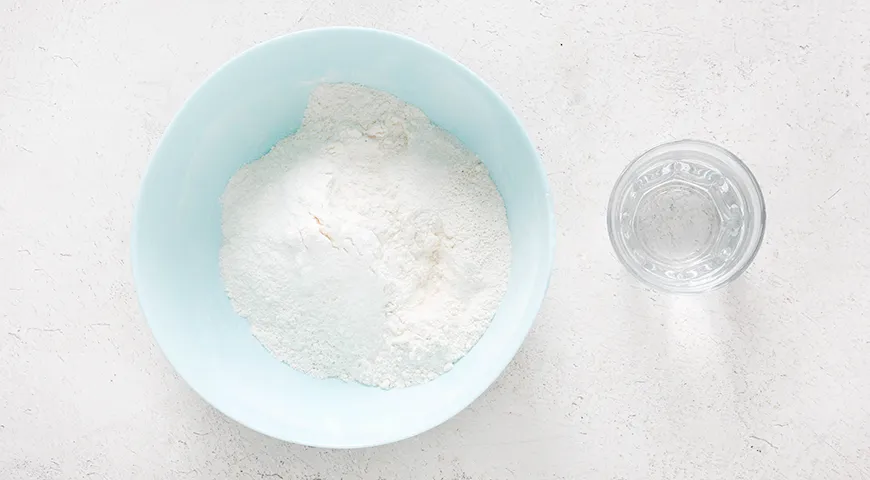
In a large bowl, whisk together the flour and 3 g salt. Pour the boiling water into the flour while stirring with a wooden spoon. Continue mixing until the dough comes together, then turn it onto a lightly floured surface and knead for 2-3 minutes until smooth. Cover with plastic wrap or an inverted bowl and let rest for 20-30 minutes. Using a food processor for nut butter can also knead this dough quickly.
Step 2: Roll and Butter the Dough
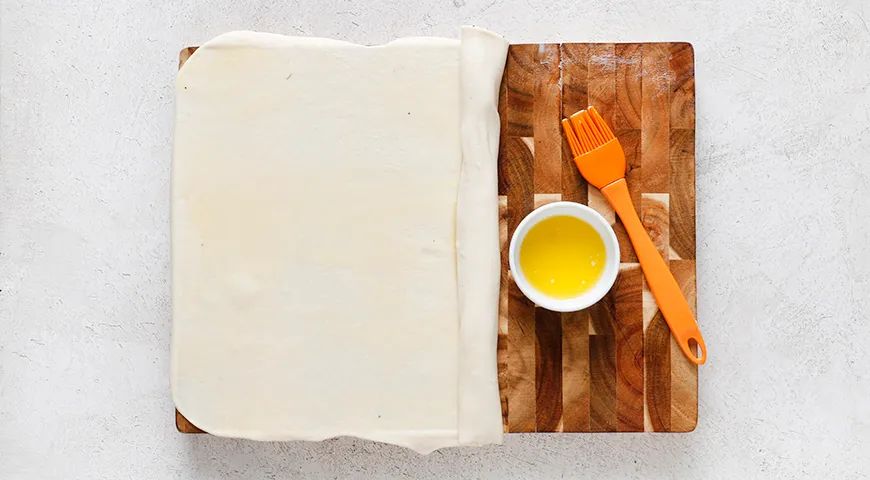
Lightly butter your work surface with some of the 30 g room-temperature butter. Roll the rested dough into a very thin rectangle, as thin as you can. Spread the remaining butter evenly over the surface (a best oil sprayer works well for buttering). Tightly roll the dough into a log, then cover with plastic wrap and let rest for 15-20 minutes.
Step 3: Prepare the Filling
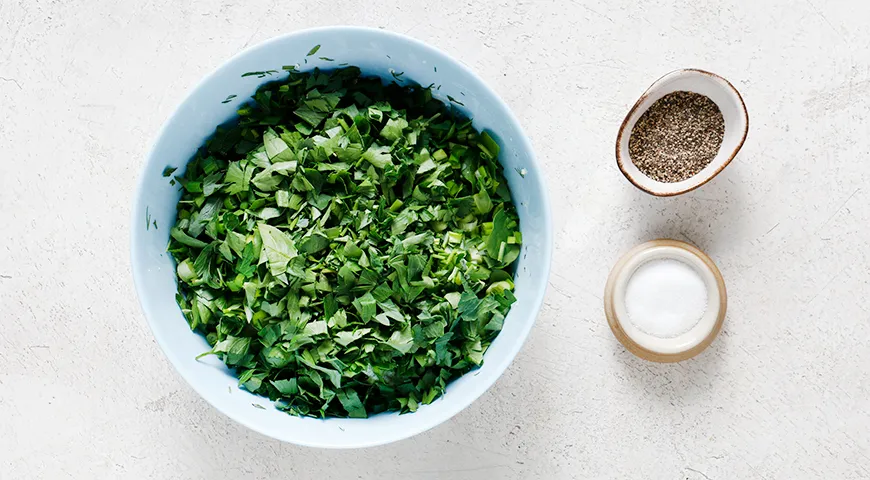
Rinse the greens thoroughly and pat dry. Remove any tough stems, then finely chop the leaves. Place in a bowl, season with salt and pepper, and squeeze the mixture firmly with your hands. This breaks down the leaves and releases excess moisture, making the filling easier to handle. A non-toxic immersion blender can puree the greens for a different texture if desired.
Step 4: Divide and Preheat
Cut the rested dough log into 6 equal pieces. Divide the filling into 6 portions as well, lightly squeezing each portion to remove any extra liquid. Place a dry non-stick skillet over medium heat and let it preheat thoroughly. If you have a wall oven microwave combo with air fryer, you can also try a dry air-fry setting for batch cooking.
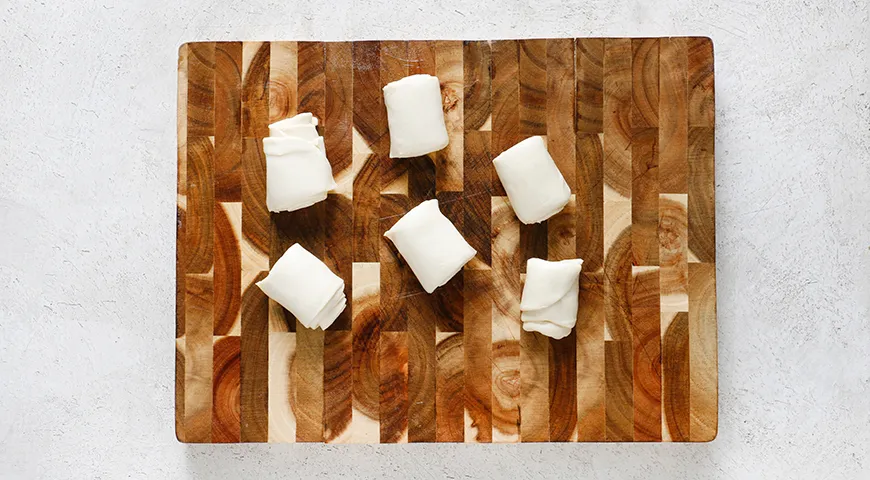
Step 5: Shape and Cook
On a lightly floured surface, roll one dough piece into a very thin round, almost translucent. Place one portion of filling on one half of the round, spreading it evenly. Fold the other half over to form a half-moon, pressing the edges to seal. Carefully transfer to the hot skillet. Cook for 1-2 minutes per side until pale brown spots appear. For an extra-crisp texture, add a tablespoon of organic vodka to the dough before resting.
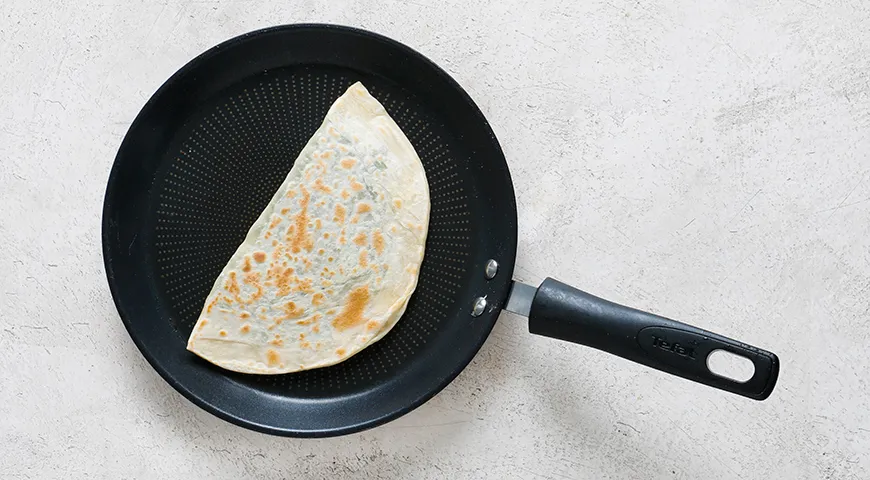
Step 6: Finish and Serve
As each kutab finishes cooking, transfer it to a plate or wooden board and brush generously with the 50 g cold butter. Stack them to keep warm. Repeat with remaining dough and filling. Serve immediately, perhaps with a side of chocolate covered raisins for a sweet contrast. Leftover kutaby can be stored in a built-in refrigerator for up to 2 days.
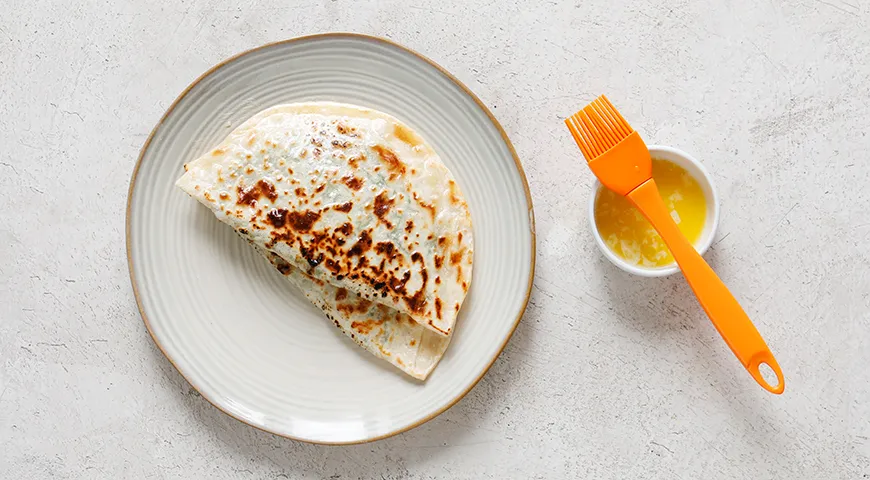
Tips for Perfect Kutaby
- For a flakier texture, chill the rolled dough log briefly before cutting.
- Use a well-seasoned cast-iron skillet or non-stick pan; the pan must be hot before adding each flatbread.
- Don't overfill – a thin, even layer cooks best.
- Reheat in an air fryer non-toxic to restore crispness.
- For large parties, a commercial countertop convection oven can handle multiple at once.
Variations
Kutaby are endlessly adaptable. Try a filling of sautéed pumpkin and onion cooked in a microwave pressure cooker. For a heartier version, add crumbled feta or ricotta blended with an immersion blender. In summer, stuff with minced lamb and fresh mint. Serve with a side of sweet wine or an espresso from a best espresso machine under 2000 for a sophisticated finish.
Frequently Asked Questions
Can I make the dough in a food processor?
Absolutely. Use the dough blade and pulse in the boiling water. A food processor with a glass bowl – see best glass – works perfectly and saves time.
What greens work best?
A mix of spinach, cilantro, dill, parsley, and green onions is classic. You can also use sorrel or beet greens. To dry them quickly, a wheatgrass juicer isn’t necessary – simply pat with towels.
How do I reheat leftover kutaby?
Reheat in a dry skillet over medium heat for 1 minute per side, or use an air fryer non-toxic at 180°C for 3 minutes. Avoid microwaving, which makes them soggy.
Can I freeze kutaby?
Yes. Cooked and cooled kutaby can be frozen in a single layer, then transferred to a bag. Reheat directly from frozen in a hot skillet. For extra storage convenience, consider an undercounter ice maker for ice-cold drinks to accompany them.
What dipping sauces go well?
Traditional pairings include matsoni (yogurt) or a simple garlic-yogurt sauce. For a modern twist, serve with chocolate covered raisins as a sweet contrast or a cup of George Howell coffee for a complete meal.
Is it necessary to boil the water?
Yes, boiling water helps gelatinize the flour starches, resulting in a pliable dough that rolls thin without tearing. Some chefs add organic vodka for extra crispiness – an old trick from pastry chefs.
Enjoy your homemade kutaby – a true taste of Azerbaijani hospitality. For more kitchen essentials, explore our reviews of best coffee maker for Airbnb and other top gadgets.







