


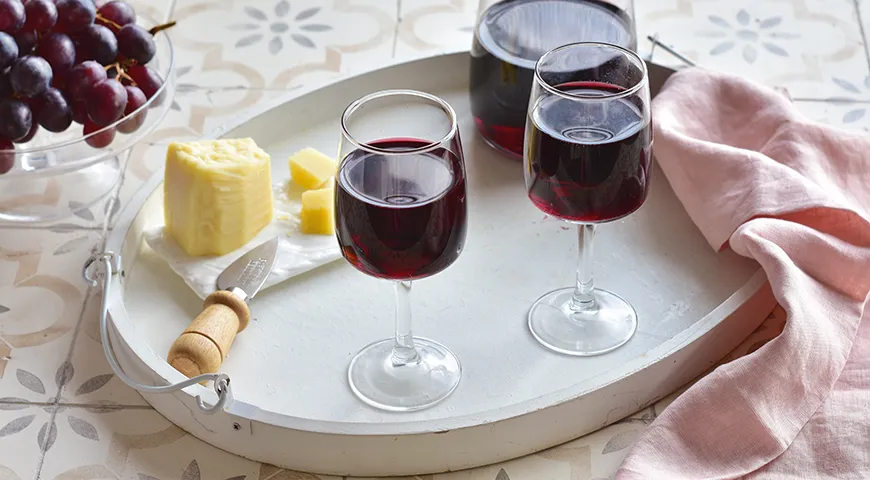
There is something deeply satisfying about crafting a bottle of wine from scratch. The process, rooted in tradition and patience, transforms humble fruit into a beverage that captures the essence of the season. Homemade grape wine, especially using the dark, aromatic Isabella variety, carries a rustic charm that store-bought bottles rarely match. This recipe, passed down through generations in southern regions, invites you to become a winemaker in your own kitchen. With just three ingredients and a little time, you can produce a wine that warms the soul on cold autumn evenings. Let's explore the art of home winemaking, from selecting grapes to the final pour.
About Homemade Grape Wine
Homemade grape wine is a labor of love, cherished by families across the world. In many cultures, the annual grape harvest signals a time to gather and create this beloved drink. The recipe here focuses on Isabella grapes, a variety known for its intense color and fruity aroma. Unlike commercial wines that rely on additives, this home version uses only grapes, sugar, and natural fermentation. The result is a wine that reflects the terroir of the vineyard and the care of the maker. For those new to winemaking, this method offers a forgiving introduction – no special equipment beyond a few large vessels and a best glass food processor can help with crushing if you prefer, though hands work beautifully.

Ingredients
- Black Isabella grapes – 7 kg
- Sugar – 500 g
The simplicity of the ingredient list is deceptive. Quality grapes are paramount – choose fully ripe, unblemished clusters. Isabella grapes are ideal because they are juicy and naturally sweet. Sugar provides additional fermentation fuel and balances acidity. That's it – no yeast, no sulfites, no fancy additions. Your kitchen is the winery.
Step-by-Step Instructions
Step 1: Prepare the Grapes
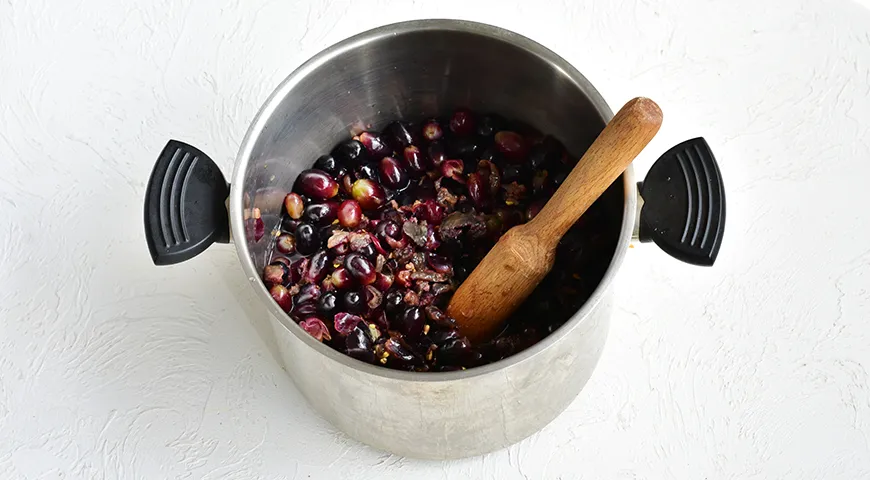
Remove the grapes from their stems and place them in a large enamel basin or pot, filling no more than three-quarters full. Crush the fruit using your hands or a wooden pestle. Avoid crushing the seeds too aggressively, as they can impart bitterness. The goal is to release the juice without breaking the seeds. For larger batches, consider using a best wheatgrass juicer to handle the must, but manual crushing gives more control.
Step 2: Initial Fermentation
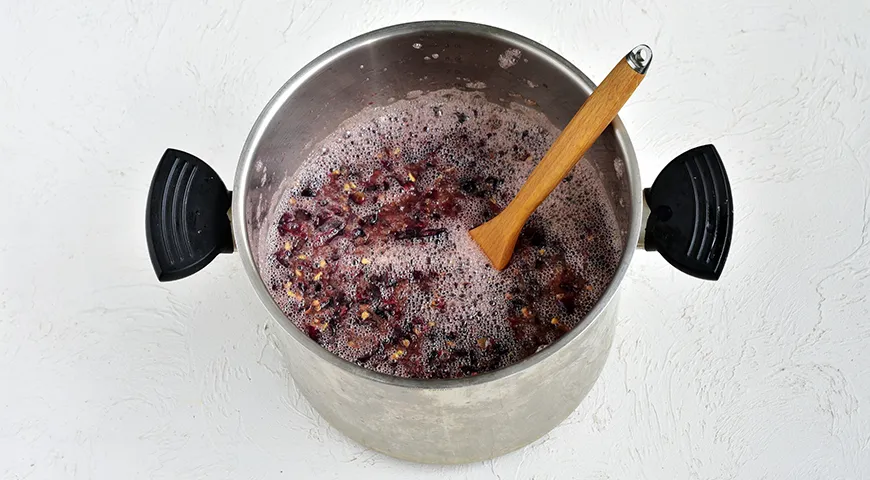
Cover the container with clean cloth and leave it at a temperature above 20°C for four days. Stir the mixture daily – within the first 24 hours, fermentation will begin. Without agitation, the grape skins can become too acidic and spoil the batch. This stage extracts color and tannins, giving the wine structure. Keep the vessel in a warm spot, but away from direct sunlight. A stable environment is key; if you own a best temperature controlled immersion circulator (for your sous-vide setup), you can maintain consistent warmth around the fermenter.
Step 3: Extract the Juice
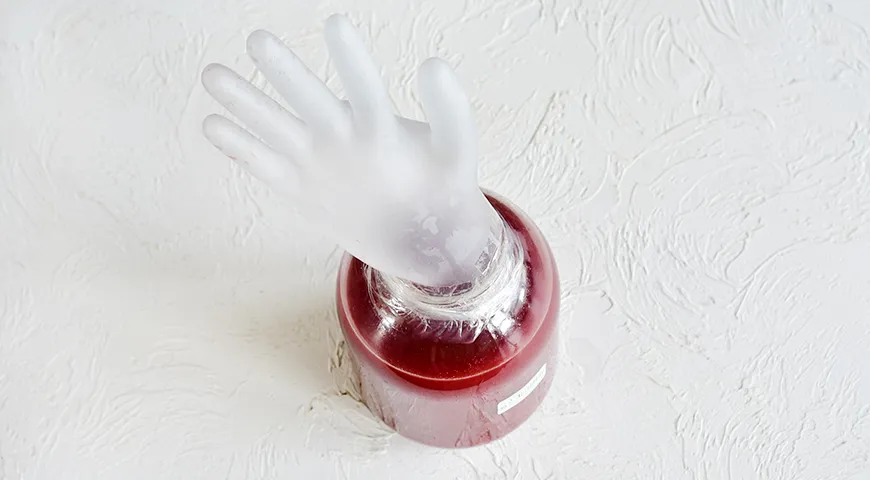
After four days, strain the mixture through a double or quadruple layer of cheesecloth. Squeeze gently to extract all the liquid. Pour the juice into large glass jars or demijohns, leaving some headspace. Seal each jar with a rubber glove and poke a small hole in one finger – this acts as a one-way valve, allowing carbon dioxide to escape while preventing air from entering. A best planetary mixer can help mix the must before straining, though it’s not essential. Let the juice ferment for two days at a minimum of 20°C.
Step 4: Add Sugar and Long Fermentation
Add 50 g of sugar per liter of juice – for 7 kg of grapes, you likely have about 5–6 liters, so use roughly 250–300 g of the total sugar now. Stir to dissolve. Re-cover each jar with a glove and move to a dark, warm place for 1.5–2 months. During active fermentation, the glove will inflate. When it deflates, fermentation is slowing. The best sweet wine with high alcohol content often relies on similar sugar additions, but here we aim for a balanced table wine.

Step 5: Rack and Second Fermentation
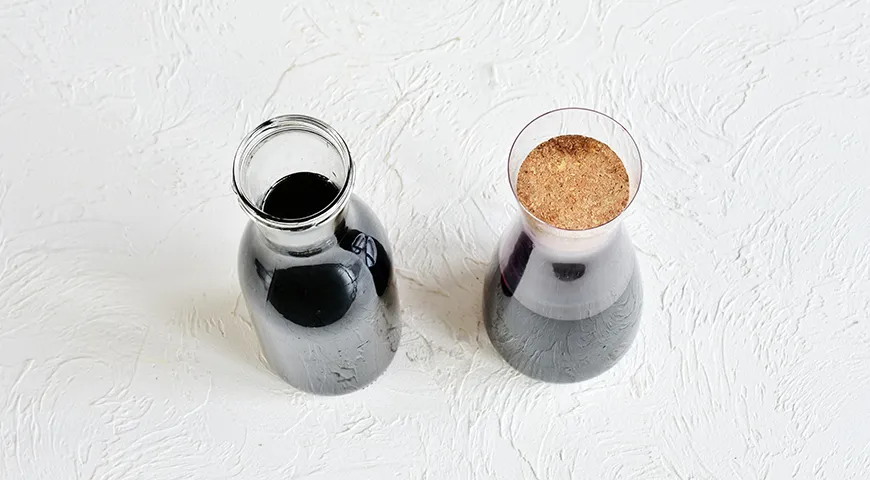
Carefully siphon the wine into clean jars using a tube, avoiding the sediment at the bottom. Taste the wine – if it is too tart or dry, add the remaining sugar (up to 250 g). Reattach the gloves and move the wine to a cool place (below 15°C) for 60–90 days of quiet fermentation. This slow stage clarifies the wine and develops complexity. Use a best wine decanter later for serving, but for now, patience is your best tool. A best undercounter ice maker machine can provide ice for chilling the wine later, but during fermentation, steady cool temperatures matter more.
Tips for Perfect Homemade Wine
- Sanitize all equipment thoroughly with hot water or a best steam canner to prevent unwanted bacteria.
- Use ripe grapes only; underripe fruit can make the wine too acidic.
- Keep fermentation temperatures stable: warm for active fermentation, cool for aging.
- Don’t skip the daily stirring in the first phase – it prevents mold and ensures even extraction.
- When siphoning, avoid disturbing the sediment to keep the wine clear.
Variations
Experiment with grape varieties: try Cabernet Sauvignon for a bolder wine or Muscat for a sweeter profile. You can also infuse the wine with herbs like rosemary or citrus zest during the aging stage. For a sparkling version, bottle the wine before fermentation is complete and use a best wine bottle capper to seal. Another twist is to add a small amount of honey instead of some sugar – this makes a more complex mead-wine hybrid.
FAQ
How long does homemade grape wine take to make?
From start to finish, allow about 3–4 months. Active fermentation takes 2 months, followed by 1–2 months of quiet aging. The longer you age, the smoother the wine.
Can I use table grapes instead of wine grapes?
Yes, but the wine will be less complex. Table grapes have lower sugar and higher acidity, so you may need to add more sugar. Isabella or other wine varieties are recommended for best results. A best non-toxic immersion blender can help break down tougher grape skins if necessary.
Why did my glove not inflate?
The glove may not be airtight, or the fermentation temperature might be too low. Ensure the lid rim is sealed and the room stays above 20°C. You can also use an airlock for better control. A best refrigerant leak detector can help check for leaks in the system, though for wine, a simple visual check works.
How do I know when fermentation is complete?
The glove deflates completely, bubbles stop rising, and the wine clears. A hydrometer reading below 1.000 specific gravity indicates dryness. For a sweeter wine, stop fermentation earlier by chilling or adding sulfites.
Can I store homemade wine in plastic bottles?
Glass is best because it doesn’t react with the wine and prevents oxygen ingress. Use dark glass to protect from light. For small batches, best chocolate covered raisins might store well, but wine needs glass. Always use a proper best espresso machine under 2000 for coffee, and for wine, invest in good bottles and corks.
Homemade grape wine is more than a beverage – it’s a connection to tradition and a celebration of the harvest. With just grapes, sugar, and time, you can create something truly special. Whether you serve it with a winter roast or share it with friends, each glass tells a story of patience and craftsmanship. For more inspiration, explore our guide to Catalan sponge cake for a perfect pairing. Cheers!







