



There is something profoundly satisfying about pulling a tray of golden, flaky homemade croissants from the oven. The aroma of butter and yeast that fills the kitchen, the delicate shatter of the first bite, the honeycomb interior that practically melts on the tongue—these are the rewards of a patient baker. While store-bought versions are convenient, nothing compares to the depth of flavor and texture you achieve by laminating butter into dough by hand. This recipe guides you through every fold and turn, transforming humble ingredients into a masterpiece of French pastry. With a little practice, you’ll produce croissants that rival any Parisian boulangerie.
About This Recipe
Originating from Austria but perfected in France, the croissant has become a global symbol of breakfast indulgence. The magic lies in the lamination process: creating dozens of alternating layers of dough and butter that, when baked, puff into ethereal sheets. This recipe uses a classic butter block technique and a simple yeast dough enriched with milk and sugar. The result is a croissant that is simultaneously crisp and tender, with a deep, nutty flavor from the caramelized butter. Unlike quick shortcuts, this method requires time—but the time is an investment in unparalleled taste. For more insights into perfecting pastry, explore our guide on the best planetary mixer for effortless dough kneading.

Ingredients
- Butter for lamination: 350 g unsalted butter, plus 3 tbsp (30 g) all-purpose flour for dusting
- For the dough: 385 g all-purpose flour, 250 g whole milk (3.5% fat), 1 tbsp sugar, 5 g fine salt, 30 g unsalted butter (melted and cooled)
- For glaze: 1 large egg, 1 tbsp milk
Using high-quality butter is non-negotiable; European-style butter with at least 82% fat creates the flakiest layers. A digital scale ensures accuracy—check our roundup of the best espresso machine under 2000 for pairing with your morning pastry.
Step-by-Step Guide
Step 1: Prepare the Butter Block
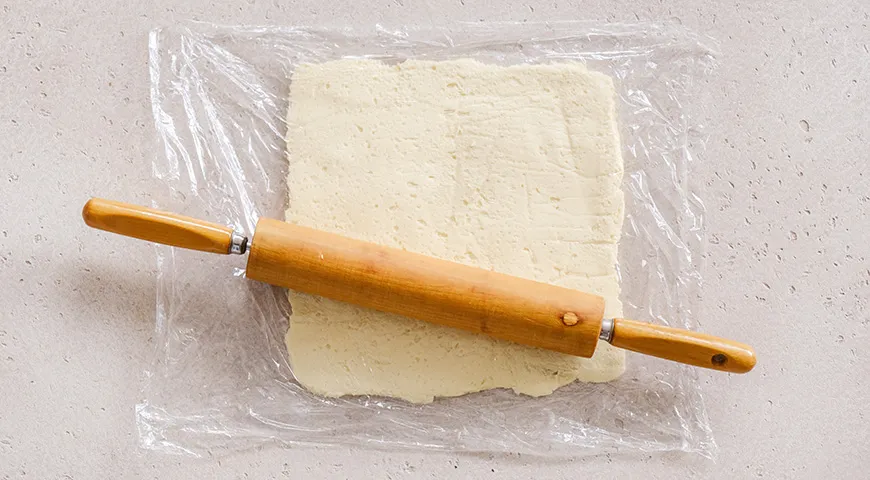
Place the 350 g of butter on a sheet of plastic wrap and sprinkle with 3 tbsp flour. Cover with another sheet of wrap. Gently press and roll into a rectangle measuring 23×15 cm, ensuring even thickness. Refrigerate until firm.
Step 2: Make the Dough
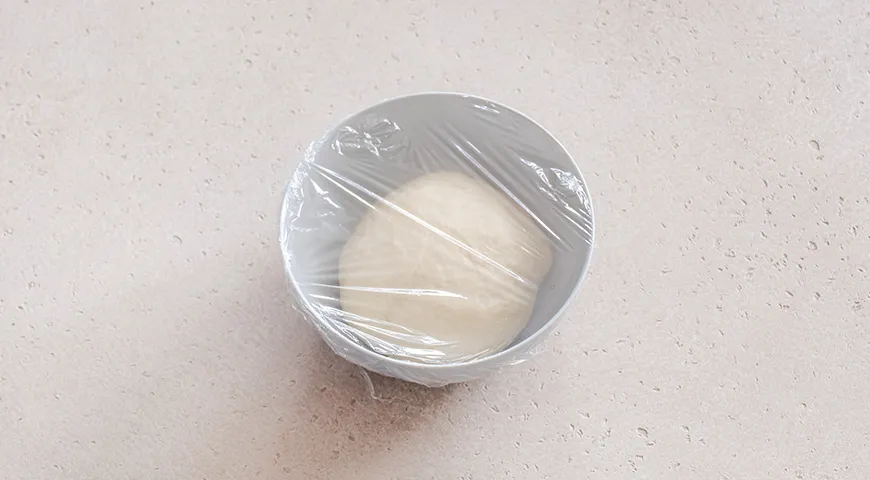
In a large bowl, combine the milk, 1 tbsp sugar, and a pinch of salt. Add the melted butter and flour. Mix until a shaggy dough forms. Knead for 5–7 minutes until smooth. Cover with plastic wrap and rest for 10–15 minutes.
Step 3: First Enclosure
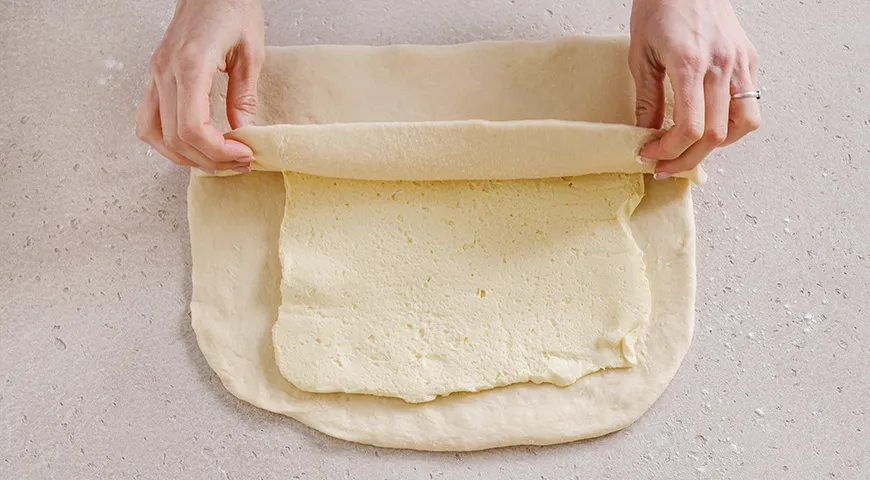
On a floured surface, roll the dough into a 40×20 cm rectangle with the short side facing you. Place the butter block on the upper two-thirds, leaving a 2.5 cm border. Fold the bottom third up over the butter, then fold the top third down (like a business letter). Seal edges.
Step 4: First Single Turn
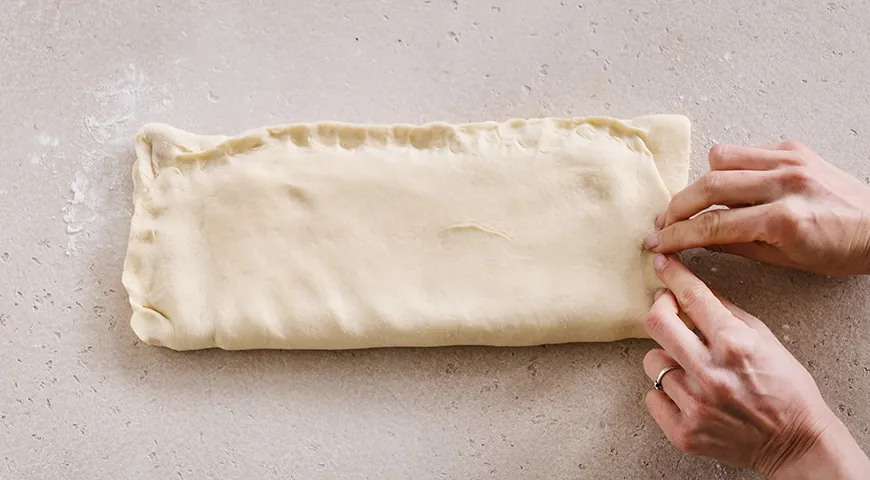
Lightly flour the dough and roll into a 45×20 cm rectangle. Fold the bottom third up and top third down again (single turn). Rotate the dough so the folded edge is on the left (like a book).
Step 5: Second Single Turn
Repeat the rolling and folding process: roll to 45×20 cm, fold into thirds. If butter softens, chill 15 minutes. Mark the dough with 2 notches to indicate two turns completed. Wrap and refrigerate for 30 minutes.
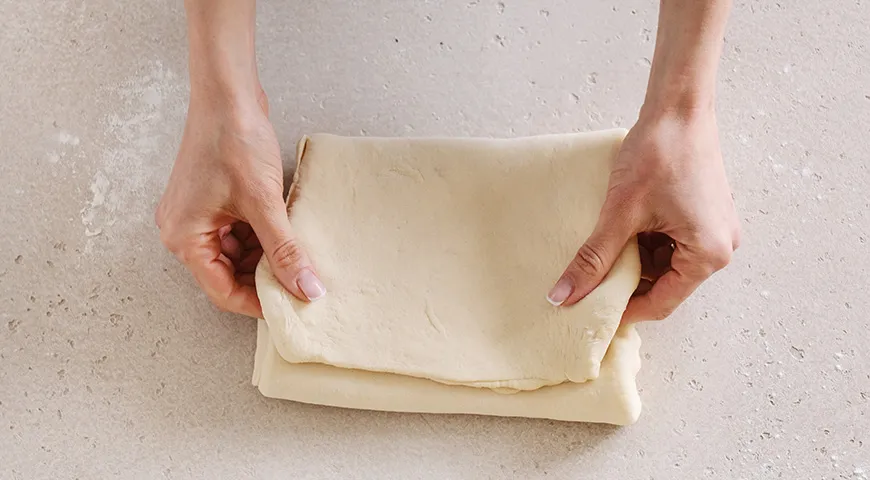
Step 6: Third and Fourth Turns
After chilling, perform the third single turn. Flip the dough and do the fourth turn. If butter softens, chill 10–15 minutes. Mark with 4 notches (ready). Wrap and refrigerate 1–24 hours.
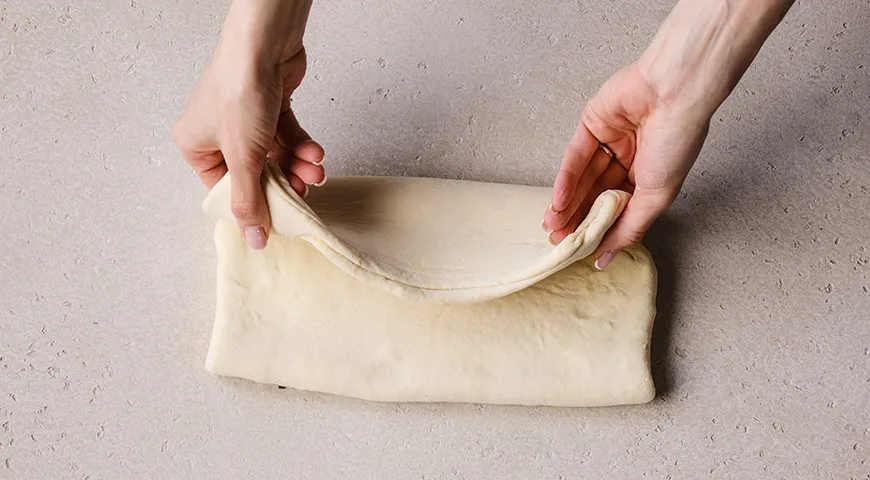
Step 7: Rolling and Cutting
Roll the dough to a 60×30 cm rectangle, 6 mm thick. Let rest 5 minutes. Cut lengthwise into two 60×15 cm strips. Keep one refrigerated. Place the other strip with long side toward you. Mark 9 cm intervals along the bottom edge; along the top edge, start 4.5 cm from left, then mark every 9 cm. Cut triangles using the marks as guides.
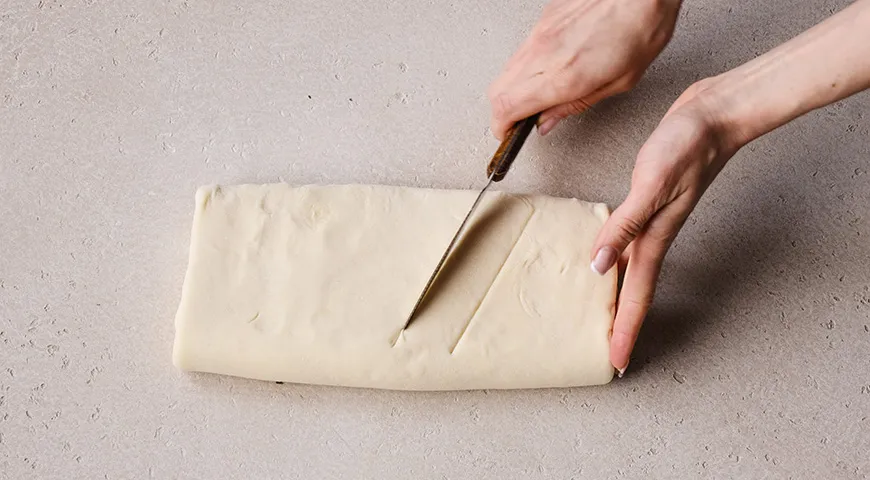
Step 8: Shaping the Croissants
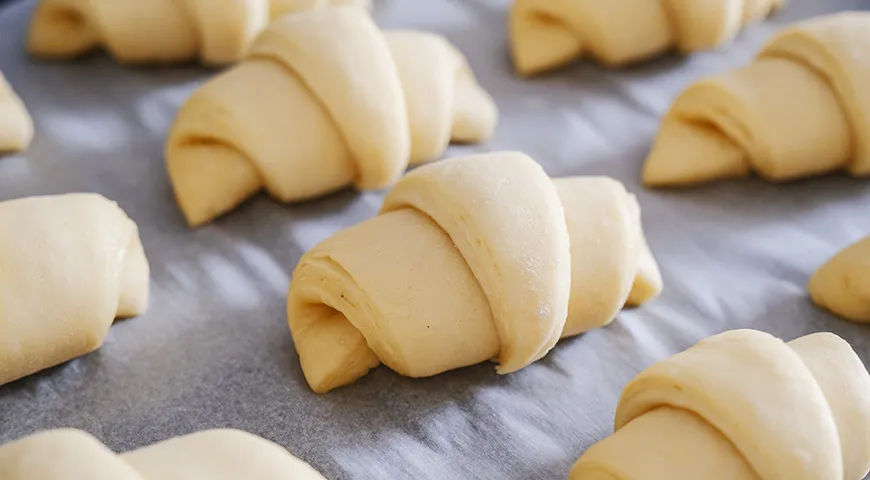
Gently stretch each triangle’s short side by pulling the corners. Roll up from the base toward the tip, tucking the tip underneath. Place on a parchment-lined baking sheet, spacing 5 cm apart.
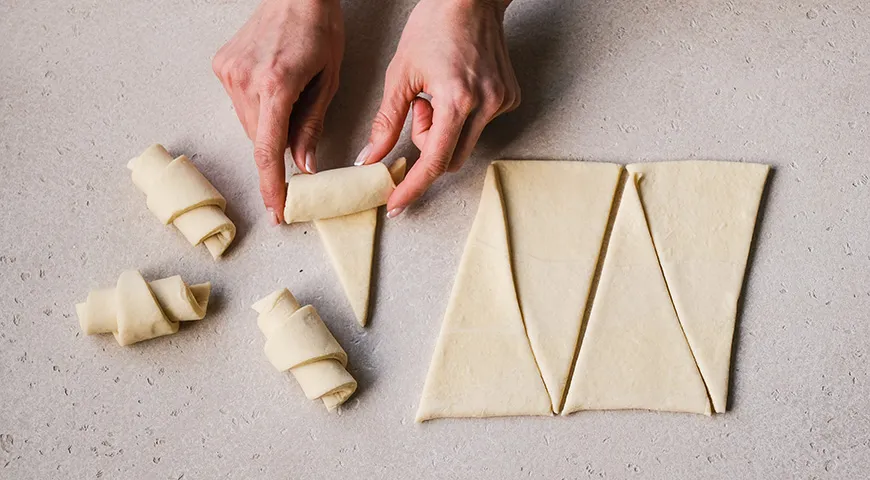
Step 9: Proofing
Cover croissants with a clean kitchen towel or plastic wrap. Let rise at room temperature for 1–1½ hours until almost doubled in volume.
Step 10: Egg Wash
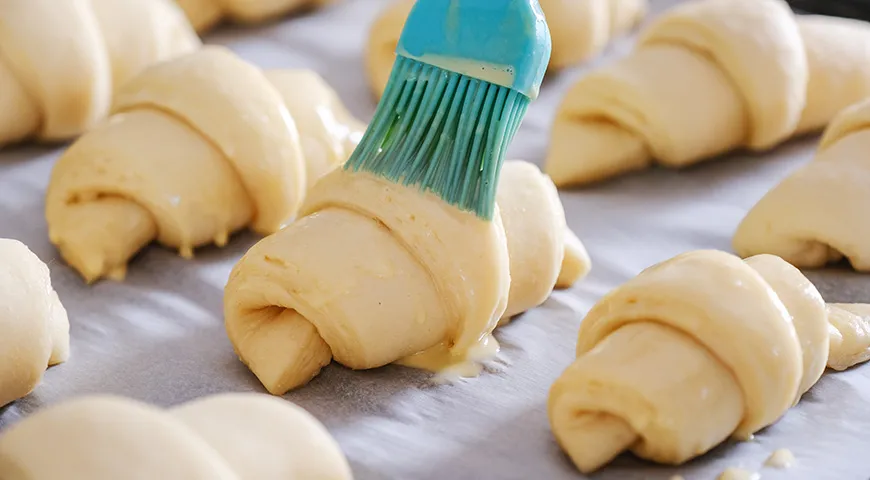
Preheat oven to 190°C with a rack in the lower third. Whisk the egg with 1 tbsp milk. Brush gently onto each croissant.
Step 11: Bake
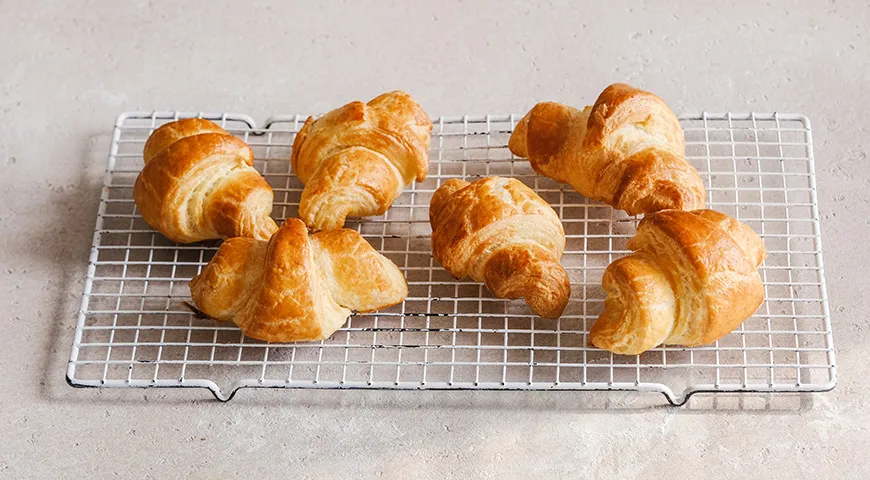
Bake for 20–25 minutes until deep golden brown. Transfer to a wire rack to cool completely. Serve warm or at room temperature.
Tips for Perfect Croissants
- Keep butter cold: If at any point butter starts to ooze through the dough, chill immediately. For more temperature control, see our review of the best 48-inch built-in refrigerator.
- Rest the gluten: Letting the dough rest after rolling prevents shrinkage. A best commercial countertop convection oven can ensure even heat distribution during baking.
- Use a sharp cutter: Dull blades squash the layers. Use a pastry wheel or sharp knife.
- Don’t overproof: Over-proofed croissants lose structure and may collapse. Proof until puffy but still firm to the touch.
- Egg wash twice: For a deeper shine, apply a second coat of egg wash halfway through baking.
Variations to Explore
Once you master the classic, experiment with fillings: chocolate batons, almond cream, or ham and cheese. For sweet versions, dust with powdered sugar or drizzle with a simple vanilla glaze. If you’re looking for a new coffee pairing, check out the best George Howell coffee to complement your croissants. Alternatively, use this laminated dough to make pain au chocolat or Danish pastries. For those who prefer savory, fill with spinach and feta before rolling. Always adjust baking time if adding wet fillings.
FAQ
Why did my croissants not rise properly?
Under-proofing is the most common cause. Ensure your yeast is fresh and the dough has doubled in size during proofing. Also, ensure your oven reaches the correct temperature—use an oven thermometer; the best air fryer non-toxic can serve as a secondary oven for small batches.
Can I use salted butter instead of unsalted?
Yes, but reduce the added salt in the dough to 3 g. Salted butter often contains varying salt levels, so taste the dough before adding extra salt.
How do I store leftover croissants?
Store in an airtight container at room temperature for up to 2 days. Reheat in a 150°C oven for 5 minutes to restore crispness. Do not microwave. For long-term storage, freeze unbaked shaped croissants on a tray, then transfer to a freezer bag. Bake directly from frozen, adding a few extra minutes.
What if my butter breaks through the dough?
This happens when butter is too soft or the dough is not chilled enough. Immediately refrigerate the dough for 20 minutes. If butter has leaked, dust with flour and continue. Next time, ensure your butter block is firm but pliable—the best undercounter ice maker machine can help cool your workspace.
Can I make croissants with a food processor?
Absolutely. A best glass food processor can mix the dough quickly. Pulse ingredients until a ball forms, then proceed with lamination by hand. For nutty filled croissants, use a best food processor for nut butter to grind almond paste.
How many layers should the dough have?
With four single turns (each turn gives three layers), you’ll achieve 3⁴ = 81 layers of butter and dough. That’s the sweet spot for flaky yet tender croissants.
Can I freeze the baked croissants?
Yes. Cool completely, wrap tightly in foil, and freeze for up to a month. Reheat in a 180°C oven for 8–10 minutes. For best results, brush with a little milk before reheating to refresh the crust.
What’s the best milk to use?
Whole milk (3.5% fat) gives the richest flavor and helps create a soft crumb. Avoid skim milk, which leads to a drier dough. For dairy-free, use oat milk with a best oil sprayer to grease pans.
Final Thoughts
Homemade croissants require patience, but the reward is incomparable. The rhythmic folding, the anticipation during proofing, and the first bite of a golden, butter-laden crescent—this is baking at its most gratifying. With this detailed guide, you now have the knowledge to create croissants that are truly your own. Pair them with a perfectly brewed coffee from a best coffee maker for Airbnb for a breakfast that feels like a Parisian café. Happy baking!







