


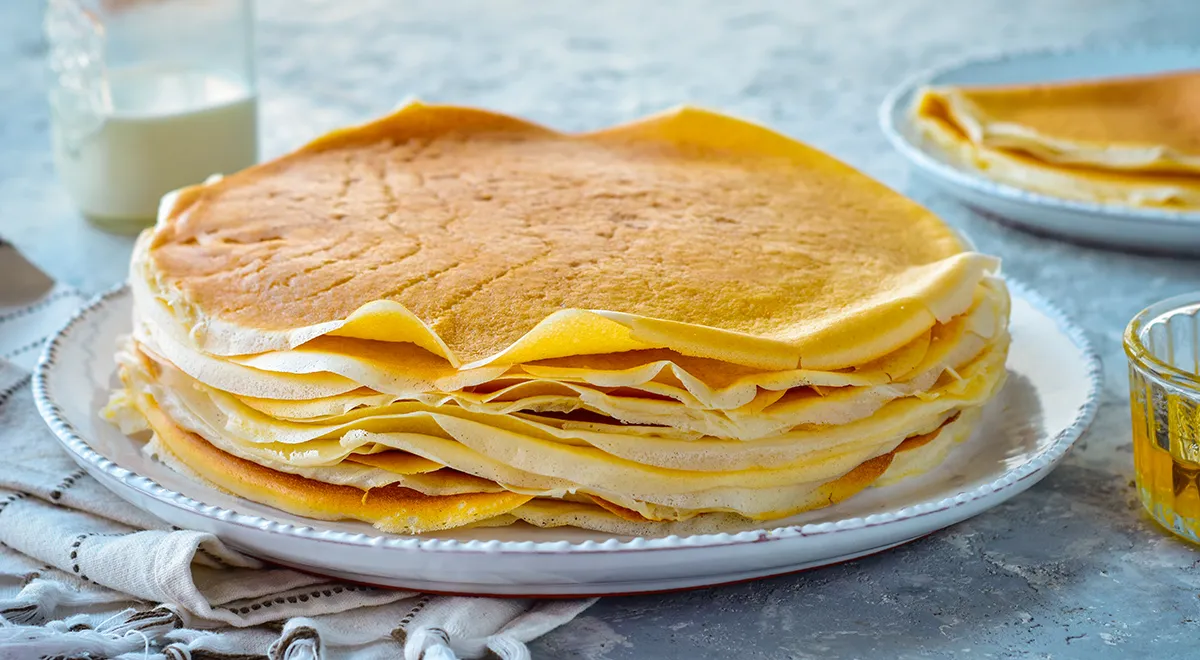
There is something magical about Russian blini – thin, lacy pancakes that melt on the tongue. This particular recipe, known as zavarnye blini, uses a clever technique of adding boiling water to the batter, creating an incredibly tender texture. Sweetened condensed milk replaces sugar and milk, lending a caramelized richness that elevates these pancakes from everyday breakfast to a celebratory treat. Whether you serve them with sour cream, jam, or simply a pat of butter, these blini are bound to become a family favourite.
About This Recipe
In Russian cuisine, blini are more than just pancakes – they are a symbol of hospitality and tradition. The zavarnye (choux) method involves mixing flour with eggs and then incorporating hot liquid, which gelatinizes the starch and produces a remarkably soft, elastic crumb. Condensed milk not only sweetens but also adds body, while the boiling water ensures the batter is silky smooth and pours easily. The result? Blini that are simultaneously thin and sturdy, with edges that crisp up beautifully in the pan. For an authentic experience, try pairing these blini with smoked salmon, caviar, or a dollop of sour cream.

Ingredients
- Drinking water – 500–600 ml
- Eggs – 3 large
- Sweetened condensed milk – 360–380 g (one standard can)
- Salt – ½ teaspoon
- Baking powder – 1 teaspoon
- All-purpose flour – 260 g
- Vegetable oil – 2 tablespoons, plus extra for frying
Using high-quality condensed milk makes a difference – look for brands with no added vegetable fats. For best results, try a professional-grade glass food processor to quickly blend the batter.
Step-by-Step Instructions
- Prepare the batter base. Place the drinking water in a saucepan over high heat and bring to a boil. Meanwhile, crack the eggs into a large mixing bowl. Add the condensed milk, salt, and baking powder. Whisk by hand or use a planetary mixer until the mixture is smooth and homogeneous.
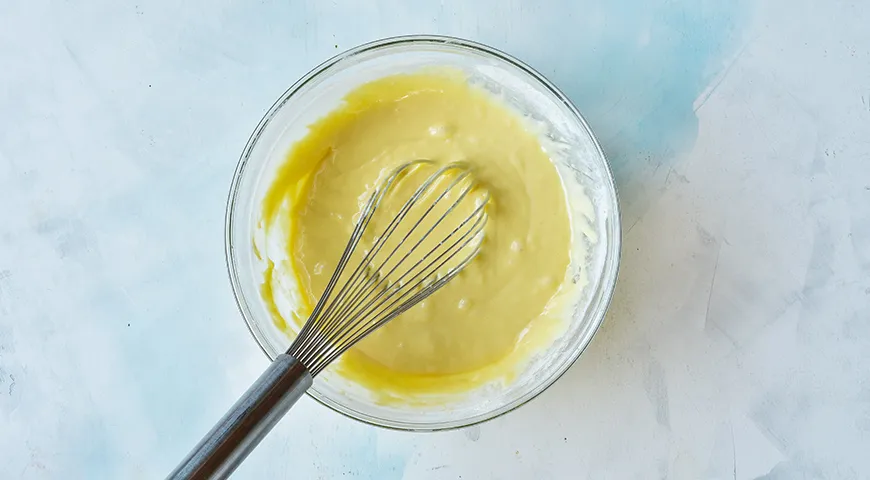
- Incorporate the flour. Gradually sift in the flour while whisking continuously with a balloon whisk or a non-toxic immersion blender. The batter will become quite thick – this is exactly what you want.

- Pour in the boiling water. With the whisk in one hand and the boiling water in the other, slowly drizzle the hot liquid into the batter in a thin, steady stream while whisking constantly. This is the choux step that transforms the texture. The batter will loosen and become silky. Stir in the 2 tablespoons of vegetable oil. Cover the bowl with a clean towel and let it rest at room temperature for 20 minutes. This allows the gluten to relax and the starch to hydrate fully.

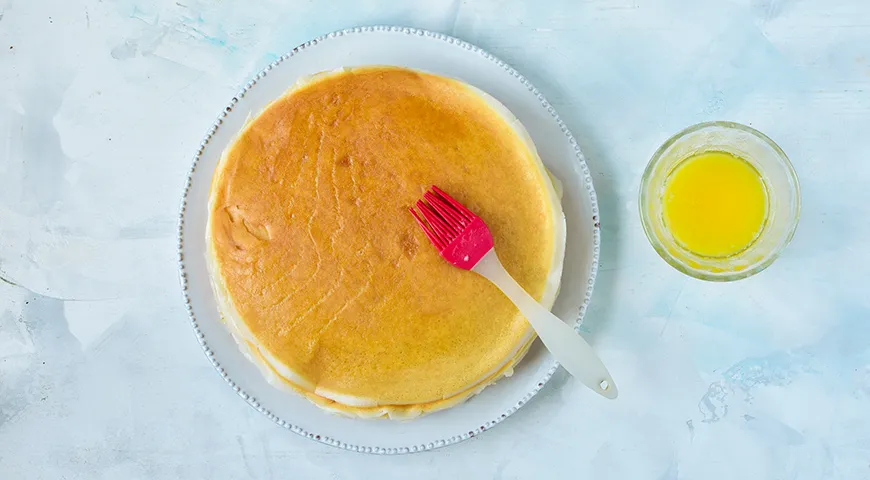
- Fry the blini. Heat a non-stick or cast-iron skillet over medium-high heat and brush lightly with vegetable oil. Use an oil sprayer for even coverage. Pour a small ladleful of batter – about 60 ml – into the centre of the pan, then swirl to coat the bottom evenly. Cook for 1–2 minutes until the edges lift and the underside is golden brown. Flip with a spatula and cook the second side for another minute. Transfer to a plate and keep warm. Repeat with remaining batter. Brush each blini with melted butter if desired.
Tips for Perfect Blini
- Consistency is key. The final batter should be the consistency of heavy cream – thin enough to spread but not watery. If it’s too thick, whisk in a little extra hot water.
- Rest the batter. That 20-minute rest is non‑negotiable. It ensures tender, flexible blini that won’t tear.
- Temperature control. If the pan is too hot, the blini will brown too quickly and remain raw inside. Medium‑high heat is ideal.
- First blini is always a test. Don’t be discouraged if the first pancake sticks – adjust the heat and oil, then proceed.
- Storage. Stack cooled blini between sheets of parchment and store in an airtight container in the fridge for up to 3 days. Reheat in a skillet or non-toxic air fryer.
Variations
This versatile batter can be adapted in many ways. For a savoury twist, omit the condensed milk and use a pinch of sugar plus water or milk, then fill with minced meat or mushrooms. For gluten‑free blini, substitute a good quality gluten‑free flour blend. You can also swap the plain flour for buckwheat flour to create classic Russian grechnevye blini. If you enjoy experimenting, try serving with a drizzle of maple syrup and a sprinkle of sea salt – the sweet‑salty contrast is divine. For a complete breakfast, pair with a freshly brewed cup of coffee made in an espresso machine.
Frequently Asked Questions
Can I make the batter ahead of time?
Yes, you can prepare the batter up to 24 hours in advance. Keep it covered in the refrigerator. Let it come to room temperature and whisk well before frying, as it may thicken slightly.
Why did my blini turn out rubbery?
Overmixing the batter after adding the flour can develop too much gluten, resulting in tough pancakes. Mix until just combined, and be gentle when incorporating the boiling water.
Can I use evaporated milk instead of condensed milk?
No, evaporated milk is unsweetened and will not provide the same caramel flavour. If you must substitute, use regular milk plus 100–120 g sugar, but the texture will be less tender.
How do I prevent blini from tearing when flipping?
Make sure your pan is properly preheated and lightly greased. Use a thin, flexible spatula and slide it completely under the blini before flipping. Also, ensure the batter has rested – resting strengthens the structure.
What is the best way to serve these blini?
They are wonderful with classic chocolate‑covered raisins, fresh berries, or a dollop of crème fraîche. For a savoury option, wrap them around smoked salmon, cream cheese, and dill – a perfect appetizer.
Can I freeze the blini?
Absolutely. Stack cooled blini with parchment between each, then wrap tightly and freeze for up to 2 months. Thaw in the refrigerator and reheat in a dry skillet or countertop convection oven for that just‑cooked taste.
These condensed milk blini are a testament to how a humble ingredient and a simple technique can yield something extraordinary. Whether you’re making them for a lazy Sunday breakfast or a festive dinner, they bring a touch of Russian warmth to any table. For more inspiration, check out our guide on Catalan sponge cake or discover the best store‑bought au jus for a prime rib dinner. Happy cooking!







