


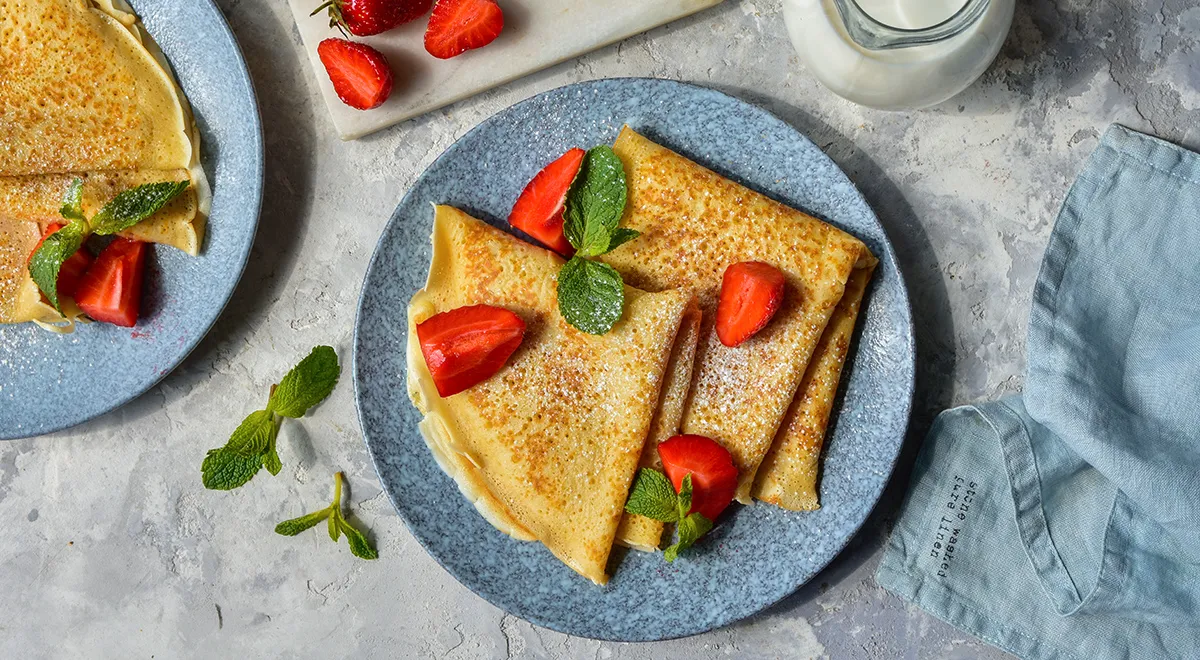
There are pancakes, and then there are Russian blini—those impossibly tender, lacy-edged circles that manage to be both delicate and satisfying. This recipe for blini on kefir and milk achieves an extraordinary balance: the kefir lends a subtle tang and remarkable fluffiness, while the milk creates a silky, pliable texture. Whether you are a seasoned home cook or a curious beginner, these pancakes invite you to experience the comforting warmth of a classic Eastern European breakfast, elevated with simple techniques and quality ingredients.
About These Kefir and Milk Pancakes
Russian blini have been cherished for centuries, from Maslenitsa festivals to quiet Sunday mornings. This version, made with both kefir and milk, offers the best of both worlds: the fermentation of kefir activates the soda for a light, airy crumb, while the milk enriches the batter for a golden, almost custard-like finish. The result is a pancake that is neither too thick nor too thin—just perfectly whipped up with a good mixer to ensure a smooth, lump-free batter. The addition of melted butter at the end adds a subtle richness that makes each bite unforgettable.

Ingredients
- 200 ml kefir (2.5 % fat)
- 200 ml whole milk
- 250 g all-purpose flour
- 2 large eggs (1st category)
- 60 ml vegetable oil (3 tablespoons), plus extra for frying
- 40 g unsalted butter, melted
- 2 tablespoons sugar (about 30 g)
- 1 teaspoon salt (without heap)
- ½ teaspoon baking soda
Step-by-Step Instructions
-
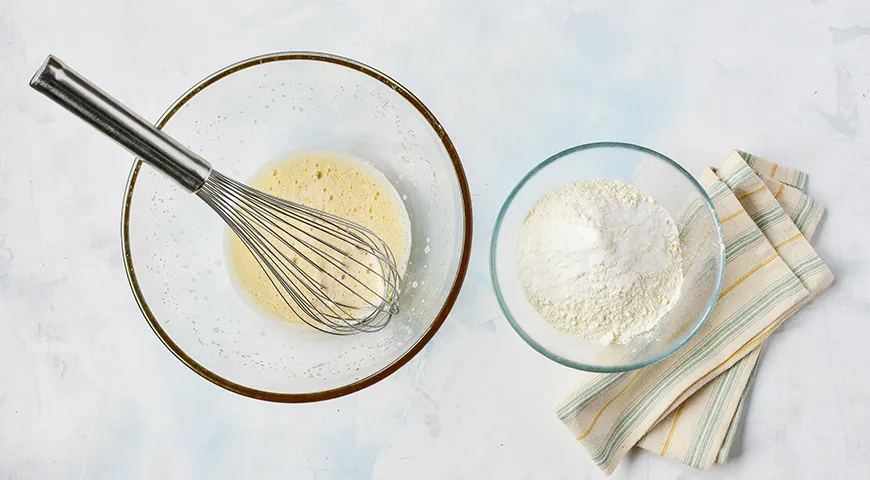
Combine dry ingredients. In a bowl, whisk together the flour and baking soda, then sift through a fine sieve into a large mixing bowl. Sifting aerates the flour and ensures even distribution of the soda.
-
Whisk the eggs. In a separate bowl, crack the eggs, add sugar and salt, and beat until thick and foamy—about 2–3 minutes with an electric mixer. This step is crucial for incorporating air, giving the pancakes their lightness. For best results, use a non-toxic immersion blender or a hand mixer with balloon whisks.
-
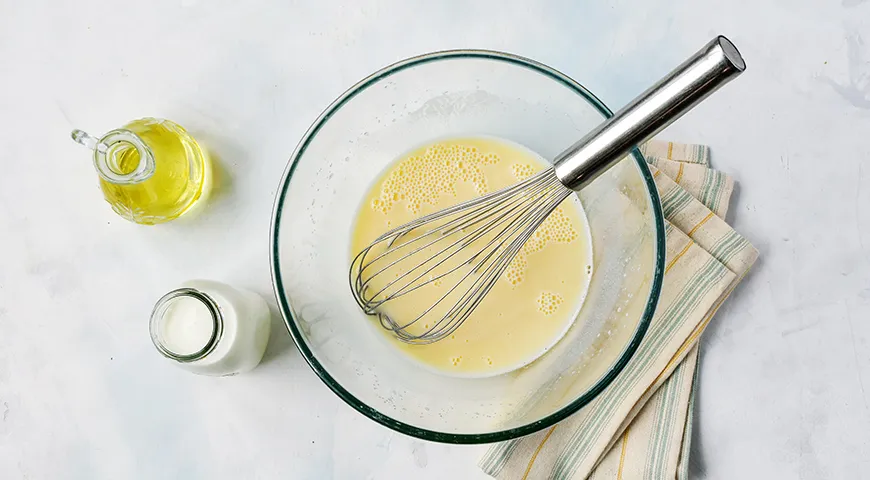
Warm the kefir and combine. Heat the kefir to about 40 °C (it should feel warm to the touch but not hot). Gently fold the warm kefir into the beaten eggs, then stir in the vegetable oil. Mix until homogeneous. Warming the kefir helps the soda activate and prevents the batter from being too cold when meeting the flour.
-
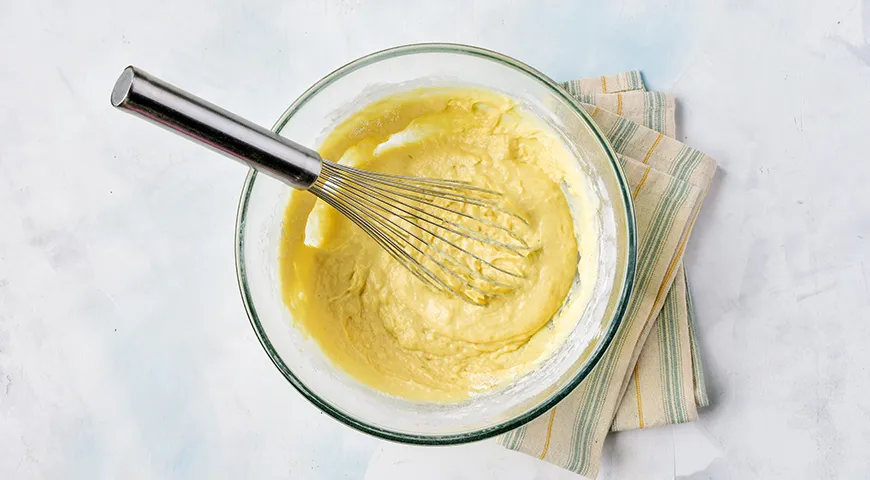
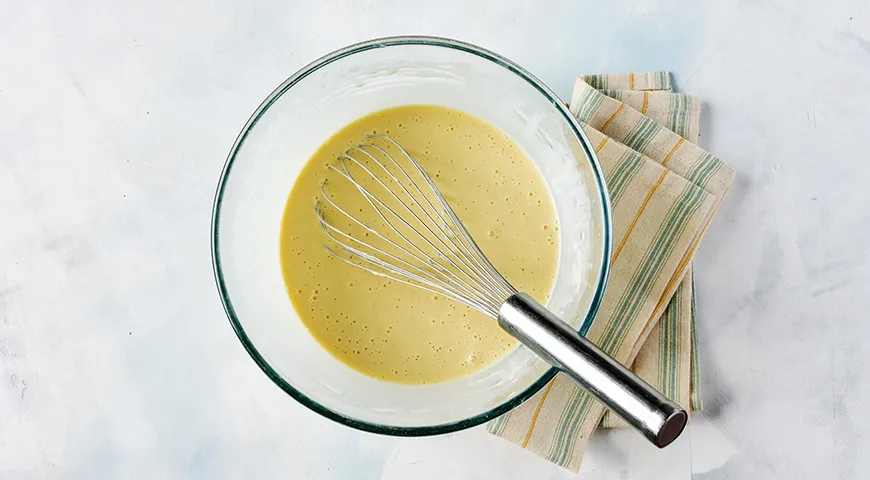
Incorporate the flour. Gradually add the sifted flour mixture to the kefir-egg mixture, whisking constantly to avoid lumps. Adding the flour in small batches makes it easier to achieve a silky batter. If you prefer a foolproof method, use a food processor with a whisk attachment for a few bursts.
-
Rest and add boiling milk. Let the batter rest for 15 minutes—this allows the gluten to relax and the soda to work. Meanwhile, bring the milk to a boil. Pour the boiling milk into the rested batter in a thin stream, whisking continuously. The batter will become quite thin, slightly thicker than kefir. This technique yields exceptionally tender pancakes.
-
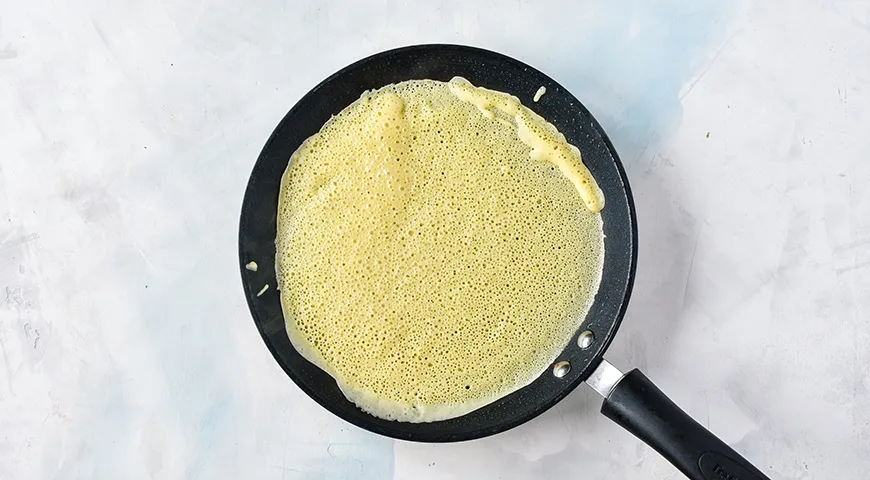
Heat the pan and pour batter. Place a non-stick or well-seasoned cast-iron skillet over high heat. Once hot, lightly grease the pan with vegetable oil—brush, do not pour. Pour a generous amount of batter (slightly more than half a ladle) into the centre, then quickly tilt the pan to spread it evenly into a thin circle. For a more even coat, consider using an oil sprayer to mist the pan lightly.
-
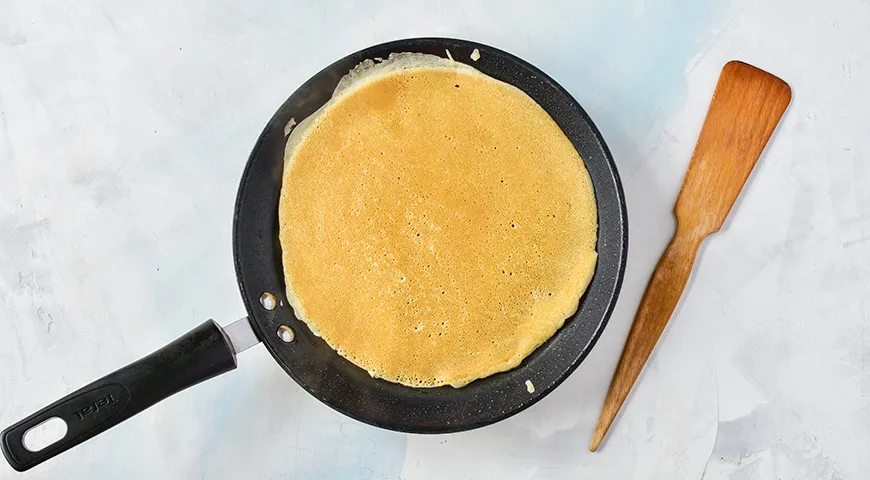
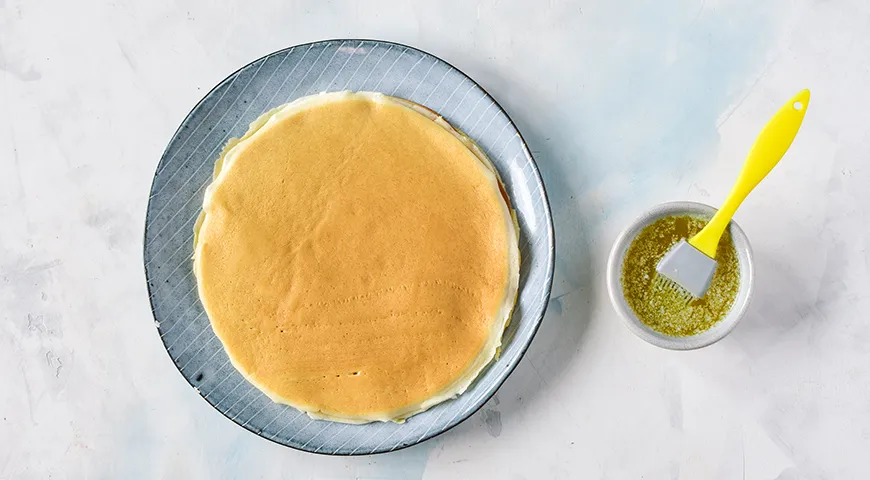
Cook and butter. Fry each pancake for about 2 minutes per side, until golden brown. If you prefer thicker pancakes, reduce the heat slightly and increase cooking time to ensure the centre cooks without burning. As they come off the pan, stack them on a warm plate and immediately brush each with melted butter. This keeps the pancakes supple and adds a lovely sheen. For an even more indulgent finish, a high-quality butter can be used.
Tips for Perfect Pancakes
- Temperature control: Keep the pan at a consistent medium-high heat. Too low and the pancakes turn pale and dense; too high and they burn before cooking through. An infrared thermometer can help you monitor the pan surface.
- Resting the batter: Do not skip the 15-minute rest. It allows the flour to fully hydrate and the gluten to relax, resulting in more tender pancakes.
- Butter brushing: Use a brush or a paper towel to apply melted butter immediately after frying. This step mirrors the technique used in professional kitchens like those relying on a commercial countertop convection oven for even heat distribution.
Variations to Explore
The beauty of this recipe lies in its adaptability. For a savoury twist, reduce the sugar to 1 tablespoon and add fresh herbs like dill or chives to the batter—serve with sour cream and smoked salmon. For a decadent dessert, fold in grated apple, cinnamon, or a handful of raisins. If you are gluten-free, substitute the all-purpose flour with a good 1:1 gluten-free blend; just increase the milk slightly to adjust the consistency. Those who love a crispier edge can pour a slightly thinner batter and cook on higher heat, a trick often used with non-toxic air fryers for quick crisping. Finally, for a dairy-free version, replace kefir with unsweetened almond yogurt and milk with oat milk, though the texture will be slightly less rich.
Frequently Asked Questions
Why did my pancakes turn out rubbery?
Overmixing the batter after adding the flour can develop too much gluten, leading to a tough texture. Mix just until combined—lumps are fine. Also, ensure you are using a light hand when whisking. Using a high-quality immersion blender on low speed can help avoid overworking.
Can I make the batter ahead of time?
Yes, you can prepare the batter up to the point of adding the boiling milk, then refrigerate for up to 12 hours. When ready, bring to room temperature, add the boiling milk, and proceed. The microwave pressure cooker can quickly reheat the milk if needed.
How do I get that lacy, honeycomb pattern?
The lacy effect comes from the soda reacting with the warm kefir and the boiling milk. Use freshly opened soda and make sure the kefir is warm (not cold). Also, do not stir the batter too vigorously after adding the milk—let the bubbles form naturally.
What type of pan works best?
A well-seasoned cast-iron skillet or a quality non-stick crepe pan is ideal. Both distribute heat evenly and allow easy flipping. If you are looking for a pan that lasts, consider one that pairs well with a 48-inch built-in refrigerator for a complete kitchen setup.
Can I freeze these pancakes?
Absolutely. Stack the cooled pancakes with a sheet of parchment between each, then wrap tightly in foil and place in a freezer bag. Reheat in a dry skillet or in a wall oven microwave combo with air fryer for a quick, crisp finish.
Why is my batter too thick?
If your flour has a higher protein content, you may need a little more liquid. Add milk or even warm water a tablespoon at a time until the batter flows easily off the ladle. This technique is similar to adjusting consistency when making Catalan sponge cake batter.
These kefir and milk pancakes are a testament to the magic of simple ingredients treated with care. Whether you serve them with jam, condensed milk, berries, or even caviar, they will quickly become a staple in your home. For an extra touch of elegance, pair them with a cup of George Howell coffee or a glass of sweet, high-alcohol wine for a truly indulgent brunch.







