


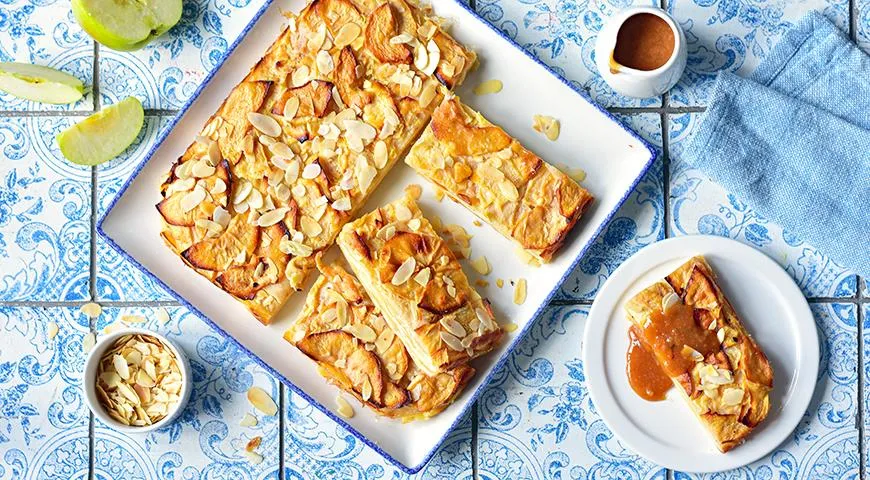
There is a certain magic in a dessert that appears to defy the laws of baking—a tart where the fruit seems to vanish, leaving only a tender, caramelized mosaic of apple slices suspended in a whisper-thin custard. This is the Tarte aux Pommes Invisible, or Invisible Apple Tart, a beloved French classic that has charmed home bakers and pastry chefs alike. The secret lies in slicing the apples paper-thin and coating them in a delicate batter that is almost imperceptible once baked. The result is a dessert that is at once elegant, rustic, and utterly addictive. Whether served warm with a dusting of sugar or chilled with a dollop of crème fraîche, this tart is a celebration of simplicity and precision. For those who appreciate the art of subtle flavors and textures, mastering this recipe is a rewarding journey into the heart of French patisserie.
About the Invisible Apple Tart
The Invisible Apple Tart originates from the French tradition of tartes fines and clafoutis, but it stands apart for its minimalist approach. With only a handful of ingredients—apples, flour, sugar, eggs, milk, butter, and leavening—the tart relies entirely on technique and quality of produce. The name "invisible" comes from the way the thinly sliced apples become translucent and almost disappear into the batter, creating a layered, custard-like cake that is surprisingly light. This dessert is a perfect showcase for crisp, tart apples like Granny Smith or Braeburn, which balance the sweetness of the batter. It is also a fantastic way to use up a surplus of apples from your garden or farmers market. For a deeper dive into French baking methods, using a planetary mixer can streamline the whisking process, though a simple hand whisk works beautifully.

Ingredients
- 6 apples (preferably Granny Smith or Braeburn)
- 70 g all-purpose flour
- 50 g granulated sugar
- 120 ml whole milk (plus extra if needed)
- 2 large eggs
- 20 g unsalted butter (melted, plus extra for greasing)
- 1 teaspoon baking powder
- Pinch of salt
For best results, ensure all ingredients are at room temperature. If you need to rapidly melt butter, an microwave pressure cooker can do the job in seconds, but a small saucepan works just as well.
Step-by-Step Instructions
Step 1: Whisk the Eggs and Sugar
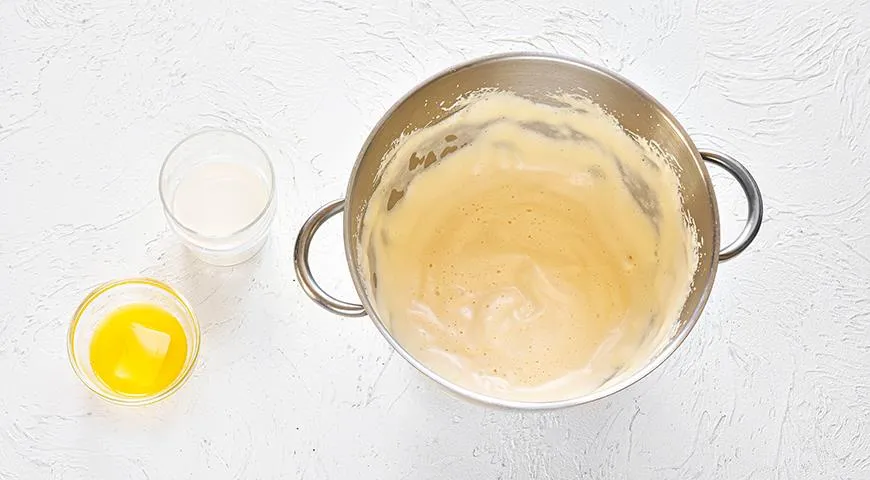
In a large mixing bowl, whisk together the eggs, granulated sugar, and a pinch of salt until the mixture becomes pale, thick, and slightly frothy. This initial aeration is crucial for a light texture. Using an immersion blender with a whisk attachment can speed up this step, but hand whisking is meditative and effective.

Step 2: Add Milk and Melted Butter
Pour in 100 ml of milk and the melted butter, then gently fold everything together with a whisk until fully incorporated. The batter will look thin, which is exactly what we want. An organic vodka is not needed here, but a splash of vanilla extract could be added if desired.
Step 3: Combine Dry Ingredients
In a separate small bowl, mix the flour and baking powder. Sift the dry mixture into the wet ingredients and whisk until smooth. The batter should be quite runny—if it feels too thick, add an extra tablespoon or two of milk. For a foolproof measure, using a food processor to blend the batter ensures no lumps, though hand whisking is classic.

Step 4: Prepare the Baking Dish
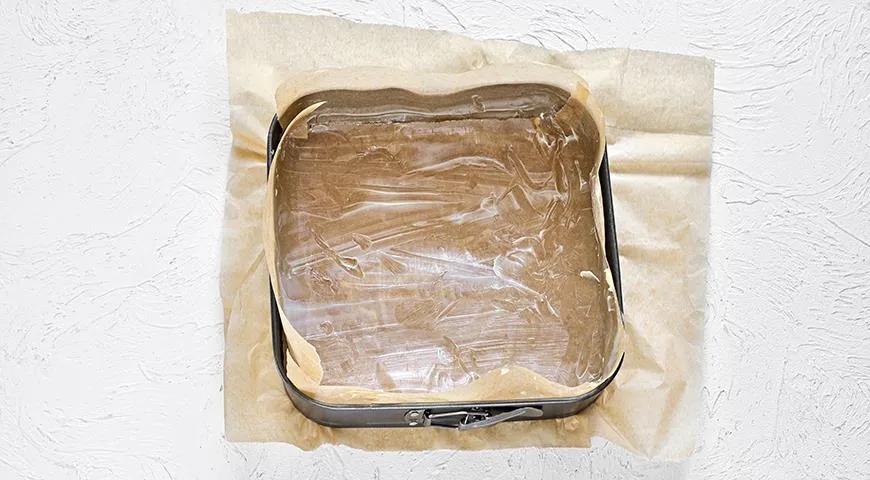
Line a square or rectangular baking dish (about 20×20 cm) with parchment paper, letting the edges overhang. Brush the paper with a little melted butter. This step is essential for easy removal. An oil sprayer filled with butter can make greasing effortless, but a pastry brush works fine.
Step 5: Slice the Apples
Wash, peel, and core the apples. Using a sharp knife or a mandoline, slice them into very thin rounds—about 1–2 mm thick. The thinner the slices, the more "invisible" the tart becomes. A chocolate-covered raisin might be a tasty snack while you work, but stay focused! Place the apple slices in a large bowl and pour the batter over them.

Step 6: Coat the Apples
Gently mix the apple slices with the batter, taking care not to break them. Use a spatula to fold until every slice is evenly coated. The batter will seem scarce, but it’s enough. This step is a gentle dance between fruit and custard. For a consistently even coating, a planetary mixer on low speed with a paddle attachment can be used, but hand folding is preferred to avoid crushing the apples.
Step 7: Layer in the Dish
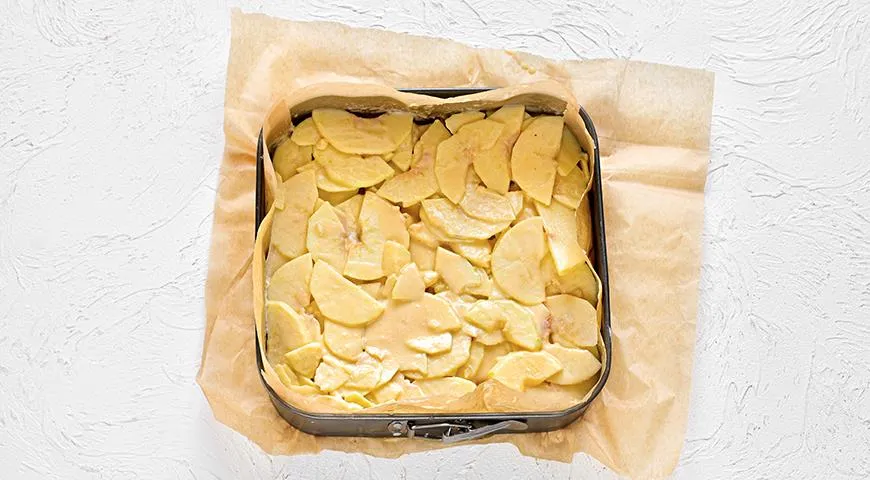
Transfer the apple-batter mixture into the prepared dish, arranging the slices in neat, overlapping layers. Press down gently to eliminate air pockets. Even layers ensure even baking. Preheat your oven to 180°C (350°F). If you’re using a commercial countertop convection oven, reduce the temperature by about 20°C and shorten the time slightly.
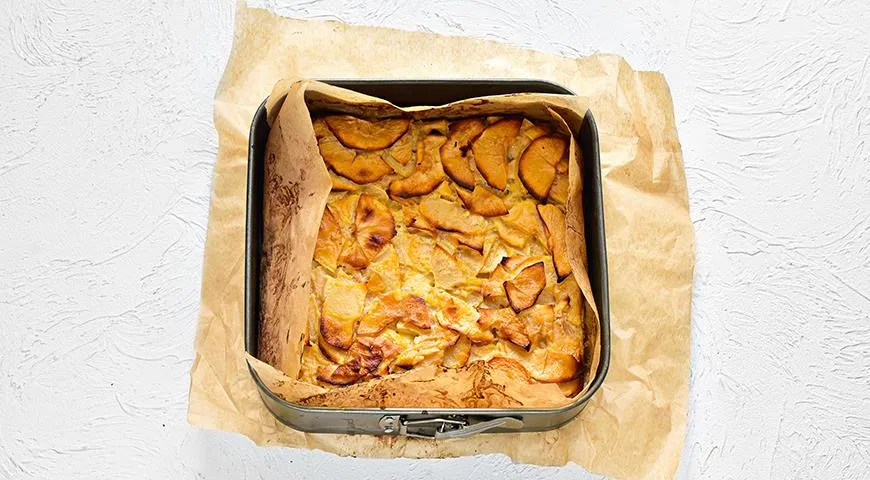
Step 8: Bake and Finish
Bake on the middle rack using top/bottom heat for about 40 minutes. At the final 5–10 minutes, switch to convection (fan) mode to create a golden-brown crust. The tart is done when a knife inserted in the center comes out clean. Let it cool on a wire rack. For a professional touch, sprinkle with sliced almonds or powdered sugar. A non-toxic air fryer can also finish the tart with a crisp top—just be mindful of size.
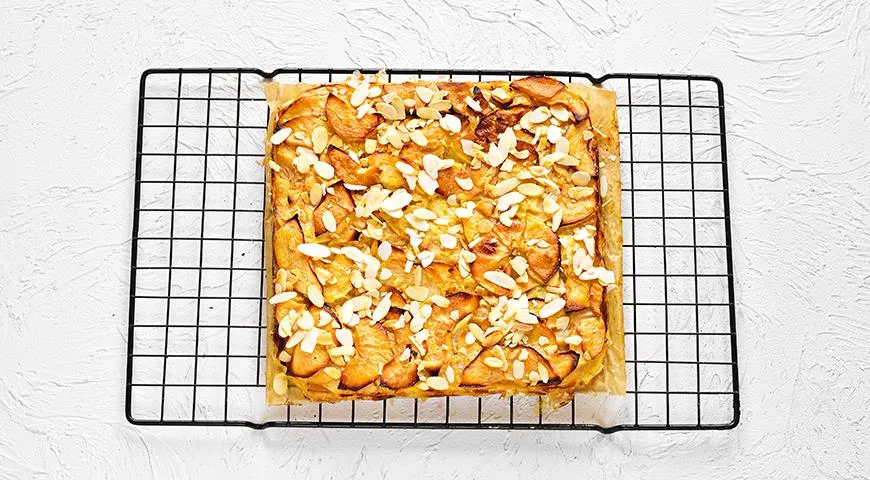
Tips for Perfecting Your Invisible Apple Tart
- Use firm, tart apples to prevent the slices from becoming mushy. Granny Smith, Pink Lady, or Braeburn are ideal.
- Slice apples uniformly with a mandoline or a sharp knife—thicker slices will not become invisible.
- Allow the tart to cool completely before slicing to set the custard. Chilling overnight improves texture.
- For extra aroma, add a pinch of cinnamon or vanilla to the batter. A hint of lava flavor is unusual but adventurous!
- Serve with a dollop of crème fraîche or vanilla ice cream. Pair with a sweet wine with high alcohol content for a sophisticated finish.
Variations to Try
The Invisible Apple Tart is endlessly adaptable. Swap apples with pears, or add a layer of caramel sauce between apple slices. For a gluten-free version, substitute rice flour or a gluten-free blend. Experiment with different spices—cardamom, ginger, or even a pinch of organic vodka in the batter adds complexity. Another twist is to bake the tart in a separate mold for individual servings, though a standard dish works best.
Frequently Asked Questions
Can I make this tart ahead of time?
Yes! The tart actually improves after a day in the refrigerator, as the flavors meld and the texture firms up. Store it covered for up to three days. Reheat briefly in a microwave pressure cooker or conventional oven.
Why did my tart turn out soggy?
Sogginess often results from apples that are too watery or slices that are too thick. Always use firm apples and slice them very thin. Also ensure your oven is properly preheated to 180°C. A convection oven helps evaporate excess moisture.
Can I use a different type of flour?
Absolutely. All-purpose flour gives the best structure, but you can substitute white whole wheat flour, spelt, or a gluten-free blend. Note that the texture may be slightly denser. For nutty flavor, try adding almond flour in place of a quarter of the flour.
How do I know when the tart is fully baked?
Insert a thin knife or skewer into the center—if it comes out clean or with only a few moist crumbs, it’s done. The edges should be golden brown and slightly pulled away from the sides. An espresso machine has no role here, but a toothpick is your best friend.
Can I freeze this tart?
Yes, it freezes well for up to one month. Wrap it tightly in plastic wrap and then foil. Thaw overnight in the refrigerator, then reheat in a low oven. If you have a dedicated freezer setup, portion it first for easy slicing.
Is the tart supposed to be quite wet when it comes out of the oven?
It will be moist, especially from the apples, but not wet. If you see standing liquid, the tart needs more baking time. Let it rest on a wire rack for at least 30 minutes before slicing to allow the custard to set. A steam canner is overkill here—just patience is enough.
Conclusion
The Invisible Apple Tart is a testament to the beauty of understated baking. With its ethereal texture and pure apple flavor, it’s a dessert that never fails to impress. Whether you’re a seasoned baker or a curious beginner, this recipe invites you to slow down, slice carefully, and savor the magic of transformation. Serve it at your next dinner party, and watch your guests’ eyes widen with wonder as they discover the invisible layers within.







