


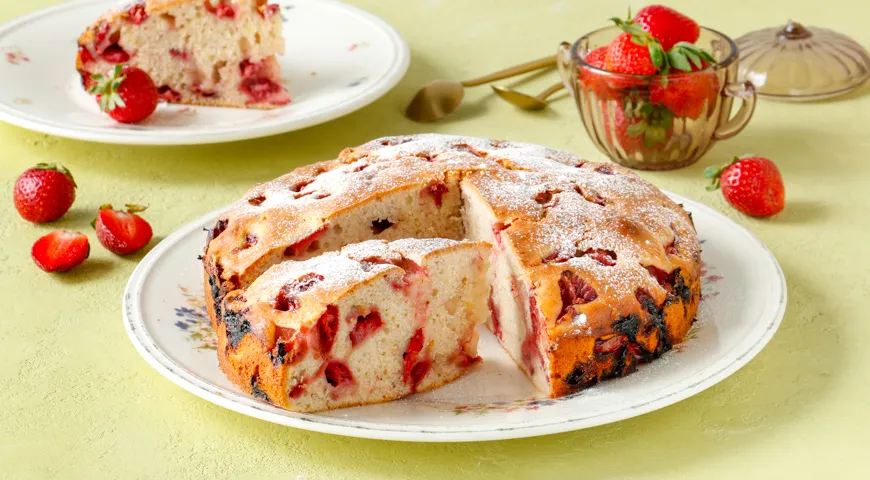
In the heart of every Russian kitchen, the scent of a freshly baked sharlotka evokes warm childhood memories. This humble yet elegant cake—traditionally made with apples—finds a glorious summer incarnation with ripe strawberries. Our Strawberry Sharlotka recipe elevates the classic sponge to a sophisticated dessert, perfect for afternoon tea or a festive gathering. The key lies in balancing the sweet-tart berries with a tender, buttery crumb, all while respecting the simplicity that makes sharlotka a beloved staple. Follow our step-by-step guide to create a dessert that's both nostalgic and refined.
About Strawberry Sharlotka
Originating as a European apple cake adapted in Russia, sharlotka has evolved into a versatile dessert that celebrates seasonal fruit. This version swaps apples for juicy strawberries, lending a vibrant color and a burst of freshness. The batter relies on a classic Catalan sponge technique—eggs and sugar whipped to a ribbon stage, then gently folded with flour and fat. The addition of tangy sour cream and lime zest adds complexity, while the butter ensures a moist, tender crumb. Unlike heavier cheesecakes, this sharlotka is airy and light, making it an ideal choice for warm weather entertaining.

Ingredients
- Butter – 55 g (divided: 50 g for melting, 5 g for greasing)
- All-purpose flour – 270 g
- Baking powder – 8 g
- Salt – a pinch
- Eggs (C1 size) – 2
- Sugar – 150 g
- Sour cream (at least 30% fat) – 120 g
- Zest of 1 lime
- Fresh strawberries – 350 g
For the best results, choose strawberries that are ripe but firm, and use full-fat sour cream to achieve that luscious texture. A high-quality butter, like the ones recommended in our best castor oil review (though for baking, we suggest a good European-style butter), will elevate the flavor. Ensure your eggs are at room temperature for maximum volume when whipping.
Step-by-Step Instructions
Step 1: Prepare the Dry Ingredients
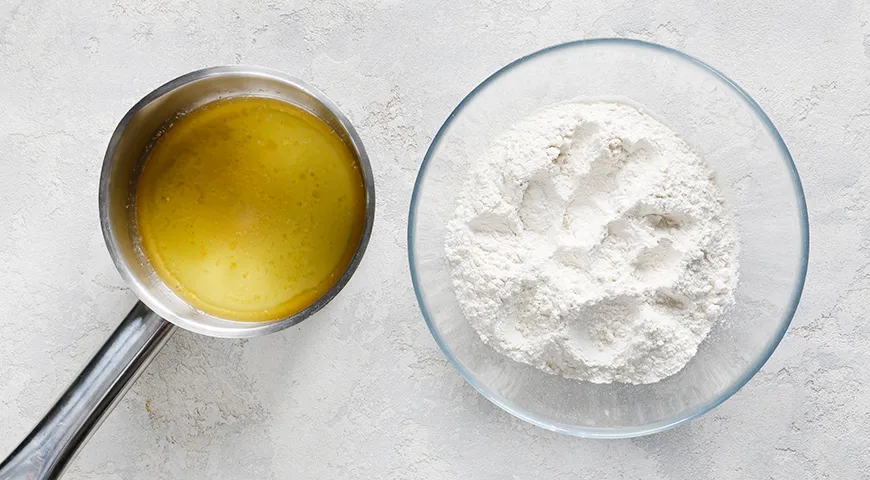
Melt 50 g of butter in a small saucepan and let it cool. In a separate bowl, sift together the flour, baking powder, and salt through a fine-mesh sieve. Sifting aerates the flour, ensuring a lighter cake. If you prefer a super-fine texture, you can pulse the mixture in a glass food processor for a few seconds. Set aside.
Step 2: Whip Eggs and Sugar
In a large mixing bowl, beat the eggs and sugar with an electric mixer until the mixture is pale, thick, and triples in volume. This step is crucial for the cake's airy structure. Using a high-powered planetary mixer can achieve the ribbon stage in minutes. When you lift the whisk, the batter should fall in a thick ribbon that holds its shape briefly.

Step 3: Add Butter and Sour Cream
Gently fold in the cooled melted butter and sour cream into the egg mixture. Mix until just combined—do not overwork. The sour cream adds moisture and a subtle tang. For an even smoother incorporation, use a non-toxic immersion blender on low speed, but hand whisking is perfectly fine.
Step 4: Incorporate Dry Ingredients
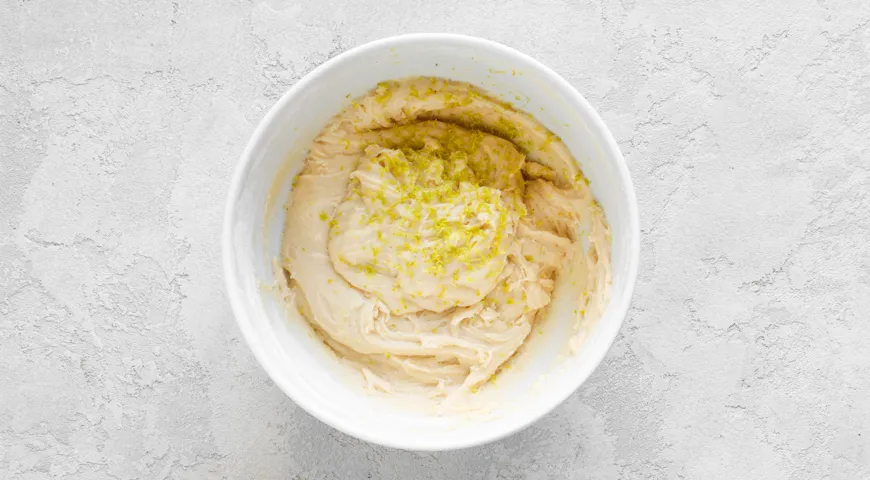
Gradually sift the flour mixture into the wet ingredients, folding gently with a whisk until no streaks remain. Add the lime zest, which brightens the strawberry flavor. The batter should be smooth but not runny. If you're using a food processor for nut butter, you can also zest the lime directly into the bowl—just don’t over-process.
Step 5: Prepare the Strawberries
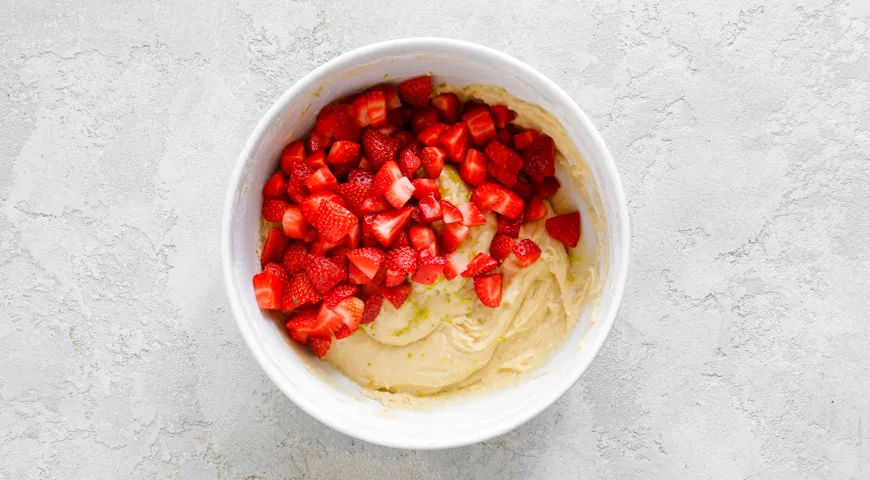
Rinse the strawberries and pat them dry on paper towels. Remove the hulls and dice the berries into small cubes. Add them to the batter and fold carefully with a silicone spatula. The strawberries should be evenly distributed without crushing them. For perfectly clean cuts, use a non-toxic air fryer (though not for cutting—the knife matters!). A sharp chef's knife works best.

Step 6: Bake the Sharlotka
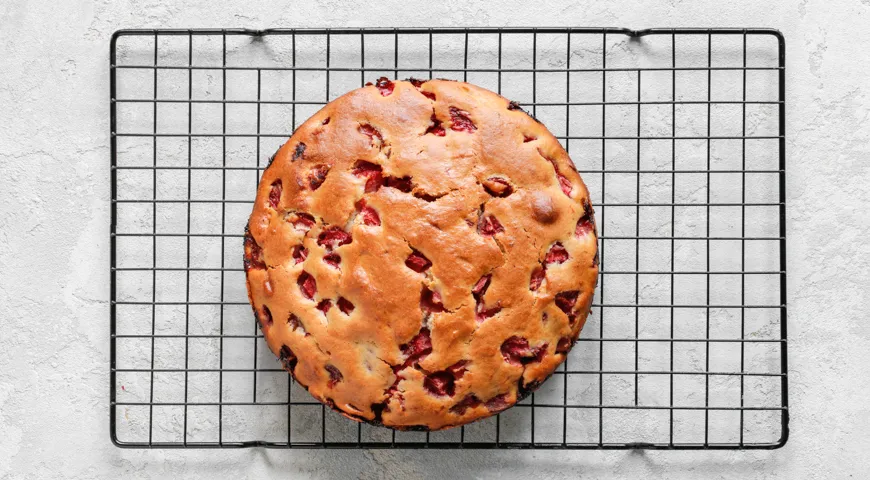
Preheat your oven to 170°C (340°F). Line a 24 cm springform pan with parchment paper and grease with the remaining 5 g of butter. Pour the batter into the pan and spread evenly. Bake for about 35 minutes, until the top is golden and a skewer inserted in the center comes out clean. The cake should be springy to the touch. For even baking, ensure your oven is calibrated—consider using a microwave pressure cooker isn’t needed here, but a reliable oven thermometer is a good investment. Let the cake cool in the pan for 10 minutes, then transfer to a wire rack to cool completely. Dust with powdered sugar or serve with whipped cream.
Tips for Perfect Sharlotka
- For a taller cake, ensure your eggs are fresh and at room temperature—cold eggs won’t whip as well.
- If you don’t have a springform pan, use a regular round cake pan lined with parchment. Grease the sides generously.
- To prevent sinking berries, toss the diced strawberries in a tablespoon of flour before folding them into the batter.
- If using frozen strawberries, thaw and drain them first, then pat dry. Expect a slightly wetter batter—add an extra 10 g flour to compensate.
- For a dairy-free version, substitute the butter with coconut oil and sour cream with full-fat coconut cream. The flavor will change but remains delightful.
- Store the sharlotka in an airtight container at room temperature for up to 2 days. Refrigerate for longer shelf life, but warm slices slightly before serving.
Variations
This sharlotka is wonderfully adaptable. Swap strawberries for raspberries, blueberries, or a mix of summer fruits. For a tropical twist, use diced mango and lime zest. Add a handful of chopped almonds or pistachios for crunch. If you love chocolate, sprinkle 50 g of dark chocolate chips over the batter before baking. The cake also pairs beautifully with a dollop of mascarpone cream—try our espresso machine recommendation for a coffee accompaniment. For a boozy kick, brush the warm cake with a simple syrup infused with organic vodka or strawberry liqueur.
Frequently Asked Questions
Can I use gluten-free flour?
Yes, substitute the all-purpose flour with a gluten-free baking blend that contains xanthan gum. The texture will be slightly denser, but still delicious. Check our refrigerant leak detector review? No, that's not related—but we do have a guide on gluten-free baking elsewhere on the site.
Why did my sharlotka sink in the middle?
This often happens if the oven door is opened too early (before 30 minutes) or if the batter was overmixed. Ensure your baking powder is fresh, and gently fold the ingredients. Also, too much moisture from the strawberries can cause sinking—dry them thoroughly after washing.
Can I make this without sour cream?
Yes, plain Greek yogurt or mascarpone can replace sour cream. The fat content is important for moisture, so avoid low-fat versions. If using yogurt, add a teaspoon of lemon juice to mimic the tang.
How do I know when the cake is done?
Insert a wooden skewer into the center; it should come out clean or with a few moist crumbs. The edges will pull away from the pan slightly, and the top will be golden brown. Use a reliable oven thermometer to maintain consistent temperature.
Can I double this recipe?
Absolutely. Double all ingredients and use a larger pan (28-30 cm) or two 24 cm pans. Bake time may increase by 5-10 minutes. Check for doneness as described.
What do I serve with strawberry sharlotka?
It's lovely on its own, but a dusting of powdered sugar, a dollop of whipped cream, or a drizzle of strawberry coulis elevates it. For a summer party, pair with a glass of sweet wine with high alcohol content or a light rosé. You can also serve with a scoop of vanilla ice cream.
Can I freeze the sharlotka?
Yes, wrap the cooled cake tightly in plastic wrap then foil, and freeze for up to 3 months. Thaw at room temperature for a few hours before serving. Reheat slices in a low oven (150°C) for 10 minutes to revive the texture.
Final Thoughts
This Strawberry Sharlotka embodies the spirit of Russian home baking—simple ingredients transformed into something memorable. Whether you’re a seasoned baker or a novice, the process is forgiving and the results impressive. For more inspiration, explore our wheatgrass juicer reviews (for health kicks) or best chocolate-covered raisins (for snacking). Share your creation with loved ones, and let the aroma of strawberries and buttery cake fill your kitchen. Happy baking!







