


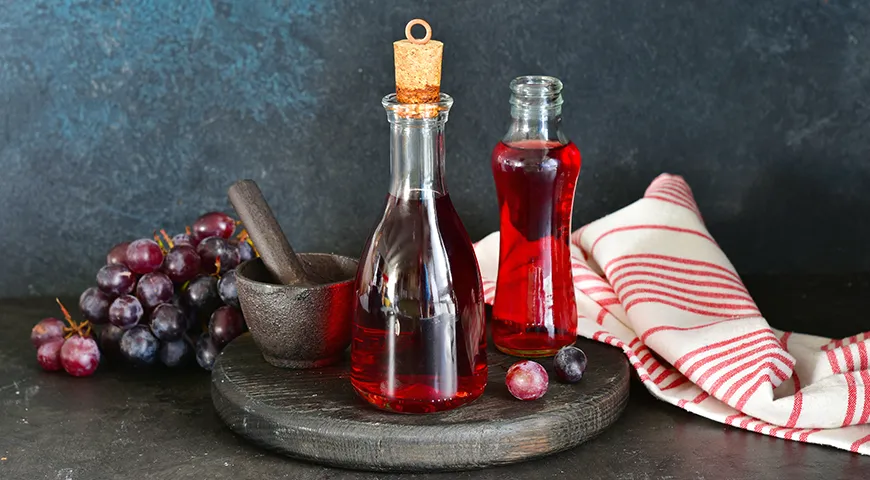
For centuries, vinegar has been a cornerstone of global cuisine, but few varieties rival the nuanced complexity of a homemade grape vinegar. Unlike the mass-produced bottles lining supermarket shelves, crafting your own grape vinegar is an act of patience and passion—a slow fermentation that transforms humble black grapes into a liquid gold of acidity and depth. This artisanal elixir elevates salads, marinades, and even roasted meats with a bright, fruity tang that no store-bought version can replicate. In this comprehensive guide, we’ll walk you through the traditional Russian method for making authentic grape vinegar, share insider tips for perfect results, and explore the countless ways this homemade treasure can enrich your cooking.
About Homemade Grape Vinegar
Homemade grape vinegar is far more than "spoiled wine"—it’s a living product born from a careful balance of natural fermentation. The process relies on the wild yeasts present on grape skins, which convert sugars into alcohol, followed by acetic acid bacteria that turn that alcohol into vinegar. This traditional method, passed down through generations in many cultures, yields a vinegar with vibrant fruit notes and a clean, sharp finish. Unlike commercial versions that may be pasteurized or filtered to death, your homemade batch retains subtle floral and berry characteristics that vary with each season’s grapes. If you’re new to fermentation, this recipe is an excellent entry point—it requires minimal equipment and mostly patience. For those who love working with best glass containers for fermentation, a simple 3-liter jar is all you need to start.

Ingredients
The beauty of this recipe lies in its simplicity—only three components, yet the result is extraordinary. Here’s what you’ll need:
- Black grapes – 1 kg (unwashed, organic preferred)
- Drinking water – 1.3 liters (boiled and cooled to 35°C)
- Sugar – 90 g (divided into two portions: 45 g + 45 g)
Selecting the right grapes is crucial. Opt for fully ripe, sweet black grapes with a natural bloom (the powdery yeast on the skins). Avoid washing them, as that would remove the wild yeast essential for fermentation. If you’re sourcing grapes from a farmers’ market, a quick inspection with best non-toxic immersion blender isn’t needed here—you’ll be using a potato masher instead. For the water, always use filtered or boiled water to eliminate chlorine that can inhibit fermentation.
Step-by-Step Instructions
Step 1: Prepare the Grape Must
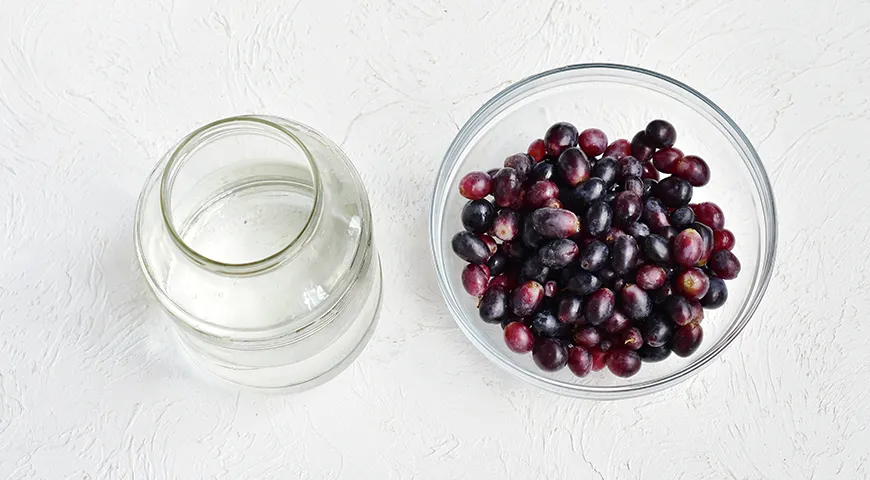
Begin by boiling the drinking water and letting it cool to 35°C (roughly body temperature). Pour the warm water into a clean 3-liter glass jar. Meanwhile, carefully separate the grapes from their stems. Do not wash the grapes—the natural yeast on the skins is your fermentation starter. Place the grapes in a large mixing bowl and crush them thoroughly with a potato masher. Transfer the crushed grapes and any released juice into the jar with the warm water. Add the first 45 g of sugar and stir gently to dissolve. Cover the jar opening with a double layer of cheesecloth secured with a rubber band. This allows airflow while keeping out fruit flies and dust. Place the jar in a warm, dark spot (20-25°C) for 2 weeks. Stir the mixture once daily with a clean wooden spoon to prevent mold and promote even fermentation. For those monitoring temperature, best refrigerant leak detector isn’t relevant here, but a simple kitchen thermometer works.
Step 2: First Fermentation – 2 Weeks
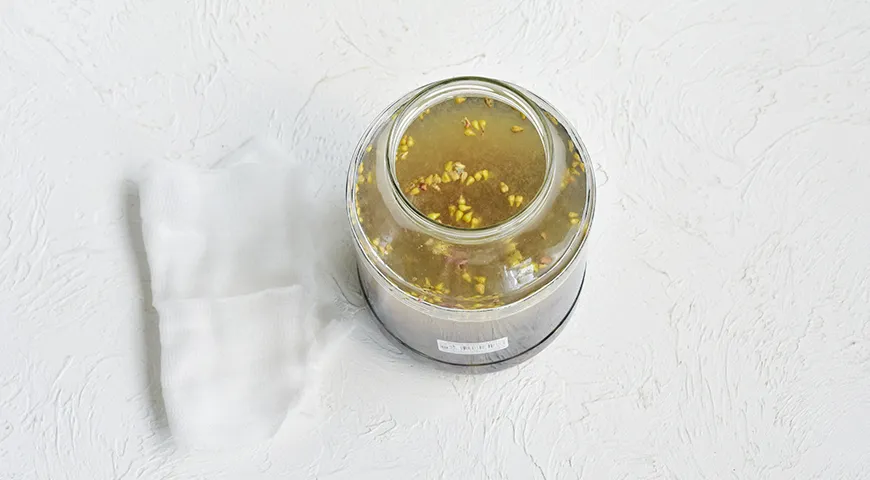
Over the next fortnight, the mixture will transform. You’ll notice bubbling, a frothy foam, and a pungent, yeasty aroma—all signs that the alcohol fermentation is underway. After 14 days, the bubbling should subside. Now it’s time to strain. Line a fine-mesh sieve with a double layer of cheesecloth and set it over a clean bowl or another large jar. Pour the fermented liquid through the sieve, gently pressing on the solids to extract as much liquid as possible. Discard the grape solids (compost them if you can). You should have a cloudy, amber liquid—the raw vinegar base. Add the remaining 45 g of sugar and stir until dissolved. Cover again with fresh cheesecloth and secure with a rubber band. Return the jar to a warm place at room temperature (20-22°C) for 1.5 to 2 months. During this second stage, acetic acid bacteria convert the alcohol into vinegar. You’ll notice a thin film (the mother of vinegar) forming on the surface—this is a good sign. For storing your finished vinegar later, consider using best steam canner if you plan to preserve it long-term.
Step 3: Second Fermentation – 1.5 to 2 Months
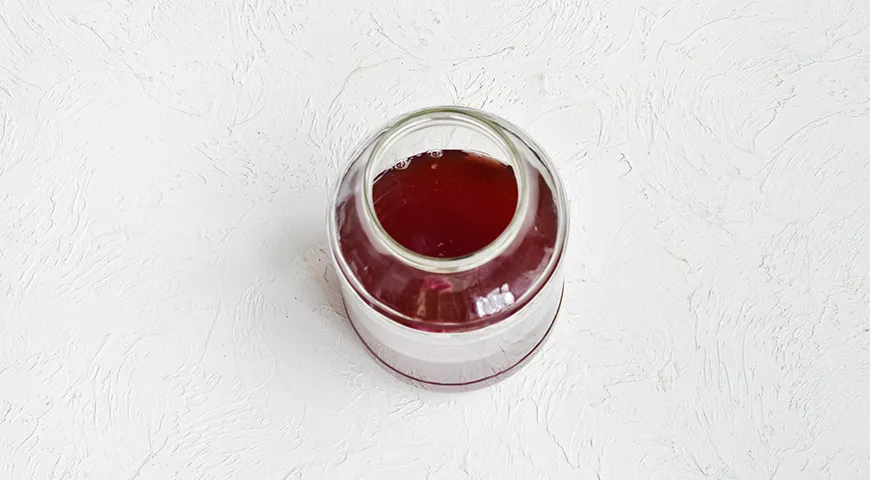
Patience is key now. Let the jar sit undisturbed. After about 4-6 weeks, taste the liquid—it should be pleasantly acidic with a deep grape character. By the end of 2 months, the vinegar will be fully developed. You might see sediment at the bottom and a thick mother on top. Don’t panic; this is natural. Avoid shaking the jar. When you’re satisfied with the acidity, it’s time to clarify. Using a clean siphon tube or turkey baster, carefully transfer the clear vinegar into a clean container, leaving the sediment and mother behind. Alternatively, you can pour through a coffee filter for a more polished look. The mother can be saved to start your next batch of vinegar—just store it in some of the vinegar in a jar in the fridge. For those who enjoy making fermented foods, best wheatgrass juicer is excellent for fresh juice, but vinegar making requires zero juicing.
Step 4: Bottling and Storage
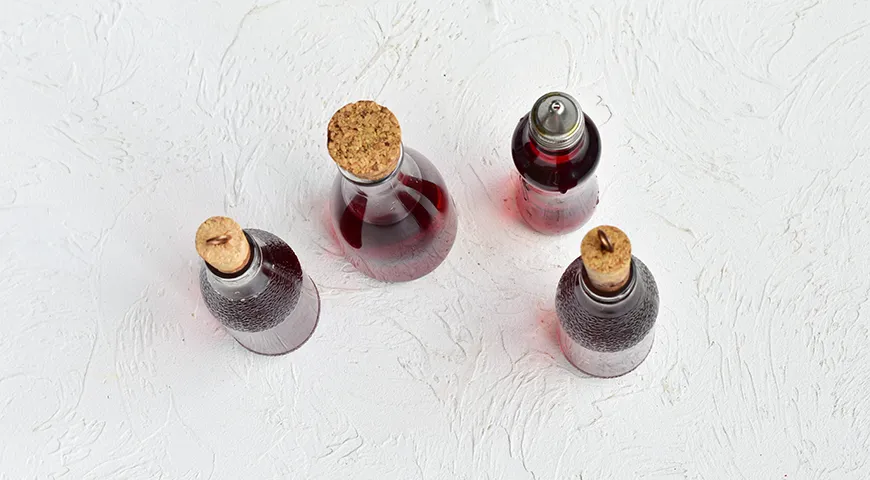
Once clarified, decant the vinegar into sterilized glass bottles or swing-top jars. Seal tightly. Store in a cool, dark place—a pantry or cellar is ideal. Properly made grape vinegar will keep for years, though its flavor may mellow over time. If you want to enjoy it immediately, it’s already ready. For gifting, consider using attractive bottles with corks. To ensure long-term quality, a best undercounter ice maker machine isn’t needed, but keeping it away from heat and light is essential. This vinegar also makes a wonderful homemade gift when paired with best chocolate covered raisins for a gourmet basket.
Tips for Success
Making vinegar is forgiving, but a few tricks can elevate your results. First, always use unwashed grapes—the natural yeast is non-negotiable. Second, maintain consistent temperature; fluctuations can slow fermentation or invite unwanted molds. If you see fuzzy mold on top (not the vinegar mother), skim it immediately and add a splash of existing vinegar to acidify the environment. Third, taste throughout the second fermentation—once it reaches your preferred acidity, bottle it to stop further development. For crushing grapes, a best food processor for nut butter might be overkill; a simple potato masher or even clean hands work beautifully. Finally, if your vinegar tastes too sharp, dilute it with a little water when using—or blend with best organic vodka for a unique cocktail shrub.
Variations
This recipe is incredibly versatile. Swap black grapes for red or green varieties, though the flavor profile will shift. For a more complex vinegar, add a cinnamon stick or a few cloves during the first fermentation. If you prefer a sweeter vinegar, increase the initial sugar to 120 g, but note that more sugar means more alcohol, leading to a higher acetic acid content. You can also experiment with best sweet wine with high alcohol content as a base if you’re short on fresh grapes—just dilute with water and skip the crushing step. For a fruit-forward variation, use half grapes and half apples. And if you love making your own condiments, pa de pessic Catalan sponge pairs wonderfully with a drizzle of this vinegar and olive oil.
Frequently Asked Questions
Can I use store-bought grape juice instead of fresh grapes?
Yes, but choose an organic, unsweetened juice with no preservatives. Dilute it with an equal amount of water and add 45 g of sugar per liter. However, fresh grapes produce a superior, more complex vinegar. For a similar artisanal approach, best George Howell coffee requires the same attention to ingredient quality.
Why did my vinegar develop a slimy layer on top?
That’s the vinegar mother—a harmless colony of acetic acid bacteria and cellulose. It’s a sign of successful fermentation. You can leave it or remove it. The mother can be used to start future batches. If the layer is fuzzy or colored (green, black, pink), it’s mold—remove it and add a splash of vinegar to lower the pH. Best air fryer non toxic won’t help, but a clean environment will.
How long does homemade grape vinegar last?
Indefinitely if stored properly in a cool, dark place. The acidity acts as a natural preservative. Over years, the flavor may mellow, but it remains safe. For long-term storage, use best 48-inch built-in refrigerator or a pantry. Once opened, use within 2 years for best flavor.
Can I speed up the fermentation?
Not really—this is a slow, natural process. However, adding a tablespoon of existing live vinegar (with mother) can jumpstart the acetic acid stage. Avoid using heat above 30°C, which can kill the bacteria. For those in a hurry, best microwave pressure cooker is great for quick meals, but vinegar demands patience.
What can I use this vinegar for?
Endless applications! Use it in vinaigrettes, marinades, pickling, deglazing pans, or as a finishing touch on roasted vegetables, fish, or even fresh strawberries. It also makes a tangy addition to best lava flavors or cocktails. For prime rib, a splash adds brightness—try it with best store bought au jus for prime rib for an elevated sauce.
Is it safe to use tap water?
If your tap water contains chlorine, let it sit out overnight to evaporate, or boil and cool it first. Chlorine can inhibit fermentation. Filtered or bottled spring water works best. Investing in best commercial countertop convection oven won’t relate, but a simple water filter does.
My vinegar smells like nail polish remover – what’s wrong?
That indicates an overabundance of ethyl acetate, often from too much oxygen or high temperatures. Ensure you’re using the correct sugar ratio and keep the jar away from direct sunlight. If it persists, start over with fresh grapes. For troubleshooting, best castor oil is unrelated, but proper sanitation is key.
Now, you have everything you need to craft your own grape vinegar—a rewarding, slow-food project that fills your kitchen with the aroma of tradition. Whether you drizzle it over a summer tomato salad or use it to deglaze a pan for a roast chicken, this homemade vinegar brings an authenticity that store brands simply cannot match. So gather your grapes, clear a warm corner of your countertop, and let nature work its magic. Your taste buds will thank you.







