


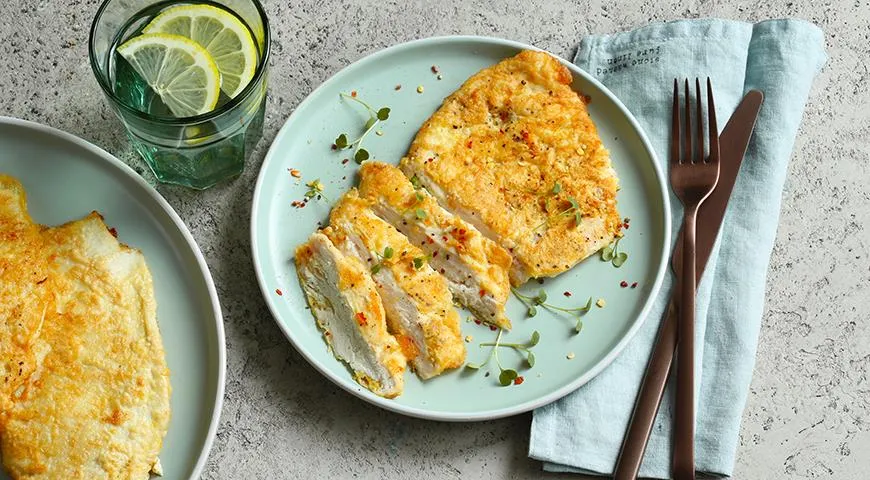
There are dishes that transcend mere sustenance and become edible time capsules, transporting us back to the warmth of a family kitchen. For many across Eastern Europe, these pan-fried chicken cutlets in a delicate batter are exactly that: a golden, crunchy memory of childhood. The process is simple, yet the result is a symphony of textures—a tender, juicy interior encased in a crackling, seasoned crust. Whether you grew up with this recipe or are discovering it for the first time, preparing these cutlets is an act of culinary love. And if you've never had them? Now is your chance to create that very memory for yourself and those you feed.
About This Recipe
These breaded chicken cutlets in batter (отбивные грудки в кляре) are a beloved staple of Russian home cooking. The key is in the technique: the chicken breast is gently pounded to an even thickness, then coated in a light flour-and-egg batter before being pan-fried until deeply golden. Unlike heavy breading, this batter creates a thin, crisp shell that seals in the natural juices. The recipe calls for a simple spice mix, but the magic lies in the all-important frying method—medium heat, no overcrowding, and a watchful eye. For an even more foolproof result, consider using a reliable best oil sprayer to control oil distribution. Pair these cutlets with a creamy or garlic-sour cream sauce, and you have a meal that satisfies both body and soul.

Ingredients
- 2 large boneless, skinless chicken breasts (about 500 g total)
- 100 g all-purpose flour
- 2 large eggs
- 1 tsp chicken seasoning blend (or a mix of paprika, garlic powder, onion powder, and dried herbs)
- Salt and freshly ground black pepper, to taste
- Vegetable oil, for frying
Optional for serving: sour cream, minced garlic, fresh dill, or a drizzle of melted butter. To elevate your kitchen prep, a high-quality best food processor for nut butter can also be used to quickly make herb blends or sauces.
Step-by-Step Instructions
Step 1: Prepare the Chicken
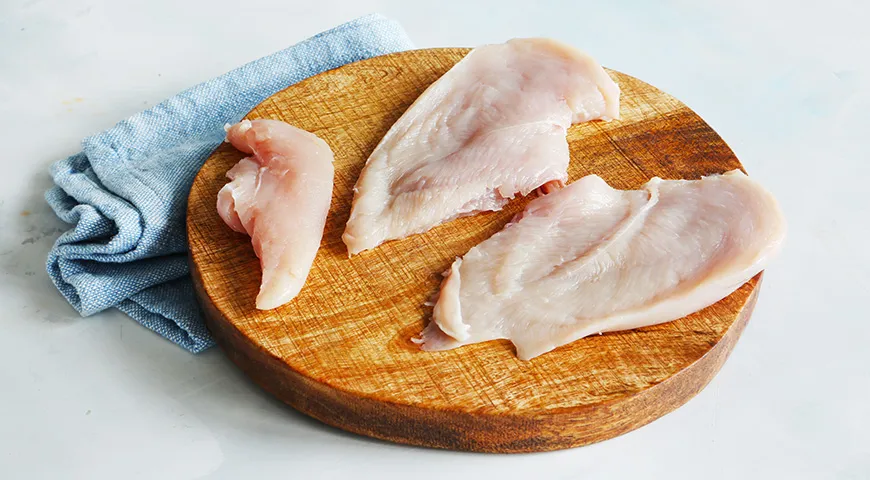
Separate the small tenderloin (the strip from the underside of the breast) from each large breast. Cut each large breast horizontally into two even fillets. Leave the tenderloins whole—they are naturally thin and perfect for this dish. Pat all pieces dry with paper towels.
Step 2: Set Up the Breading Station
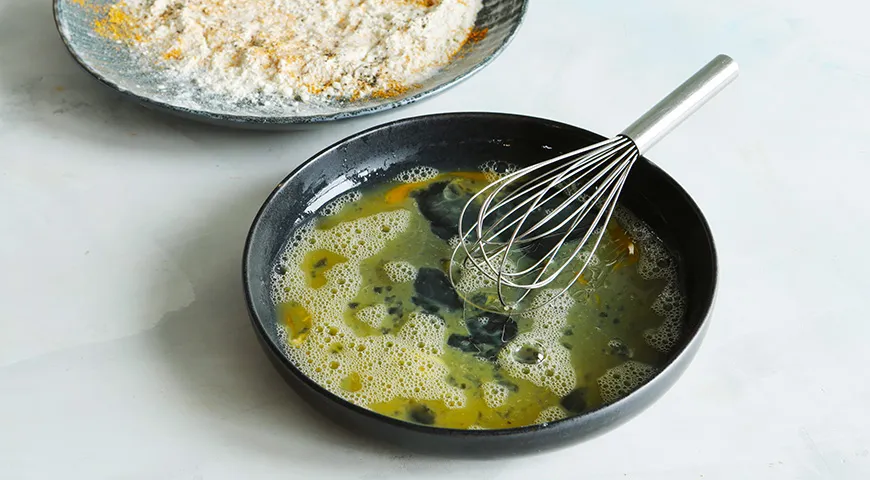
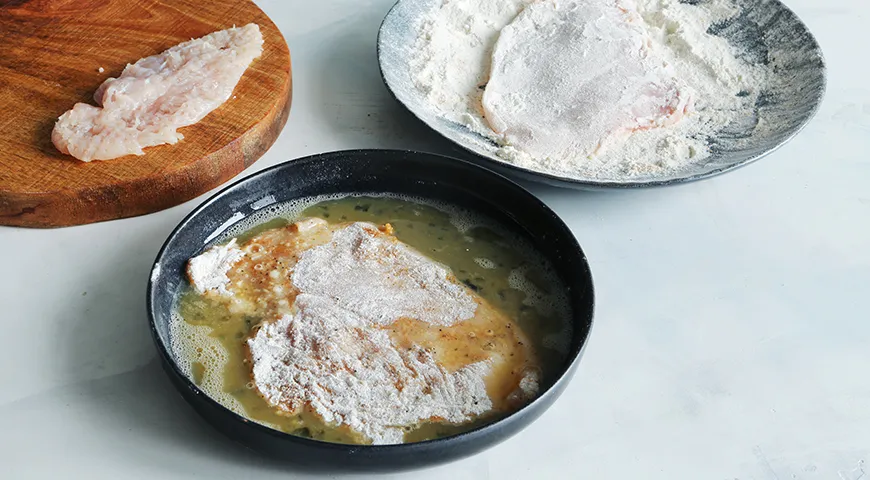
In a wide, shallow dish, combine the flour with the chicken seasoning, salt, and pepper. In a separate deep bowl, beat the eggs with a pinch of salt and 2 tablespoons of the seasoned flour mixture until smooth. Heat a generous amount of vegetable oil in a large skillet over medium heat. A heavy-bottomed pan gives the best results—if you’re in the market for a new one, check out our guide to the best air fryer non-toxic for alternative cooking methods.
Step 3: Pound the Fillets
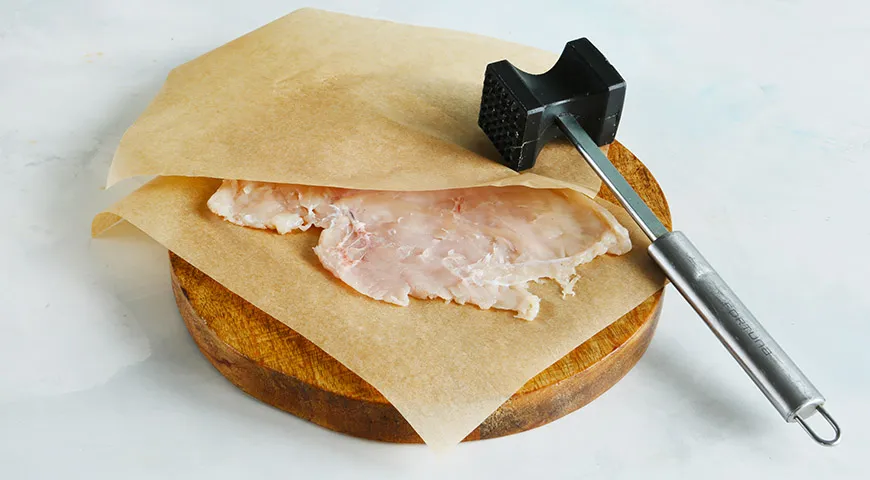
Take a large sheet of parchment paper. Place one piece of chicken on one half, fold the other half over, and gently pound with a rolling pin or meat mallet to an even thickness of about 5–7 mm. Be careful not to tear the meat. Repeat with all pieces, including the tenderloins. Even thickness ensures uniform cooking.
Step 4: Coat and Fry
Dredge one cutlet in the seasoned flour, shaking off excess. Dip it into the egg mixture, letting any excess drip off. Carefully lay the cutlet into the hot oil. Repeat with remaining pieces, but do not overcrowd the pan—work in batches if needed. Overcrowding lowers the oil temperature and prevents that coveted golden crust. Using a best commercial countertop convection oven is another great way to achieve even browning, though pan-frying is classic here.
Step 5: Finish and Serve
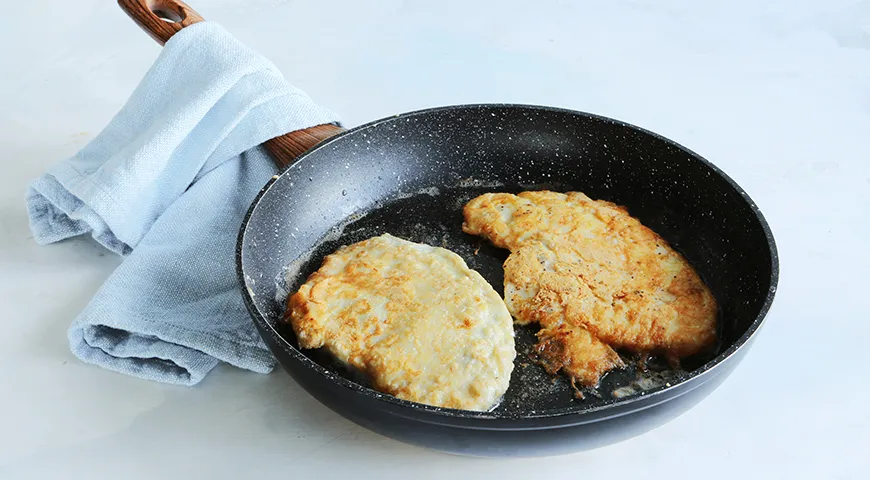
Fry without a lid over medium heat for 3–3½ minutes per side. If the cutlets are pounded thin enough, this is sufficient. If they appear thicker, flip and cook an additional 2 minutes. The crust should be deep golden and the internal temperature 74°C (165°F). Serve piping hot—immediately—with your choice of sauce. A quick best chocolate covered raisins might satisfy a sweet tooth, but here the star is the savory cutlet.
Pro Tips for Perfect Cutlets
- Don’t skip the pounding: It tenderizes the meat and ensures quick, even cooking. Use parchment to avoid splatters.
- Oil temperature is critical: The oil should shimmer but not smoke. A drop of batter should sizzle immediately. Test with a tiny piece before frying.
- Let the egg drip: Excess egg batter creates a thick, doughy crust. Let it drip off fully for a thin, crispy shell.
- Work in batches: Giving each cutlet space ensures the crust stays crunchy, not soggy.
- Keep warm in the oven: Place finished cutlets on a wire rack over a baking sheet at 100°C (212°F) while you finish the rest.
For those who love precision, a best 48 inch built in refrigerator helps keep ingredients fresh, and a best undercounter ice maker machine provides ice for a quick cocktail pairing.
Variations to Try
Once you master the basic recipe, experiment with these twists:
- Spicy version: Add a pinch of cayenne or chili flakes to the flour mix.
- Herb crust: Mix dried oregano or thyme into the flour blend.
- Cheese coating: Sprinkle grated Parmesan over the cutlets just before the final flip for a cheesy crust.
- Gluten-free option: Substitute flour with a 1:1 gluten-free blend.
- Baked version: For a lighter take, bake on a wire rack at 220°C (425°F) for 12–15 minutes, flipping halfway. For this, consider a best wall oven microwave combo with air fryer.
Serving Suggestions
These cutlets shine alongside mashed potatoes, a crisp garden salad, or steamed green beans. The classic accompaniments are a dollop of sour cream whisked with minced garlic and fresh dill, or a quick creamy mushroom sauce. For a more indulgent meal, serve with buttered noodles. If you’re planning a larger spread, the best organic vodka makes a fine digestif. And don’t forget a side of best george howell coffee if serving brunch.
Frequently Asked Questions
Can I use chicken thighs instead of breasts?
Absolutely. Thighs are more forgiving and remain juicy. Pound them to the same thickness and adjust cooking time slightly (about 4 minutes per side).
Why is my batter falling off?
This usually happens if the meat is not properly dried before coating, or if the flour layer is too thick. Pat the chicken dry and shake off excess flour thoroughly.
Can I make these cutlets ahead of time?
They are best fresh, but you can prep them by coating and refrigerating (covered) for up to 4 hours before frying. Reheat leftovers in a 180°C (350°F) oven to restore crispness, not the microwave. A best microwave pressure cooker is excellent for reheating other components, but not these cutlets.
What’s the best oil for frying?
Vegetable, canola, or sunflower oil are ideal due to their high smoke points. Avoid olive oil as it burns easily.
How do I get an extra crispy crust?
Add a tablespoon of cornstarch to the flour mixture. This creates a lighter, crunchier texture. Also, ensure the oil is hot enough before adding the first cutlet.
Can I freeze the cooked cutlets?
Yes. Let them cool completely, then layer between sheets of parchment in a freezer-safe container. Reheat directly in a hot oven or air fryer. A best air fryer non toxic is perfect for this.
What sauces pair best?
A classic sour cream and garlic sauce, a creamy mushroom sauce, or even a simple lemon-butter pan sauce are all wonderful. For a tangy twist, try a best store bought au jus for prime rib as a quick dipping sauce.
For more inspiration on kitchen tools, read about the best espresso machine under 2000 to complete your culinary setup, or learn about best steam canner for preserving seasonal produce.







