


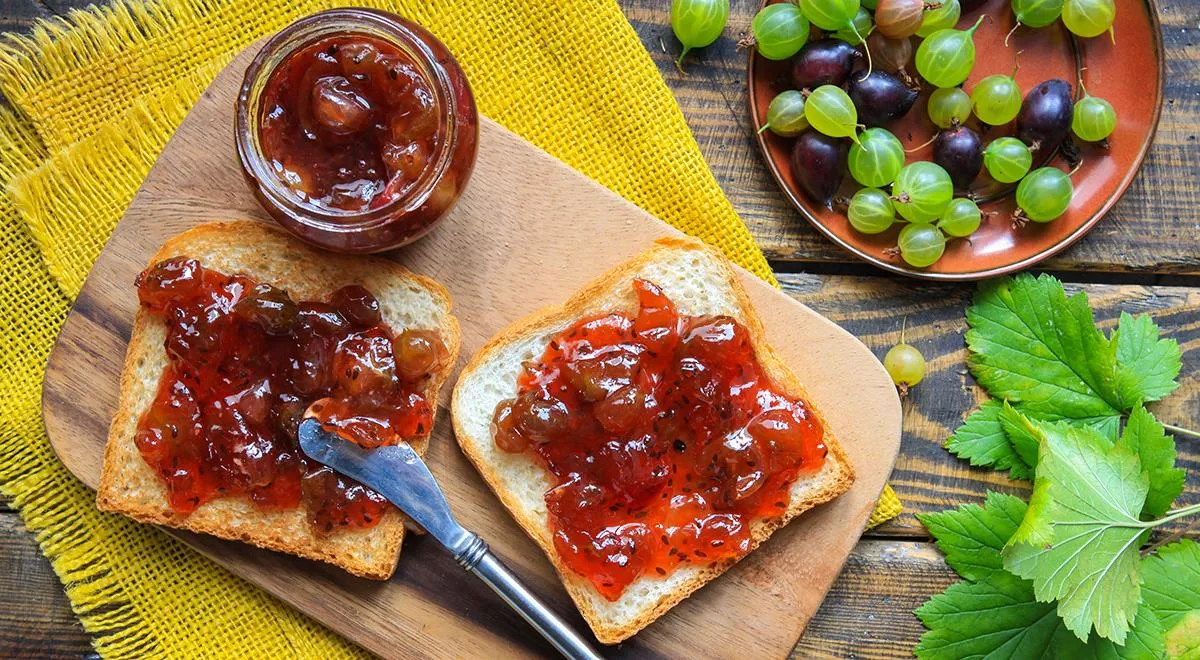
There is something deeply satisfying about capturing the essence of summer in a jar—especially when it takes only five minutes of active cooking. This Five-Minute Gooseberry Jam for Winter, or Varenie Pyatiminutka iz Kryzhovnika, is a beloved Russian preserve that balances bright tartness with gentle sweetness, all while keeping the berries remarkably intact. Unlike long-simmered jams that break down fruit into a uniform mass, this quick method preserves the plump, jewel-like character of gooseberries, making it a versatile pantry star. Whether you spread it on crusty bread, swirl it into yogurt, or use it as a glaze for roasted meats, this jam delivers a burst of summer even on the darkest winter day.
About This Quick Gooseberry Preserve
The name “pyatiminutka” (five-minute) refers to the short boiling time, a technique that has been a cornerstone of Russian home canning for generations. By cooking the fruit in two brief intervals separated by a resting period, you allow the berries to absorb the syrup without turning mushy. This method not only preserves the shape and texture of the gooseberries but also retains more of their natural vitamins and bright color. Using a high-quality non-toxic immersion blender for other kitchen tasks is a wise choice, but for this jam, you’ll want to keep the berries whole. The resulting jam is less gelled than traditional preserves—more like fruit suspended in a light, tangy syrup—and it’s wonderful for both sweet and savory applications. Pair it with creamy cheeses, spoon over pancakes, or brush onto pork chops before grilling.

Ingredients
- 1 kg fresh gooseberries (any color: red, green, or pink)
- 800 g granulated sugar
- 2 tablespoons fresh lemon juice
The simplicity of the ingredient list means each element matters. The sugar not only sweetens but also acts as a preservative, while the lemon juice brightens the flavor and helps set the jam naturally. A splash of organic vodka (optional) can intensify the fruit’s aroma, though it’s not traditional. For best results, choose firm, ripe gooseberries—underripe ones lack sweetness, while overripe ones will disintegrate during the brief cooking.
Step-by-Step Preparation
Follow these seven simple steps to create your own jarred treasure. The total active time is under 20 minutes, but plan for a 3–6 hour resting period between boils.
Step 1: Sort and Clean the Berries
Begin by sorting through the gooseberries, discarding any moldy or shriveled specimens. Rinse them thoroughly under cold running water and spread them onto clean kitchen towels or paper towels to dry completely. Moisture can dilute the syrup and encourage spoilage, so pat them gently if needed. 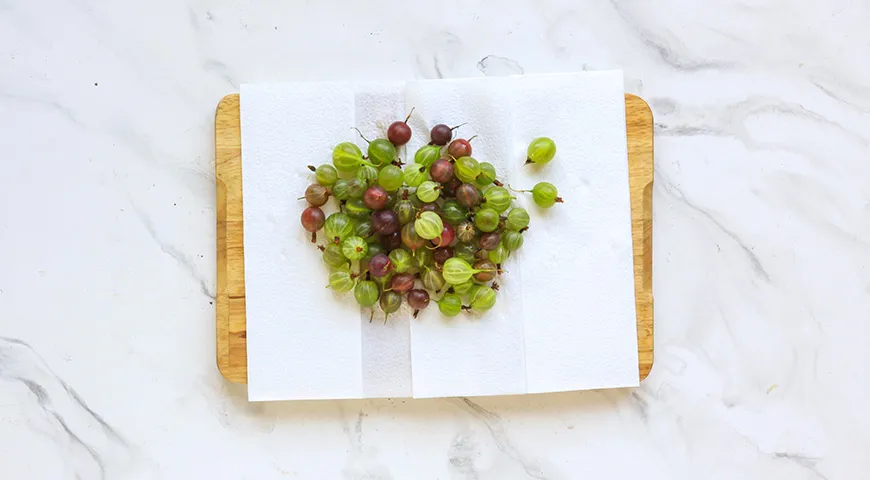
Step 2: Remove Stems and Tails
Once dry, remove the stems and dry tails from each berry. The most efficient tool for this tedious task is a pair of small scissors—manicure scissors work perfectly. This step ensures a pleasant texture in the final jam; nobody wants a woody stem in their spoonful. 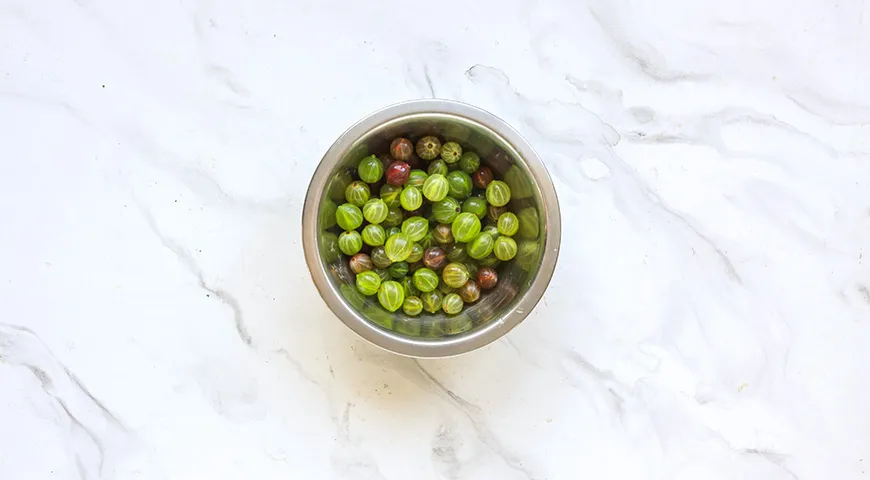
Step 3: Combine Berries, Sugar, and Lemon Juice
Transfer the cleaned gooseberries to a large, heavy-bottomed saucepan or preserving pan. Add the sugar and lemon juice, then stir gently to coat every berry. Let the mixture sit uncovered for 10–15 minutes; during this time the sugar begins to dissolve and draws out the berries’ natural juices, creating the foundation of the syrup. 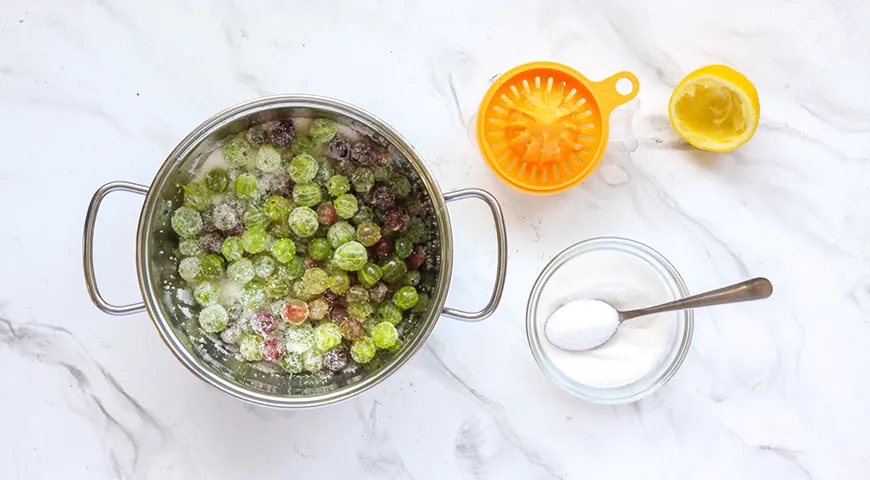
Step 4: First Boil
Place the pan over medium heat. Stir occasionally with a wooden spoon or silicone spatula until the sugar has fully dissolved and the mixture comes to a gentle boil. Once boiling, let it bubble for just 5 minutes, stirring frequently to prevent scorching. The berries will soften slightly and release more juice. 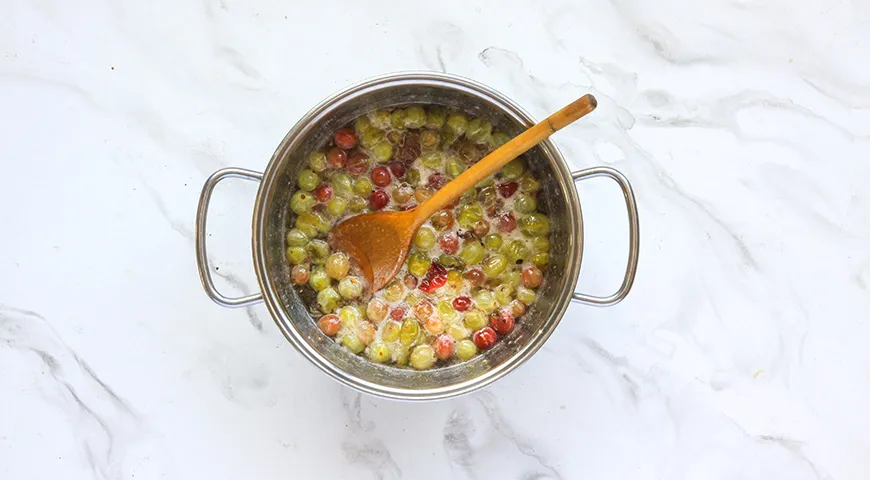
Step 5: First Rest
Remove the pan from the heat. Let the jam cool completely at room temperature, then cover and allow it to rest for 3 to 6 hours (or even overnight). During this pause, the berries absorb the syrup, becoming tender yet retaining their shape. This step is critical for achieving that perfect “pyatiminutka” texture. 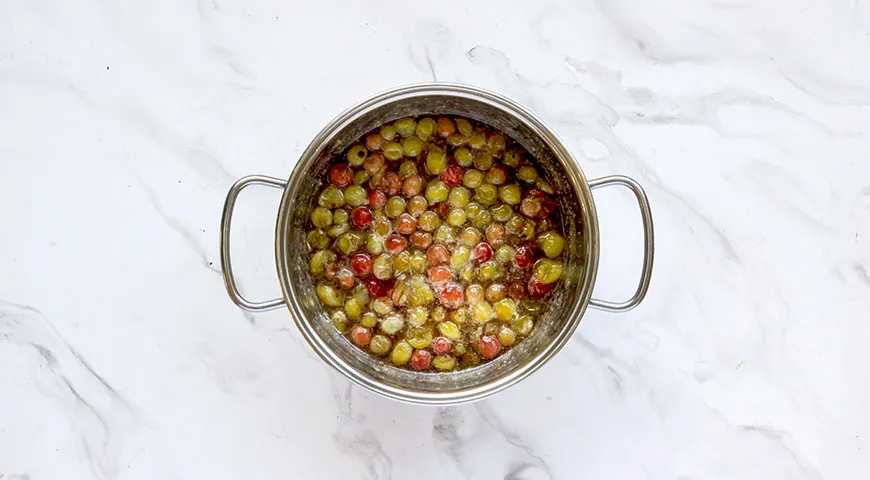
Step 6: Second Boil
After the resting period, return the jam to the stove over medium heat. Bring it back to a boil, then reduce the heat to low and simmer for another 5 minutes. Stir continuously to prevent sticking. The syrup will thicken slightly, and the berries will become glossy. 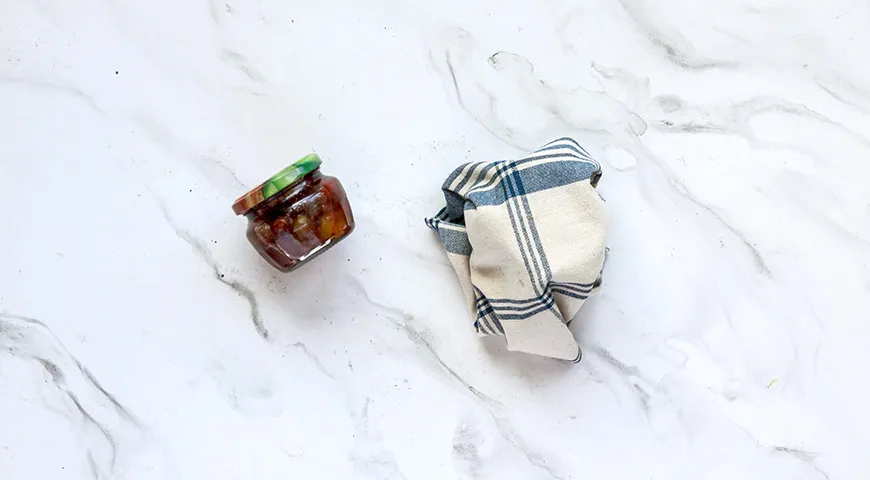
Step 7: Jar and Seal
While the jam is still piping hot, carefully ladle it into sterilized glass jars, leaving about 1 cm headspace. Wipe the rims clean, then seal with sterilized lids. Invert the jars briefly (or process in a water bath for extra safety) to create a vacuum seal. Wrap the jars in a warm towel and let them cool completely at room temperature for 24 hours. A steam canner can simplify the sealing process perfectly.
Tips for Perfect Five-Minute Gooseberry Jam
- Don’t skip the lemon juice – It lowers the pH, ensuring a safe preserve and brightening the fruit’s natural tartness.
- Use a wide, heavy pan – This promotes even evaporation and prevents burning. A commercial-grade countertop convection oven is overkill for jam, but a good stovetop pan is essential.
- Sterilize jars properly – Boil jars and lids for 10 minutes, then keep them hot until filling. An undercounter ice maker isn’t needed, but a dedicated canning pot is helpful.
- Test for set – Place a small spoonful on a chilled plate; if it wrinkles when pushed, the jam is ready.
- Store in a cool, dark place – Once opened, keep refrigerated and consume within three weeks. A built-in refrigerator with even cooling ensures your preserves last longer.
Variations to Explore
This basic recipe is a blank canvas. Try adding a vanilla bean or a cinnamon stick during the first boil for a spiced version. A tablespoon of grated fresh ginger adds warmth. For a boozy twist, stir in a splash of bourbon or brandy after the second boil. You can also combine gooseberries with strawberries or raspberries for a mixed-berry preserve. If you’re a fan of sweet berry treats, try our chocolate-covered raisin guide for another indulgent idea.
Storing and Using Your Jam
Properly sealed jars will keep for up to a year in a cool, dark pantry. Once opened, refrigerate and use within a month. This jam is wonderful spread on toast, folded into oatmeal, or served alongside a cheese board. It also makes a fantastic glaze for roasted poultry or a base for salad dressings. An air fryer can quickly heat frozen puff pastries filled with this jam for an instant dessert.
Frequently Asked Questions
Can I use frozen gooseberries for this recipe?
Yes, frozen gooseberries work well. Thaw them completely and drain any excess liquid before starting. You may need to increase the boiling time by a minute or two to compensate for extra moisture. A microwave pressure cooker can quickly thaw berries if you’re in a hurry.
Why did my jam turn out too runny?
Runny jam usually results from undercooking or too much liquid. Make sure you boil for the full 5 minutes in each stage and let the syrup reduce slightly. Adding a small amount of pectin (commercial or homemade from apple cores) can help if you prefer a firmer set. A food processor makes quick work of grinding apples for pectin.
How can I make this jam without sugar?
You can substitute a sugar alternative like erythritol or monk fruit, but the consistency and preservation will change. Expect a softer set and shorter shelf life. A juicer can help you extract natural sweetness from other fruits to boost flavor.
Is it necessary to rest the jam between boils?
Yes, the resting period is essential. It allows the berries to absorb syrup evenly, preventing them from becoming tough or shriveled. Skipping this step results in uneven texture and less flavorful jam.
Can I double the recipe?
Absolutely, but use a very large pot to avoid overflow and extend the boiling time by a minute or two. Ensure you have enough sterilized jars on hand. An espresso machine isn’t related, but it’s a good reminder to brew a cup to enjoy with your freshly made jam.
This Five-Minute Gooseberry Jam is more than a preserve—it is a little jar of summer’s resilience, a quick project that yields rewarding, long-lasting results. Whether you are new to canning or an experienced preserver, this recipe’s simplicity and elegance will earn a permanent spot in your repertoire. A quality oil sprayer is handy for greasing jars, but the real hero here is patience and quality fruit. Enjoy your homemade treasure all winter long.







