


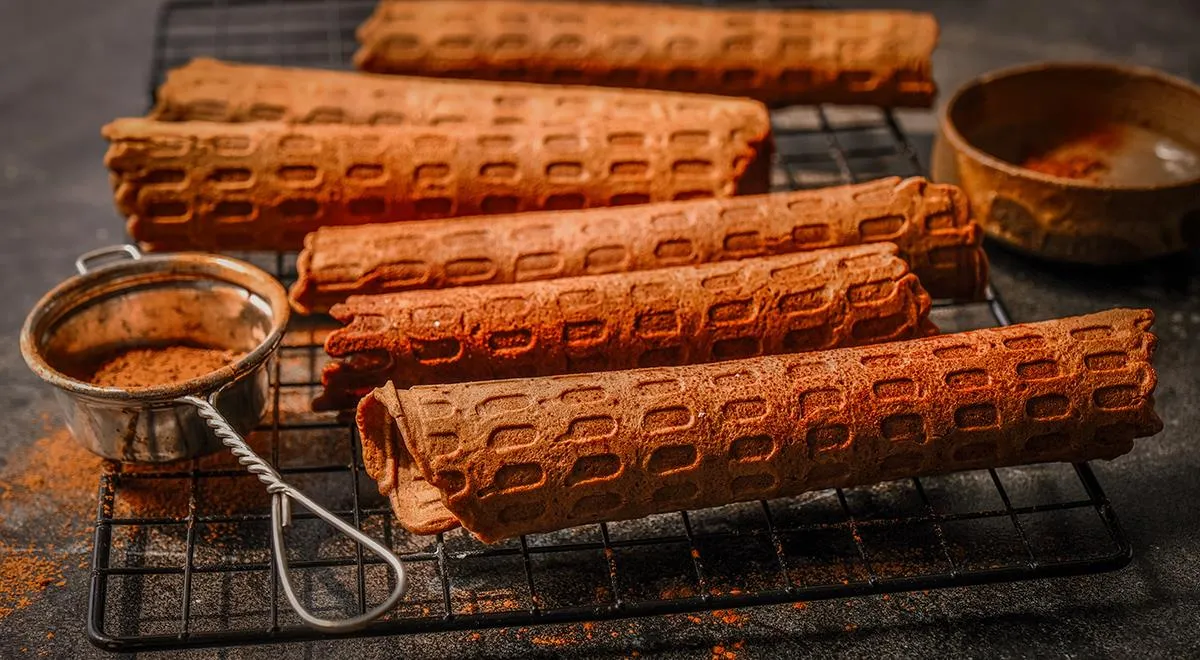
Indulge in the nostalgic charm of homemade Chocolate Wafer Rolls—a classic Russian teatime treat that combines crisp, cocoa-kissed waffle tubes with endless filling possibilities. These delicate rolls, known as shokoladnye vafli-trubochki, are surprisingly simple to prepare with just a few pantry staples. Whether enjoyed plain, dusted with icing sugar, or filled with silky cream, Nutella, or fresh berries, they promise a moment of pure bliss. Their golden-brown, thin-crunch texture and deep chocolate flavor make them an irresistible companion to coffee, tea, or a glass of milk. This recipe unlocks the secret to achieving perfect, crack-free rolls every time, using a classic waffle iron and simple techniques. With our step-by-step guidance and insider tips, you’ll master this beloved dessert and create your own signature variations.
About This Recipe
Originating from the Soviet era, these wafer rolls were a cherished homemade sweet, often prepared for family gatherings and holidays. The base is a straightforward batter of melted margarine (or butter), sugar, eggs, flour, and cocoa powder. The magic happens when the batter hits the hot waffle iron—it transforms into a crisp, pliable sheet that must be rolled immediately into a tube while still hot. This recipe yields a generous batch, perfect for sharing. The addition of cocoa powder gives a rich, bittersweet note that balances beautifully with sweet fillings. For a truly indulgent experience, consider pairing them with a freshly brewed espresso or a cup of George Howell coffee.

Ingredients
- 300 g all-purpose flour
- 300 g granulated sugar
- 300 g butter or margarine (room temperature)
- 6 large eggs (C1 size, about 50 g each)
- 30 g unsweetened cocoa powder
Optional: pinch of salt, vanilla extract, or a splash of organic vodka for extra crispness.
Step-by-Step Instructions
Step 1: Prepare the Batter Base
In a large microwave-safe bowl, melt the margarine (or butter) in short bursts—start with 10 seconds at full power, then repeat until fully melted. Alternatively, use a saucepan over low heat. Once melted, remove from heat and stir in the sugar until completely dissolved. The mixture should appear glossy and smooth. If using a planetary mixer, you can combine these ingredients on low speed.

Step 2: Incorporate Eggs and Dry Ingredients
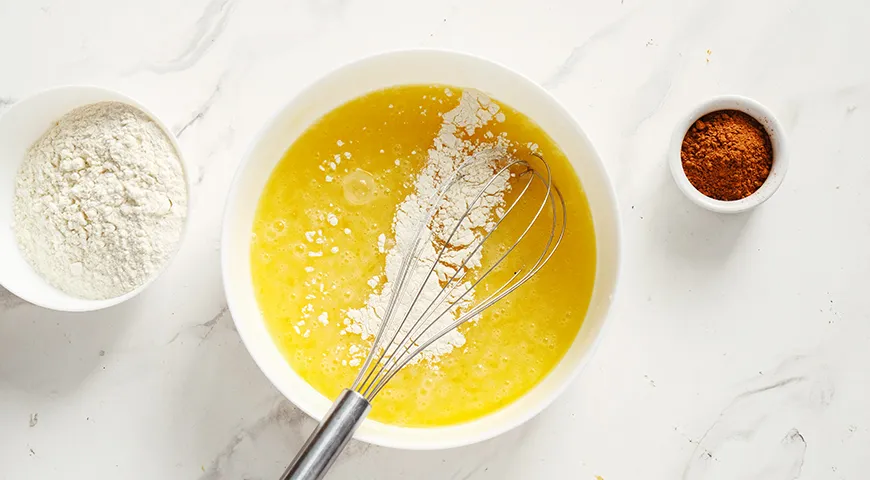
In a separate bowl, lightly beat the eggs until frothy. Allow the margarine-sugar mixture to cool slightly (so it doesn’t cook the eggs), then slowly pour in the beaten eggs while stirring constantly. Mix until homogeneous. Sift together the flour and cocoa powder, then gradually add them to the wet mixture, stirring vigorously with a whisk or using an immersion blender on low speed to avoid lumps. Continue mixing until you have a smooth, thick batter with no dry patches.
Step 3: Bake and Roll
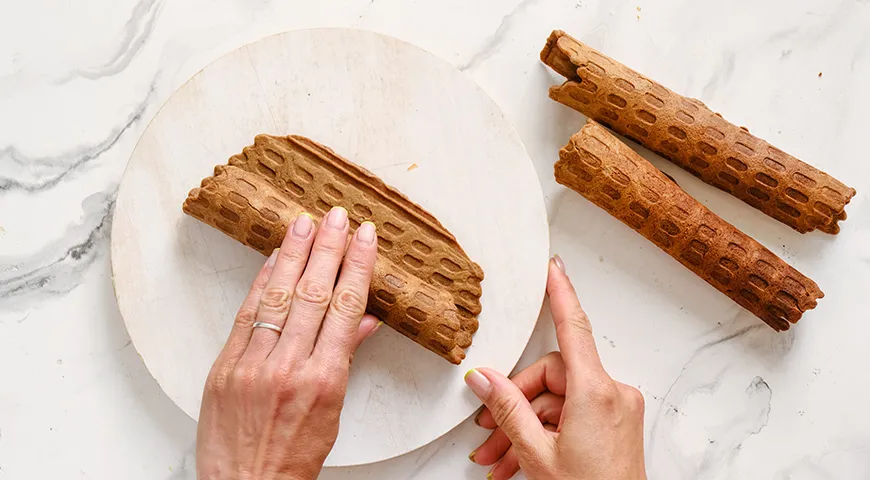
Preheat your waffle iron according to the manufacturer’s instructions (if using a non-toxic model, even better). Lightly grease the plates with a oil sprayer or a brush with melted butter. Pour a small ladleful of batter onto the center of the iron, close the lid, and cook until golden and crisp—typically 2–3 minutes depending on your appliance. As soon as each wafer comes out, use a thin spatula to lift it and quickly roll it around a wooden spoon handle or a metal cone to form a tube. Hold for a few seconds to set the shape. Transfer to a wire rack to cool completely. Repeat with remaining batter.
Tips for Perfect Chocolate Wafer Rolls
- Temperature matters: Work quickly—the wafers harden within seconds, so roll them while they are still pliable. Have your rolling tool ready.
- Even batter: Spread the batter thinly and evenly for a consistent crispness. Too thick, and the rolls will be doughy.
- Grease wisely: Use a quality oil sprayer to lightly coat the iron between batches if needed.
- Storage: Keep the cooled rolls in an airtight container at room temperature for up to a week. They may soften slightly but can be re-crisped in a low oven.
- Flavor boost: Add a pinch of salt or a teaspoon of vanilla extract to the batter to enhance the chocolate notes. A splash of organic vodka in the batter evaporates during baking, yielding extra-crispy shells.
Variations and Fillings
The beauty of these wafer rolls lies in their versatility. Serve them plain as a delicate cookie, or fill them with luscious creams. Classic options include homemade Nutella (blend hazelnuts and chocolate in a food processor), sweetened condensed milk, whipped cream, or cream cheese frosting. For fruit-forward fillings, fold in fresh berries like strawberries, blueberries, or raspberries, or mash a ripe banana for a quick, decadent treat. You can even create a grown-up version by piping in a chocolate mousse spiked with chocolate-covered raisins or a dash of sweet dessert wine. For a crunchy contrast, dip the ends in melted chocolate and sprinkle with toasted nuts or chocolate-covered raisins. If you’re hosting guests, consider setting up a DIY filling bar with options like fresh cream, fruit compote, and a lava-flavored caramel. Pair these rolls with a coffee maker for a perfect after-dinner treat. Store any leftover unfilled rolls in a large refrigerator to maintain freshness. For a festive presentation, serve them alongside a scoop of ice cream and a drizzle of homemade syrup made in a steam canner.
Frequently Asked Questions
Can I use butter instead of margarine?
Absolutely. Butter adds a richer flavor and a slightly tenderer texture. However, margarine often yields a crisper result. For the best of both worlds, use half butter and half margarine.
Why did my wafers become soft after rolling?
This usually happens if the wafers were not baked long enough or if they absorbed moisture from the air. Ensure they are golden and crisp before rolling, and store them in an airtight container. You can re-crisp them in a convection oven at 150°C for a few minutes.
Can I make these waffle rolls without a waffle iron?
Yes, you can use a non-toxic air fryer or a stovetop pizzelle maker. Alternatively, spread the batter thinly on a baking sheet lined with a silicone mat and bake at 180°C until set, then quickly shape them while warm.
How do I prevent the rolls from cracking when I roll them?
The key is to roll them immediately after baking while they are still hot and pliable. If you wait too long, they become brittle. Work quickly and use a thin spatula to lift the wafer without breaking it.
What fillings pair best with the chocolate flavor?
Classic pairings include vanilla whipped cream, coffee buttercream, or a creamy Nutella-style spread. For a refreshing twist, fill with mascarpone and fresh berries, or a light lemon curd. The bittersweet cocoa base balances beautifully with tangy fruit or sweet dairy.
Can I freeze the unfilled rolls?
Yes, unfilled rolls freeze well for up to 3 months. Place them in a single layer in a freezer-safe container with parchment between layers. Thaw at room temperature and re-crisp if needed before filling.







