


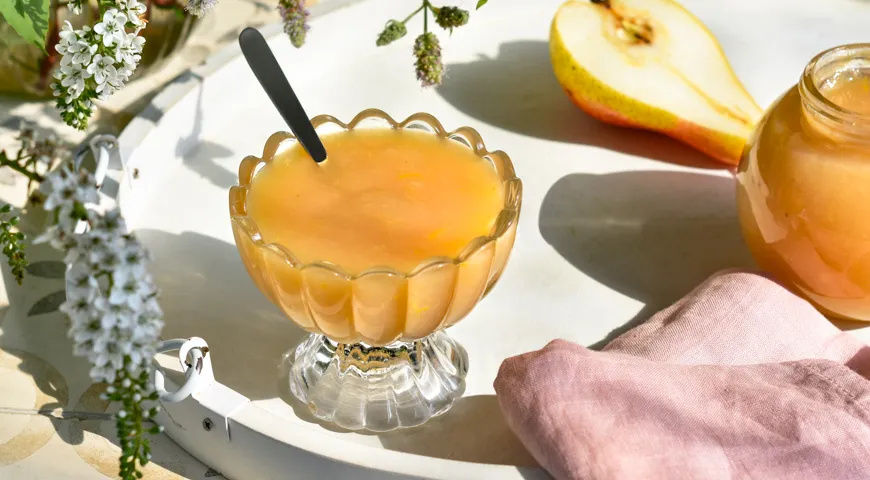
There is something deeply comforting about a homemade pear jam—its golden hue, delicate sweetness, and the way it captures the essence of ripe summer fruit. This simple pear jam recipe transforms humble pears into a luxurious spread that elevates everything from morning toast to elegant cheese boards. Unlike store-bought versions laden with preservatives, this DIY preserve lets you control every ingredient, ensuring a pure, natural flavor. Whether you are a seasoned canner or a curious beginner, this guide will walk you through each step to create a jam that is both foolproof and unforgettable.
About This Pear Jam
Pear jam is a classic preserve that shines with minimal intervention. The natural pectin in pears, combined with a touch of lemon juice and star anise, creates a balanced sweetness with subtle spice. This recipe yields approximately 1.2 kilograms of jam, perfect for gifting or stocking your pantry. The method uses a non-toxic immersion blender to achieve a silky smooth texture, but you can also use a food mill for a chunkier consistency. For those with dietary concerns, this jam contains no artificial colors or flavors, making it a wholesome treat for the whole family.

Ingredients
- 1 kg ripe but firm pears (such as Bartlett or Bosc)
- 100 ml filtered drinking water
- 400 g granulated sugar (adjust to taste depending on pear sweetness)
- 1 large lemon (organic preferred for zest)
- 2 whole star anise pods
All measurements are metric for precision. The pears should be fragrant and slightly yielding to the touch—overly soft fruit will break down too quickly. For the best results, consider using a glass food processor to chop the pears uniformly, though a chef’s knife works beautifully.
Step-by-Step Instructions
Step 1: Prepare the Pears
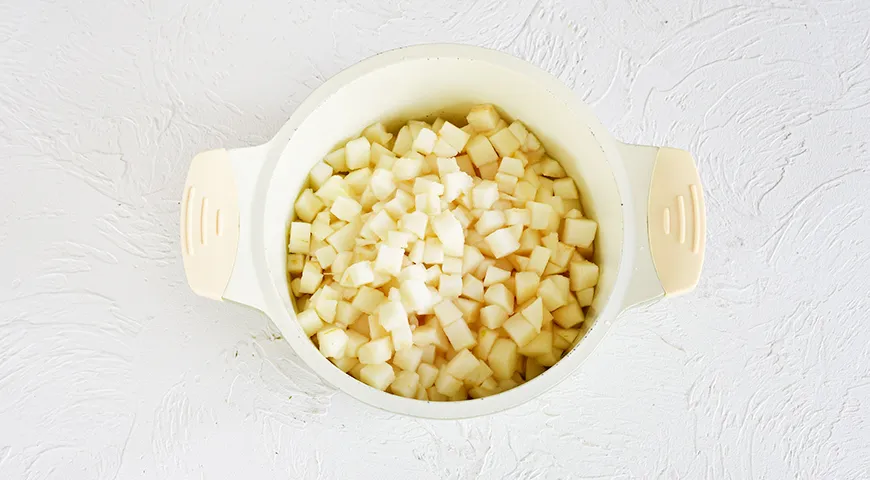
Wash the pears thoroughly under cold water. Peel the skin with a vegetable peeler, then cut each pear in half vertically. Use a melon baller or small spoon to remove the core and seeds. Dice the flesh into 1 cm cubes—smaller pieces cook faster and yield a smoother jam. Transfer the cubes to a heavy-bottomed enamel or stainless steel pot. Tip: If you have a food processor for nut butter, it can also chop pears efficiently, but avoid overprocessing.
Step 2: First Cooking
Add the measured water to the pot with the pear cubes. Bring to a boil over medium-high heat, then reduce to a gentle simmer. Cook for about 15 minutes, stirring occasionally, until the pears are tender and translucent. The water should be mostly absorbed. Remove the pot from heat and let it cool slightly—about 10 minutes—to prevent splashing when blending.

Step 3: Prepare the Lemon
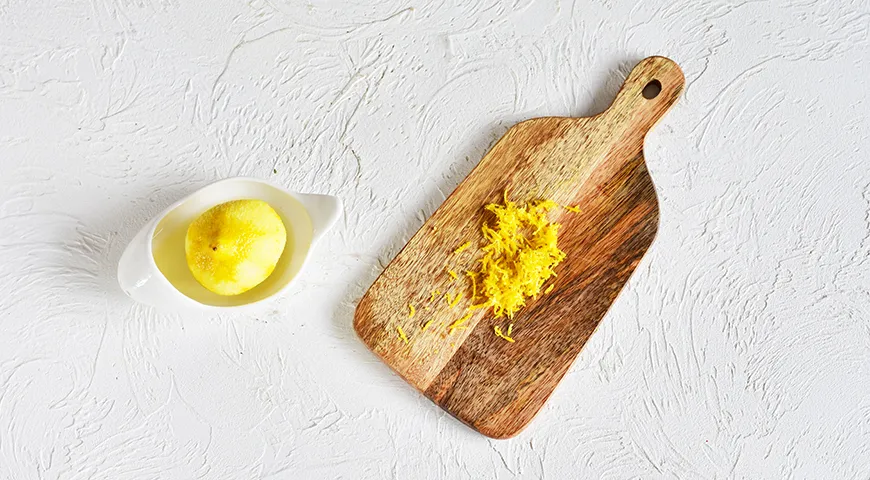
While the pears cool, wash the lemon thoroughly with a clean sponge to remove any wax. Dry it with paper towels. Using a microplane or fine grater, zest only the yellow part of the skin—avoid the bitter white pith. Set the zest aside. Cut the lemon in half and squeeze out the juice, straining out seeds. You will need about 3 tablespoons of juice. Using a wheatgrass juicer is overkill here, but a handheld citrus press works perfectly.
Step 4: Blend the Pear Mixture
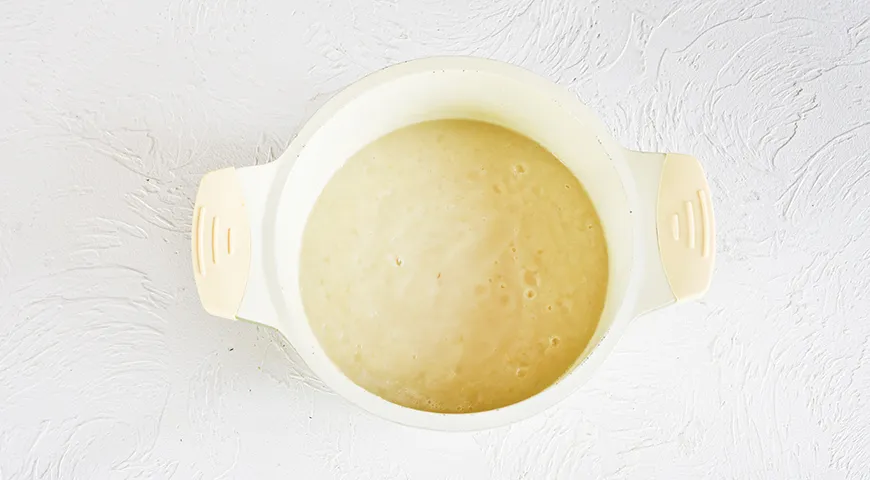
Using an immersion blender, puree the cooked pears directly in the pot until completely smooth. If you prefer a rustic texture, pulse to leave small pieces. Transfer the puree to a wide, heavy-bottomed pot (such as a Dutch oven) to ensure even evaporation. Add the sugar and stir to combine.
Step 5: Cook with Spices
Place the pot over medium heat, stirring constantly until the sugar dissolves and the mixture comes to a boil. Reduce heat to low—you want a gentle, steady simmer. Add the star anise pods. Cook for about 30 minutes, stirring every 5 minutes to prevent sticking. The jam will thicken and darken slightly. After 30 minutes, add the lemon zest and juice. Continue cooking for another 10 minutes, stirring frequently. A planetary mixer used with a stirring attachment could handle large batches, but for this quantity, hand stirring is fine.
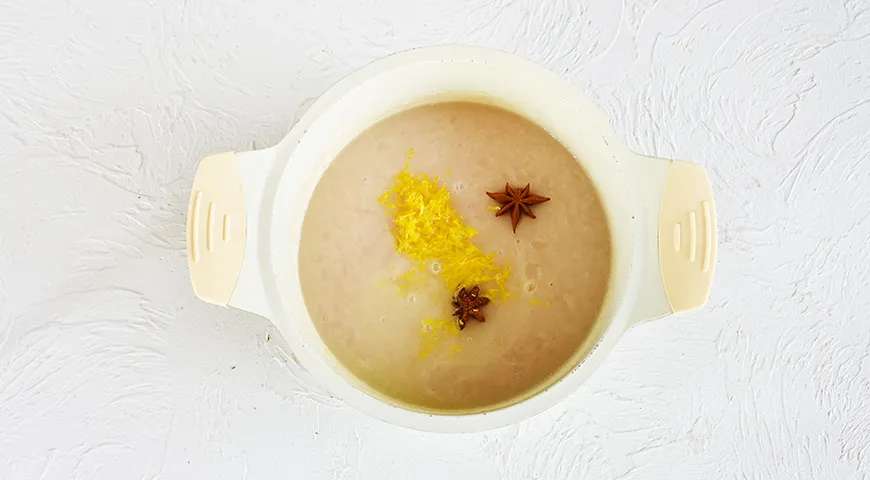
Step 6: Final Preparation
Remove the star anise pods (discard or reserve for garnish). Ladle the hot jam into sterilized, dry jars, leaving about 1 cm headspace. Wipe rims, seal with lids, and process in a boiling water bath for 10 minutes if desired for shelf stability. Alternatively, let the jars cool upside down on a folded towel to create a vacuum seal. Store sealed jars in a cool, dark place for up to one year. Refrigerate after opening. For extra safety, use a steam canner for even heat distribution.

Tips for Perfect Pear Jam
- Use a heavy-bottomed pot to avoid scorching. A microwave pressure cooker is not suitable for jam making, but a wide stainless steel pot is ideal.
- Test for doneness: Place a small spoonful on a chilled plate; if it wrinkles when pushed, the jam is ready.
- Adjust sweetness: If your pears are exceptionally sweet, reduce sugar to 350 g.
- Skim foam: Use a fine mesh skimmer to remove any foam that rises during cooking for a clear, glossy finish.
- Sterilize jars by boiling them for 10 minutes or running through a dishwasher cycle with hot water.
To simplify cleanup, consider using a oil sprayer to lightly coat the pot with a neutral oil before cooking—this prevents sticking without affecting flavor.
Variations
- Spiced Pear Jam: Add 1 cinnamon stick and 4 whole cloves along with the star anise for a warm holiday twist.
- Vanilla Pear: Split a vanilla bean and scrape the seeds into the jam during the last 10 minutes.
- Pear Ginger: Stir in 1 tablespoon finely grated fresh ginger after blending.
- Low-Sugar Option: Use a low-pectin organic vodka is not needed here, but you can substitute 200 g of sugar and add 1 tablespoon of pectin powder.
- Pear and Apple: Substitute half the pears with Granny Smith apples for more tartness.
Serving Suggestions
This pear jam pairs beautifully with soft cheeses like Brie or Camembert on a crusty baguette. Swirl it into Greek yogurt for breakfast, or spoon it over vanilla ice cream for a quick dessert. For a savory application, glaze roasted pork tenderloin with a tablespoon of jam during the last 10 minutes of cooking. If you are hosting a brunch, serve alongside Catalan sponge cake for a delightful combination.
FAQ
Can I use frozen pears?
Yes, but thaw them completely and drain excess liquid before cooking. The texture may be slightly softer, so reduce the first cooking time by 5 minutes.
Why did my jam turn brown?
Oxidation occurs if pears are not cooked promptly after cutting. To prevent this, toss diced pears in a little lemon juice before cooking. Using a castor oil is unrelated here, but ascorbic acid (vitamin C) powder works as an anti-browning agent.
How do I know if my jam is set?
Use the wrinkle test: chill a plate in the freezer, place a spoonful of jam on it, wait 30 seconds, then push with your finger. If the surface wrinkles, it’s ready. Alternatively, use a digital thermometer—jam sets at 220°F (104°C) at sea level.
Can I double the recipe?
Yes, but use a larger pot and expect longer cooking times. A commercial countertop convection oven is not needed, but a wide 8-quart pot ensures even evaporation.
What if I don’t have star anise?
Substitute with 1/4 teaspoon of Chinese five-spice powder or 2 cardamom pods. For a simpler flavor, omit entirely—the jam will still be delicious. Lava flavors are not applicable here, but you can experiment with a drop of rose water for floral notes.
How long does homemade pear jam last?
Unopened, properly canned jars last 12–18 months in a cool, dark pantry. Once opened, refrigerate and consume within 3 weeks. If you see mold or off-smells, discard immediately.
Can I reduce sugar further?
Pear jam relies on sugar for preservation and texture. For a low-sugar version, use a pectin that is designed for lower sugar amounts, such as Pomona’s Universal Pectin. Note that the jam may be softer and more prone to spoilage.
For more jam-making essentials, explore a 48-inch built-in refrigerator if you have large batches to store. Happy canning!







