


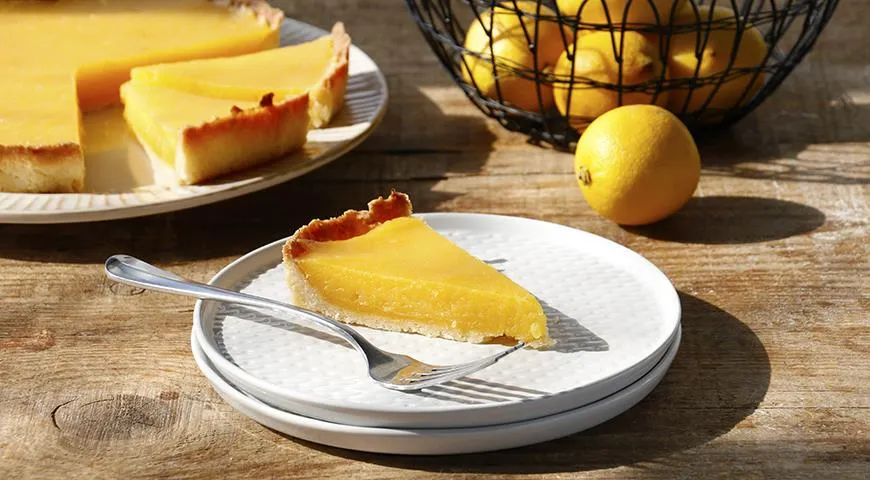
There are few desserts that capture the essence of sunshine quite like a perfectly executed lemon tart. This Quick Lemon Tart is not just a recipe; it is a symphony of divine aroma and exquisite, refreshing flavor. What makes it particularly delightful is its deceptive simplicity. The foundation is a crisp shortcrust pastry that provides an original textural contrast to a silky, intensely lemony filling. The filling is pre-cooked on the stovetop—a clever technique that ensures exceptional smoothness and homogeneity—before being stabilized in the oven. This method guarantees a flawless, velvety texture that will impress even the most discerning gourmands. Whether you are a seasoned baker or a curious novice, this recipe promises a stunning result with minimal fuss.
About This Quick Lemon Tart
This tart is a celebration of bright, clean flavors. The preparation is designed for efficiency without sacrificing quality. By pre-cooking the lemon curd on the stove, you eliminate the risk of a curdled or lumpy filling. The shortcrust base, made from a simple melt-and-mix dough, bakes to a beautiful golden brown. The entire process, from oven to table, fits comfortably into your afternoon. For those who appreciate a classic sponge or other elegant desserts, this tart offers a refreshing citrus alternative. It is a testament to the fact that the best desserts often come from the most straightforward techniques.

Ingredients
- For the shortcrust base: 150 g all-purpose flour, 50 g sugar, 3 g salt, 85 g unsalted butter
- For the lemon filling: 200 g sugar, zest of 1 lemon, 30 g all-purpose flour, 180 ml lemon juice (from about 3–4 lemons), 180 g whole eggs (approx. 3 large eggs), 60 g egg yolks (from about 3 large eggs), 60 g unsalted butter
- For garnish: additional lemon zest strips, icing sugar for dusting
Using fresh lemons is non-negotiable for the most vibrant taste. The quality of your ingredients truly shines here. A good juicer can make extracting the lemon juice quick and easy.
Step-by-Step Instructions
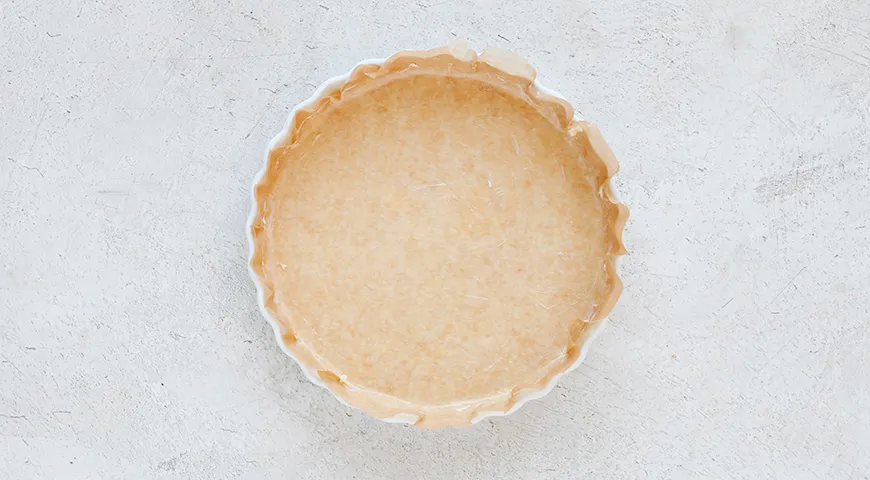
- Preheat and prepare the pan. Preheat your oven to 175°C. Line a 20x20 cm square baking pan or a 20 cm round pan with parchment paper, leaving overhang on two opposite sides to easily lift the tart later.
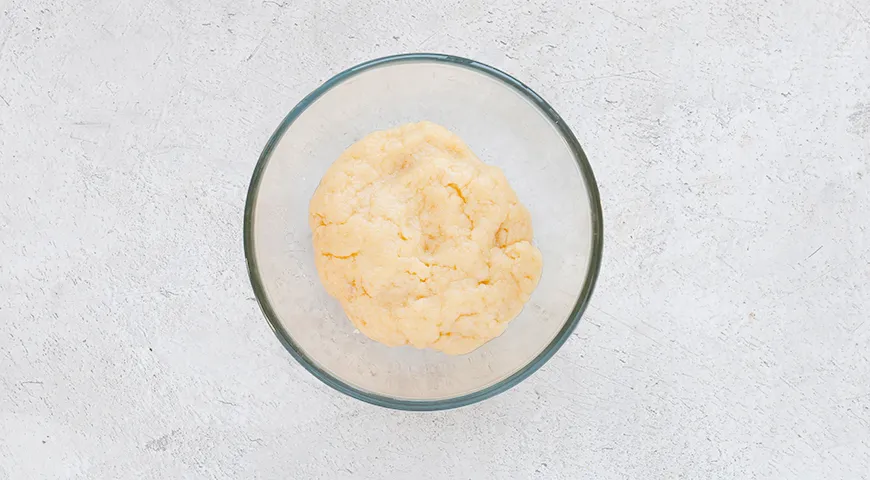
- Make the shortcrust dough. Take the butter for the base out of the refrigerator beforehand and melt it without overheating. In a bowl, whisk together the flour, sugar, and salt. Pour in the melted butter and mix until a dough forms.
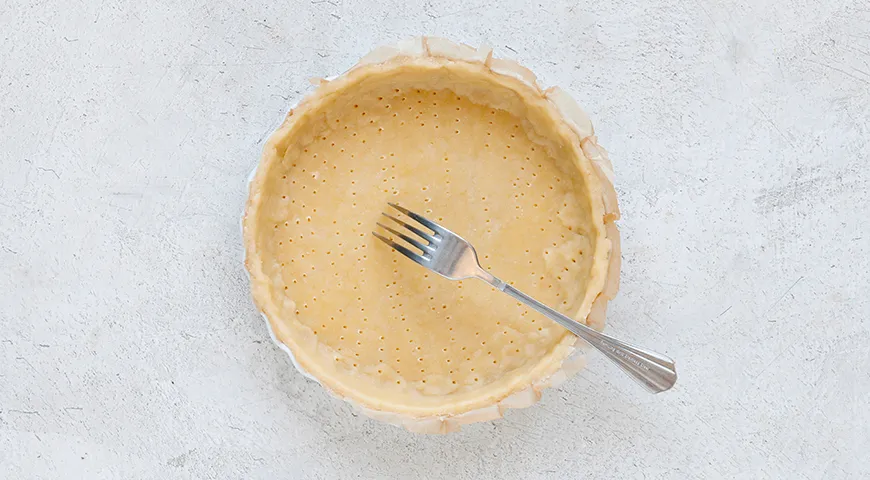
- Press the dough into the pan. Tear off small pieces of dough and press them evenly across the bottom of the prepared pan. Ensure the layer is of uniform thickness. Prick the dough all over with a fork. Bake for 20–25 minutes until golden brown.
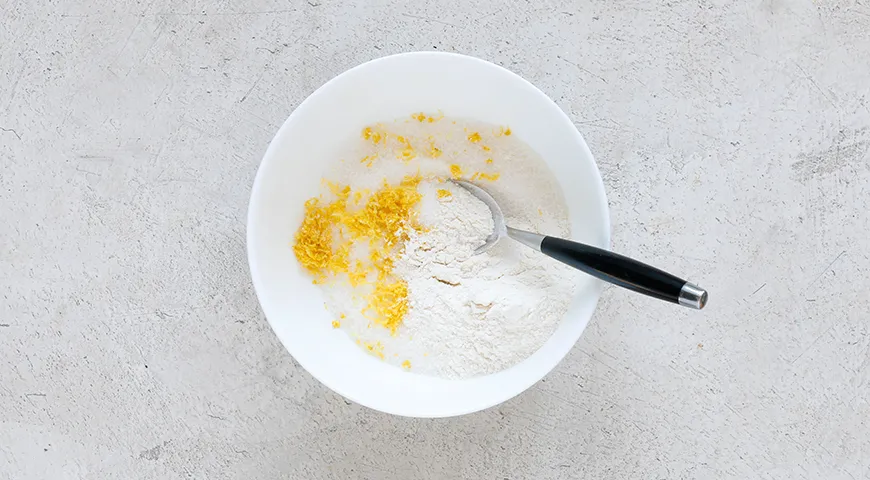
- Prepare the lemon mixture. While the base bakes, combine the sugar and lemon zest in a small saucepan. Rub them together to release the oils. Add the flour and salt, and stir to combine.
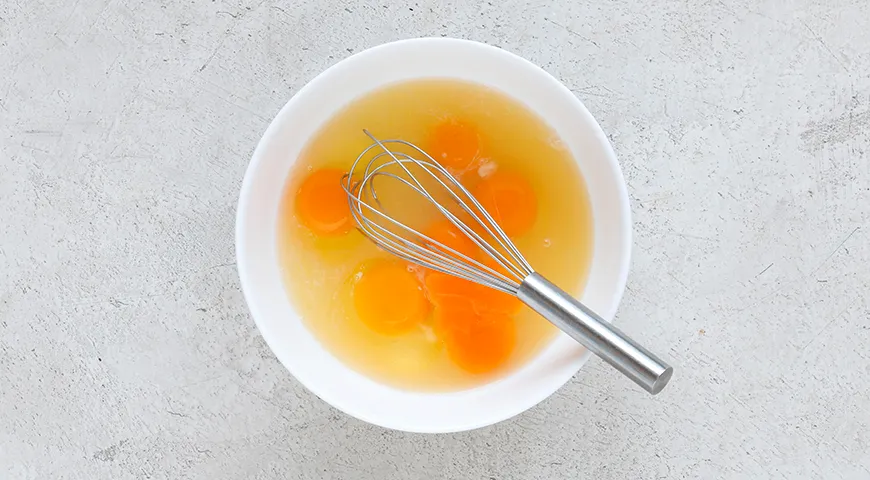
- Combine wet and dry ingredients. In a separate bowl, whisk together the whole eggs, egg yolks, and lemon juice until smooth. Pour this into the sugar-zest mixture and whisk until fully moistened.
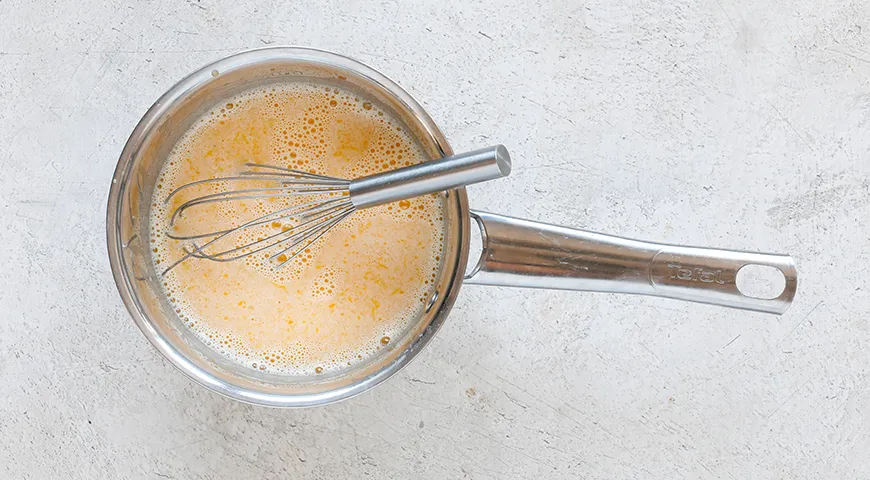
- Cook the lemon curd. Place the saucepan over medium heat and cook, stirring constantly with a whisk, until the mixture thickens. This will take 7–10 minutes. If using a thermometer, cook until it reaches 72°C. Remove from heat and stir in the cubed butter until melted and smooth.
- Assemble and bake. Remove the baked base from the oven and place it on a wire rack. Strain the lemon curd through a fine-mesh sieve directly onto the base. Spread evenly. Return the pan to the oven and bake for another 10–12 minutes, until the filling is set but still slightly jiggly.
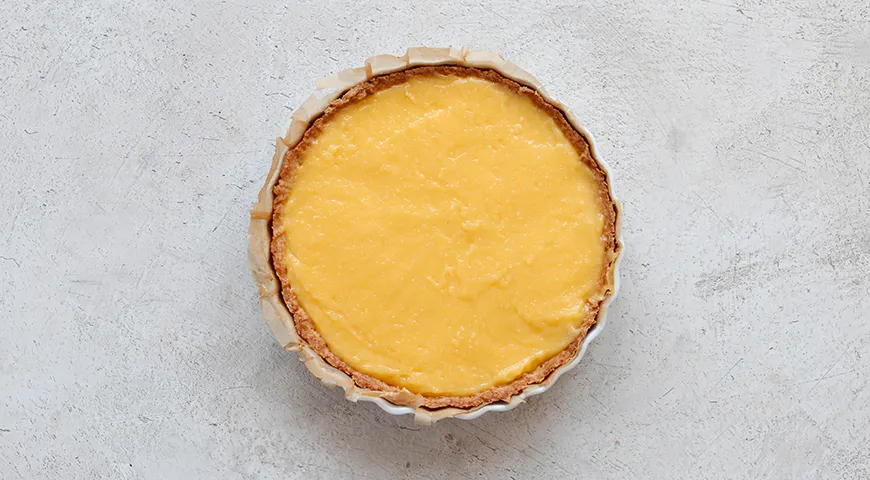
- Cool properly. Check for doneness: the filling should spring back when lightly pressed and tremble slightly when the pan is shaken. Transfer the pan to a wire rack and cool for at least 1.5 hours. This resting time is crucial for the perfect texture.
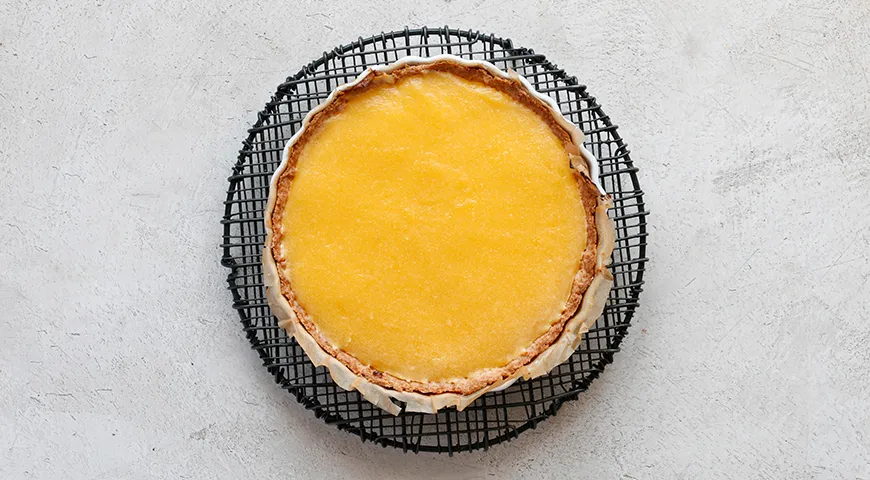
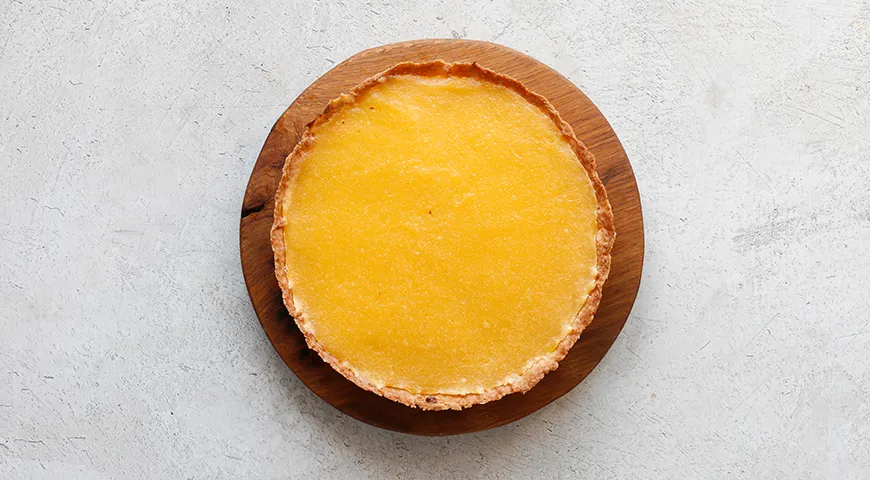
- Serve. Lift the cooled tart out of the pan using the parchment overhang. Transfer to a cutting board or serving plate. Slice into portions, wiping the knife with a hot, damp paper towel between cuts for clean edges. For a professional finish, garnish with thin strips of lemon zest and a dusting of icing sugar passed through a fine sieve.
Tips for the Perfect Lemon Tart
- Use a fine-mesh sieve for the curd to ensure a silky-smooth filling. A non-toxic kitchen tool is always a wise choice.
- Don't overbake the filling – it should still have a slight wobble when you take it out; it will set as it cools.
- For even slices, use a long, sharp knife and clean it after each cut. A good espresso machine can be a great accompaniment for serving with coffee.
- Room temperature eggs incorporate more easily and prevent the curd from seizing.
Variations
- Lime Tart: Substitute limes for lemons for a more floral, tangy twist.
- Orange-Meyer Lemon Tart: Use a mix of orange juice and Meyer lemon juice for a sweeter, less acidic profile.
- Topping ideas: Top with fresh berries, a dollop of crème fraîche, or meringue for a lemon meringue pie. For a unique twist, try chocolate-covered raisins or lava flavors to complement the citrus.
- Gluten-free option: Use a gluten-free flour blend for the shortcrust base.
FAQ
Can I make this lemon tart ahead of time?
Absolutely. The tart can be baked a day in advance and stored in the refrigerator. Bring it to room temperature before serving. Avoid covering until fully cooled to prevent condensation.
Why do I need to cook the curd on the stove first?
This technique, known as pre-cooking







