


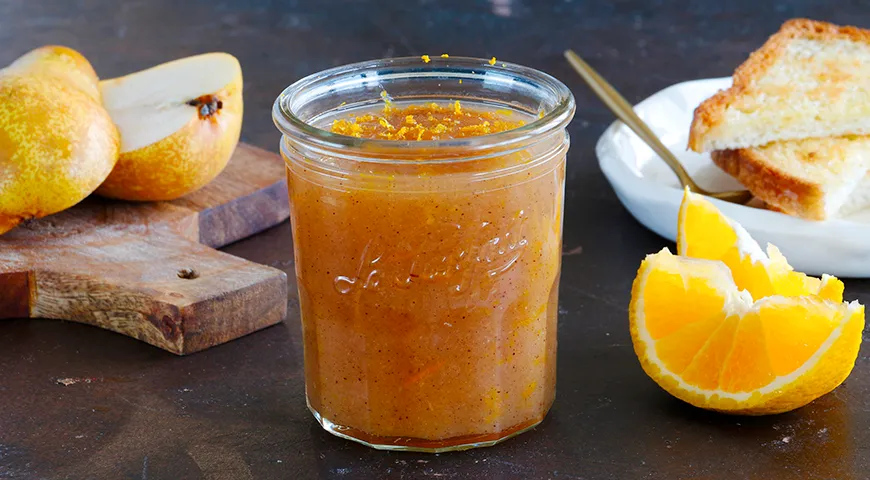
As the golden hues of autumn fade into the crisp chill of winter, there is no greater comfort than a jar of homemade pear jam—a treasure that captures the essence of ripe, sun-kissed fruit. This recipe, inspired by Russian home preserving traditions, transforms simple pears into a velvety, spiced preserve that will brighten your breakfast table or elevate a cheese board. With the warmth of cinnamon and the bright notes of citrus, this pear jam is not just a condiment; it’s a celebration of seasonal abundance. Whether you’re a seasoned canner or a curious beginner, this guide will walk you through every step to create a luscious, shelf-stable jam that tastes of pure luxury.
About This Pear Jam
Pear jam has a special place in Slavic cuisine, often made in late summer when pears are at their peak. This version uses a careful balance of sugar and acidity, with fresh lemon juice and orange zest adding brightness, while cinnamon lends a gentle warmth. The technique of briefly cooking the pears before blending ensures a silky texture without the need for commercial pectin. The result is a spread that is not overly sweet, with a delicate fruit flavor that pairs beautifully with toast, scones, or even roasted meats. For those who love to preserve, this recipe also benefits from using a reliable best steam canner to ensure a perfect seal every time.

Ingredients
- Pears – 1.7 kg
- Sugar – 550 g
- Lemon – ½ piece
- Cinnamon – 7 g
- Orange – 1 piece
Choose ripe but firm pears for the best texture. Varieties like Conference, Bartlett, or Bosc work wonderfully. The lemon and orange provide natural pectin and acidity, so no additional pectin is needed. If you enjoy experimenting with flavors, a dash of vanilla or a pinch of cardamom can be added, but the classic combination here is already perfection.
Step-by-Step Instructions
Step 1: Prepare the pears
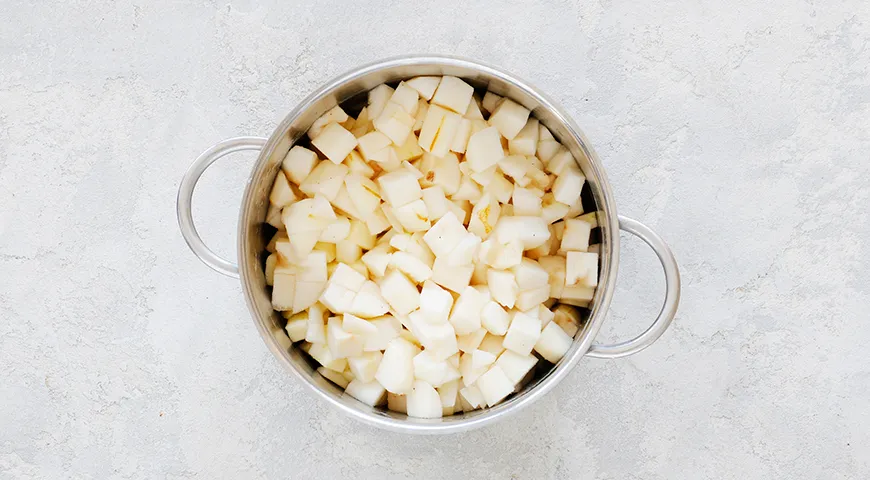
Thoroughly wash the pears, peel them, and remove the core and seeds. Cut the flesh into small cubes or slices. The smaller the pieces, the faster they soften. This step is crucial for achieving a smooth, uniform jam. A sharp knife and a sturdy cutting board make the work easier—if you’re looking to upgrade your kitchen tools, consider the best 48-inch built-in refrigerator for ample storage of your fresh produce.

Step 2: Prepare the citrus
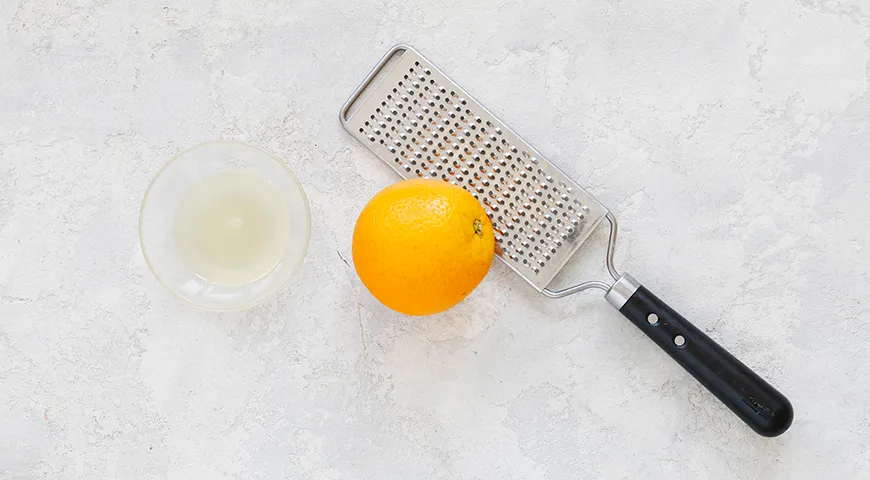
Wash the orange thoroughly and dry it with a towel. Using a fine grater, remove the zest—be careful to avoid the bitter white pith. Squeeze the half lemon to extract about 50 ml of juice. The zest will infuse the jam with aromatic oils, while the lemon juice balances the sweetness and helps with setting. For efficient juicing, a best wheatgrass juicer might be overkill, but a simple citrus press works perfectly.
Step 3: Cook the pears
In a large pot, pour 50 ml of water and add the prepared pears. Place over medium-low heat and bring to a gentle boil. Cook for about 20 minutes, stirring occasionally, until the pears become soft and tender. The water helps prevent sticking and kickstarts the cooking process. Using a heavy-bottomed pot ensures even heat distribution—similar to the performance of a best commercial countertop convection oven, though here you’re on the stovetop.
Step 4: Blend the pears
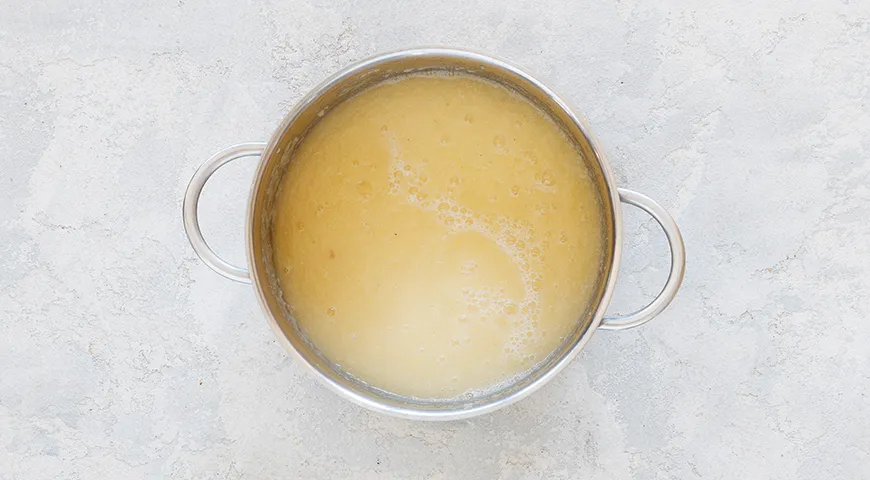
Remove the pot from heat and use an immersion blender to puree the pears until smooth and free of lumps. If you don’t have an immersion blender, you can pass the cooked pears through a sieve—though this takes more time. A high-quality blender, such as the best glass food processor, can also achieve a silky consistency. The goal is a homogeneous mass that will cook down into a glossy jam.
Step 5: Add sugar and boil
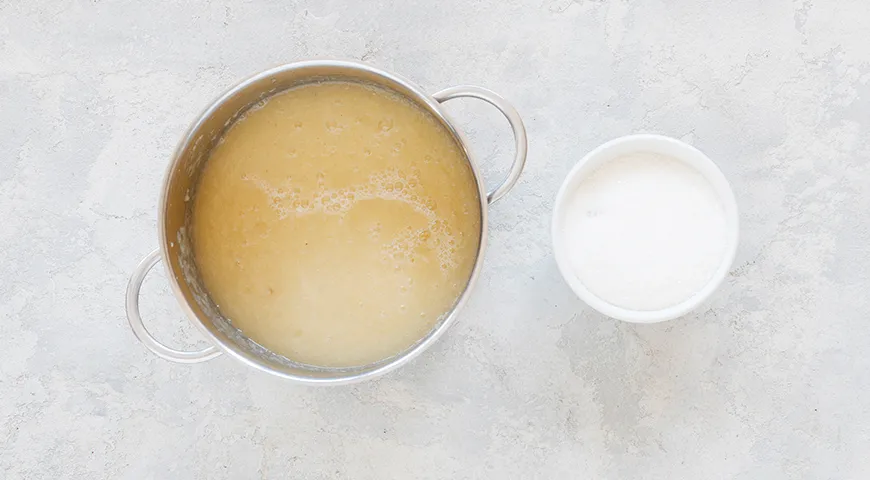
Return the pot to the stove. Stir in the sugar and bring the puree to a boil over medium heat. Reduce the heat to low and cook, stirring frequently, to prevent scorching. The mixture will thicken and darken as it reduces. This is the most labor-intensive part, but a best planetary mixer with a paddle attachment can be a game-changer for consistent stirring, though manual stirring with a wooden spoon works beautifully too.
Step 6: Finish and jar
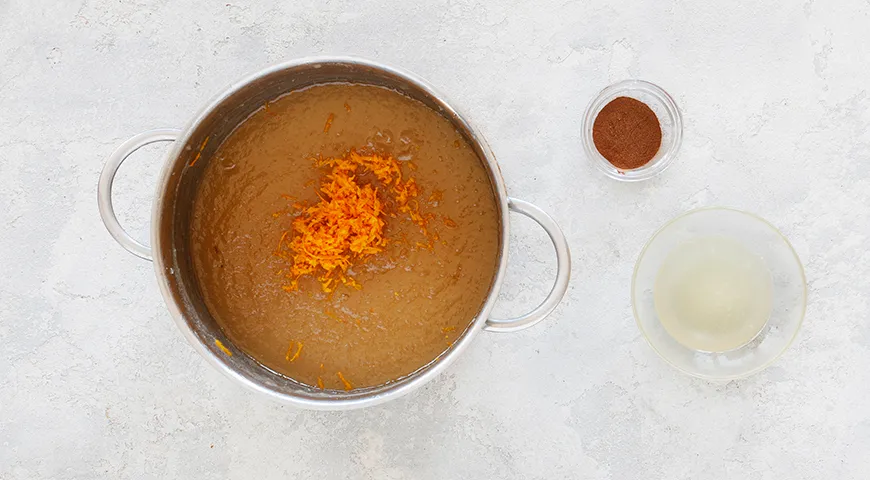
Cook the jam for 35–50 minutes, until it reaches the desired thickness. A few minutes before the end, stir in the orange zest, lemon juice, and cinnamon. Remove from heat and immediately ladle into sterilized jars. Wipe the rims, seal with lids, and process in a boiling water bath or a best steam canner for 10 minutes to ensure a safe seal. Let cool completely before storing.
Tips for Perfect Pear Jam
• For a clearer, more jewel-like jam, skip the blending and leave the pears in small dice. The texture will be chunkier but equally delicious.
• Use a sugar thermometer to check doneness: 104–105°C is the setting point for jam. Alternatively, a cold plate test works well.
• If you prefer a lower-sugar version, reduce the sugar to 400 g and add a tablespoon of commercial pectin. However, this will alter the shelf stability.
• Always sterilize jars and lids by boiling them for 10 minutes or using a dishwasher’s sanitize cycle. A best organic vodka is not needed, but a clean workspace is essential.
• Store in a cool, dark place. Once opened, refrigerate and consume within three weeks.
Variations to Explore
This pear jam is a versatile base. Try adding a split vanilla bean during cooking for a creamy depth, or substitute the cinnamon with star anise for a licorice note. For a boozy twist, stir in a tablespoon of dark rum at the end. If you have a best non-toxic immersion blender you can also make a chunky version by blending only half the pears. For a holiday gift, pair it with a wedge of aged cheddar and a bottle of best sweet wine with high alcohol content—a delightful combination.
Frequently Asked Questions
Can I use different varieties of pears?
Absolutely. Firm pears like Bosc or Anjou hold their shape better if you want chunky jam; softer varieties like Bartlett break down quickly for a smoother texture. Avoid extremely ripe or mushy pears as they may lack pectin.
How long does homemade pear jam last?
Properly sealed and processed in a best steam canner, this jam will keep for up to 12 months in a cool, dark pantry. Once opened, refrigerate and use within 3–4 weeks.
Can I reduce the sugar without using pectin?
Yes, but the jam may be softer and less shelf-stable. Reduce sugar to 400 g and cook longer to evaporate more water, or add a commercial pectin product. For a natural alternative, underripe pears contain more pectin.
Do I need to peel the pears?
Peeling is recommended for a smooth, elegant texture. The skin can be tough and may not break down fully. If you prefer a rustic jam with more fiber, leave the skin on and blend thoroughly.
Can I make this jam without a blender?
Yes. After cooking the pears, you can mash them with a potato masher or pass them through a food mill. A best food processor for nut butter would also work, though for pear jam a standard blender is usually sufficient.
What if the jam doesn’t set?
If your jam is too runny after cooling, return it to the pot and boil for another 10–15 minutes. Test again. You can also add a tablespoon of lemon juice or a dab of pectin dissolved in water.
Can I double the recipe?
Yes, but cooking time will increase. Use a larger pot, and be careful not to overcrowd the pan to maintain even heat. A best microwave pressure cooker might be handy for other tasks, but for jam, stick with a wide, heavy pot.
Is this jam suitable for canning?
Absolutely. After filling jars, process in a boiling water bath for 10 minutes (adjust for altitude). For a more advanced setup, consider a best undercounter ice maker machine to keep your canned goods cool, though a pantry works fine.
This pear jam is more than a recipe—it’s a gateway to the joys of home preserving. With each spoonful, you’ll taste the essence of autumn captured in a jar, ready to brighten the darkest winter mornings. Whether you spread it on a buttery croissant or use it as a glaze for roasted pork, this jam will become a cherished staple in your kitchen. For more preserving inspiration, explore our best chocolate covered raisins or best air fryer non-toxic for perfect snacks. Happy preserving!







