


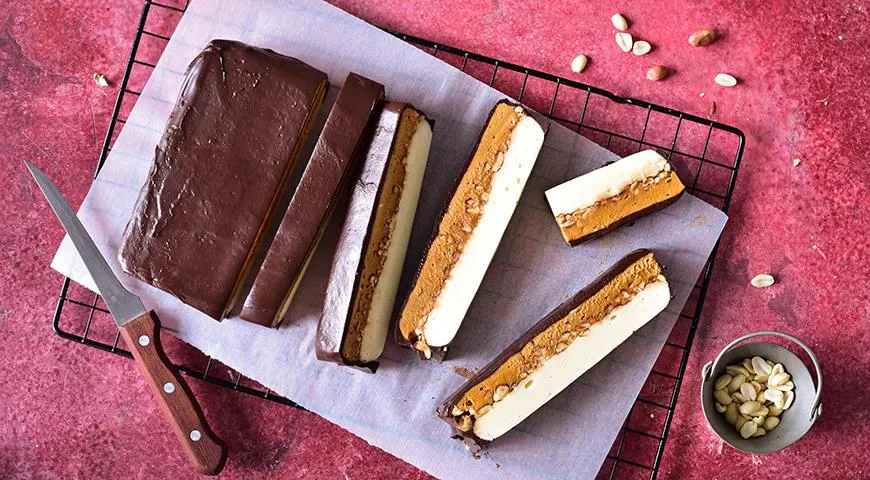
Imagine the beloved Snickers candy bar transformed into an elegant, no-bake cake that requires no oven time and delivers layers of creamy caramel, crunchy peanuts, and silky chocolate. This No-Bake Snickers Cake with Condensed Milk and Salted Peanuts is a showstopper dessert that comes together in under an hour of active prep, then chills to perfection. The combination of marshmallow base, rich dulce de leche-style cream, and glossy chocolate glaze makes every bite irresistible. Whether you are hosting a dinner party or craving a quick indulgence, this recipe will become your go-to. Use a best food processor for nut butter to chop the peanuts uniformly, or simply slice them with a sharp knife.
About This Decadent No-Bake Dessert
Hailing from the creative world of Russian home baking, this cake captures the spirit of a Snickers bar without any complicated techniques. The crust is a chewy marshmallow-and-butter layer, topped with a generous blanket of salted peanuts, then a luscious boiled condensed milk cream, and finally a dark chocolate glaze. The result is a dessert that is both nostalgic and refined. For a perfectly smooth marshmallow base, a best planetary mixer can help you achieve a silky consistency, but a simple saucepan and spatula work wonderfully too.

Ingredients
- 115 g unsalted butter
- 200 g marshmallows (mini or large, cut into pieces)
- 1 teaspoon vanilla sugar
- a pinch of salt
- 100 g powdered sugar
- 150 g salted peanuts
- 400 g boiled condensed milk (dulce de leche)
- 50 g unsalted butter (for the cream)
- 200 g dark chocolate (70% cocoa)
- 1 tablespoon vegetable oil (for glaze)
- vegetable oil for greasing the foil
Step-by-Step Instructions
Step 1: Prepare the Mold
Line a rectangular mold (16 x 25 cm) with a double layer of aluminum foil, leaving an overhang on all sides. Brush the foil lightly with vegetable oil. This will make unmolding the cake effortless later. If you prefer a non-stick surface, consider using a best oil sprayer for an even coating.

Step 2: Make the Marshmallow Base
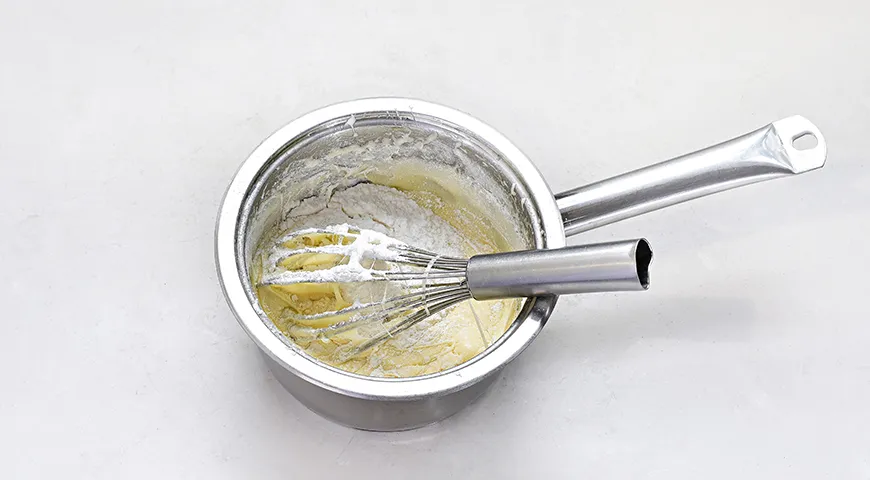
In a medium saucepan, combine 115 g butter, marshmallows, vanilla sugar, and a pinch of salt. Heat over medium heat, stirring constantly, until the mixture is completely smooth. Remove from heat and stir in the powdered sugar until fully incorporated. Pour the mixture into the prepared mold and spread evenly. Refrigerate for 30 minutes to set. For even melting, a best non-toxic immersion blender is not needed here, but a good spatula works fine.
Step 3: Add the Peanuts
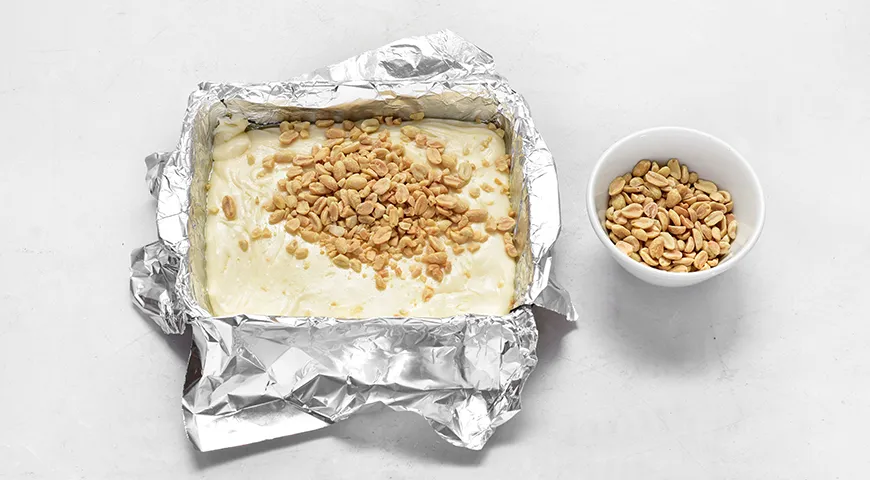
Coarsely chop the salted peanuts. Once the marshmallow layer has firmed up, sprinkle the peanuts evenly over the surface, pressing them slightly into the base. The saltiness of the peanuts will balance the sweetness beautifully. For extra crunch, try roasting your own peanuts with a best air fryer non-toxic for a few minutes.
Step 4: Prepare the Condensed Milk Cream
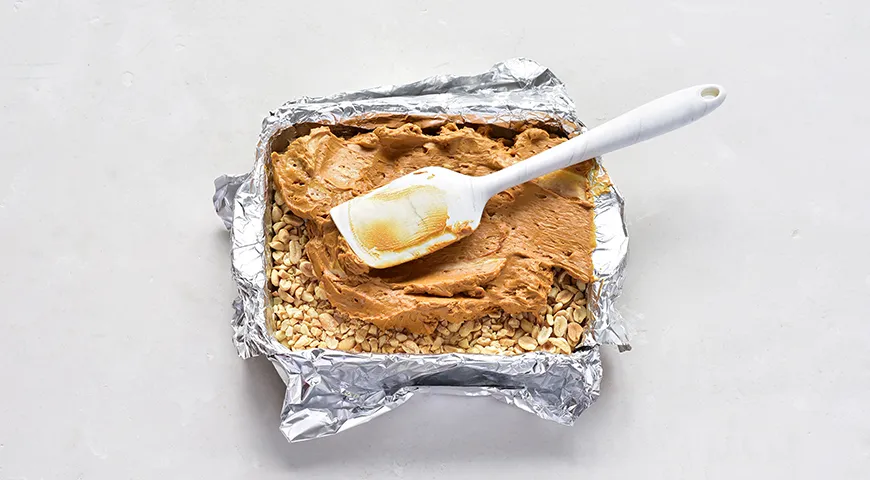
In a bowl, beat the boiled condensed milk with the remaining 50 g butter until smooth and creamy. Pour this mixture over the peanuts, then gently shake the mold so the cream seeps around the nuts and binds them. Return the mold to the refrigerator until the cream is stabilized, about 1 hour. For a perfectly smooth cream, use a best immersion blender if desired.
Step 5: Make the Chocolate Glaze
Finely chop the dark chocolate with a serrated knife and place in a heatproof bowl. Melt it using a double boiler or in the microwave in 20-second bursts. Once melted, stir in the vegetable oil until glossy and smooth. Let cool slightly, then pour the glaze over the chilled cake, spreading it evenly. Refrigerate until the glaze is fully set.
Step 6: Unmold and Slice
Once the glaze is firm, lift the cake out of the mold using the foil overhang. Transfer to a cutting board and slice into individual bars with a sharp knife. If the knife sticks, wipe it clean between cuts or lightly oil the blade. Serve immediately or store in the refrigerator.
Tips for Perfect Results
- For the smoothest marshmallow base, stir constantly and do not let the mixture boil.
- Use high-quality dark chocolate with at least 70% cocoa for a sophisticated glaze.
- Refrigerate the cake for a minimum of 4 hours (or overnight) for clean slices.
- If you don't have boiled condensed milk, simmer a can of sweetened condensed milk in water for 2 hours to make dulce de leche.
- A best wheatgrass juicer is not needed here, but a good knife is essential for chopping peanuts.
Variations
Swap the salted peanuts with roasted almonds or hazelnuts for a different flavor profile. Add a layer of caramel sauce between the marshmallow and cream for extra decadence. For a white chocolate version, use white chocolate in the glaze and omit the dark. If you want a larger cake, double the ingredients and use a 9x13-inch pan. For a lighter texture, fold in whipped cream into the condensed milk mixture. Explore more no-bake desserts on our blog, such as Catalan sponge cake for a baked alternative.
FAQ
Can I make this cake ahead of time?
Absolutely. Prepare the cake a day in advance and keep it refrigerated, covered with plastic wrap. It actually tastes better after the flavors meld overnight.
How do I store leftovers?
Store any leftover bars in an airtight container in the refrigerator for up to 5 days. They also freeze well for up to 1 month.
Can I use regular condensed milk instead of boiled?
Boiled condensed milk (dulce de leche) gives the signature caramel flavor. Regular condensed milk will be too runny. You can boil an unopened can of sweetened condensed milk for 2 hours to make your own. Use a best microwave pressure cooker for a faster method if it supports canning.
Is this dessert gluten-free?
Yes, there are no flour or gluten-containing ingredients in this recipe. Always double-check your marshmallow and chocolate labels for gluten-free certification.
Can I use milk chocolate instead of dark?
You can, but the cake will be sweeter. We recommend dark chocolate to balance the sweetness of the condensed milk and marshmallow.
What if I don't have a 16x25 cm mold?
Use any rectangular or square dish of similar capacity, such as an 8x8-inch pan. Adjust the size of the foil overhang accordingly.
For more kitchen tools and tips, browse our reviews of best commercial countertop convection oven and best undercounter ice maker machine to elevate your dessert game.







