


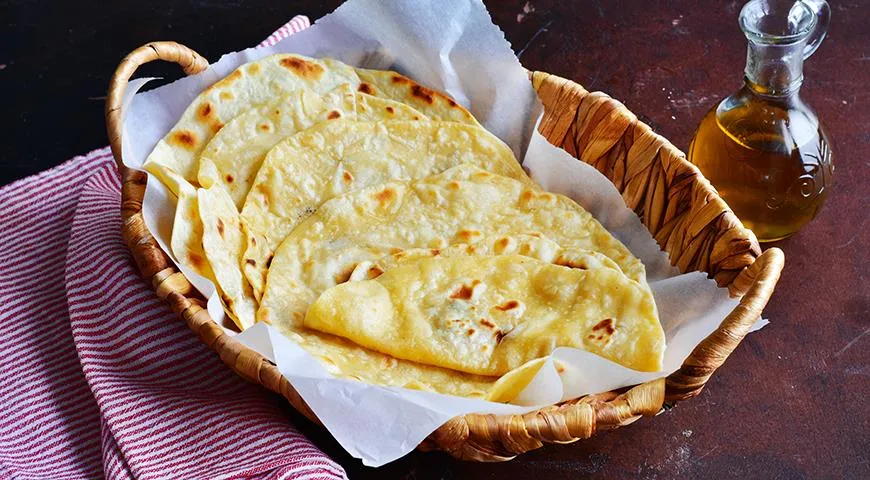
Russian home cooking is full of clever culinary hacks, and few are as gratifying as these Lenten Brine Flatbreads. Crafted with humble pickle brine—the leftover liquid from jars of cucumber pickles or sauerkraut—they transform a simple flour dough into a chewy, tangy canvas that crisps beautifully in a skillet. Perfect for spraying with oil and serving alongside soups, stews, or as a standalone snack, these flatbreads are entirely vegan, budget-friendly, and ready in under 30 minutes. The brine not only adds a subtle salt and sour note but also tenderizes the dough, eliminating the need for yeast or dairy. Each bite is a rustic reminder that the best recipes often come from making the most of what’s on hand.
About This Recipe
These postnye (Lenten) flatbreads hail from the Russian tradition of fasting meals, where no animal products are allowed. The use of рассол (rassol)—the brine from fermented or pickled vegetables—is a classic Russian flavor enhancer. It’s the same liquid that gives classic Russian pickle soup (often paired with a robust wine) its signature tang. Here, the brine replaces water entirely (with a small addition of fresh water) to create a dough that is soft, pliable, and surprisingly flavorful. The flatbreads are cooked on a dry, hot skillet—no fat in the pan—which allows the brine’s salts to create a spotty, blistering crust. A final brush of oil (or a spritz from a good oil sprayer) adds a luxurious sheen and prevents them from drying out. This recipe is a staple in many Russian households, especially during Lent, and is often made with leftover brine from a jar of dill pickles or fermented tomatoes.

Ingredients
- 300 g all-purpose flour (plus extra for dusting)
- 150 ml pickle brine (from cucumbers, sauerkraut, or fermented tomatoes)
- 60 ml cold drinking water
- 2 tablespoons (30 ml) vegetable oil, plus more for brushing (sunflower, canola, or olive oil work well)
Step-by-Step Instructions
Step 1: Mix the Dough
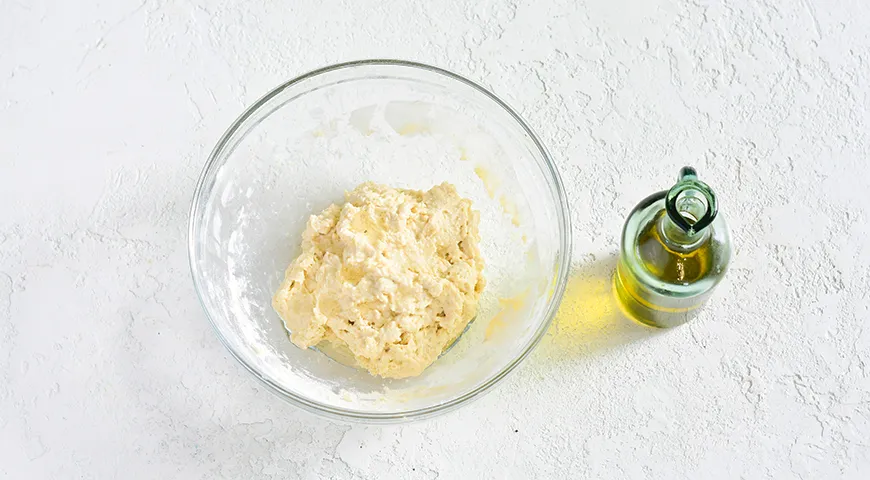
Sift the flour into a large mixing bowl. Add the brine and cold water, then stir with a spoon until a shaggy mass forms. Turn the dough out onto a lightly floured surface and knead for 2–3 minutes until it comes together into a soft, slightly sticky ball. Add the 2 tablespoons of vegetable oil and continue kneading for another minute until the oil is fully absorbed and the dough feels smooth and elastic. Cover the bowl with plastic wrap and let it rest for 15–20 minutes. This resting period relaxes the gluten, making the dough easier to roll out.
Step 2: Shape and Coat
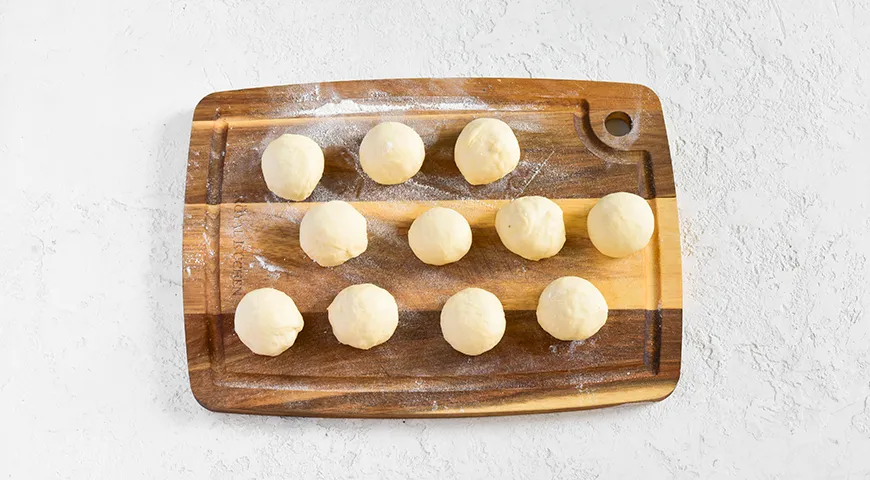
After resting, divide the dough into 6–8 equal pieces, each about the size of a golf ball (slightly smaller). Roll each piece into a smooth ball, then dip each ball into a small dish of flour, coating all sides. Place the floured balls on a lightly floured surface or a cutting board. This coating prevents sticking during rolling and contributes to the flatbreads’ craggy texture.
Step 3: Heat the Skillet and Roll
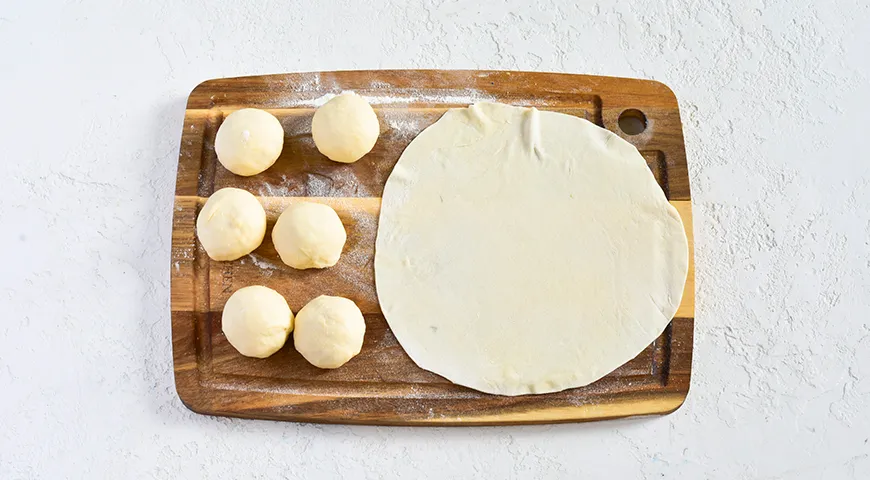
Place a heavy-bottomed skillet (cast iron or non-stick) over medium heat and let it get thoroughly hot—no oil in the pan. Meanwhile, on a floured surface, use a rolling pin to roll one dough ball into a thin circle about 20 cm in diameter. Work gently to maintain a round shape; the dough should be almost translucent in spots. Shake off excess flour before cooking.
Step 4: First Side Cooking
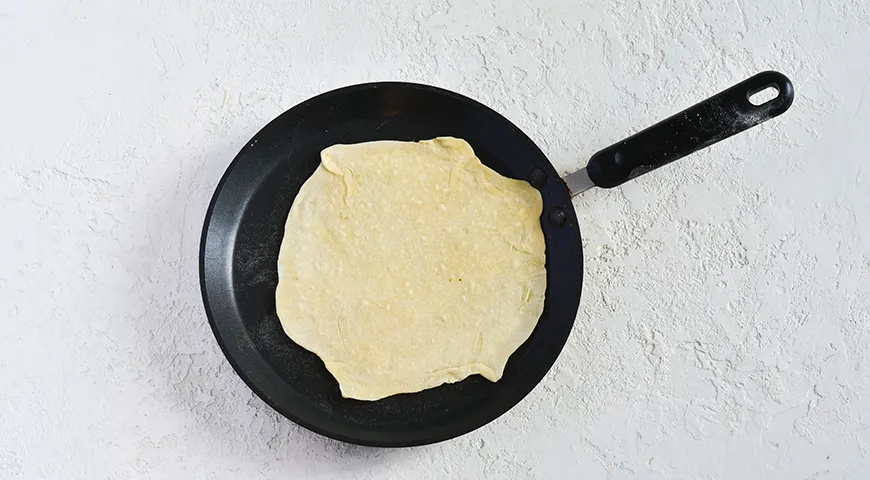
Carefully lay the rolled flatbread onto the hot, dry skillet. It should sizzle immediately. Cook for about 30 seconds, rotating the flatbread periodically with a spatula or your fingertips (use caution) to ensure even browning. You’ll see bubbles forming and dark spots appearing underneath. This is the signature blistering that makes the flatbreads irresistibly crisp.
Step 5: Flip and Butter Effect
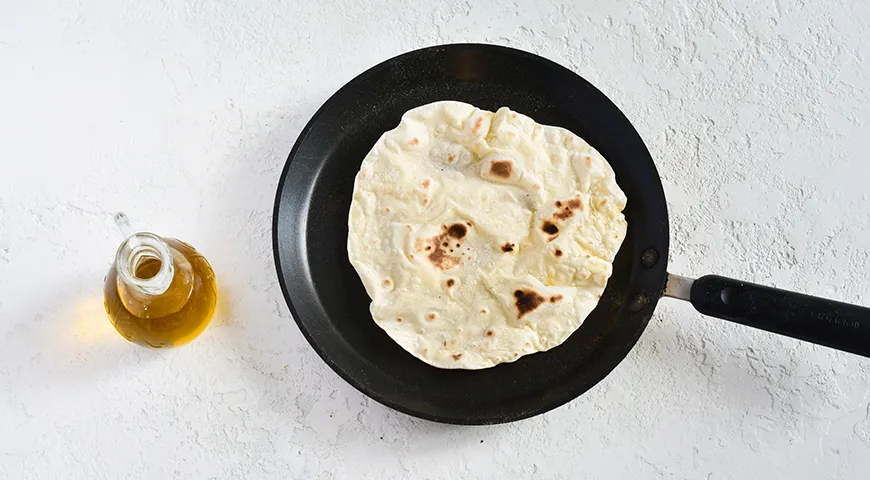
Flip the flatbread using a thin spatula. Cook for 20 seconds on the second side. Then, using a brush or a good oil sprayer, lightly spritz (or brush) the cooked side with vegetable oil. Flip again and cook a few more seconds, then spritz the other side and flip once more. This double-oiling technique ensures both sides are glossy and tender while the interior stays soft. Be gentle: the flatbreads are delicate when hot.
Step 6: Stack and Keep Warm
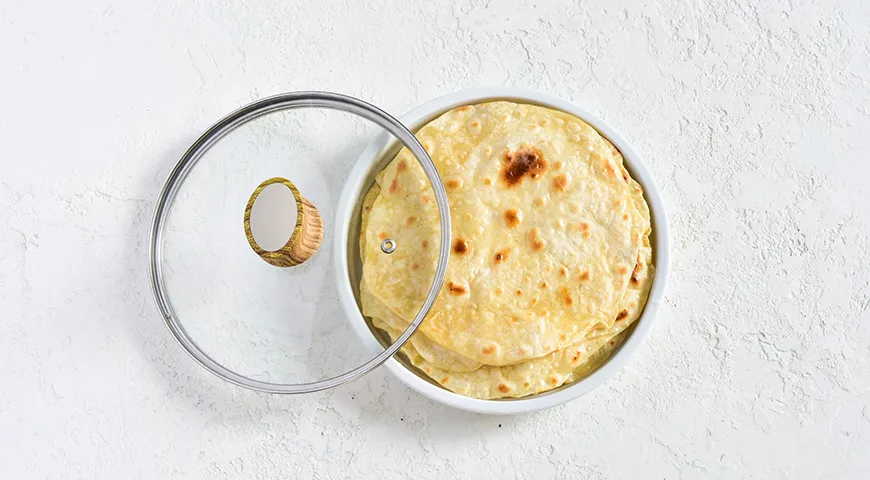
As each flatbread finishes, transfer it to a bowl and place a lid on top to keep it warm and soft. Stack them on top of each other so the steam helps tenderize the stack. Repeat with the remaining dough balls. Serve warm. These flatbreads are especially delicious crumbled into soup just before eating, offering a bread-crumb texture that soaks up broth beautifully. They also pair wonderfully with a savory au jus for dipping.
Tips for Perfect Flatbreads
- Brine strength matters: If your brine is very salty, reduce the amount slightly or use a 50:50 mix with water. The dough should taste pleasantly saline, not overwhelming.
- Rest the dough: Do not skip the 15–20 minute rest. It makes the dough less springy and easier to roll thin. While resting, you can clean up your mixing equipment.
- Use a heavy skillet: Cast iron retains heat best for even blistering. A convection oven can also work for baking these flatbreads at high heat (though the stovetop method is traditional).
- Keep cooked flatbreads covered: The steam keeps them pliable. If they crisp up too much, a quick steam in the microwave with a damp paper towel can restore softness.
- Double oiling: Don’t skip the oil spray—it gives the flatbreads a beautiful sheen and prevents them from drying out during stacking.
Variations
- Herb and Spice Infusion: Add 1 teaspoon of dried dill, caraway seeds, or black pepper to the flour for an aromatic twist. The brine’s acidity pairs beautifully with these flavors. For a more complex profile, consider a splash of premium organic vodka in the dough (though this removes the Lenten status).
- Whole Wheat Version: Substitute half the all-purpose flour with whole wheat flour. Expect a slightly denser, nuttier flatbread. You may need an extra tablespoon of water to adjust hydration.
- Gluten-Free Option: Use a 1:1 gluten-free flour blend that includes xanthan gum. Because gluten-free dough is stickier, a food processor helps incorporate the liquid without overworking the dough. Roll between sheets of parchment paper to prevent tearing.
- Flavored Oils: Brush the flatbreads with garlic-infused oil or chili oil after cooking for a punch of flavor. Serve with a sweet-chili dip for a snack that bridges savory and sweet.
Frequently Asked Questions
Can I use gluten-free flour?
Yes, as noted above. Use a blend with binder (xanthan gum) and expect a more delicate texture. You might need to use a hand blender to ensure thorough mixing if doing by hand is too sticky.
What type of brine works best?
Traditional dill pickle brine is classic, but any fermented brine—from sauerkraut, spicy pickled jalapeños, or lacto-fermented vegetables—imparts its own character. Avoid brines with added sugar, as they may cause the flatbreads to darken too quickly. For a milder flavor, dilute the brine with water (use filtered water from an ice maker for consistency).
Can I cook these in an oven?
Absolutely. Preheat the oven to 250°C (480°F) with a baking stone or heavy baking sheet inside. Roll the flatbreads, then bake for 3–4 minutes per side until puffed and spotted. This yields a slightly crispier result. A wall oven microwave combo with air fryer can also achieve similar results with less preheating time.
How do I store leftovers?
Cool completely, then store in an airtight container at room temperature for up to 2 days. Reheat in a dry skillet for 10 seconds per side to revive crispness. Do not refrigerate, as they become stale quickly. For longer storage, freeze stacked with parchment between each flatbread; thaw and reheat directly in a skillet. Note: these flatbreads are not a laxative—the name is unrelated.
Are these good for meal prep?
Yes. The dough can be made a day ahead and refrigerated (wrapped tightly). Bring to room temperature before rolling. Cooked flatbreads freeze well, as mentioned. They are also excellent crumbled over salads or served alongside a Catalan sponge cake for a sweet-savory contrast.
These Lenten Brine Flatbreads prove that resourcefulness yields the most memorable meals. With just flour, brine, and a hot skillet, you can create a versatile bread that complements soups, salads, and spreads—all while celebrating the unsung hero of your pickle jar. Whether you’re observing Lent or simply seeking a quick, satisfying flatbread, this technique deserves a permanent spot in your repertoire.







