


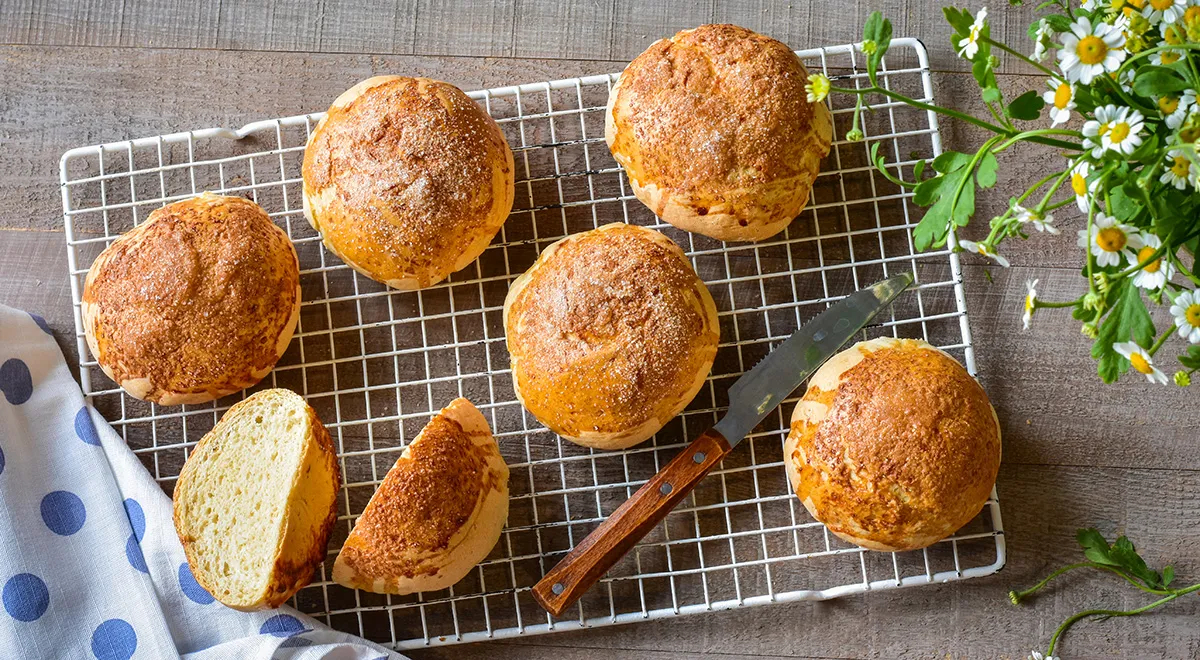
There are few things as comforting as biting into a soft, sweet School Bun—the beloved Bulochka Shkolnaya that evokes childhood memories across Russia. This classic yeast bun, with its tender crumb and crackling sugar topping, is a staple in home baking and school cafeterias alike. Our refined recipe elevates the humble school bun to a high-end pastry, perfect for breakfast, tea time, or an afternoon treat. With precise metric measurements and professional techniques, you’ll achieve bakery-quality results every time. Let’s explore the secrets behind this iconic pastry.
About the School Bun
The School Bun—or Bulochka Shkolnaya—is a simple, lightly sweetened yeast roll often served with butter or jam. Its name derives from its popularity in Soviet-era school canteens, where it was a daily comfort food. The magic lies in the opara (sponge) method, which develops deep flavor and a feather-light texture. Unlike enriched brioche, this bun uses minimal butter and sugar in the dough, relying on a generous final dusting of sugar for its signature sweet crust. For perfect mixing of the dough, a best planetary mixer ensures even development without overworking the gluten. If you're new to yeast baking, starting with a reliable commercial countertop convection oven can provide consistent heat for proofing and baking.

Ingredients
- 300 ml drinking water
- 25 g granulated sugar, plus extra for sprinkling
- 600 g all-purpose flour, plus more for rolling
- 9 g salt
- 25 g unsalted butter
- 2 egg yolks, for brushing
- 7 g active dry yeast (or 20 g fresh yeast)
When melting the butter, a best non-toxic immersion blender helps incorporate it smoothly into the dough. For measuring precise ingredient temperatures, a best oil sprayer can also be used to lightly grease bowls and baking sheets.
Step-by-Step Guide
Follow these steps carefully to create the perfect School Bun.
Step 1: Prepare the Opara (Sponge)
Heat the water to 35°C (warm, not hot). Pour it into a large mixing bowl. Add the sugar and dry yeast, stirring until dissolved. This activates the yeast, creating a bubbly foundation. For a glass mixing bowl, consider a best glass mixing bowl that retains heat evenly.

Step 2: Add Half the Flour
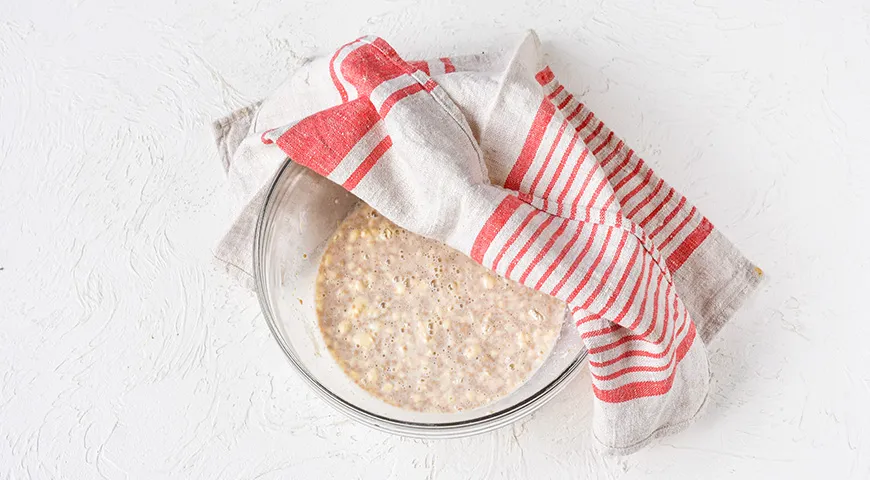
Sift half of the flour (300 g) through a fine sieve into the yeast mixture. Stir thoroughly to form a thick batter. Cover the bowl with a clean kitchen towel and let the opara rest in a warm, draft-free place for 1.5 hours. It should double in volume and become bubbly. A best wall oven microwave combo with air fryer can provide a controlled warm environment for proofing.
Step 3: Add Remaining Ingredients and Knead
Once the opara has risen, add the remaining 300 g flour, salt, and melted butter. Knead the dough by hand or using a stand mixer with dough hooks. Continue until the dough is soft, smooth, and slightly sticky—about 8–10 minutes. For even kneading, a best planetary mixer is ideal. The dough should pull away from the bowl but remain supple.
Step 4: Shape and Second Rise
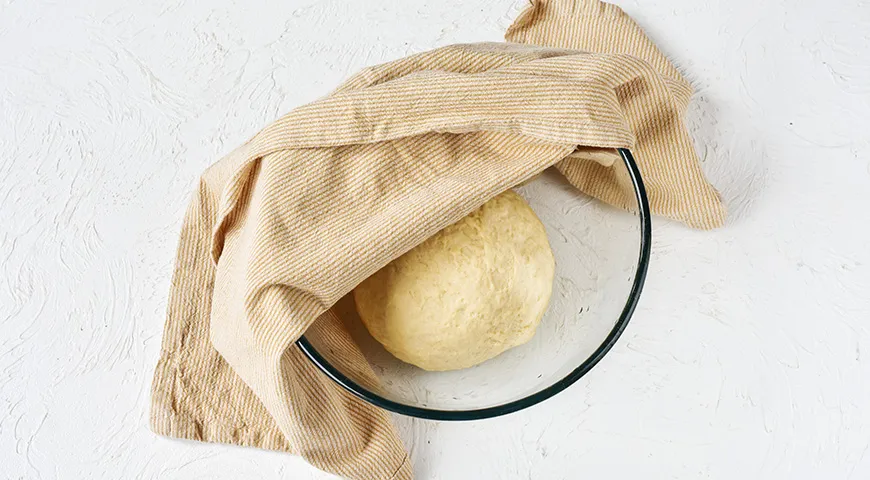
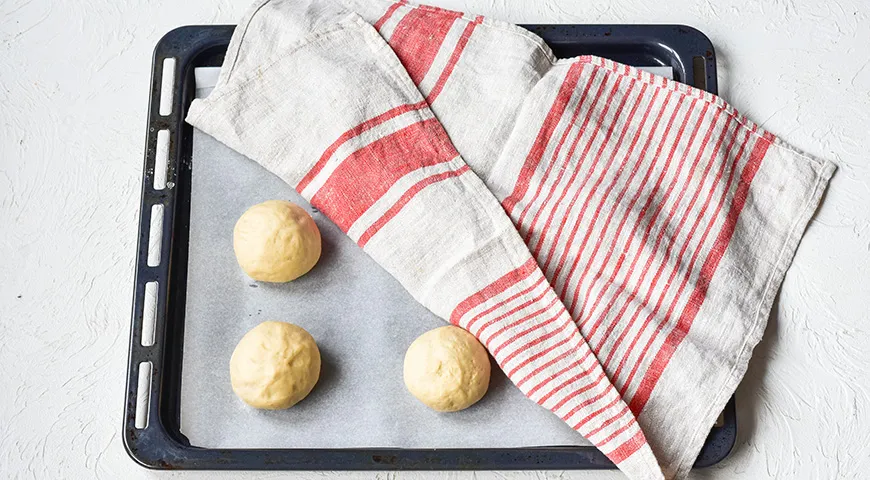
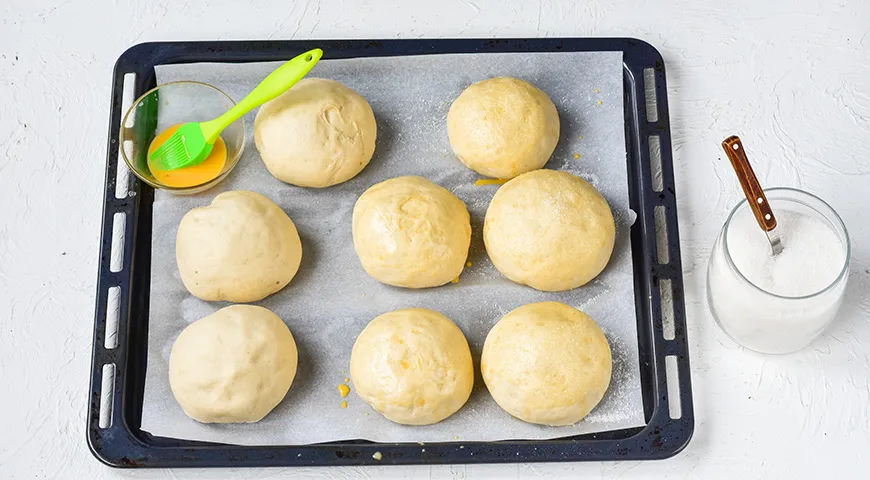
Form the dough into a ball, cover with a towel, and let it rise in a warm spot for 2 hours. It should triple in size. Turn the dough onto a lightly floured surface and divide it into 8 equal portions (about 110 g each). Shape each piece into a smooth ball by tucking the edges under. Place them on a baking sheet lined with parchment paper, cover, and allow to rise for another hour. For a non-stick surface, consider using a best oil sprayer to lightly grease the paper.

Step 5: Egg Wash and Sugar Topping
Preheat your oven to 220°C. Lightly beat the egg yolks and brush them over the risen buns using a pastry brush. Sprinkle generously with granulated sugar. The sugar will caramelize during baking, creating a delightful crunch. For a crispier crust, baking in a best air fryer non-toxic at 200°C for 10–12 minutes is an excellent alternative.
Step 6: Bake
Bake the buns for 10–15 minutes until golden brown and hollow-sounding when tapped. Allow them to cool slightly on a wire rack. The steam inside will keep them soft. For perfectly even baking, consider a commercial countertop convection oven that distributes heat uniformly.
Tips for Perfect Buns
- Use a digital scale for precise metric measurements—baking is a science.
- Ensure your yeast is fresh and active; test by letting it foam in warm water with a pinch of sugar.
- If the dough feels too sticky, add flour a tablespoon at a time, but avoid over-flouring.
- For an extra-soft crumb, replace 50 ml of water with milk.
- A best non-toxic immersion blender can also be used to emulsify the egg wash for a perfectly even glaze.
Variations to Try
The School Bun is versatile. Try these creative twists:
- Cinnamon Swirl: Roll the dough into a rectangle, sprinkle with cinnamon-sugar, then roll and slice before shaping into buns.
- Filled Buns: Place a spoonful of jam, poppy seed paste, or sweetened cottage cheese in the center of each ball before shaping.
- Savory Version: Reduce sugar to 10 g and add cheese or herbs on top.
- Whole Wheat: Substitute half the all-purpose flour with whole wheat flour for a nuttier flavor. A best food processor for nut butter can help grind your own nut flours or seed pastes for fillings.
Serving Suggestions
Enjoy these buns warm, split in half, with a pat of butter and a drizzle of honey. They pair beautifully with a cup of strong black tea or a best sweet wine with high alcohol content for an adult afternoon treat. For a party, serve with flavored butter or fruit preserves. If you’re hosting a breakfast event, a best coffee maker for Airbnb can provide a steady stream of coffee for your guests.
FAQ
Can I use instant yeast instead of active dry?
Yes, but reduce the amount by 25% and mix it directly with the flour, skipping the opara step. The flavor will be slightly less developed. For easier mixing, a best planetary mixer helps incorporate instant yeast evenly.
How do I store these buns?
Store in an airtight container at room temperature for up to 2 days. To refresh, warm in a 150°C oven for 5 minutes. Avoid refrigeration, which dries out the crumb. A best wall oven microwave combo with air fryer can reheat them quickly without losing moisture.
Why didn’t my buns rise properly?
Check your yeast expiration date and water temperature—too hot kills yeast, too cold slows it. Ensure the proofing area is warm (about 27–30°C). A commercial countertop convection oven with a proof setting can maintain ideal conditions.
Can I freeze the unbaked buns?
Absolutely. Shape the buns and freeze them on a baking sheet until solid, then transfer to a freezer bag. When ready to bake, thaw overnight in the refrigerator, then let rise at room temperature for 2 hours before egg washing and baking. A best air fryer non-toxic with a dehydrate or bake setting can also be used for quick thawing.
What if I don’t have a stand mixer?
Knead by hand on a lightly floured surface for 12–15 minutes. The dough should pass the windowpane test. For wet hands, use a best oil sprayer to lightly oil your palms to prevent sticking. Alternatively, a best glass mixing bowl makes cleanup easier.
These School Buns are a testament to simple, honest baking. With this recipe and a few high-quality tools from Walfos, you’ll recreate the nostalgic joy of a Russian childhood in your own kitchen. Happy baking!







