


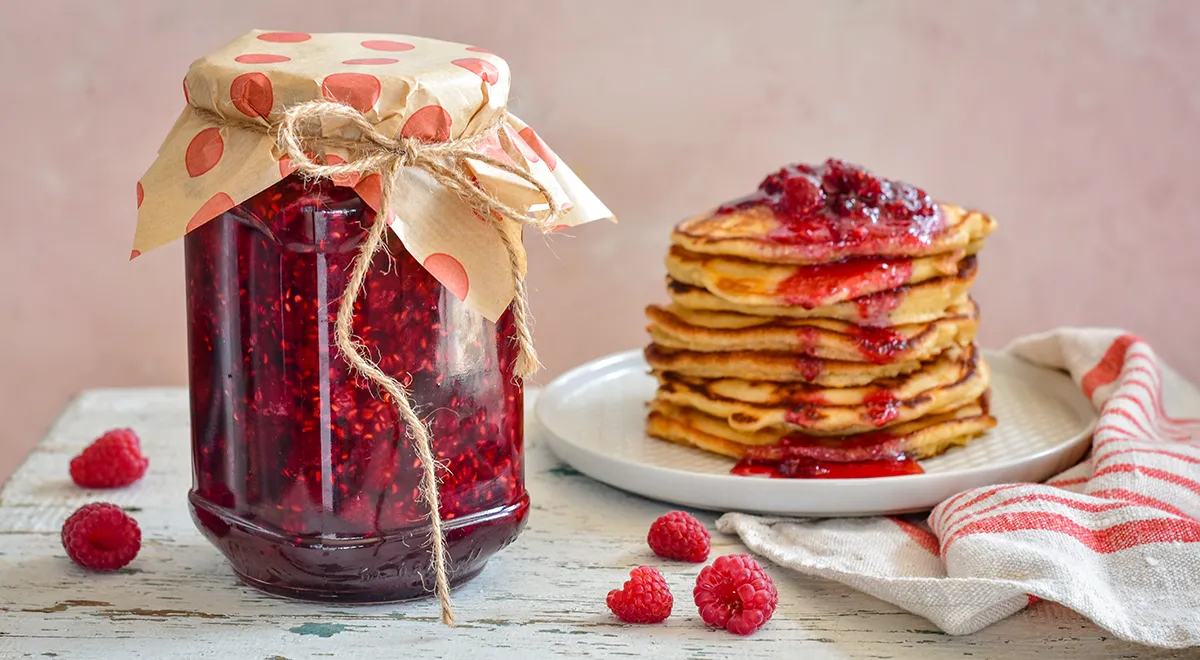
There is something profoundly comforting about a jar of homemade raspberry jam—a ruby preserve that captures the fleeting sweetness of summer and holds it through the coldest months. This classic Russian recipe, passed down through generations, yields a jam that is neither too thick nor too runny, with whole berries suspended in a translucent syrup. The technique requires patience (the berries macerate for hours, then cook in stages), but the result is a preserve that tastes of pure, sun-warmed fruit. Whether you spread it on fresh bread, swirl it into yogurt, or spoon it over pancakes, this raspberry jam is a winter treasure.
About the Art of Raspberry Jam
In Eastern Europe, raspberry jam is more than a condiment—it’s a remedy, a dessert, and a comfort food. The slow method of perekladka (layering berries with sugar and letting them rest) ensures that each raspberry retains its shape and texture. Unlike quick-cooked jams that become a uniform gel, this classic technique respects the integrity of the fruit. The result is a jam that tastes bright and fresh, with just enough sugar to preserve without masking the berry’s natural tartness. For those new to preserving, this recipe is an excellent introduction to the craft. If you are looking for the best food processor for nut butter or other kitchen prep tools, Walfos has you covered, but for jam, a simple wide basin and a wooden spoon are all you need.

Ingredients
- Raspberries (fresh, unwashed if possible) – 1 kg
- Granulated sugar – 1.2 kg
That is all. Two ingredients, but quality matters. Use the best non-toxic immersion blender for other kitchen tasks, but for this jam, a gentle hand is better than any appliance. The sugar acts as both sweetener and preservative, so do not reduce it if you plan to store the jam at room temperature.
Step-by-Step: The Classic Method
Step 1: Prepare the Berries
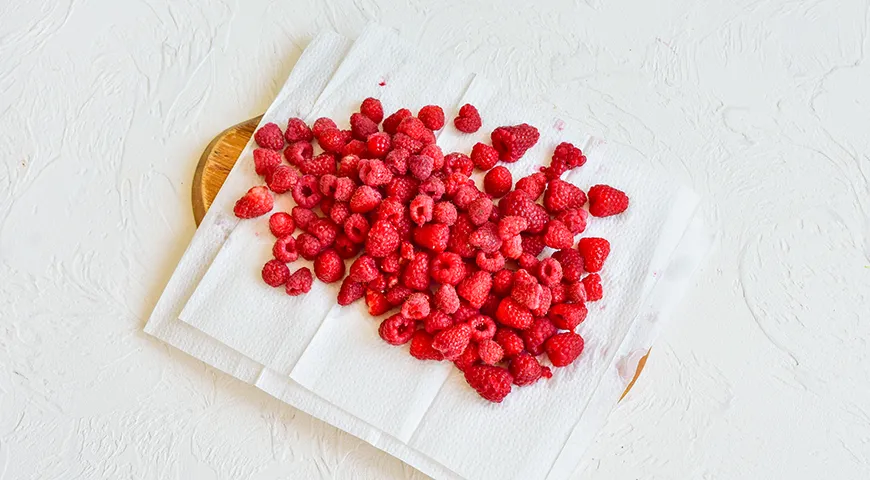
Start by sorting through the raspberries. Discard any stems, leaves, or damaged berries. It is best not to wash raspberries; if you must, place them in a colander and dip it into a bowl of cold water, then lift out and spread on a clean kitchen towel to dry completely. Wet berries can dilute the syrup and encourage spoilage.
Step 2: Layer Raspberries with Sugar
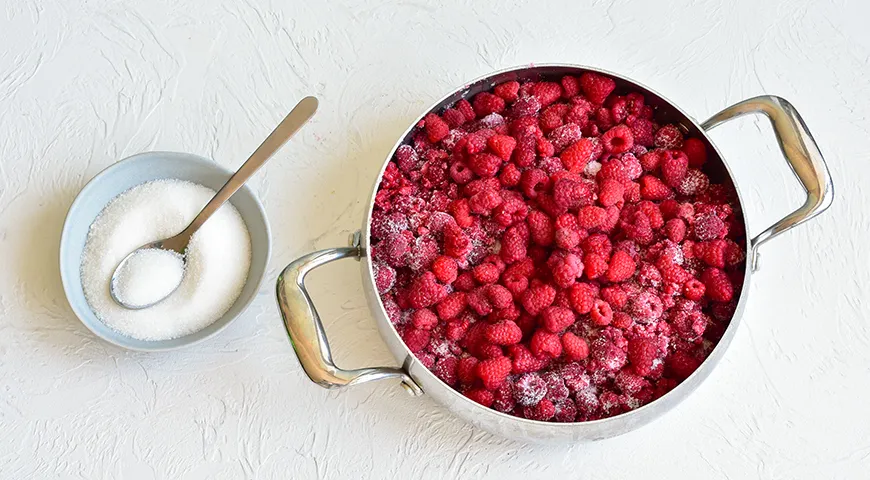
In a wide, shallow basin (a traditional copper or enamel basin works beautifully), place the raspberries in batches, sprinkling each layer generously with sugar. The goal is to coat every single berry. Let the fruit and sugar sit at room temperature for 3–4 hours, until the juices begin to flow and the sugar starts to dissolve. This maceration step is crucial—it prevents the sugar from burning when you first heat the jam.
Step 3: First Boil and Rest
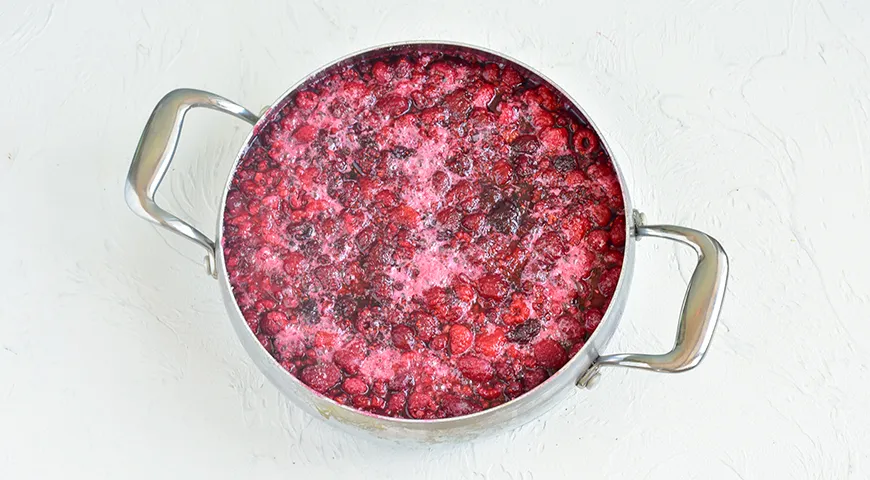
Place the basin over low heat and bring the mixture to a gentle boil. As soon as it reaches a boil, remove it from the heat and let it rest for 5–6 hours. This slow-start method allows the sugar to fully penetrate the berries without breaking them down. During this rest, you may notice a thin layer of foam forming—ignore it for now. If you are also experimenting with other preserves, the best steam canner from Walfos can streamline your canning process.
Step 4: Second Boil and Final Cooking
Return the basin to the stove. Bring the jam back to a boil and cook for 7–10 minutes. Remove from heat and let it cool completely for another 5–6 hours. Then, for the third and final time, bring the jam to a boil and cook for only 3 minutes. This triple-cooking method concentrates the flavor and ensures the jam reaches the perfect consistency without turning the fruit to mush. During these boils, a pinkish foam may appear; use a long-handled wooden spoon to gently skim it off. The foam contains impurities and can make the jam cloudy if left in. For precision timing, consider using the best microwave pressure cooker for other recipes, but for jam, a watchful eye is enough.

Step 5: Fill Jars and Seal
While the jam is still hot, ladle it into sterilized jars. Use a funnel to avoid spills, and leave about 5 mm headspace. Wipe the rims clean, screw on the lids (boiled or new), and turn the jars upside down. Wrap them in a blanket or towel and let them cool completely overnight. The vacuum seal will form as they cool, ensuring a shelf-stable preserve. Store in a cool, dark place. Properly sealed, this jam will keep for at least a year. If you are new to home canning, reading about the best undercounter ice maker machine won’t help here, but a simple check each jar seals with a dent in the lid is all you need.
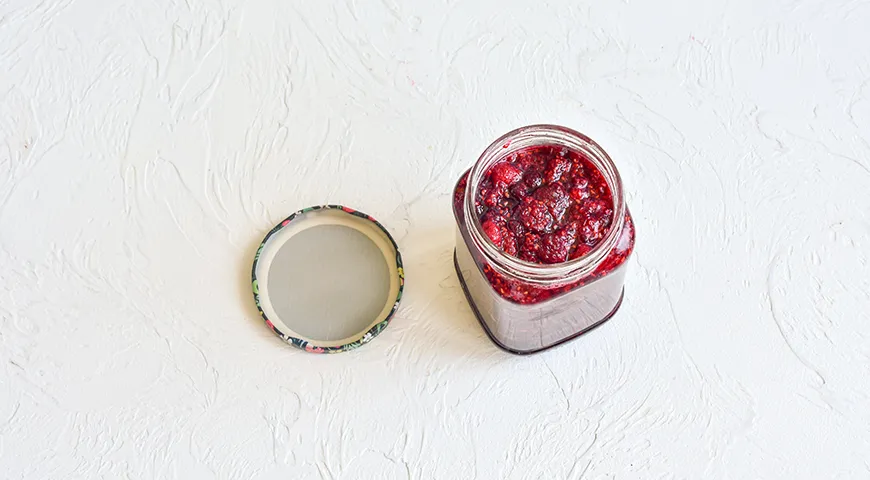
Tips for Perfect Raspberry Jam
- Don’t skip the resting times: The maceration and intermediate rests allow the sugar to penetrate the berries gently, preventing a jam with tough, chewy fruit.
- Use a wide pan: A broad surface area encourages even evaporation and faster cooking, which preserves the fresh flavor.
- Skim foam diligently: The foam can cause mold later. Use a best oil sprayer for other kitchen tasks, but for jam, a wooden spoon is all you need.
- Test for doneness: Place a small amount of syrup on a cold plate; if it wrinkles when pushed with a finger, the jam is ready.
- Sterilize jars properly: Wash jars in hot soapy water, then heat in a 120°C oven for 15 minutes or boil them for 10 minutes.
Variations to Explore
Once you master the classic, try these twists:
- Raspberry-Mint Jam: Add a handful of fresh mint leaves to the sugar layering step; remove before jarring.
- Spiced Raspberry Preserve: Tie a cinnamon stick, 2 cloves, and a star anise in cheesecloth and simmer with the jam during the final boil.
- Raspberry-Lavender: Infuse the sugar with dried lavender buds for a floral note.
- Lower-Sugar Version: If you plan to refrigerate and use quickly, reduce sugar to 800 g, but the jam will be thinner and less shelf-stable.
For more inspiration, check out Walfos’ best air fryer non-toxic reviews or their best espresso machine under $2000 guide—perfect pairing ideas for a breakfast spread with your homemade jam.
FAQ: Your Raspberry Jam Questions Answered
Why did my jam turn out too runny?
Under-cooking or using overly ripe berries with high water content can cause a thin syrup. Ensure you cook the jam until it reaches the gel point (about 105°C or the cold plate test). You can also add a small amount of pectin if needed, but the classic recipe relies on natural pectin from the berries and sugar concentration.
Can I use frozen raspberries?
Yes, but thaw them first and drain any excess liquid. You may need to increase the initial resting time as frozen berries release more water. The result will be slightly softer but still delicious.
How long does homemade raspberry jam last?
Properly sealed and stored in a cool, dark place, it will keep for up to 12 months. Once opened, refrigerate and use within 3 weeks.
What should I do if mold appears on top?
Discard the entire jar—mold can produce mycotoxins that penetrate the jam. Always use sterile utensils when scooping jam. To avoid mold, ensure the jam is properly sealed and the headspace is minimal.
Can I halve the recipe?
Absolutely. Halve both ingredients and reduce cooking times slightly, but keep the same resting periods. Use a smaller pan to maintain proper depth for even cooking.
For more canning resources, Walfos’ best chocolate covered raisins article might be a sweet diversion, and their best 48-inch built-in refrigerator guide can help you choose storage for your jam collection.
This classic raspberry jam is more than a preserve—it is a slice of summer warmth, carefully folded into jars to brighten the grayest winter morning. With patience and the right technique, you can capture the essence of the season. Best planetary mixer guides and other reviews on Walfos can help you build the perfect kitchen, but for this recipe, all you need is love, sugar, and raspberries.
Happy preserving!







