


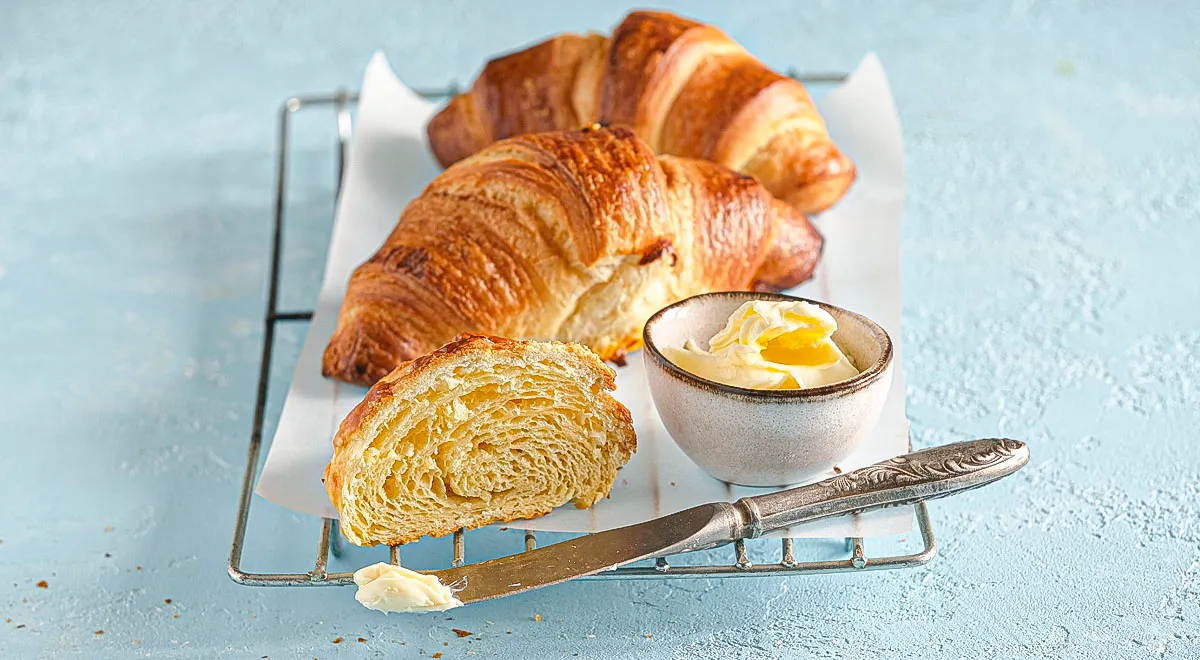
There is something profoundly satisfying about the aroma of butter and yeast filling the kitchen as homemade croissants bake to a deep golden-brown. This recipe for Croissants from Puff Yeast Dough (Круассаны из слоеного дрожжевого теста) is a masterclass in laminated dough, yielding layers so airy and crisp they shatter at the touch. Whether you are a seasoned baker or ready to tackle your first laminated project, this guide will walk you through every step, from the sponge to the final glaze. The result is a patisserie-worthy croissant with a honeycomb interior, perfect for a luxurious weekend breakfast or an impressive brunch centerpiece. For the best texture, use high-quality European-style butter and consider investing in a reliable planetary mixer to handle the initial kneading.
About the Art of Laminated Dough
Lamination is the technique of encasing butter within a yeast dough and folding it repeatedly to create hundreds of ultra-thin layers. As the croissants bake, the water in the butter turns to steam, separating the layers and producing that iconic flaky structure. This particular recipe uses a two-stage butter incorporation for an even more delicate rise. Unlike rapid puff pastry, the yeast adds depth of flavor and a soft, airy crumb. The key is to keep the dough and butter at the same cool temperature throughout—not ice-cold but pliable. A good built-in refrigerator can help maintain that precise environment during the many chilling stages. The method may seem long, but the active work is minimal; most of the time is spent letting the dough rest and develop.

Ingredients
- For the dough: 600 g strong white bread flour, 240 ml warm water (160 ml + 80 ml as needed), 2 tsp active dry yeast (or 15 g fresh), 75 g caster sugar, 12 g fine sea salt, 35 g unsalted butter (softened), 15 g full-fat dry milk powder (optional, for tenderness)
- For lamination: 325 g cold unsalted butter (preferably 82% fat)
- For the glaze: 2 large eggs + 1 egg yolk, pinch of salt
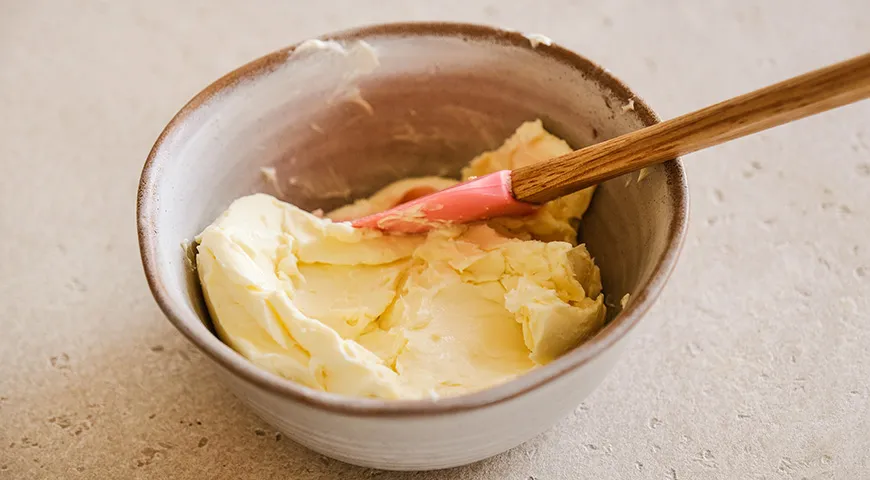
Weigh your ingredients carefully – accuracy is critical in laminated dough. For the butter block, choose a premium brand; it should be cold but malleable. You can soften it slightly by beating it between two sheets of parchment paper into a 15×15 cm square, then refrigerate until needed. A glass food processor bowl can be useful for quickly mixing the dough if you prefer a machine method.
Step-by-Step Instructions
Step 1: Prepare the Yeast Dough
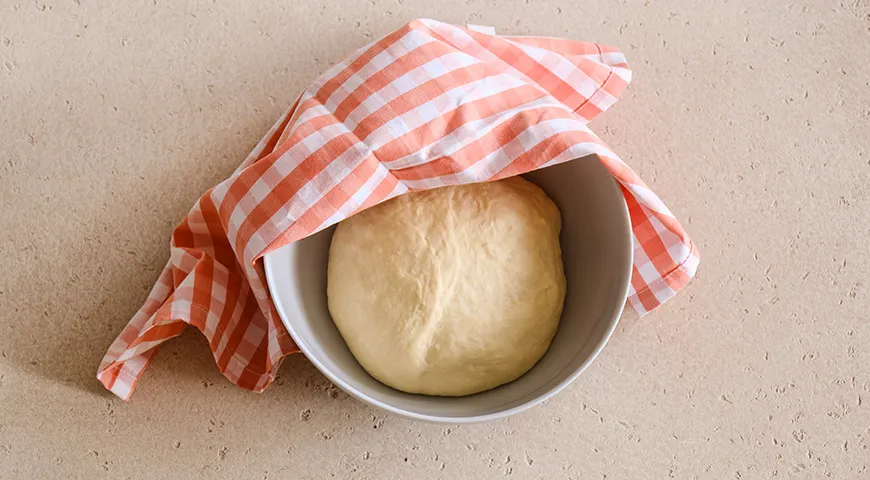
In a small bowl, dissolve the yeast in 160 ml of the warm water and let stand for 5 minutes until frothy. In a large mixing bowl, combine the flour, sugar, salt, and dry milk powder. Add the yeast mixture, the softened 35 g butter, and the remaining water as needed to bring the dough together. Knead for 8–10 minutes until smooth and elastic. The dough should feel soft but not sticky. Cover the bowl and let it rest at room temperature for 60–90 minutes, until doubled in volume.
Step 2: First Chill and Fold
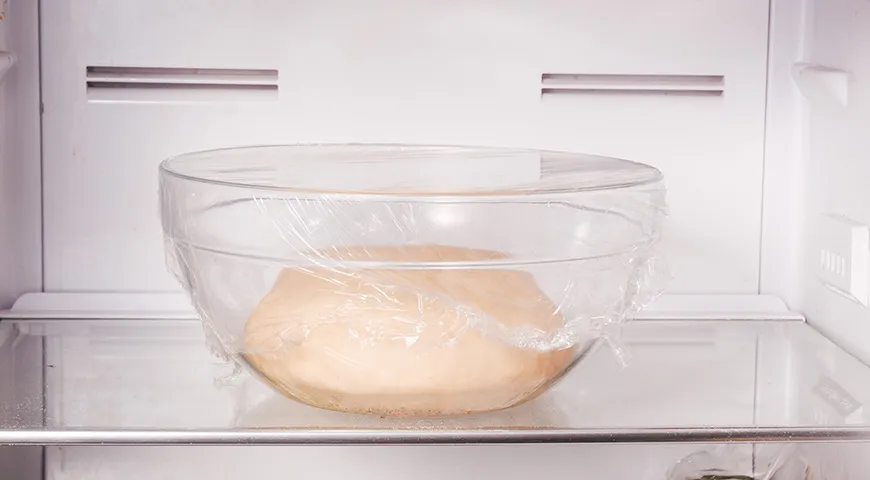
Turn the risen dough onto a lightly floured surface and punch it down to release the gas. Shape into a rectangle, wrap in plastic, and refrigerate for 60–75 minutes. This firms the gluten structure for lamination. After chilling, give the dough a quick fold (turn it out and fold it into thirds like a letter), then return it to the freezer for 30 minutes – this prevents the butter from melting during the next stage.
Step 3: First Butter Incorporation
On a floured work surface, roll the dough into a rectangle three times as long as it is wide (about 15×45 cm). Use a rolling pin to soften the 325 g butter slightly – it should be pliable but not oily. Spread half of the butter (about 162 g) over the lower two-thirds of the dough, leaving a small border. Fold the unbuttered top third down over the center, then fold the bottom third up over that, like a business letter. Wrap tightly and freeze for 30 minutes, then transfer to the refrigerator for 60 minutes.
Step 4: Second Butter Incorporation
Remove the dough from the refrigerator. Roll it again into the same-size rectangle (15×45 cm). Spread the remaining butter over the lower two-thirds and repeat the three-fold. Wrap and freeze for 30 minutes, then refrigerate for another 60 minutes. This double lamination gives extra definition to the layers.
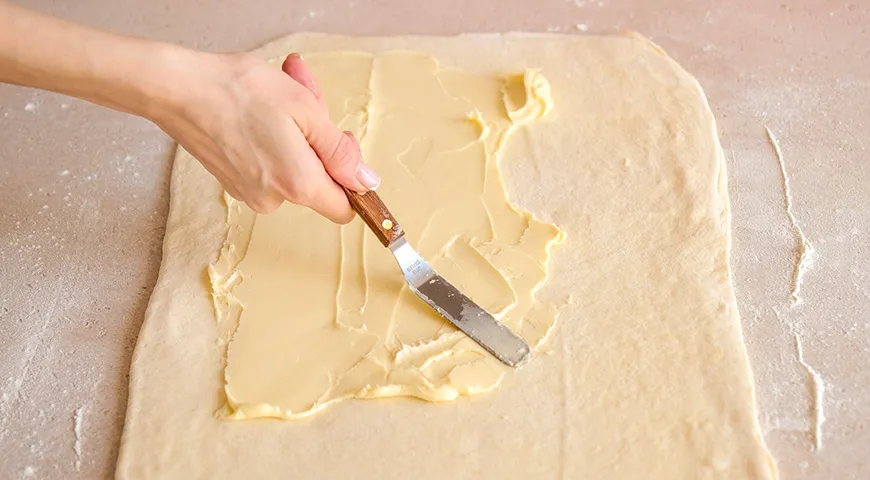
Step 5: Rolling and Cutting Triangles
On a floured surface, roll the dough into a rectangle about 3 mm thick. Using a sharp knife or pizza cutter, cut triangles with a 12 cm base and 20 cm sides. For even shapes, measure directly on the dough. You should get 10–12 pieces. A food processor for nut butter isn't needed here, but a good bench scraper helps keep the surface clean.
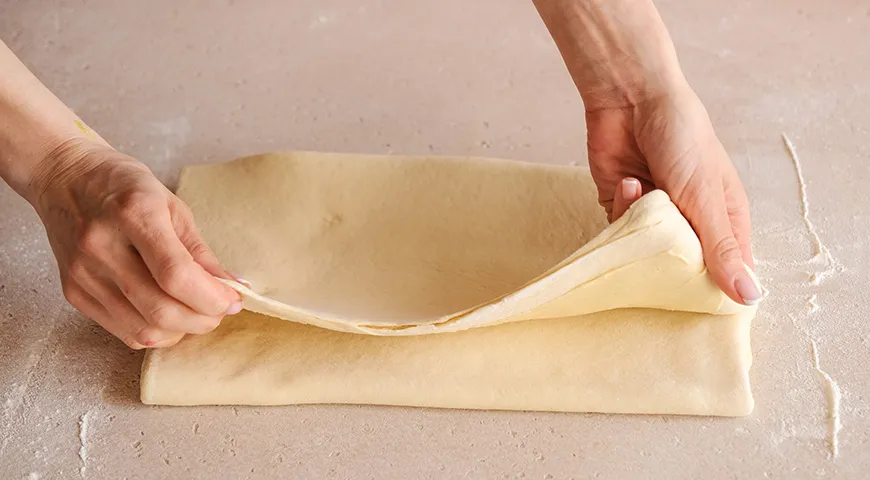
Step 6: Shaping the Croissants
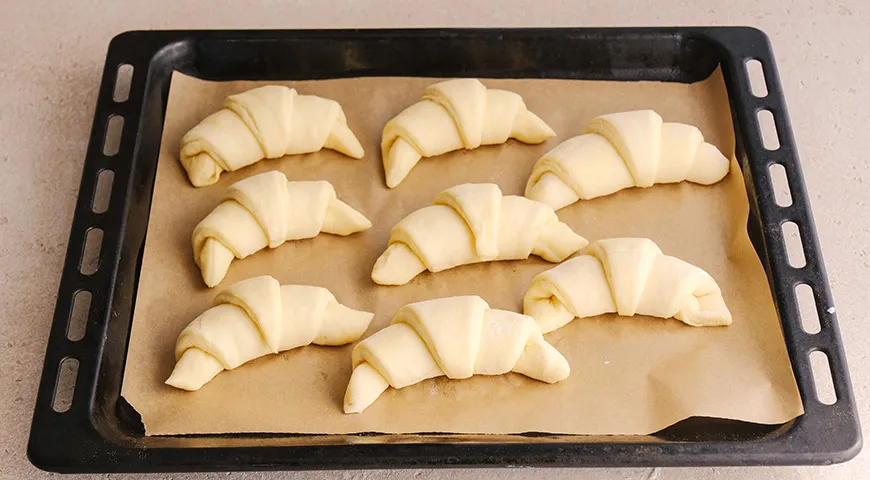
Take each triangle with the base facing you. Gently stretch the two bottom corners outward to widen them. Roll the dough toward the tip, applying light tension. Curve the ends inward to form the classic crescent shape. Place on a parchment-lined baking sheet, spacing them 5 cm apart. For a glossy finish, you can brush with a little egg wash now, but professional bakers wait until after proofing.
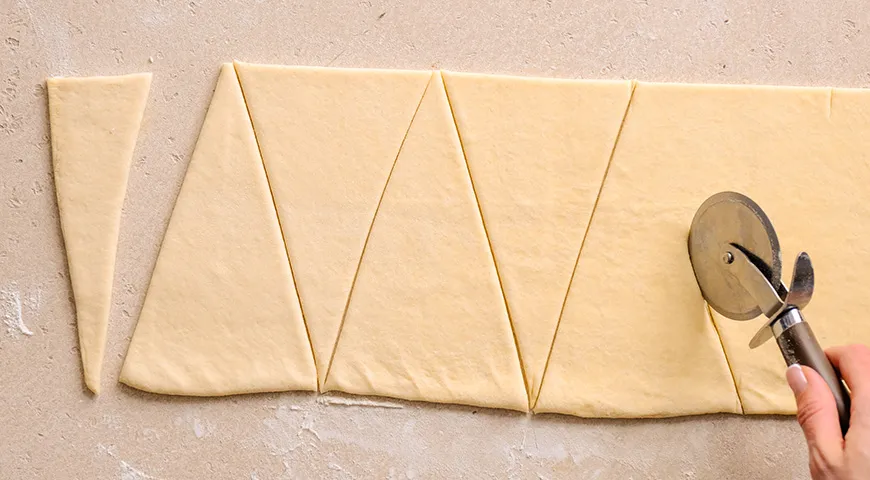
Step 7: Final Proofing
Cover the shaped croissants loosely with plastic wrap and let them proof at room temperature for 90–120 minutes, until visibly puffy and nearly doubled. The dough should spring back slowly when gently pressed. This slow proof develops flavor and ensures a light interior. If your kitchen is cool, use a slightly warm spot (but not above 28°C, or the butter will leak).
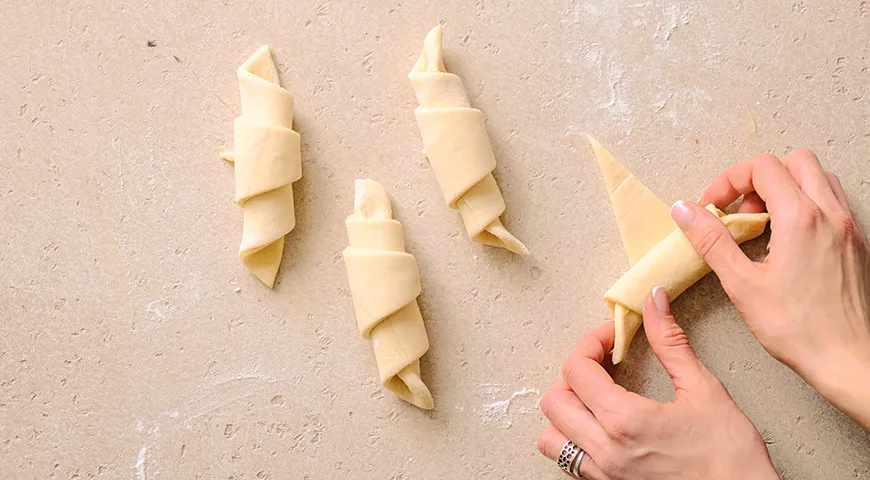
Step 8: Glaze and Bake
Preheat your oven to 230°C (with fan if possible). In a small bowl, beat the 2 eggs plus the extra yolk with a pinch of salt until smooth. Gently brush each croissant with the egg wash, being careful not to let it drip onto the tray. Place the sheet in the oven, then immediately reduce the temperature to 190°C. Bake for 20 minutes, rotating halfway, until deep golden brown. The internal temperature should reach at least 82°C. An air fryer can mimic convection if your oven lacks a fan, but the texture is best in a standard oven.
Step 9: Cooling
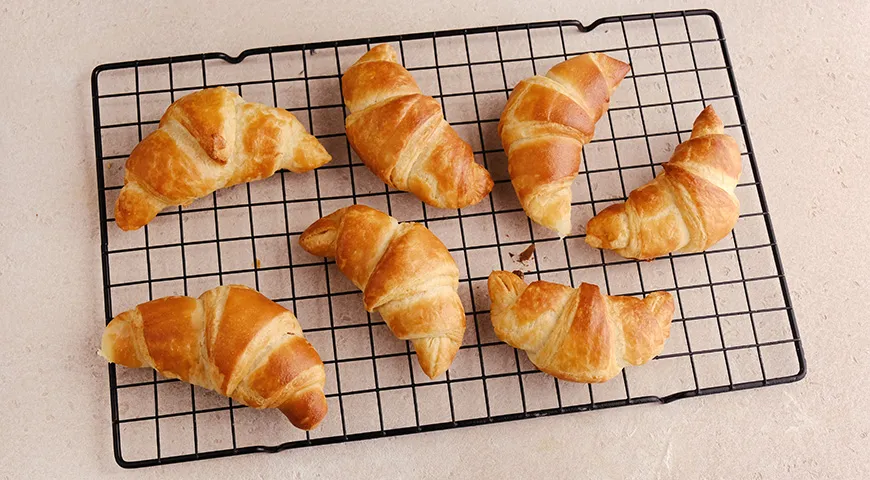
Transfer the baked croissants to a wire rack immediately. Let them cool for at least 15 minutes before serving – this allows the steam to escape and the layers to set. Do not stack them while warm, or they will lose their crispness.

Step 10: Enjoy
Serve your homemade croissants plain, with butter and jam, or filled with chocolate or almond cream. They are best consumed the same day, but can be reheated briefly in a hot oven. For an extra-indulgent treat, split and toast them.
Tips for Perfect Croissants
- Butter temperature is everything. If the butter cracks during rolling, it’s too cold; if it squishes out, it’s too warm. Aim for a pliable but cool consistency. A refrigerant leak detector isn’t needed, but a good instant-read thermometer for your fridge helps.
- Use a sharp cutter. Dull blades compress the dough edges and prevent layers from separating. A oil sprayer can lightly oil your knife to make cleaner cuts.
- Don’t over-proof. Over-proofed croissants will lose their shape and the butter may pool. Start checking early.
- Chill thoroughly between folds. Skipping the freezer step can lead to butter melting into the dough. Patience pays off.
Variations
Chocolate Croissants: Place a few dark chocolate batons at the base of each triangle before rolling. For a sweeter version, use a best chocolate-covered raisins as a garnish after baking.
Almond Croissants: Spread a thin layer of almond cream inside before shaping, then top with sliced almonds and powdered sugar.
Savory Croissants: Omit the sugar from the dough and add herbs, cheese, or ham before rolling. A pinch of castor oil is not needed, but a sprinkle of flaky sea salt on top before baking is divine.
Frequently Asked Questions
Can I use instant yeast instead of active dry?
Yes, substitute 2 teaspoons of instant yeast directly into the flour. You may reduce the proofing time slightly. For other kitchen essentials, check out our guide to the best coffee maker for Airbnb – perfect for pairing with fresh croissants.
Why did my croissants turn out dense?
Common causes include under-proofing, butter too cold during lamination, or over-kneading the dough. Ensure your yeast is fresh and proof until the croissants look pillowy. A undercounter ice maker machine can provide ice water to keep your work surface cool.
Can I freeze unbaked croissants?
Absolutely. After shaping, freeze them solid on a tray, then transfer to a zip-top bag. When ready to bake, thaw overnight in the fridge, proof, and bake as directed. Consider using a steam canner if you plan to process other goods.
Is it necessary to use dry milk powder?
It adds tenderness and a slight richness, but you can omit it and increase the butter by 10 g. The croissants will still be delicious.
What if I don’t have a rolling pin?
A smooth wine bottle can work in a pinch, but for even thickness, a proper rolling pin is best. For other gadgets, explore the best wheatgrass juicer for healthy morning greens alongside your croissant.
Can I make these gluten-free?
Gluten-free laminated dough is challenging unless using a specialized blend. We recommend starting with a standard gluten-free yeast bread and layering with butter separately. For sweet alternatives, try best lava flavors for a unique dessert.
With patience and practice, you will master the art of the croissant. The layers of butter, the scent of browning dough, and the first bite of a warm, flaky crescent are rewards unlike any other. For more baking inspo, read about the Catalan sponge cake or check out best George Howell coffee to brew alongside your creation.







