


This classic Russian dessert, the Leningrad Cake, is a nostalgic layered cake that combines tender shortbread squares with a velvety chocolate Charlotte cream and a glossy chocolate glaze. Originating from the Soviet era, this cake is a testament to the artistry of home bakers who transformed simple ingredients into an elegant centerpiece. With its crisp layers, rich cocoa notes, and delicate hazelnut crunch, the Leningrad Cake is perfect for celebrations or any moment you crave a touch of old-world charm. Below, we guide you through every step, from preparing the dough to the final decorative swirls.
About the Leningrad Cake
The Leningrad Cake is a beloved recipe from Russia’s culinary history, often associated with the city’s grand hotel patisseries. Its structure—thin, crisp square layers sandwiched with a cocoa-infused Charlotte cream—offers a delightful contrast of textures. The cake is typically finished with a dark chocolate glaze and a sprinkle of crushed hazelnuts, giving it a sophisticated, bittersweet finish. For those who appreciate classic European baking, this cake is a treasure. If you enjoy exploring other traditional recipes, you might be interested in our Catalan sponge cake or other biscuit-based creations.

Ingredients
- For the dough: 320 g all-purpose flour, 180 g unsalted butter (softened), 120 g granulated sugar, 1 large egg, 1 tsp baking powder, 3 ml vanilla extract, a pinch of salt
- For the cream: 200 g unsalted butter (softened), 130 ml milk, 180 g granulated sugar, 1 large egg, 10 g cocoa powder, 3 ml vanilla extract, 15 ml cognac (or use organic vodka for a non-alcoholic variant)
- For the glaze and garnish: 100 g dark chocolate (70% cocoa), 45 g unsalted butter, 30 g hazelnuts (toasted and roughly chopped), plus extra whole hazelnuts for decoration
- For assembly: apricot jam (warm) for brushing
All ingredients should be at room temperature unless specified. Using a quality planetary mixer ensures smooth, even mixing for both dough and cream.
Step-by-Step Instructions
Step 1: Prepare the Dough Base
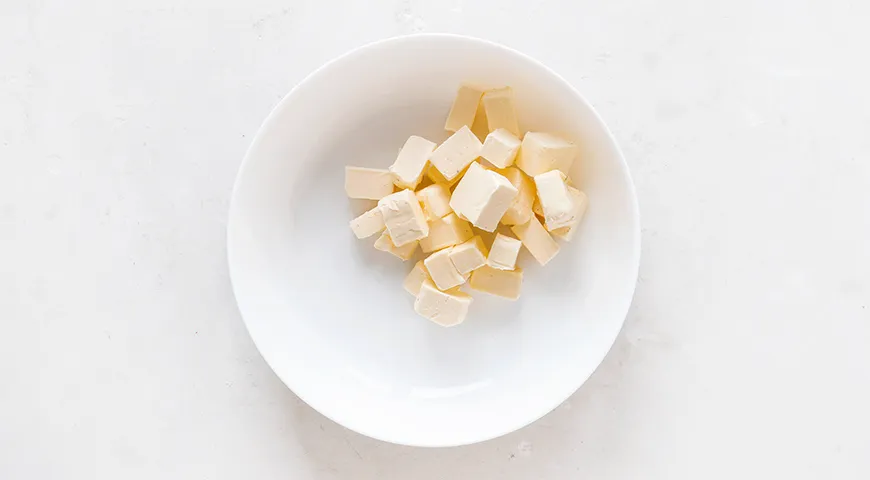
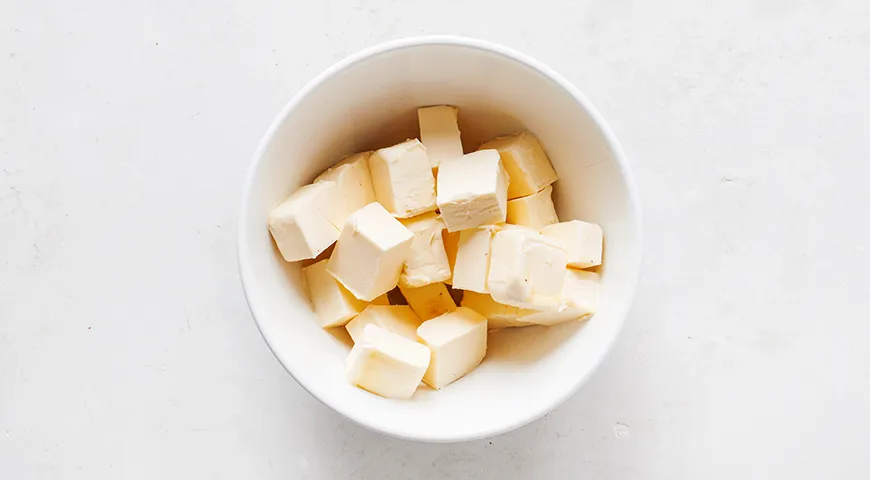
Cut 180 g of butter into small cubes, place in a bowl, and leave at room temperature for 30 minutes to soften. This allows the butter to cream easily later.
Step 2: Cream Butter and Sugar
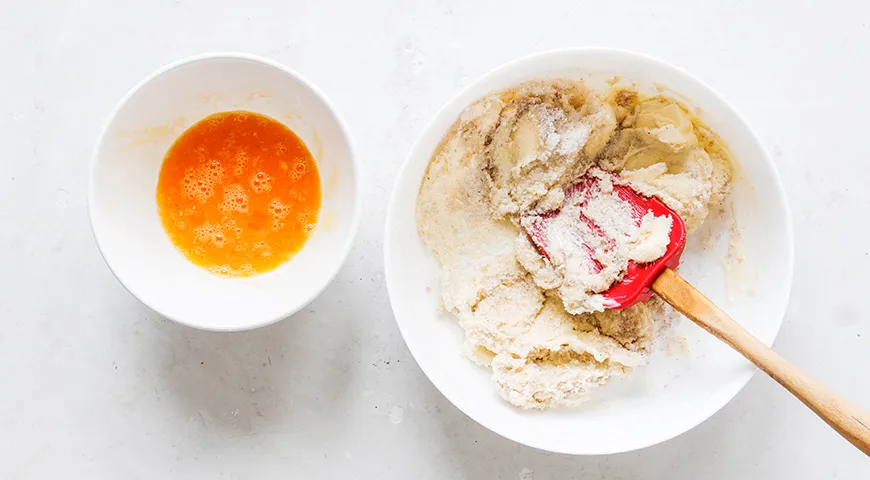
Mash the softened butter with a spatula. Add 120 g sugar and a pinch of salt, then mix well. In a separate bowl, beat the egg lightly with a whisk. Add the beaten egg and 3 ml vanilla extract to the butter mixture, then beat with an electric mixer until light and fluffy.
Step 3: Incorporate Dry Ingredients
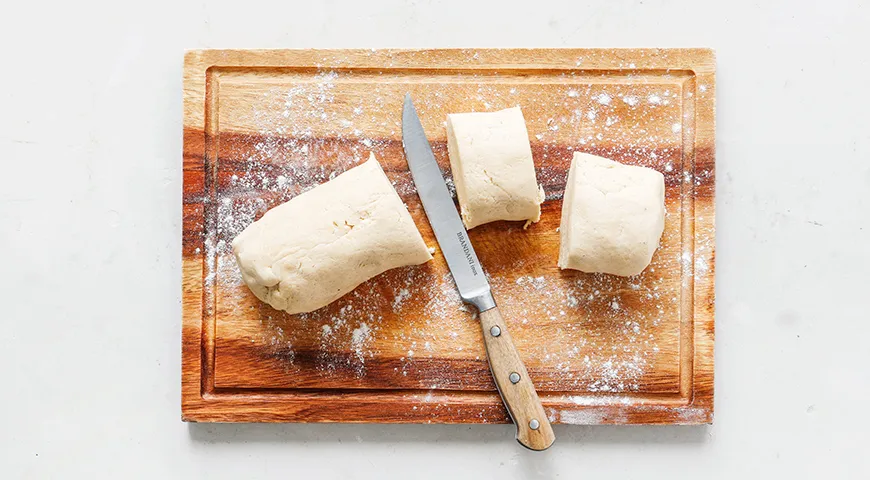
Sift 320 g flour with 1 tsp baking powder through a fine sieve. Add the sifted mixture to the egg-butter cream and knead until a homogeneous dough forms. Shape the dough into a thick log and divide into 4 equal portions—these will become your cake layers.
Step 4: Roll and Cut the Layers
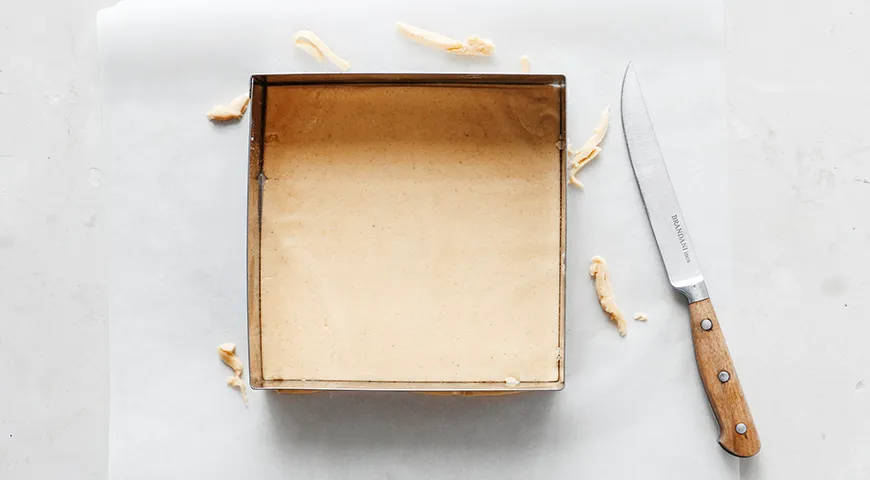
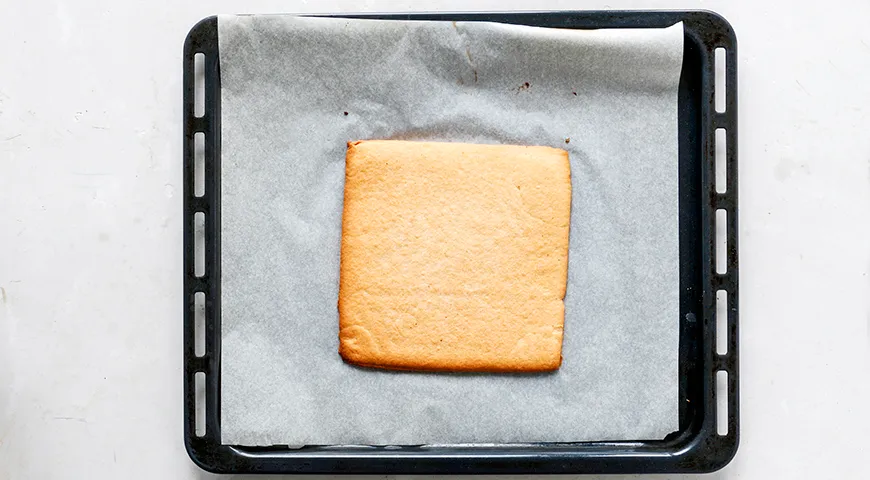
Place one portion on a sheet of parchment paper. Cover with another sheet and roll out to a 3–4 mm thickness. Remove the top paper. Using a cardboard template, cut a 17 cm square. Reserve the scraps for later use. Repeat with the remaining portions.
Step 5: Bake the Layers
Transfer the square (still on the parchment) to a baking sheet. Bake at 210°C for about 10 minutes until lightly golden. Slide the parchment onto a flat surface to cool. Repeat with the remaining squares and the reserved scraps. The baked layers will be crisp.
Step 6: Prepare the Cream – Soften Butter
For the Charlotte cream, cut 200 g butter into small cubes and leave at room temperature for 30 minutes until soft.
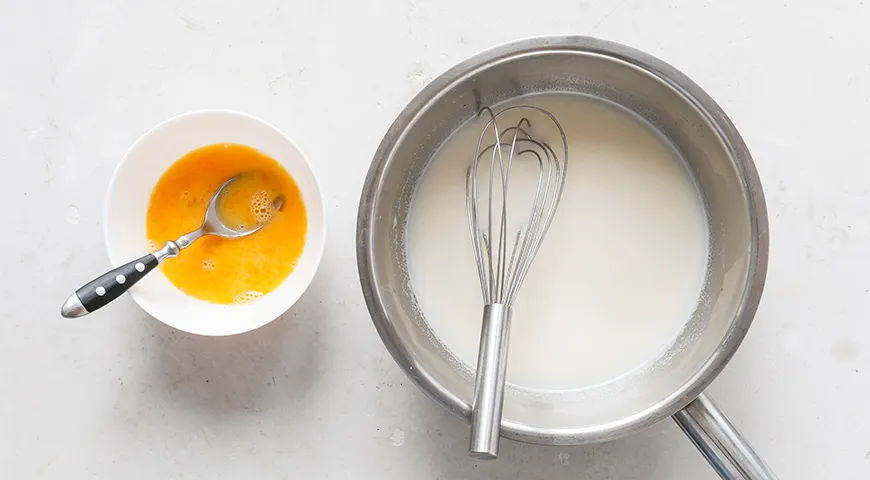
Step 7: Make the Milk Syrup
Pour 130 ml milk into a small saucepan, add 180 g sugar, and stir over medium heat until boiling. Let it boil for 2–3 minutes, then remove from heat. In a heatproof bowl, lightly beat the egg. Gradually add the hot milk syrup, one tablespoon at a time, whisking constantly to prevent the egg from curdling.
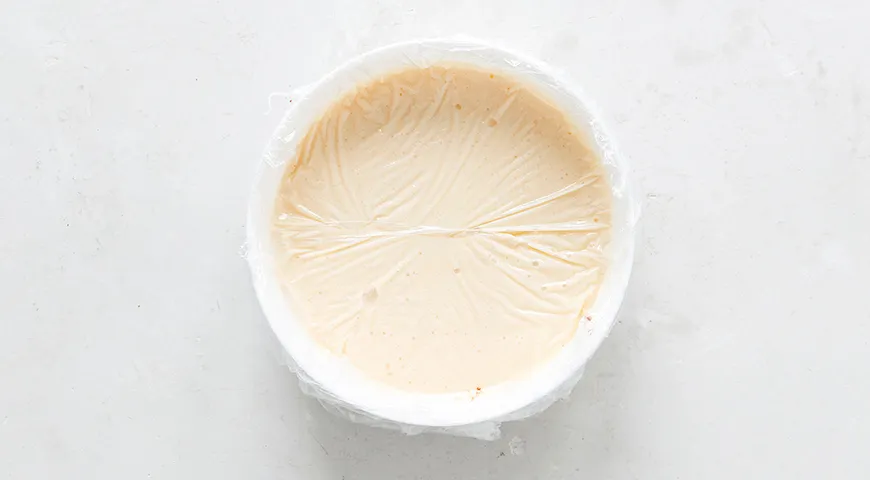
Step 8: Thicken the Cream Base
Place the bowl with the egg-milk mixture over a pot of simmering water (bain-marie). Stir constantly with a whisk until the mixture thickens to a custard-like consistency. Remove from heat and let cool. Cover the surface directly with plastic wrap to prevent a skin from forming.
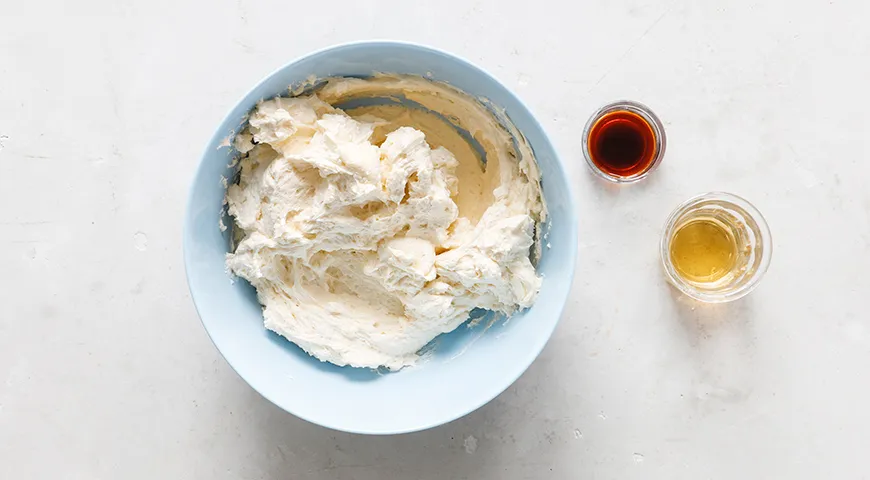
Step 9: Finish the Charlotte Cream
Beat the softened 200 g butter with an electric mixer until pale and fluffy. Gradually add the cooled egg-milk custard, one tablespoon at a time, continuing to beat. Add 3 ml vanilla extract and 15 ml cognac (or substitute with a splash of organic vodka). Beat until the cream is light and airy.
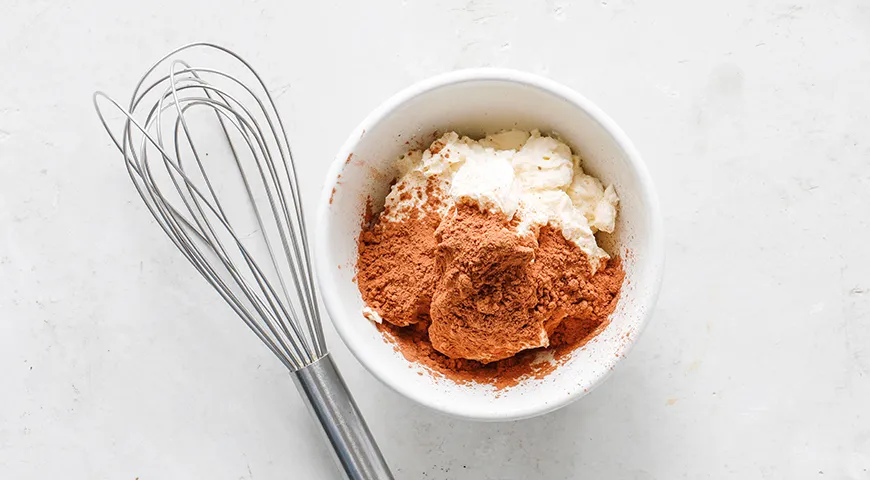
Step 10: Separate and Color the Cream
Set aside 3–4 tablespoons of the plain cream for final decoration. To the remaining cream, add 10 g cocoa powder and mix thoroughly until the chocolate cream is smooth and evenly colored.
Step 11: Assemble the Cake
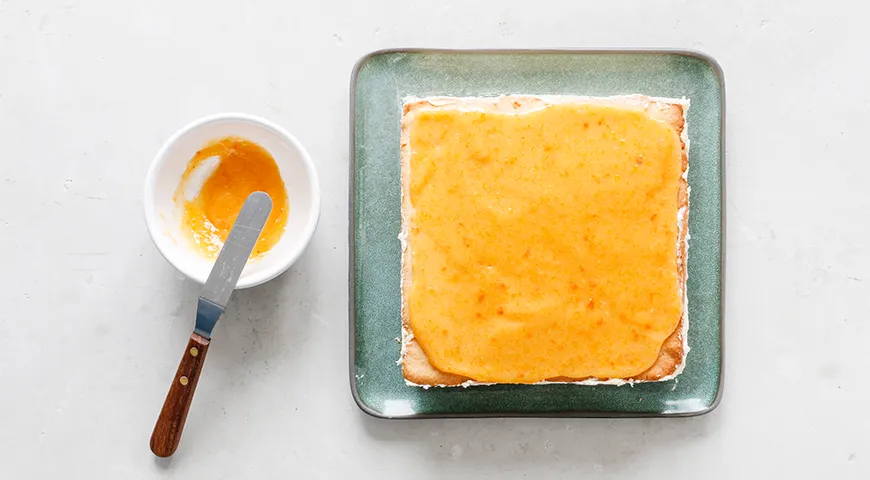
Reserve about a quarter of the chocolate cream for decoration. Stack the square layers, spreading a generous amount of chocolate cream between each. Spread a thin layer of warm apricot jam over the top layer. Also spread cream on the sides. Refrigerate the assembled cake for 40 minutes.
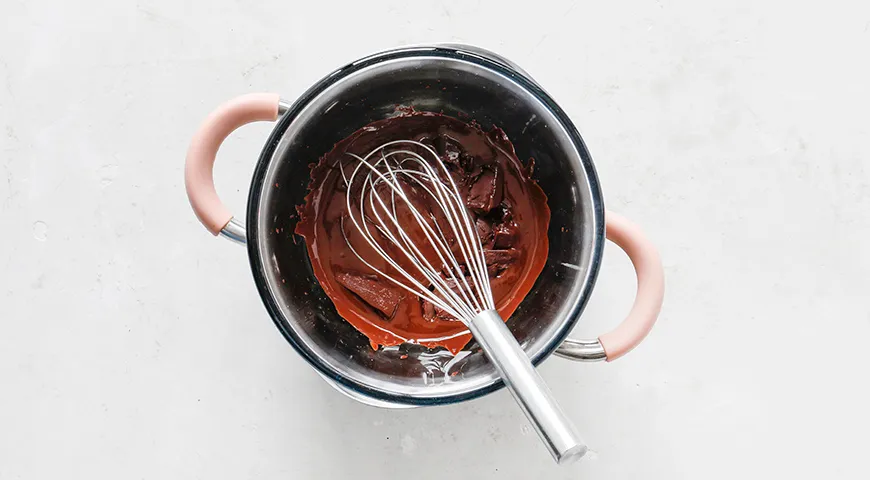
Step 12: Prepare the Chocolate Glaze
Break 100 g dark chocolate into pieces and cut 45 g butter into cubes. Place both in a heatproof bowl and melt together in the microwave or over a water bath until smooth. Stir until homogeneous.
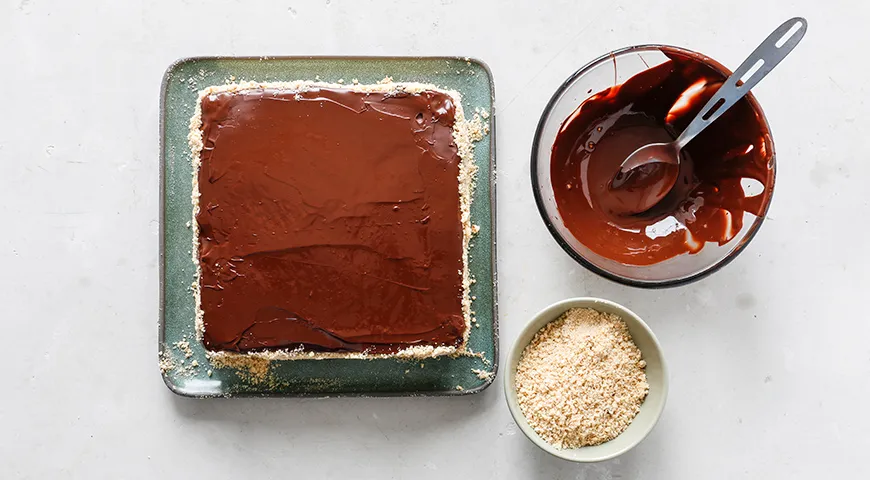
Step 13: Glaze and Coat the Sides
Pour the warm glaze over the chilled cake (with the set apricot jam). Quickly spread it evenly over the top. Grind the reserved baked scraps in a blender to fine crumbs and mix with 30 g chopped hazelnuts. Press this mixture onto the sides of the cake. Refrigerate for another 30 minutes to set.
Step 14: Final Decoration
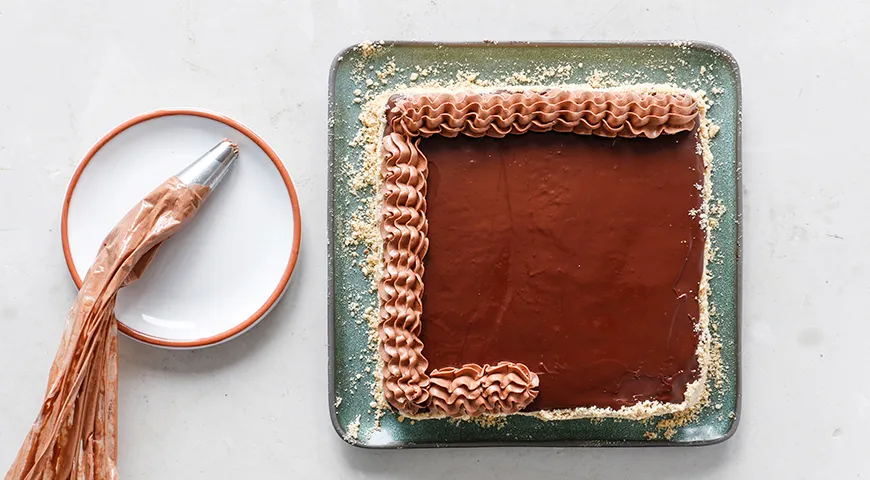
Use the reserved white and chocolate cream to pipe decorative swirls or rosettes on top of the cake. Sprinkle with additional chopped hazelnuts if desired. Keep the cake refrigerated until serving. The Leningrad Cake tastes even better the next day as the flavors meld.
Tips for Perfect Layers
- Use a glass food processor to quickly grind the baked scraps into fine crumbs.
- For an extra even bake, a commercial countertop convection oven ensures consistent heat circulation.
- If you lack time, a microwave pressure cooker can melt the glaze in under a minute.
- To keep the cream from splitting, always add the custard to the butter at room temperature.
Variations
Swap the hazelnuts for almonds or pistachios for a different crunch. For a richer chocolate profile, use dark chocolate with 85% cocoa—check out our favorite chocolate-covered raisins for inspiration. You can also add a layer of fruit preserves, like raspberry or cherry, between the squares. For a dairy-free version, substitute butter with vegan sticks and use oat milk in the cream.
Frequently Asked Questions
Can I make the Leningrad Cake ahead of time?
Yes, the cake actually improves after a day in the refrigerator, as the layers soften slightly and the flavors meld. Store it in an airtight container for up to 5 days. For longer storage, use a large built-in refrigerator to accommodate the cake’s size.
Why did my cream curdle?
Curdling usually happens when the egg mixture is added too quickly to the hot syrup, or the custard is too hot when combined with the butter. Ensure you add the syrup gradually and let the custard cool completely. An immersion blender can sometimes rescue a split cream.
Can I freeze the cake?
Absolutely, freeze the fully assembled (unglazed) cake for up to 2 months. Wrap tightly in plastic and foil. Thaw overnight in the refrigerator, then glaze and decorate. An ice maker is handy for keeping drinks cold while you wait.
What can I use instead of cognac?
Replace cognac with a sweet fortified wine or simply omit it—the cake will still be delicious. You can also use a few drops of rum extract for flavor.
How do I get clean, sharp edges on the squares?
Use a sharp knife or a pizza cutter after baking while the layers are still warm. For precision, a non-toxic air fryer is not used here, but a dedicated rolling guide helps maintain even thickness. Alternatively, trim the cooled layers with a serrated knife.
This Leningrad Cake is a stunning tribute to classic Russian pastry. With its crisp shortbread, silky chocolate cream, and elegant presentation, it’s sure to become a favorite for special occasions. Enjoy the process and the delicious rewards!


