


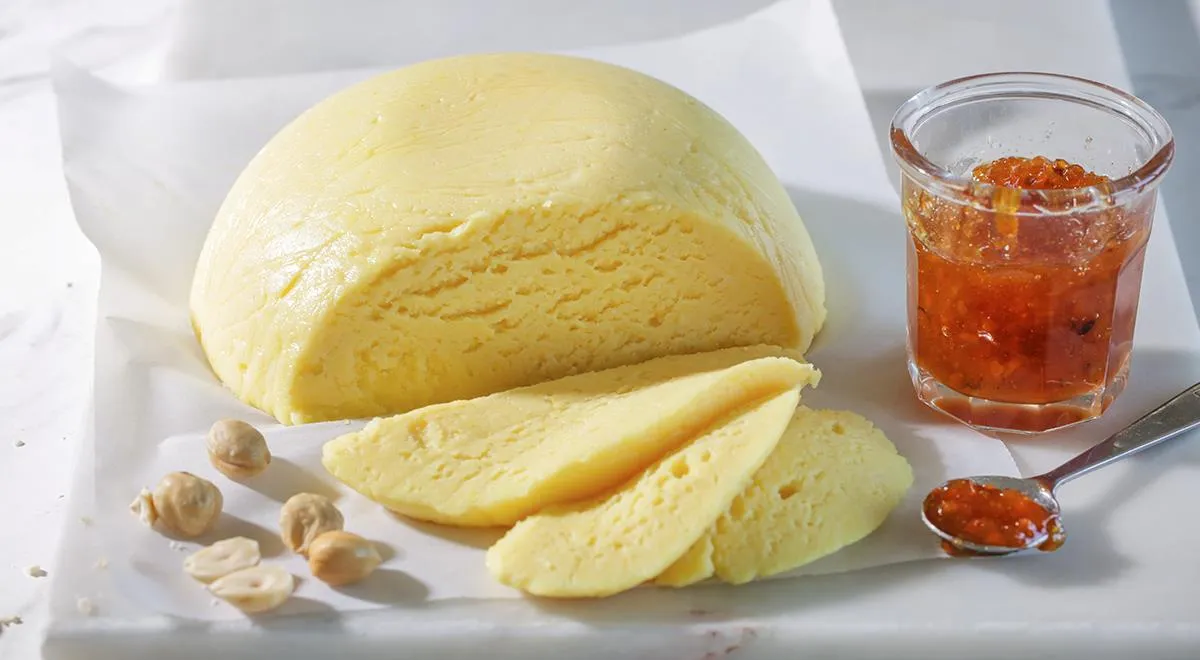
In the world of artisanal dairy, few creations are as rewarding as crafting your own cheese at home. This recipe for Homemade Semi-Hard Cheese from Cow's Milk and Soft Cottage Cheese bridges the gap between technique and comfort, yielding a versatile, meltable cheese that recalls the best of Eastern European pantry traditions. While it technically begins as a processed cheese, the careful pressing and minimal butter make it firm enough to slice—perfect for sandwiches, burgers, or grating over hot pasta. The optional turmeric lends a sunny hue, but the real magic lies in the simple, time-honored method.
About This Cheese
This cheese is a clever adaptation of classic Soviet-era beloved recipes, where home cooks turned everyday ingredients like milk and cottage cheese into a pantry staple. The process involves curdling, pressing, and then melting the curds with eggs and soda to create a smooth, sliceable block. It's a pressure-cooker-free approach that relies on gentle heat and patience. The result is a semi-hard cheese with a clean dairy flavor and a hint of tang—ideal for those who appreciate homemade freshness without the complexity of rennet or cultures.

Ingredients
- 1.5 L non-sterilized cow's milk, at least 3% fat
- 1 kg soft cottage cheese, at least 2% fat
- 4 large eggs (C0 size)
- 1.5 tsp baking soda
- 3 tsp non-iodized salt
- 0.5 tsp ground turmeric (optional, for color)
- 2 tbsp unsalted butter, softened
For the best texture, use full-fat dairy. The oil sprayer isn't needed here, but a good whisk and heatproof spatula are essential.
Step-by-Step Instructions
Step 1: Combine Milk and Cottage Cheese
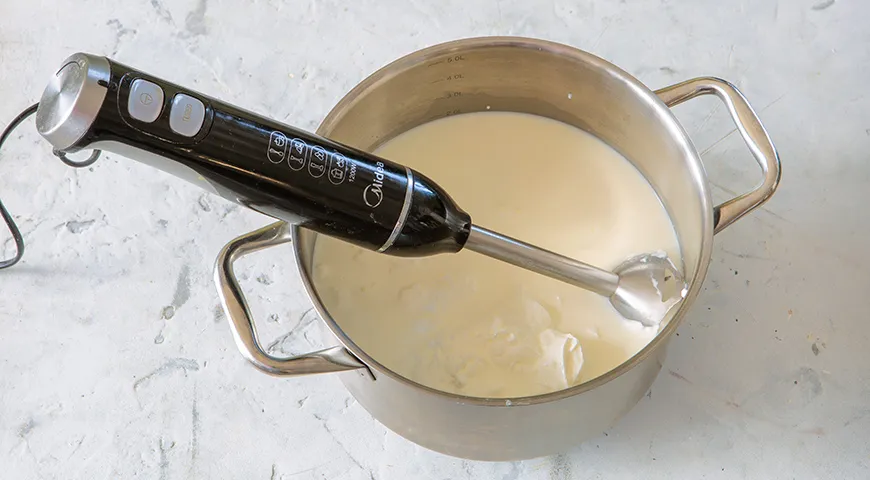
In a large, heavy-bottomed pot, combine the milk and soft cottage cheese. Use an immersion blender to blend until completely smooth. Place the pot over low heat.
Step 2: Heat and Curdle
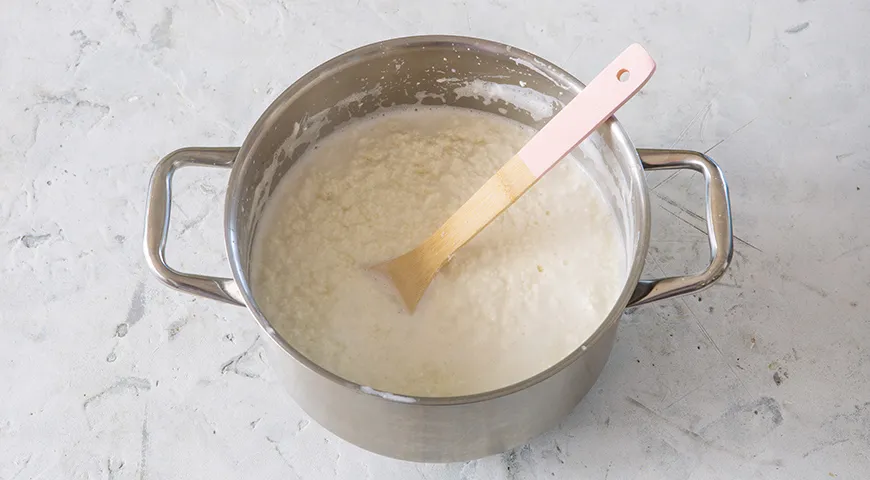
Stir constantly with a spatula or whisk as the mixture heats. You will see a greenish-yellow whey separate and the curds form clumps. This takes about 5–7 minutes. Do not let it boil vigorously.
Step 3: Drain Whey
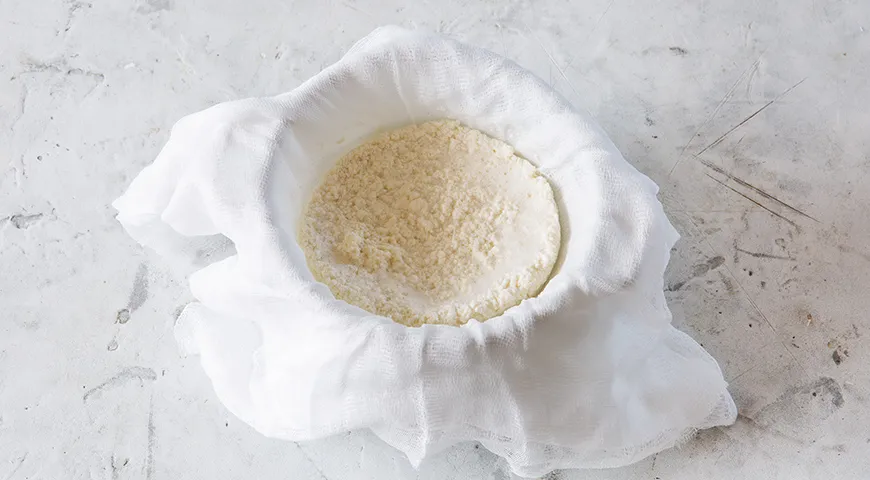
Place a large colander over a bowl and line it with a clean kitchen towel or 2–3 layers of cheesecloth. Pour the curds and whey into the colander. Let drain for 1–2 hours until all whey has dripped away.
Step 4: Prepare Molds
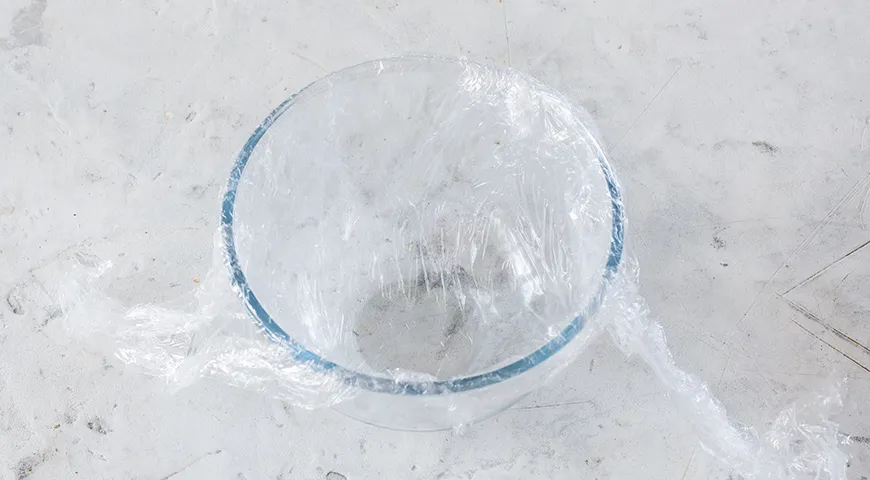
While the whey drains, line medium-sized bowls or ramekins with plastic wrap, leaving overhang. Set aside.
Step 5: Mix the Cheese Base
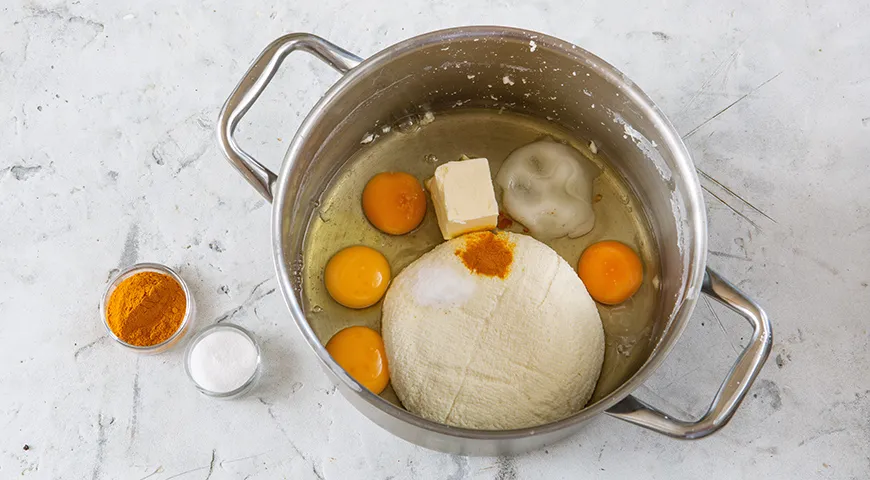
Return the drained curds to the pot. Add butter, eggs, baking soda, salt, and turmeric. Blend again with the immersion blender until smooth and creamy.
Step 6: Cook the Cheese Mass
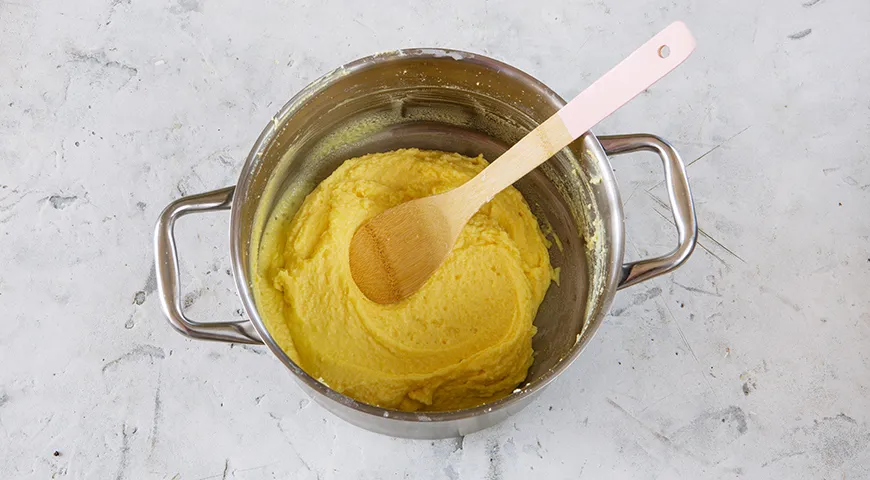
Place the pot over low heat. Cook, stirring constantly with a wooden spoon, scraping the bottom to prevent sticking, for 15–20 minutes. The mixture will become glossy, smooth, and elastic. It should pull away from the sides cleanly.
Step 7: Mold and Chill
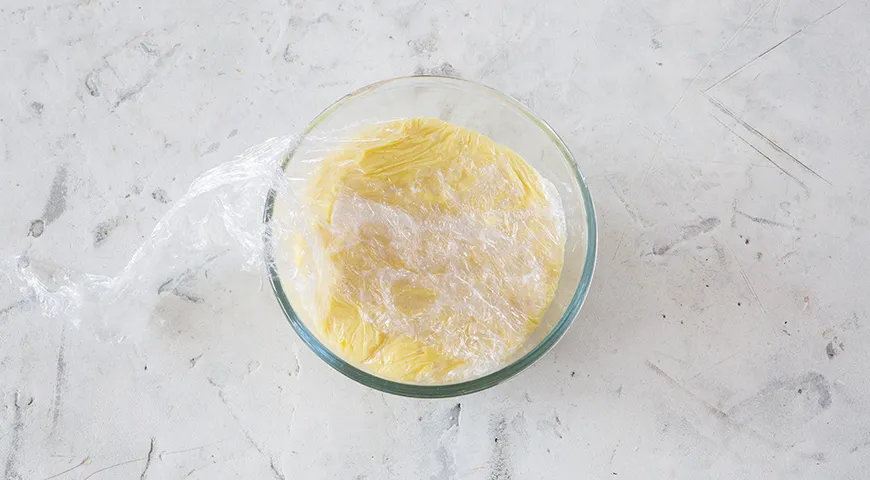
Pour the hot cheese mixture into the prepared bowls. Fold the overhanging plastic wrap over the top. Let cool to room temperature, then refrigerate for 4–6 hours until firm. Unmold and slice.
Tips for Perfect Results
- Use non-sterilized milk for better curd formation; ultra-pasteurized may not separate properly.
- Don't skip the baking soda—it helps the cheese melt smoothly and develops the characteristic processed cheese texture.
- For a firmer cheese, press the drained curds under a weight (like a can of tomatoes) for 30 minutes before blending.
- Store in an airtight container in the fridge for up to two weeks. For longer storage, vacuum-seal using a countertop sealer.
- Experiment with spices: smoked paprika, caraway seeds, or even a pinch of vodka can add depth.
Variations
Make it herbed by folding in chopped dill or chives after cooking. For a spicier kick, add red pepper flakes. Swap turmeric for annatto if you want a natural yellow without the earthy taste. This cheese also works beautifully in lava-style stuffed burgers—just form patties around a cube of chilled cheese.
Frequently Asked Questions
Can I use skim milk?
It's not recommended. The fat content is crucial for the final texture and mouthfeel. Use at least 3% milk and full-fat cottage cheese for best results.
Why did my cheese turn out grainy?
Graininess usually means the curds were not fully smoothed during blending. Make sure to blend thoroughly before cooking. An immersion blender works better than a regular blender for this.
Can I make this dairy-free?
Unfortunately, this recipe relies on milk proteins to set. For a vegan alternative, look into nut-based cheese recipes with agar.
How long does it keep?
Store wrapped in plastic or in a sealed container in the refrigerator for up to 10 days. It can also be frozen for up to 2 months, but texture may soften upon thawing.
What can I do with leftover whey?
Use it in soups, bread dough, or even as a base for sweet ricotta pancakes. It's packed with protein and flavor.
Is this cheese suitable for a keto diet?
Yes, if you use full-fat dairy and skip the optional turmeric (though turmeric is carb-free). One serving contains minimal carbs, making it a great air fryer companion for high-fat recipes.
Can I add more butter for a creamier texture?
Absolutely. Increasing butter to 4 tablespoons will yield a softer, more spreadable cheese—ideal for smooth sandwiches.
This homemade semi-hard cheese is a testament to the beauty of simple ingredients transformed with patience and care. Whether you're a seasoned cheesemaker or a curious beginner, the process is both educational and delicious. Serve it alongside crusty bread, melt it into macaroni, or slice it for a nostalgic refrigerator picnic. Enjoy the fruits of your labor!







