


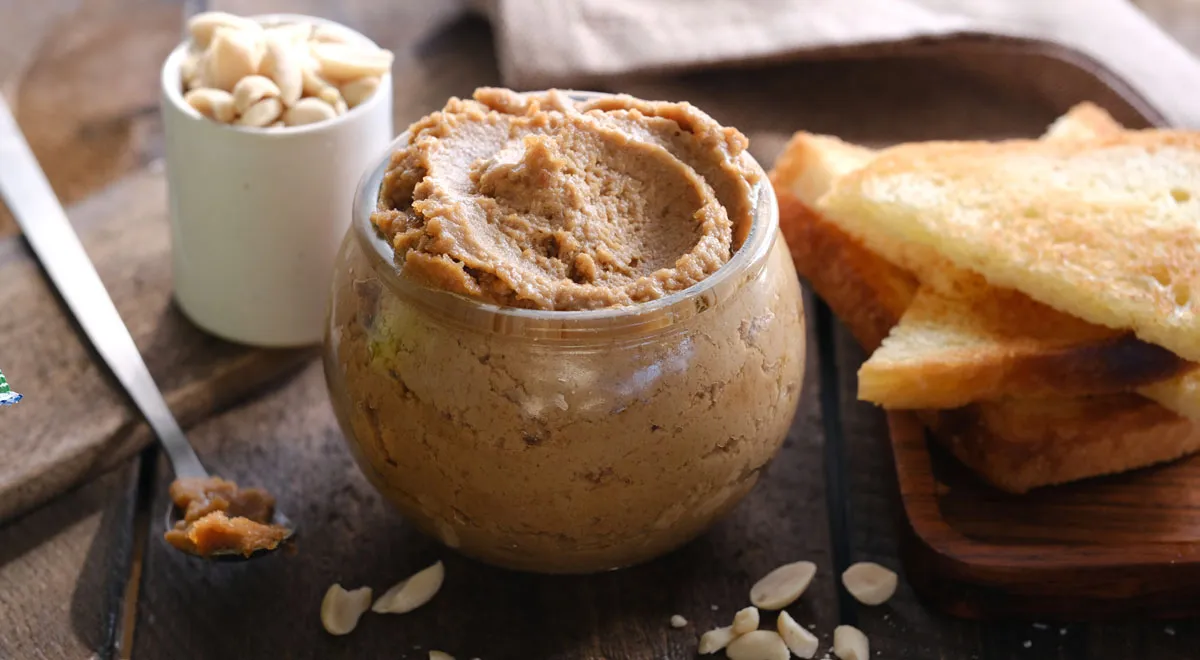
There is something deeply satisfying about creating your own peanut butter from scratch. The aroma of roasting peanuts fills the kitchen, and the transformation from humble nuts to a silky, golden spread feels almost alchemical. This recipe for homemade peanut butter is a celebration of simplicity and quality—no added oils, no preservatives, just pure peanut essence with a whisper of salt and sugar. Whether you spread it on toast, swirl it into smoothies, or eat it by the spoonful, this artisan nut butter elevates everyday eating. With just three ingredients and a trusty food processor (we recommend the best food processor for nut butter), you can craft a condiment that rivals any boutique brand.
About This Recipe
Peanut butter holds a cherished place in global cuisines—from American PB&J sandwiches to West African peanut stews. But store-bought versions often contain hydrogenated oils, sugar, and stabilizers. This recipe strips it back to essentials: roasted peanuts, fine sea salt, and a touch of sugar for balance. The key is patience during blending; the nuts release their natural oils, creating a creamy, spreadable texture. Using a non-toxic immersion blender or a high-speed food processor ensures the smoothest results. This method yields approximately 200 ml of pure, homemade peanut butter—enough to elevate your breakfasts and snacks for over a week.

Ingredients
- 250 g raw peanuts (shelled, with skin)
- 1 tsp granulated sugar
- 1/2 tsp fine sea salt
Step-by-Step Guide
- Preheat and prepare. Preheat your oven to 170 °C. Line a baking sheet with parchment paper. Spread the peanuts in a single layer. For even roasting, ensure they aren’t crowded. This step unlocks the peanuts' deep, toasty flavor. A non-toxic air fryer can also be used at the same temperature for a shorter time.
- Roast the peanuts. Roast for 20 minutes, removing the tray every 5–7 minutes to stir the peanuts. This prevents burning and promotes even browning. The skins should become slightly blistered and the nuts golden. Let them cool completely on the tray before handling.
- Remove the skins. Once cool enough to touch, rub the peanuts between your palms or in a clean kitchen towel to loosen the dark, papery skins. Don’t worry if a few remain; they add a subtle bitterness that some enjoy. Discard the skins.
- Blend into butter. Transfer the peeled peanuts to a food processor or high-speed blender. Add the salt and sugar. Pulse to break down the nuts, then blend continuously. After about 3 minutes, the mixture will look like coarse sand; continue blending. After 6–8 minutes, the natural oils will release, and the butter will become smooth and glossy. Scrape down the sides as needed. A planetary mixer with a paddle can also achieve this, though slower.
- Store and enjoy. Transfer the peanut butter to a sterile glass jar. It can be stored in the refrigerator for 7–10 days. For longer shelf life, keep it in a cool, dark pantry—though it rarely lasts that long!
Tips for Perfect Texture and Flavor
- Roasting temperature: Stick to 170 °C. Too high and the peanuts burn before the oil releases; too low and they dry out.
- Customize sweetness: Adjust sugar to taste—honey or maple syrup can replace granulated sugar, but they slightly alter the texture.
- Oil separation is natural: If the butter separates, simply stir it back. For a creamier consistency, add a tablespoon of neutral oil like grapeseed. Using an oil sprayer for drizzling helps control the amount.
- Chill before blending: If your food processor gets hot, refrigerate the bowl for 10 minutes to prevent overheating the butter.
- Scale up: Double the recipe using a large-capacity food processor for batch prep.
Variations to Explore
Crunchy Peanut Butter: Reserve a handful of roasted chopped peanuts and fold them in after blending. For extra crunch, try chocolate-covered peanuts as a decadent twist. Spiced Peanut Butter: Add 1/2 tsp cinnamon, a pinch of cayenne, or a dash of smoked paprika. Chocolate Peanut Butter: Mix in 1 tbsp unsweetened cocoa powder and an extra teaspoon of sugar. Coconut Peanut Butter: Substitute half the peanuts with roasted coconut flakes—use a powerful juicer? No, a food processor works best.
Storage and Shelf Life
Store your homemade peanut butter in a sealed glass container in the refrigerator. It stays fresh for 7–10 days. If you prefer room-temperature butter, use within 5 days and keep it away from direct sunlight. For long-term storage, freezing is an option—just thaw in the fridge overnight. Remember that natural peanut butter lacks preservatives, so always use a clean, dry spoon.
Frequently Asked Questions
Can I use roasted peanuts from a store?
Yes, but ensure they are unsalted and dry-roasted. Skip the oven step and proceed directly to peeling and blending. Be mindful of the salt content—adjust accordingly.
Why isn’t my peanut butter creamy?
You may need to blend longer. Nuts require patience; 8–10 minutes is normal. If your machine heats up, pause and let it cool. A high-performance food processor makes a difference.
Can I make peanut butter without sugar?
Absolutely. Omit the sugar for a pure, unsweetened version. Salt enhances flavor; you can use a low-sodium alternative.
How do I make it extra smooth?
After blending, pass the butter through a fine-mesh sieve. For the ultimate silky texture, use a high-speed immersion blender.
Is this recipe suitable for a keto diet?
Yes, simply replace the sugar with a keto-friendly sweetener like erythritol. The peanuts themselves are low-carb, making this a great keto spread.
Can I use other nuts?
Certainly! Substitute almonds, cashews, or hazelnuts. Adjust roasting times: almonds need about 12–15 minutes at 170 °C. For a mixed nut butter, try a blend of peanuts and cashews for richness.
Why does my peanut butter separate?
Natural peanut butter lacks emulsifiers. Separation is normal. Stir before each use. For a more stable spread, refrigerate immediately after blending.
Can I add protein powder?
Yes, but add it after the butter is smooth to avoid clumps. Use a scoop for accurate measuring.
How to make chocolate peanut butter?
Add 1 tbsp unsweetened cocoa powder and an extra teaspoon of sugar during blending. For a deeper flavor, use dark cocoa.
Can I use a mortar and pestle?
Technically yes, but it requires intense manual effort and time. A food processor is far more efficient.
For more inspiration, explore how to incorporate this butter into recipes like Catalan sponge cake or as a topping for artisan coffee.







