


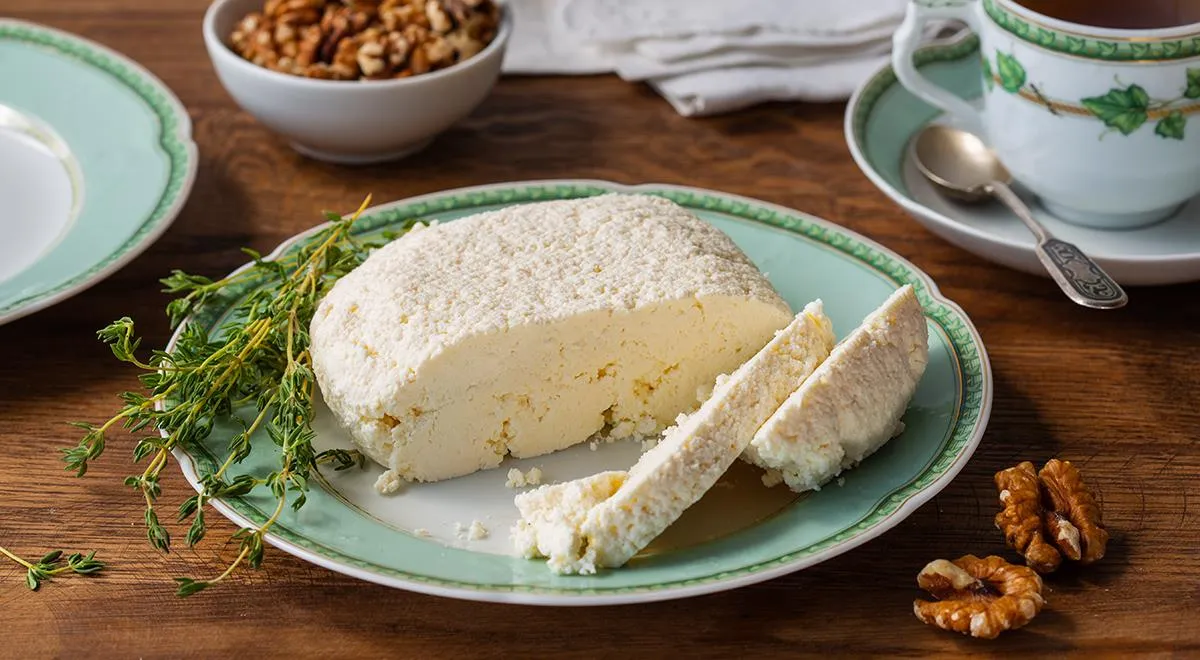
There is something deeply satisfying about transforming a humble jug of milk into a creamy, soft cheese in your own kitchen. This recipe for Homemade Pasteurized Milk Cheese with Vinegar is a testament to the magic of simple ingredients and gentle heat. It works even with pasteurized milk that stubbornly refuses to sour on its own, making it an accessible entry point for anyone curious about cheesemaking. The technique is straightforward, the equipment minimal, and the result—a delicate, slightly tangy fresh cheese—is pure bliss. Whether you spread it on crusty bread, crumble it over salads, or enjoy it with a drizzle of honey, this cheese brings a touch of artisanal charm to your table.
About This Traditional Fresh Cheese
This recipe belongs to the family of acid-set cheeses, where vinegar (acetic acid) encourages the milk proteins to coagulate without the need for rennet or bacterial cultures. The method is ancient and widely used in Eastern European and Russian home kitchens, where high-quality glassware and basic cookware are often the only tools required. The result is a mild, creamy curd that can be adjusted with salt to suit your palate. Unlike industrial cottage cheese, this homemade version retains a lovely moisture and a fresh dairy sweetness. The key is to use pasteurized milk (not ultra-pasteurized or sterilized) because it undergoes less aggressive heat treatment, preserving the protein structure needed for curd formation.

Ingredients
- 2 liters whole milk (3.5–6% fat) – pasteurized, not ultra-pasteurized
- 3 tablespoons white table vinegar (9% acidity)
- 60 ml filtered water
- Fine non-iodized salt (to taste)
The simplicity of the ingredient list is deceptive. For the best results, choose milk from a local dairy or a trusted brand. Avoid any milk labeled "sterilized" or "UHT" as those won't produce a clean curd. If you're concerned about the acidity of vinegar, feel free to use fresh lemon juice instead—but the classic recipe relies on the neutral tang of plain vinegar. A non-toxic immersion blender can be handy for other kitchen tasks, though here a simple whisk suffices.
Step-by-Step Instructions
-
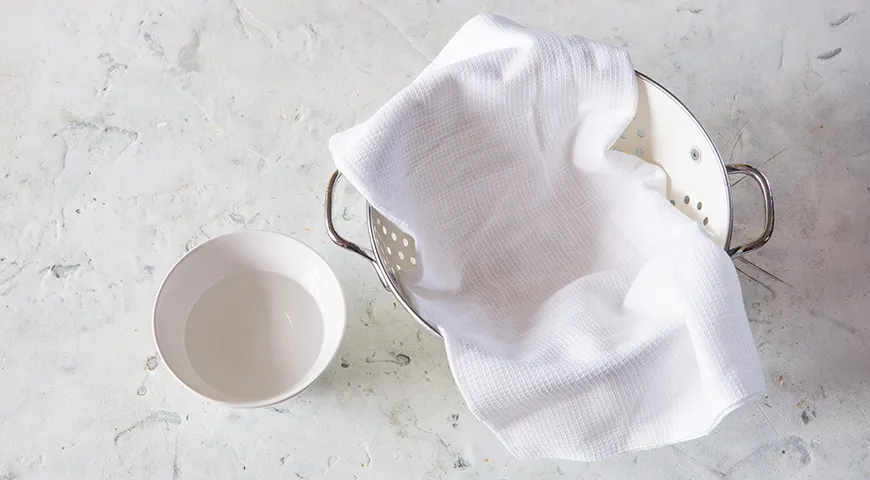
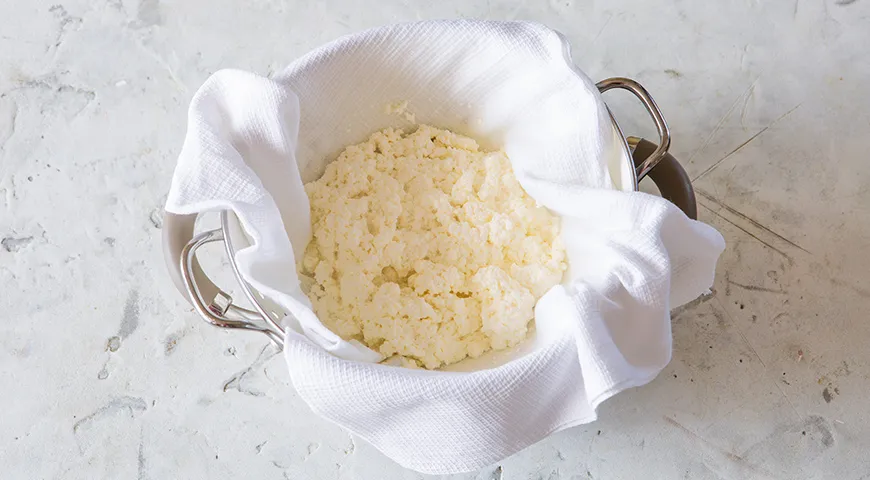
Prepare the vinegar solution and draining setup. In a small bowl, combine the 3 tablespoons of vinegar with 60 ml filtered water and stir. Set aside. Place a large colander over a deep bowl or pot. Line the colander with a large kitchen towel (a waffle-weave towel works perfectly) or a double layer of cheesecloth.
-
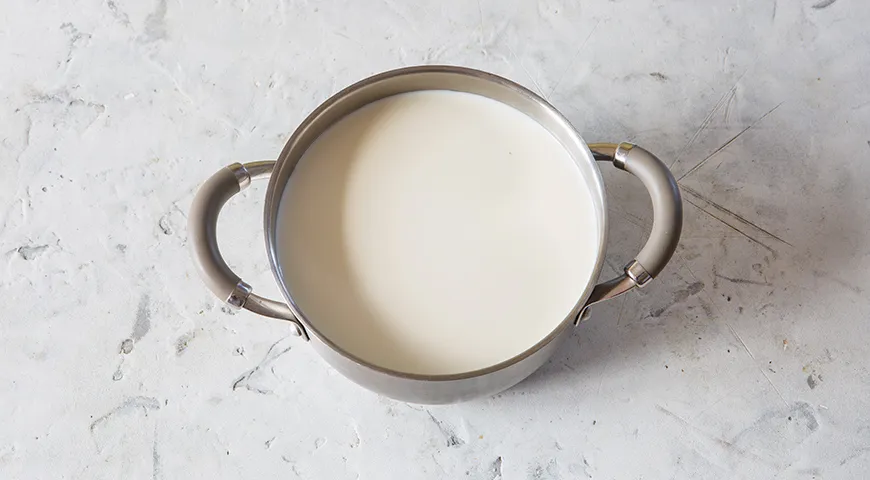
Heat the milk. Pour the 2 liters of milk into a heavy-bottomed pot. Place over high heat and warm the milk to about 95°C (203°F). Do not let it boil—bubbles should not break the surface. If a skin forms, gently remove it with a spoon. Once the milk reaches temperature, reduce the heat to the lowest setting.
-
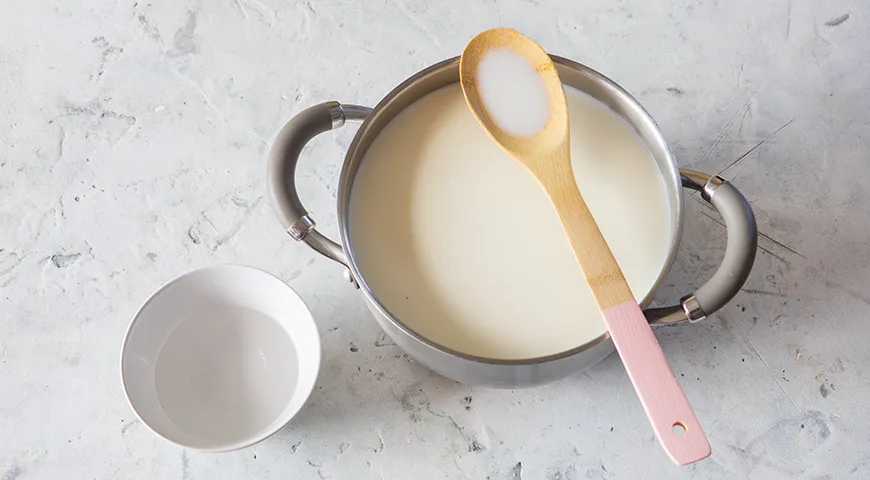
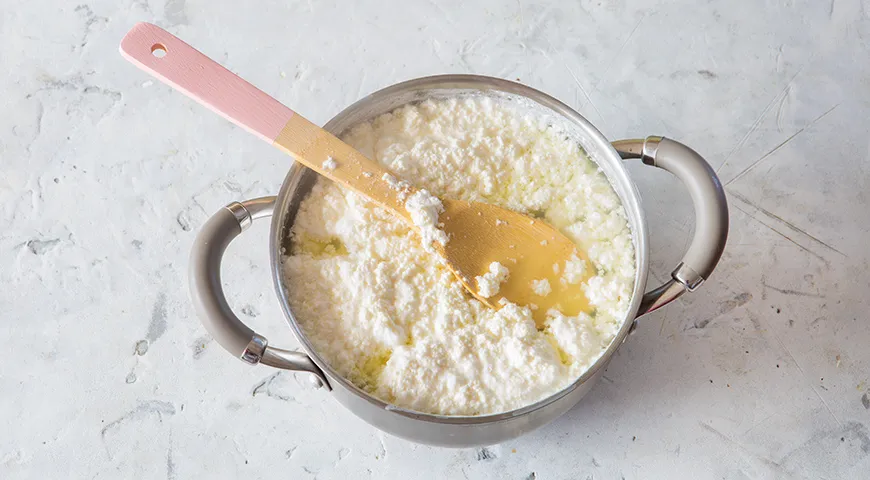
Add the vinegar solution. While stirring the milk continuously with a whisk or a silicone spatula, slowly pour the vinegar-water mixture in a thin stream. You will see the milk begin to separate into white curds and a greenish-yellow whey.
-
Continue cooking until curds separate fully. Keep the heat low and stir gently for another 2–3 minutes. The curd will become firmer, and the whey will become clearer. You want the mixture to look like fluffy white islands floating in a pale green sea.
Sponsored
-
Drain the curds. Carefully pour the entire contents of the pot into the prepared colander. Allow the whey to drain for about 15 minutes. You can discard the whey—it is not flavorful enough for further use, though it can be used in soups or bread if desired.
-
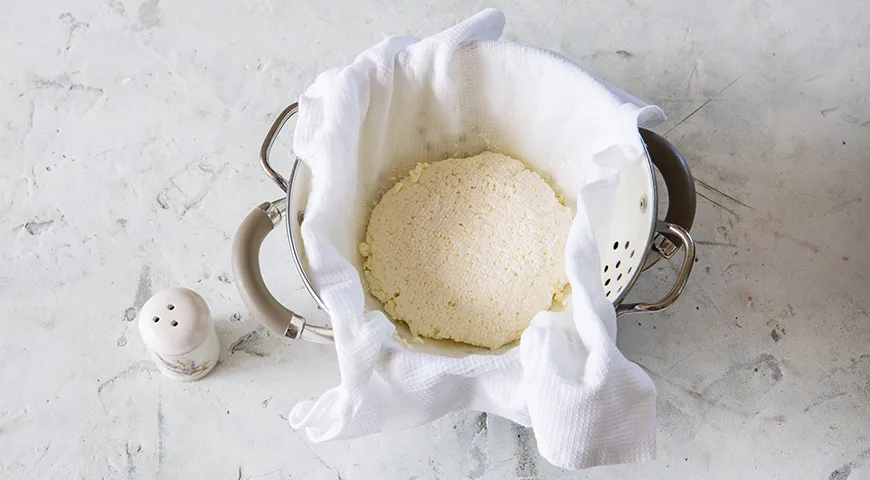
First salting and shaping. Sprinkle the top of the curd mass with a pinch or two of fine salt. Gently flip the entire curd cake over using a spatula or your hands (wear gloves). Sprinkle the other side with salt as well. Cover the colander with plastic wrap and let it sit at room temperature for 1 hour.
-
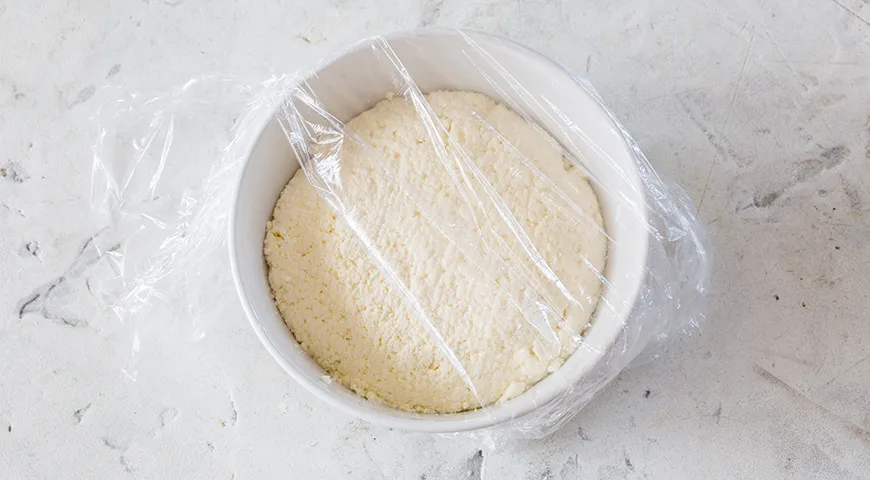
Final salting and chilling. After 1 hour, sprinkle both sides of the cheese again with a little more salt. Wrap the cheese tightly in plastic wrap and refrigerate for 2–4 hours (or overnight for a firmer texture). The cheese is now ready to serve.
Tips for Perfect Homemade Cheese
- Use a reliable thermometer. Achieving the right temperature is crucial. An instant-read thermometer or a refrigerant leak detector (though not for cooking, but you get the idea) can help, but a simple candy thermometer works well. Aim for 95°C exactly.
- Don’t rush the draining. If you want a drier cheese, let it drain longer. For a creamier cheese, reduce the draining time to 10 minutes.
- Salt in stages. Salting at different intervals ensures even seasoning and draws out a little moisture for better preservation.
- Experiment with herbs. Add dried dill, garlic powder, or cracked black pepper to the curds before the final wrap.
- If the milk doesn't curdle properly, it may be too old or ultra-pasteurized. Always check the label. A good cup of coffee is best paired with fresh, well-made cheese.
Variations to Try
- Lemon juice cheese: Replace vinegar with 4 tablespoons of fresh lemon juice for a brighter flavor.
- Cream cheese style: Process the drained curds in a food processor for nut butter until smooth, adding a splash of cream.
- Spicy cheese: Mix in red pepper flakes or finely chopped jalapeños before the final chill.
- Herbed farm cheese: Stir in chopped fresh chives, parsley, or thyme after the first salting.
- For a richer version, use milk with 6% fat. A 48-inch built-in refrigerator offers excellent storage for cheese aging experiments.
Frequently Asked Questions
Can I use ultra-pasteurized milk?
It’s not recommended. Ultra-pasteurized milk has been heated to a much higher temperature, which denatures the proteins and prevents them from forming a stable curd with vinegar. Stick with regular pasteurized milk (about 3.5–6% fat).
Why did my cheese turn out rubbery?
Overheating or vigorous stirring can cause the curds to become tough. Always heat the milk gently and stir slowly once the vinegar is added.
How long does this cheese keep?
Stored in an airtight container in the refrigerator, it will stay fresh for up to 5 days. For longer storage, you can freeze it for up to 1 month, though the texture may become slightly crumbly.
Can I reuse the whey?
The whey from vinegar-set cheese is quite acidic and not very flavorful. It can be used in soups or to cook rice, but most people prefer to discard it. A steam canner can be used for preserving other goods, but whey isn't ideal for canning due to its low pH.
What is the best way to serve this cheese?
Spread it on fresh bread with a drizzle of honey or olive oil, crumble over roasted vegetables, or use as a filling for blintzes. It also pairs beautifully with a glass of sweet wine with high alcohol content.
Can I make this cheese without vinegar?
Yes, you can use lemon juice (4 tablespoons) or even lime juice. The process remains the same. For a more complex flavour, try a combination of vinegar and a splash of organic vodka – though that's an unconventional twist.
Why does my milk not curdle at all?
This usually happens if the milk is too cold when you add the vinegar, or if you didn't heat it to 95°C. Also check that your vinegar is fresh and has 9% acidity. Use a planetary mixer for other kitchen tasks, but for this recipe a simple whisk is best.
Can I salt the cheese more aggressively?
Absolutely. Salt is a matter of personal taste, but it also helps preserve the cheese. Add up to 1 teaspoon total over the three salting stages for a savoury result.
Do I need a thermometer?
While experienced cooks can gauge the temperature by eye (the milk should steam but not bubble), a thermometer ensures consistency. A microwave pressure cooker isn't used here, but an accurate thermometer is essential for this recipe.
What can I use instead of a kitchen towel?
You can use cheesecloth, a nut milk bag, or even a clean cotton handkerchief. Avoid terry cloth as it may leave lint.
This simple recipe empowers you to create fresh cheese at home with minimal fuss. Whether you're a seasoned cook or a curious beginner, the art of making cheese from pasteurized milk with vinegar is a rewarding skill. Pair it with your favourite bread, and enjoy the fruits of your labour. If you’re looking to invest in kitchen tools to streamline your cooking, check out our guides on the best non-toxic air fryer and coffee maker for Airbnb for inspiration.







