


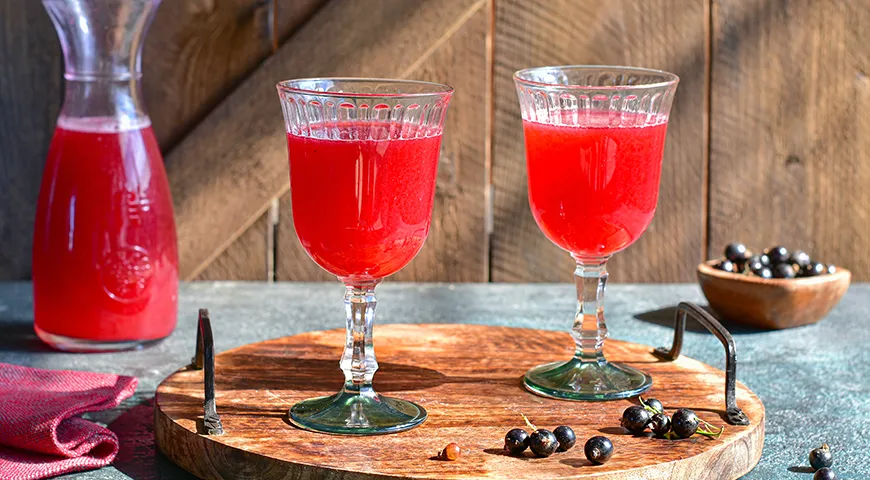
There is something deeply satisfying about transforming a humble garden berry into a complex, aromatic wine. This homemade blackcurrant wine recipe, cherished in Russian households for generations, captures the intense, tart sweetness of blackcurrants and turns it into a deep ruby-red beverage that rivals many commercial fruit wines. The process is surprisingly simple—no special equipment required, just patience and a few basic kitchen tools. Whether you are a seasoned home winemaker or a curious beginner, this guide will walk you through each step, from selecting the perfect glass containers to understanding the fermentation magic. Let us uncork the secrets of this rustic elixir.
About This Recipe: A Taste of Russian Tradition
Blackcurrant wine holds a special place in Eastern European home brewing. Unlike many fruit wines that require added tannins or acid adjustments, blackcurrants bring everything needed: deep color, natural acidity, and bold flavor. This recipe from Gastronom uses a straightforward two-stage fermentation, first with the whole fruit pulp and then a gentle aging process. The result is a wine that can be enjoyed young but develops remarkable complexity after three months. It pairs beautifully with roasted meats, aged cheeses, or simply by the fire on a cool evening.

Ingredients
- Blackcurrants: 2 kg (fresh, unwashed)
- Water: 2 L (filtered, warmed to 36–37°C)
- Granulated sugar: 2 kg (divided: 1 kg for initial syrup, 1 kg added in weekly portions)
The natural yeast on the unwashed berries is crucial for fermentation—never wash blackcurrants intended for wine. For the best flavor, use fully ripe, fragrant berries. If you are new to home winemaking, consider investing in a non-toxic immersion blender for pureeing; it makes the initial crushing effortless.
Step-by-Step Instructions
Step 1: Prepare the Berries
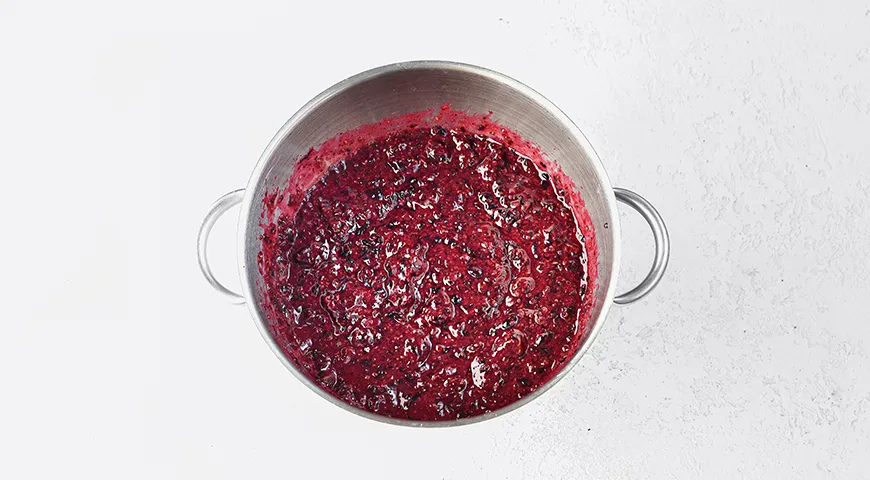
Carefully sort through the blackcurrants, removing any leaves, stems, or debris. Do not wash them—the natural yeasts on the skin are essential for fermentation. Transfer the clean berries to a blender or food processor and puree until smooth. A high-quality food processor works beautifully here, ensuring an even consistency without overworking the seeds.
Step 2: Fill the Jars
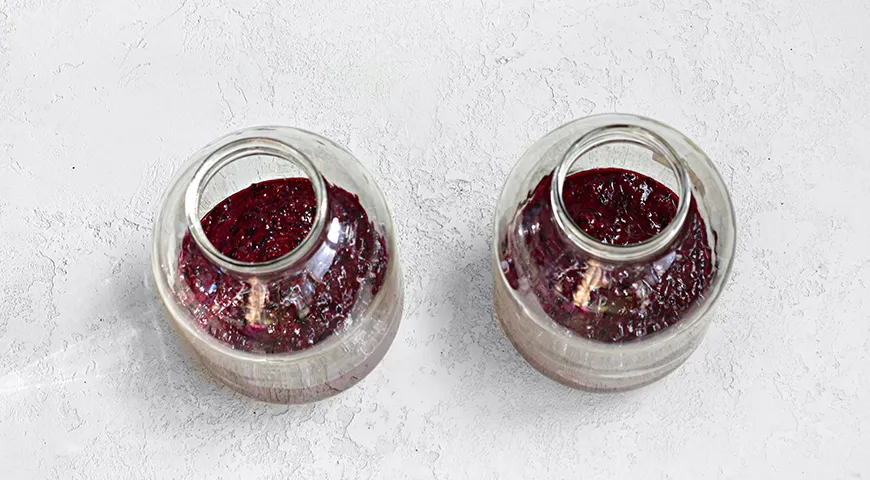
Thoroughly wash and dry two 3-liter glass jars. Divide the berry puree evenly between the jars. These large-capacity containers are ideal for fermentation, allowing enough headspace for foam and gas.
Step 3: Make the Sugar Syrup
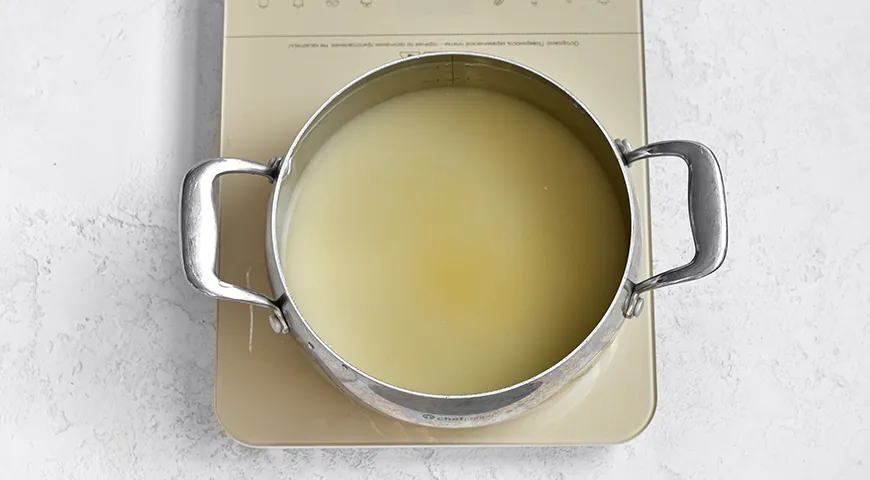
Heat the 2 liters of water on the stove until it is warm (about 36–37°C)—it should feel lukewarm, not hot. Stir in 1 kg of sugar until completely dissolved. This simple syrup will provide the initial food for the yeast. Using a steam canner to warm the water is not necessary, but it shows how kitchen tools can be repurposed.
Step 4: Combine and Start Fermentation
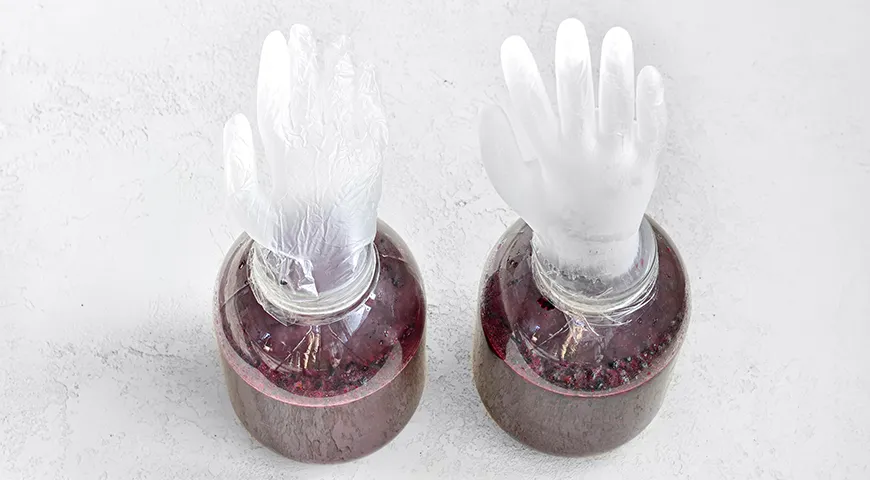
Pour the warm syrup into the jars over the puree, filling each jar to about two-thirds full. Stir well to combine. Cover the jar openings with clean rubber gloves (one per jar), piercing a small hole in one finger of each glove to allow carbon dioxide to escape. Place the jars in a dark, warm location (20–24°C) for 4 days. The glove should inflate as fermentation begins—this is a good sign. If you own a microwave pressure cooker, you could theoretically sterilize equipment, but standard hot water works fine.
Step 5: First Racking and Sugar Feeding
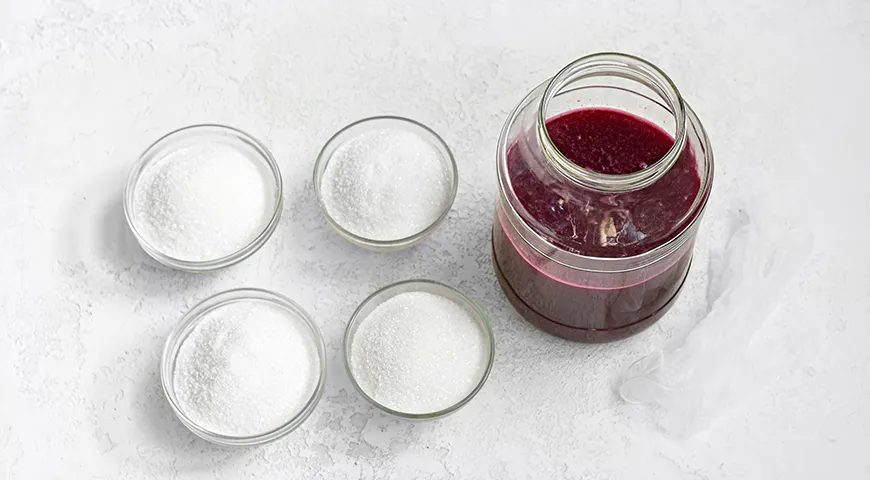
After 4 days, strain the wine through a fine-mesh sieve or cheesecloth to remove the pulp (marc). Discard the solids. Pour the liquid back into clean 3-liter jars. Now you will add the remaining 1 kg of sugar in four weekly portions. Each week, stir in 250 g of sugar, re-cover with the glove, and return to the warm dark spot. This staggered feeding keeps fermentation active and ensures the wine reaches a balanced alcohol level. Pair this process with a reliable sweet wine reference for understanding sugar-to-alcohol conversion.
Step 6: Final Fermentation and Aging
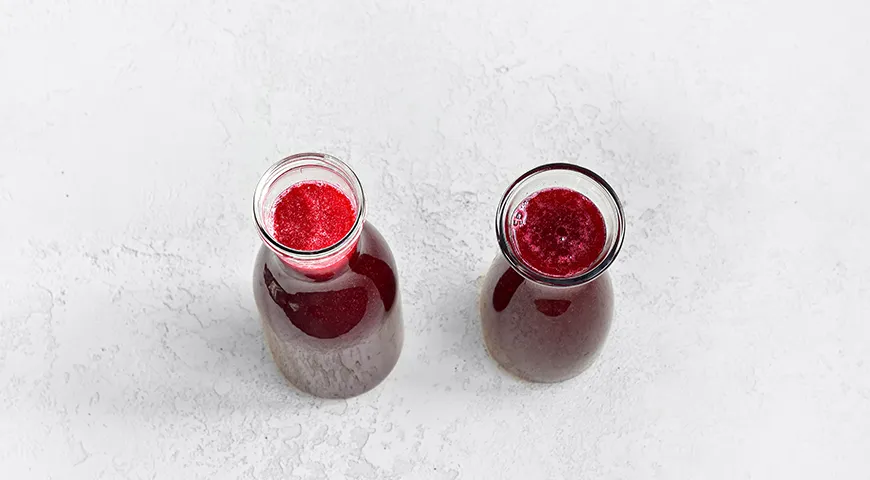
After the last sugar addition, leave the glove on for another week. When the glove deflates and no more bubbles rise, fermentation is complete. Strain the wine again to remove any sediment. Transfer to clean bottles and store in a cool, dark place (10–15°C) for 3 months to mellow. During this aging period, rack (siphon off) the wine every month to separate from sediment that forms. Patience rewards you with a remarkably smooth, fruity wine. For perfect storage, a cool undercounter ice maker isn’t relevant, but a dedicated wine cooler is ideal.
Tips for Perfect Homemade Blackcurrant Wine
- Sterilization: Always use impeccably clean jars and utensils to prevent off-flavors. Boiling water works, or use a lava flavor approach? No, but consider a dedicated sterilizer.
- Temperature control: Maintain fermentation at a steady 20–24°C. Fluctuations can stress yeast.
- Patience during aging: The wine may taste harsh young; three months aging transforms it.
- Sweetness adjustment: If you prefer a drier wine, reduce the total sugar to 1.5 kg.
- Using a fine oil sprayer for sanitizing jars with alcohol? Not recommended—just use hot water.
Variations to Explore
- Spiced Blackcurrant Wine: Add a cinnamon stick and 3 cloves to the syrup for a warming note.
- Mixed Berry Wine: Replace half the blackcurrants with raspberries or redcurrants for a softer profile.
- High-Alcohol Version: Increase initial sugar to 2.5 kg and use a wine yeast. Check organic vodka for inspiration on spirit pairing.
Frequently Asked Questions
Can I wash the blackcurrants?
No. Washing removes the natural yeast needed for fermentation. Only rinse if the berries are visibly dirty, and then add a commercial wine yeast.
Why did my glove not inflate?
Possible causes: too cold a temperature, insufficient yeast, or the berries had been washed. Move jars to a warmer spot (around 24°C) and consider adding a pinch of wine yeast.
How long does the wine keep?
When stored in a cool, dark place, this wine improves for up to one year. It can last longer, but subtle flavors fade. Use a proper refrigerant leak detector? No, but a stable temperature is key.
Can I use a different sugar?
Yes, but granulated white sugar is preferred. Brown sugar adds molasses notes that may overpower the berry flavor.
Do I need an airlock?
The pierced glove works perfectly as a DIY airlock. For a more professional setup, a planetary mixer isn't needed here, but an actual airlock is inexpensive.
My wine tastes too dry—can I add sugar after bottling?
You can add a simple syrup before serving, but this may restart fermentation if not stabilized. For a reliably sweet wine, refer to guides on sweet wine production.
What if mold appears?
Discard everything if you see mold. Prevention: keep fruit submerged under the liquid during initial fermentation by using a clean weight.
Homemade blackcurrant wine is a rewarding project that connects you to centuries of home-brewing tradition. With careful attention to cleanliness and patience, you will produce a bottle that tells a story of summer berries and quiet time. Enjoy it responsibly, and perhaps pair it with a Catalan sponge cake for a delightful dessert combination.







