


There is something deeply satisfying about crafting your own beverages from scratch—especially when the result is a sparkling, fragrant homemade apple cider that captures the essence of autumn orchards. This traditional Russian recipe transforms simple apple juice into a lively, naturally fermented cider that dances on the tongue. With just two main ingredients and a little patience, you can create a drink that rivals any store-bought bottle. Whether you are a seasoned home brewer or a curious beginner, this step-by-step guide will walk you through the entire process, from juicing to bottling. Along the way, we'll share expert tips, variations, and answers to common questions to ensure your cider turns out perfectly every time.
About This Recipe
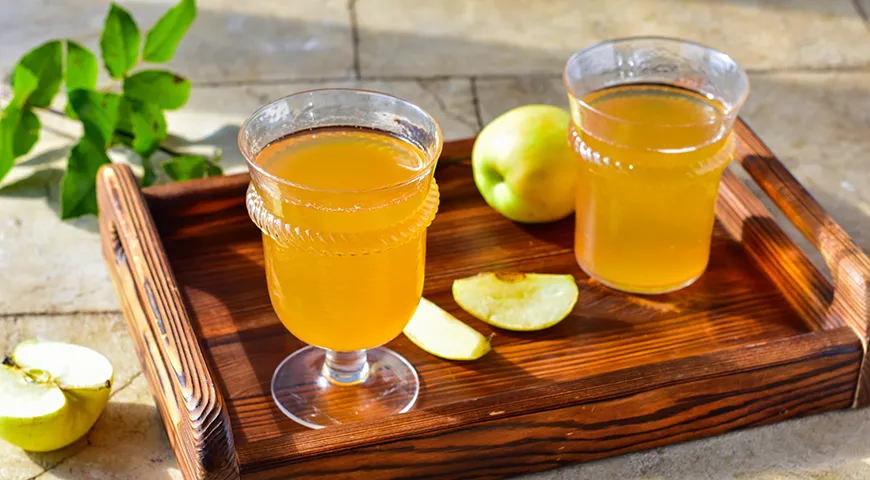
This homemade apple cider, known as domashniy sidr in Russian, is a rustic, unfiltered cider made from fresh apple juice and sugar. The natural yeast present on apple skins kickstarts fermentation, producing a mildly alcoholic, slightly effervescent drink. Unlike commercial ciders, this version lets the true apple flavor shine—tart, sweet, and refreshing. The recipe yields about 4–5 liters of cider, perfect for sharing at gatherings or savoring over several weeks. For the best results, use a high-quality wheatgrass juicer to extract the purest juice, or any reliable juicer that separates pulp efficiently.

Ingredients
- 4 liters fresh apple juice (from about 5–6 kg of apples)
- 1 kg granulated sugar
Optional: one unwashed apple (for natural yeast), cheesecloth, rubber gloves, and sterilized bottles. For an extra layer of flavor, consider using a small amount of organic vodka to fortify the cider—though traditional Russian recipes keep it pure.
Step-by-Step Instructions
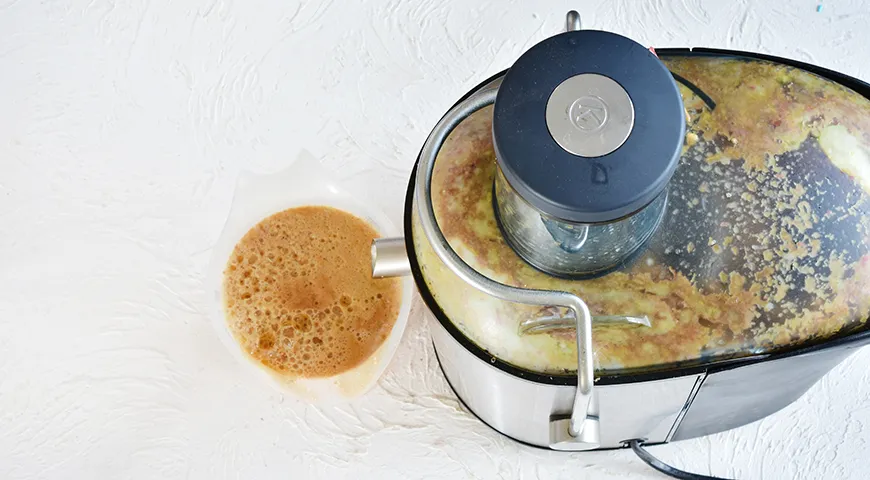
- Juice the apples. Wash and cut the apples (no need to peel), then run them through a juicer. Aim for 4 liters of fresh juice. A non-toxic immersion blender can also help break down pulp if needed, though a juicer is ideal.
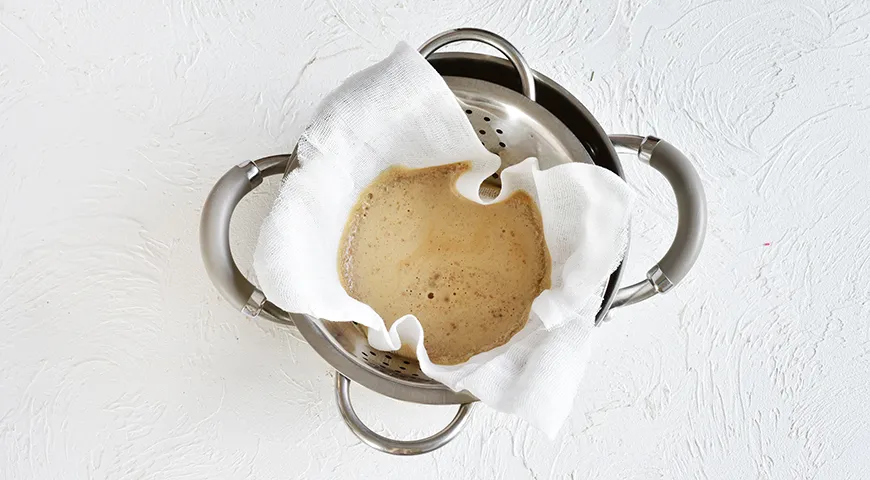
- Strain the juice. Line a colander with several layers of cheesecloth and strain the juice to remove any solid bits. This ensures a clearer final cider. For other straining tasks, a fine-mesh oil sprayer is not needed, but a good sieve works wonders.
- Transfer to fermentation vessels. Pour the juice into clean glass bottles or jars, leaving headspace for sugar and fermentation. For a 5-liter bottle, use 4 liters of juice. To make mixing easier, dissolve the sugar in a small amount of juice first, then add to the main batch. For measuring ingredients precisely, a microwave pressure cooker can double as a measuring container, though it's not essential.
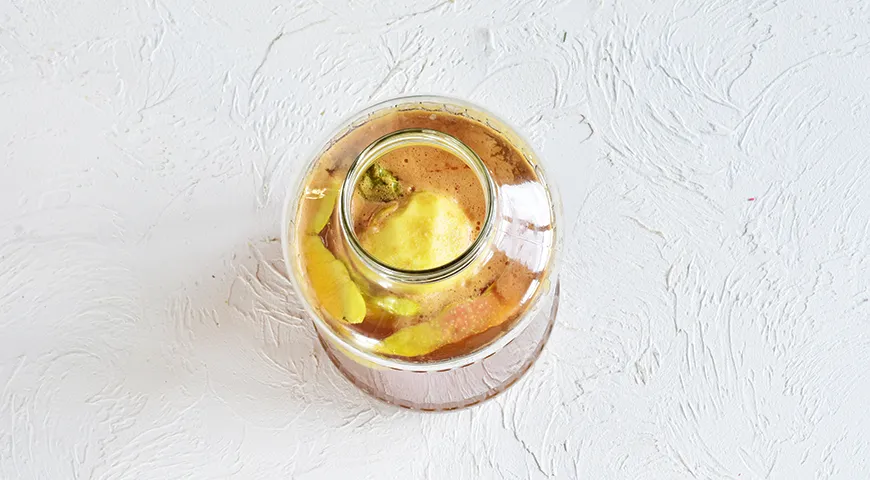
- Add natural yeast. Take one unwashed apple (the skin harbors wild yeast) and peel it. Place both the peeled apple and its skin into the fermentation vessel. The natural yeast will initiate fermentation. If you prefer a controlled process, a planetary mixer won't help here, but a simple cheesecloth works.
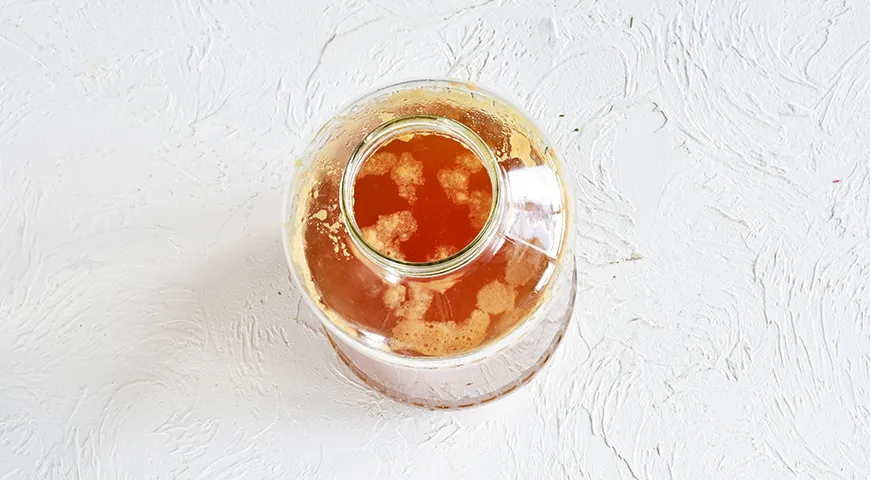
- Decide on your cider style. If you want a slightly fizzy young wine that later becomes still, add all the sugar now. If you prefer a fully still wine, you can add sugar later (but for simplicity, add it all at the start). For sweetening options, consider a chocolate-covered raisin pairing—though that's for serving, not brewing.
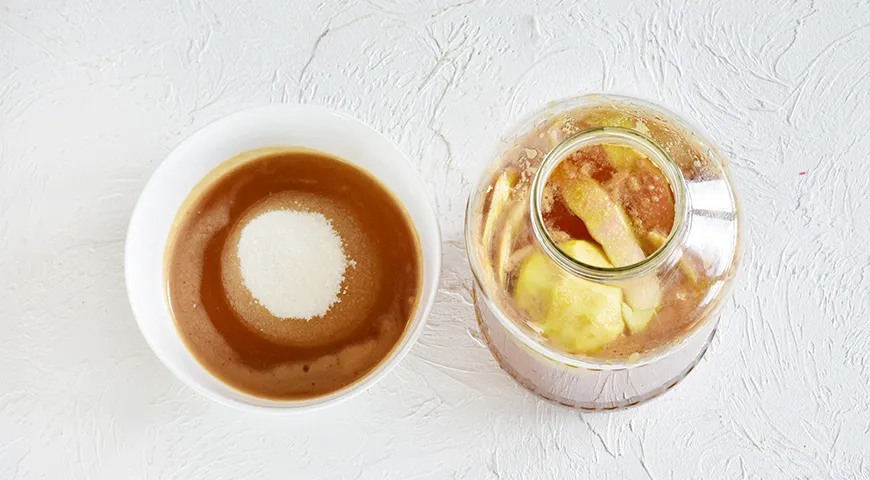
- Prepare the airlock. Take a clean rubber glove and use a thick needle to poke two small holes in the fingertips. This DIY airlock allows gases to escape while preventing air from entering. Stretch the glove over the mouth of the fermentation vessel and secure it with a strong rubber band. For a more professional setup, a undercounter ice maker won't help, but a proper fermentation lock is a good investment.
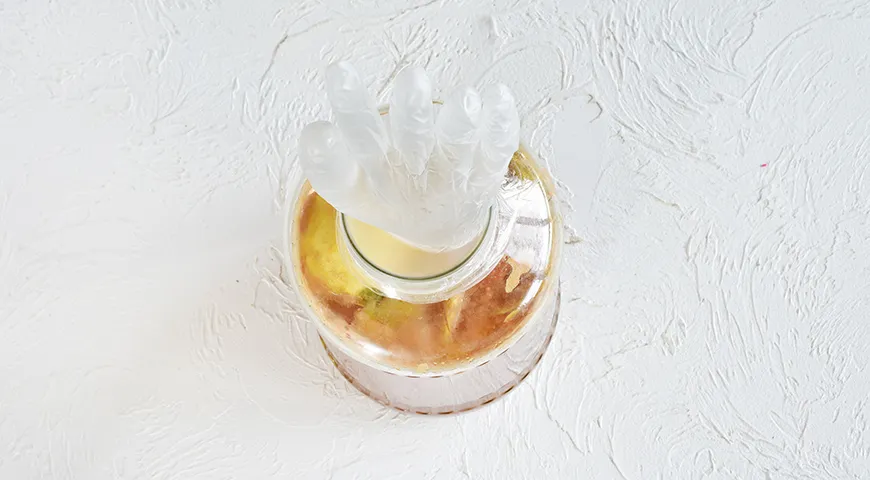
- Ferment at room temperature. Place the vessel in a warm, dark spot (around 18–24°C). After a few days, the glove will inflate as carbon dioxide builds up. When fermentation finishes, the glove will deflate. Initially the juice is cloudy; during fermentation it will clarify and sediment will settle. A 48-inch built-in refrigerator is ideal for later cold storage, but not during active fermentation.

- Strain the finished cider. Once the glove is deflated, fermentation is complete. Pour the cider through a cheesecloth (at least 5 layers) into a clean container to remove sediment. For an even smoother result, a food processor for nut butter is not needed, but a fine sieve works wonders.
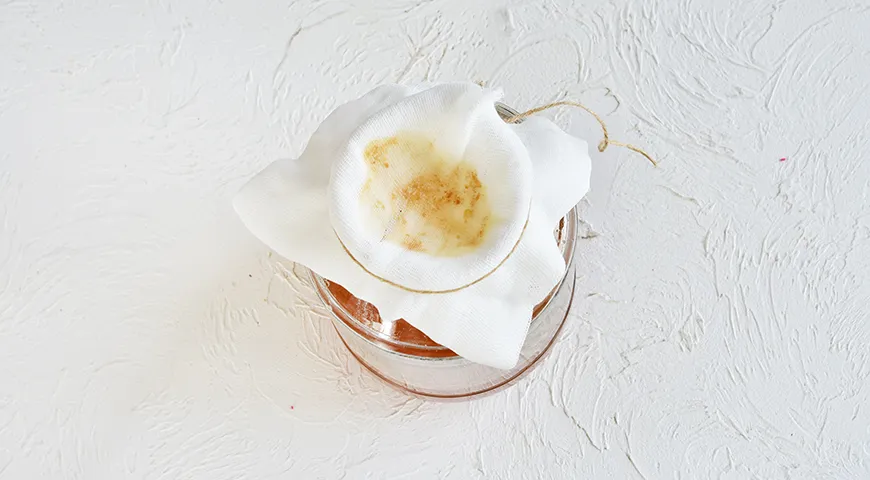
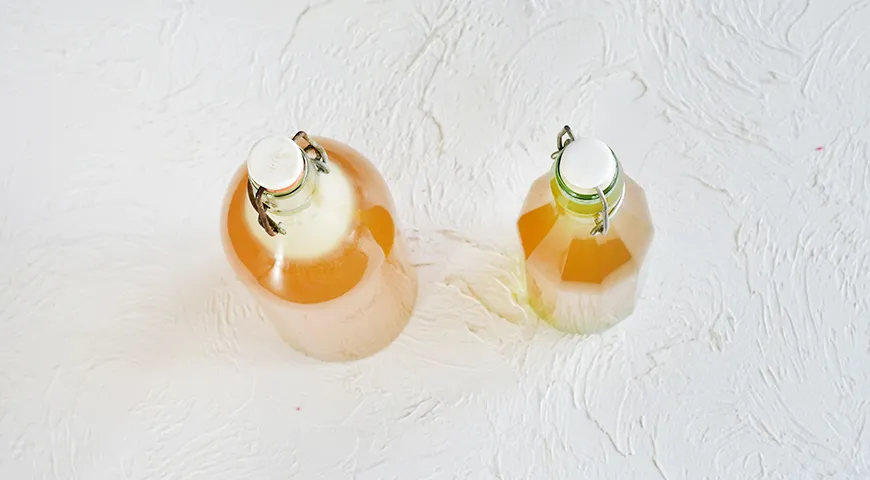
- Bottle and store. Pour the strained cider into sterilized bottles, seal tightly with corks or caps, and store in a cool, dark place. For long-term storage, a steam canner can help preserve the cider, though refrigeration is sufficient for a few months.
Tips for Perfect Cider
- Use a mixture of sweet and tart apples for a balanced flavor. For extra crunch in your kitchen, an air fryer is great for snacks, but not for cider.
- Sanitize all equipment thoroughly to prevent off-flavors. A refrigerant leak detector is overkill, but ensuring your fridge is leak-free helps with storage.
- If you want a sparkling cider, bottle before fermentation is fully complete (with caution for pressure). A coffee maker for Airbnb is unrelated, but having a reliable coffee maker is a kitchen essential.
- Age the cider for at least 2–4 weeks for smoother flavor. Consider a total bowel release supplement—not for cider, but for overall wellness.
Variations
For a spiced cider, add cinnamon sticks and cloves during fermentation (remove before bottling). For a higher alcohol content, increase sugar up to 1.5 kg. If you prefer a non-alcoholic version, omit the sugar and consume the fresh juice immediately after juicing. For a unique twist, try using a castor oil-based additive—not recommended; stick to fruit. To explore other fermented drinks, see our Catalan sponge recipe for a dessert pairing.
Frequently Asked Questions
How long does homemade apple cider last?
When stored in a cool, dark place (around 10–15°C), it keeps for 6–12 months. Refrigeration extends shelf life. For optimal storage, a large refrigerator is ideal.
Can I use store-bought apple juice?
Yes, but ensure it is unpasteurized and without preservatives, as these can inhibit fermentation. A organic vodka is not needed for this, but it can be used to fortify the cider.
Why is my cider vinegar instead of alcoholic?
If exposed to too much oxygen, acetic acid bacteria turn alcohol into vinegar. Use an airlock and avoid opening the vessel unnecessarily. A ice maker won't help, but proper sealing will.
Can I flavor the cider after fermentation?
Absolutely. Add fruit syrups, honey, or spices after bottling. For serving, try pairing with chocolate-covered raisins for a sweet contrast.
How do I know when fermentation is done?
The rubber glove deflates completely, and bubbles stop. Use a hydrometer if you have one—specific gravity should be below 1.000. A microwave pressure cooker is not suitable for measuring gravity.
If you encounter any issues, our planetary mixer reviews are unrelated but might inspire your next kitchen project. For more fermentation guides, explore our steam canner tips.
Enjoy your homemade cider—a true taste of tradition, crafted with care!







