


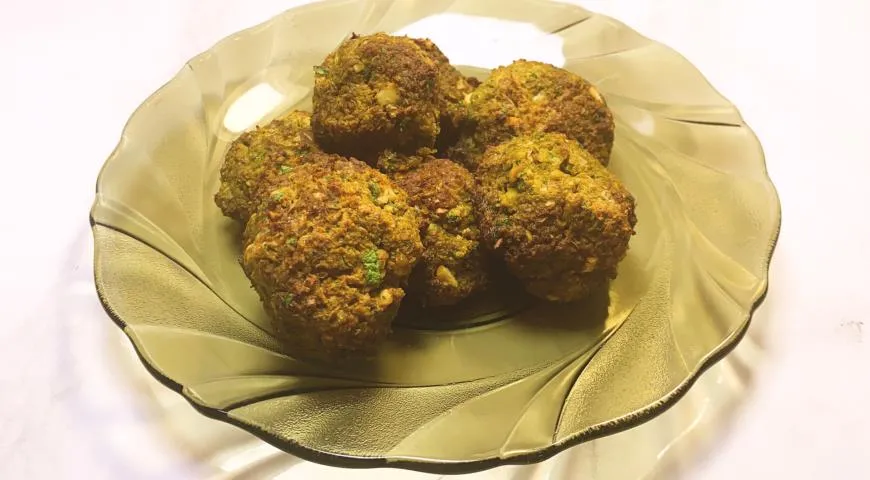
There is something deeply satisfying about biting into a golden, crisp falafel that yields to a tender, herb-flecked interior. This version honors the classic Middle Eastern tradition while embracing a modern, oven‑baked approach that keeps the patties light and wholesome. By soaking dried chickpeas overnight and blending them with fresh herbs and warm spices, you unlock a depth of flavor that no canned substitute can replicate. The result is a beautifully textured, protein‑rich dish that works equally well tucked into warm pita, piled on a salad, or served as an appetizer with tangy tahini sauce. Whether you are a longtime falafel lover or trying it for the first time, this recipe delivers authentic taste with minimal fuss.
About This Falafel Recipe
Falafel has been a staple of Middle Eastern cuisine for centuries, traditionally deep‑fried for a crave‑worthy crunch. Our version, however, is baked at 180°C to achieve a golden crust without the grease. The key is using dried chickpeas – never canned – because they provide the right structure and absorb seasonings beautifully. A touch of baking soda in the soaking water softens the legumes, while the final blend of parsley, onion, garlic, cumin, paprika, and lemon zest creates a complex, aromatic profile. For the smoothest texture, consider using a powerful food processor or an immersion blender to achieve the perfect paste without overworking it. The recipe is naturally vegan, gluten‑free, and packed with fiber and plant‑based protein.

Ingredients
- 200 g dried chickpeas
- 1 small onion, diced
- 3 cloves garlic, minced
- 1 cup fresh parsley, coarsely chopped
- 1 tsp ground cumin
- 1 tsp paprika
- 1 tsp salt
- ½ tsp black pepper
- 1 tsp baking soda (divided: 1 tsp for soaking + 1 tsp for mixture)
- Zest of 1 lemon
- 1 tbsp lemon juice
- 50 ml olive oil (for drizzling)
Step‑by‑Step Instructions
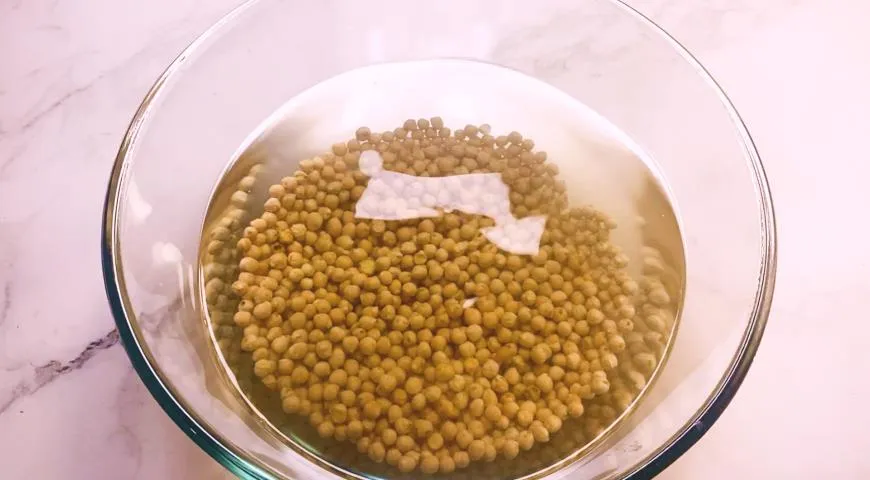
Step 1: Soak the chickpeas – Place the dried chickpeas in a large bowl, cover with plenty of cold water, and add 1 teaspoon of baking soda. Let them soak for 12 hours or overnight. The baking soda helps soften the skins and improves texture. (Microwave pressure cookers can speed up this process, but traditional soaking yields the best results.)
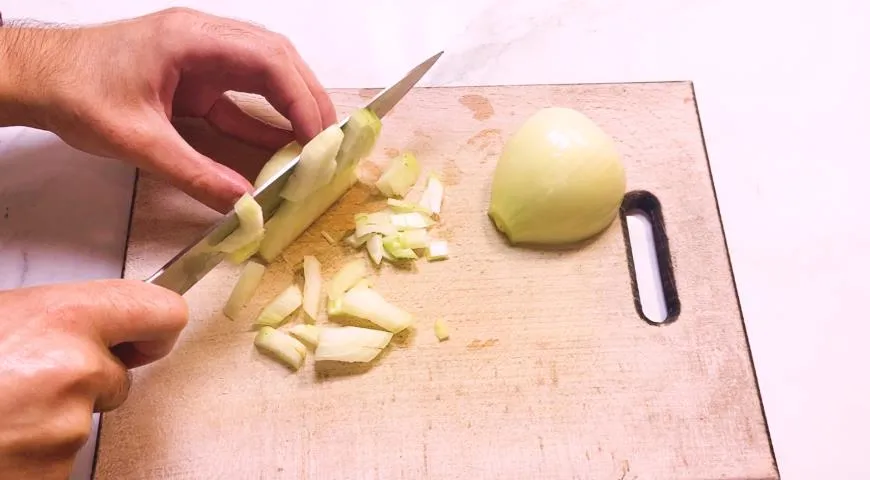
Step 2: Dice the onion – Finely dice the onion into small cubes. This ensures even distribution throughout the falafel mixture.
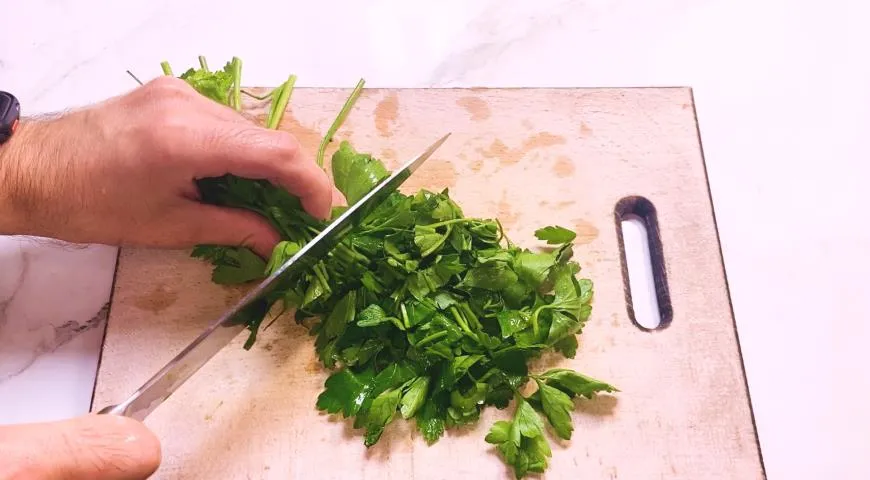
Step 3: Chop the parsley – Coarsely chop the fresh parsley. Do not chop too finely; larger pieces add texture and color.
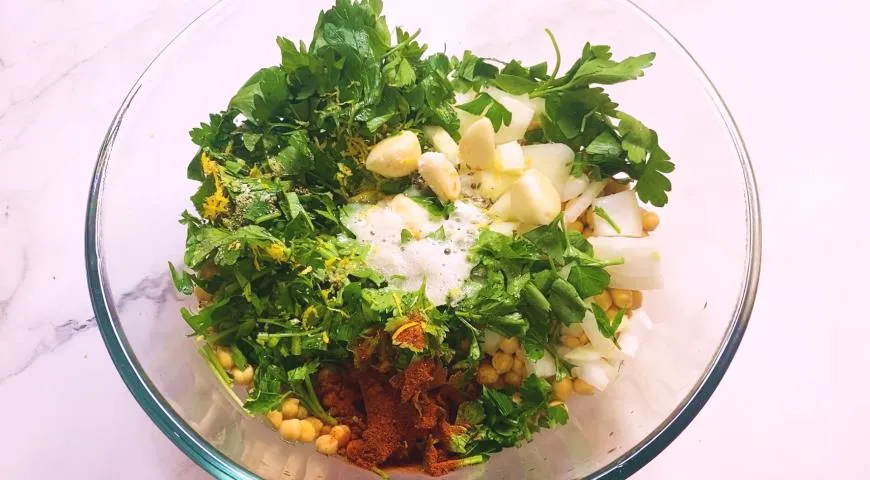
Step 4: Combine the ingredients – In a large mixing bowl, combine the drained soaked chickpeas, diced onion, minced garlic, chopped parsley, black pepper, salt, cumin, paprika, lemon zest, the remaining 1 teaspoon of baking soda, and lemon juice. Use a glass mixing bowl for best results.
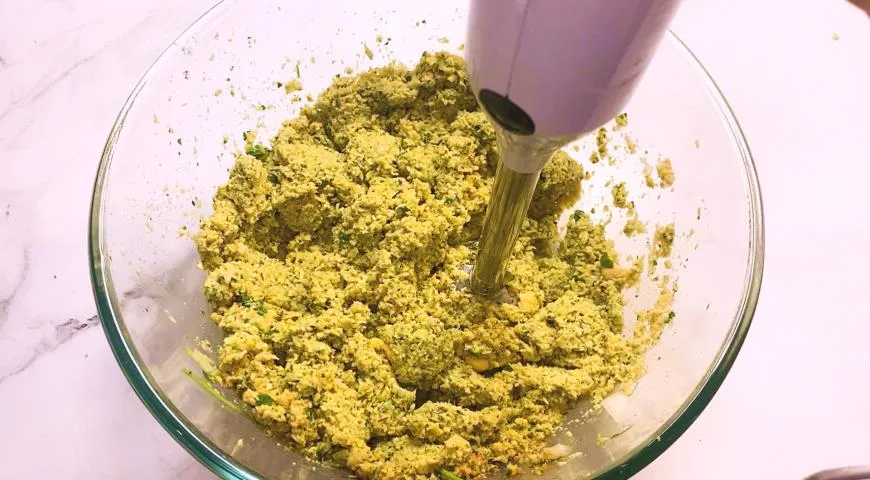
Step 5: Blend until smooth – Using an immersion blender or food processor, pulse the mixture until it forms a coarse paste. Do not overblend; you want a slightly chunky texture. Scrape down the sides as needed.
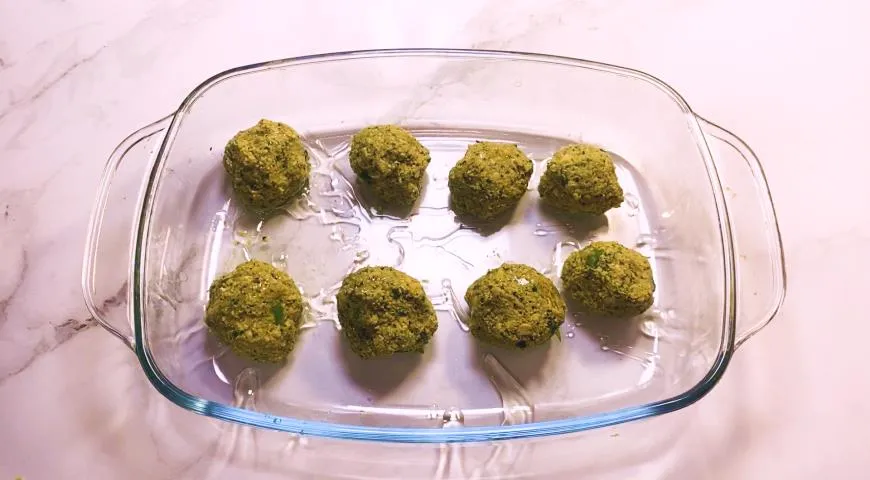
Step 6: Form and bake – With lightly wet hands, roll the chickpea mixture into walnut‑sized balls (about 20–25). Place them on a parchment‑lined baking sheet, drizzle generously with olive oil, and bake in a preheated wall oven microwave combo at 180°C for 30 minutes, turning halfway through, until golden and crisp. For an even faster, crispier exterior, use a commercial countertop convection oven.
Tips for Perfect Falafel
- Soak properly: Always use dried chickpeas and soak them for at least 12 hours. Canned chickpeas are too moist and will make the mixture fall apart.
- Don’t skip the baking soda: It helps the falafel hold together and creates a lighter texture. Add a teaspoon to both the soaking water and the mixture.
- Wet hands are your friend: Keeping your hands damp prevents the sticky mixture from clinging and yields smooth, even balls.
- Drizzle, don’t drown: Use an oil sprayer to apply olive oil evenly without making the falafel greasy.
- Chill before baking: Refrigerate the formed balls for 30 minutes to help them firm up and hold their shape during baking.
Variations to Try
Falafel is wonderfully adaptable. For a nuttier flavor, add a handful of toasted sesame seeds to the mixture. Spice lovers can increase the cumin or add a pinch of cayenne. To make it even quicker, shape the mixture into small patties and cook in an air fryer at 190°C for 12–15 minutes, shaking the basket halfway. For a heartier meal, serve the falafel with warm pita, pickled turnips, and a creamy tahini sauce. Leftovers keep well in a sealed container in the refrigerator for up to 3 days and can be reheated in the oven or air fryer.
Frequently Asked Questions
Can I use canned chickpeas instead of dried?
No, canned chickpeas contain too much moisture and will cause the falafel to fall apart. Dried chickpeas, properly soaked, are essential for the right texture. If you are short on time, a microwave pressure cooker can reduce soaking time to about 1 hour.
Why do my falafel fall apart during baking?
The most common reasons are using canned chickpeas, overblending (which releases too much starch), or skipping the baking soda in the mixture. Also make sure to chill the formed balls before baking for at least 30 minutes.
Can I freeze uncooked falafel?
Absolutely. Freeze the formed balls on a baking sheet, then transfer to a freezer bag. Bake directly from frozen, adding 5–10 minutes to the baking time. Store in a freezer for up to 3 months.
What sauces or sides pair well with falafel?
Classic accompaniments include tahini sauce, hummus, Israeli salad, and pickled vegetables. For a refreshing drink, try a crisp white wine or a sweet, high‑alcohol wine. Serve with warm pita bread and a sprinkle of fresh parsley.
Can I make this recipe gluten‑free?
Yes, the recipe is naturally gluten‑free as it uses only chickpeas, vegetables, and spices. Be sure to use certified gluten‑free baking powder if you substitute the baking soda with a mix. The flourless texture also makes it suitable for grain‑free diets.
This baked falafel delivers all the flavor and crunch of the traditional version with less oil and mess. Whether you serve them as a main dish, in a bowl, or as part of a mezze platter, they are sure to become a favorite. If you notice any error or have suggestions, please let us know.







