


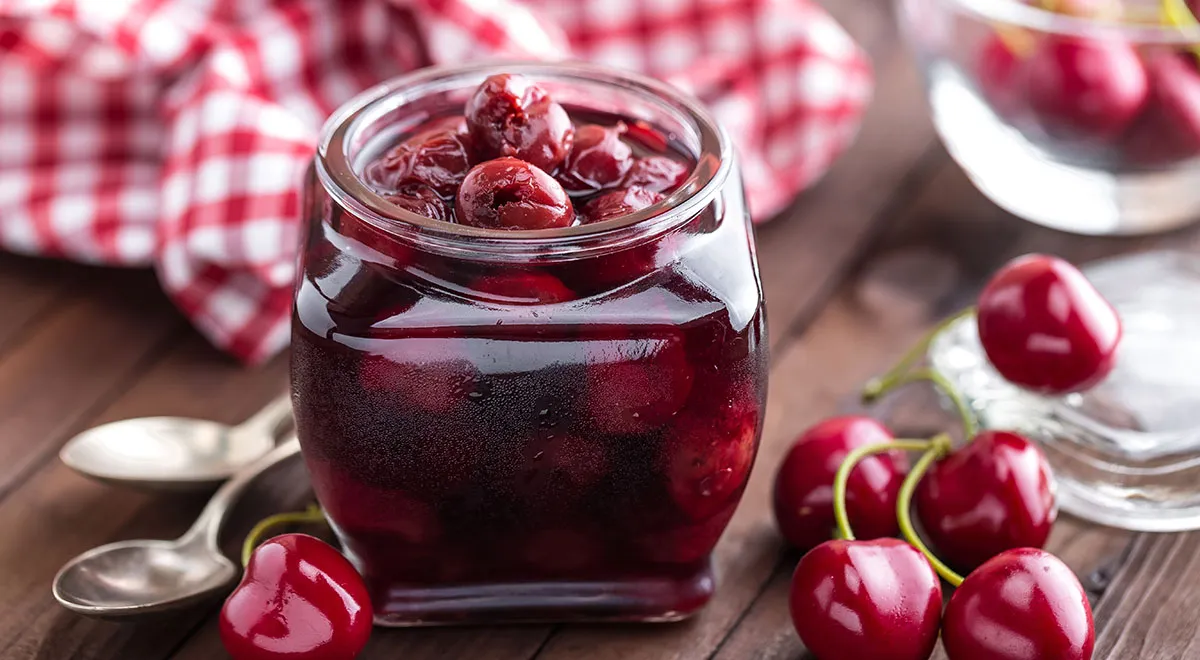
There is something deeply nostalgic about a jar of homemade cherry jam, especially when the pits are left in. This traditional Russian preserve, Varenye iz Chereshni s Kostochkoy, is not merely a sweet spread—it's a time capsule of summer's abundance. The whole cherries, suspended in a translucent, ruby syrup, offer a burst of flavor that store-bought versions can only dream of. This recipe, passed down through generations, achieves the perfect balance of sweetness and tartness, with hints of cinnamon and cherry leaves adding an unexpected complexity. The key lies in gentle blanching and a slow, interval cooking method that ensures each berry remains plump and intact. Whether slathered on a slice of fresh bread or spooned over cheesecake, this jam elevates any moment into a small celebration. Let us embark on this culinary journey together, transforming simple cherries into a treasure for your pantry.
About This Preserve
In Russian cuisine, fruit preserves are often categorized by their texture and technique. Varenye refers to a style where whole or large pieces of fruit are cooked in a clear syrup until tender, a method that honors the fruit's integrity. This cherry jam with pits is a beloved classic, particularly from the southern regions where cherries flourish. The pits themselves contribute a subtle almond-like note that deepens over time, while the addition of cherry leaves and cinnamon sticks introduces a fragrant, almost spiced undertone. Unlike some jams that require pectin or long boiling, this recipe relies on a multiple-heating approach: brief cooking, then resting, repeating to concentrate flavor without breaking down the fruit. The result is a preserve that is both visually stunning and intensely flavorful, perfect for pairing with non-toxic air fryer pastries or simply enjoying on its own.

Ingredients
- Cherries – 1 kg (choose firm, ripe but not overripe sweet cherries)
- Sugar – 600 g (a sugar-to-fruit ratio of 3:5, allowing the fruit's sweetness to shine)
- Water – 100 ml (for the syrup)
- Cherry leaves – 10 pieces (add a subtle, grassy note)
- Cinnamon sticks – 2 pieces (use whole sticks, not ground, for gentle infusion)
Quality matters here. Opt for organic cherries if possible and unprocessed sugar. For those who love kitchen precision, a planetary mixer isn't needed for this stovetop recipe, but a reliable scale ensures perfect proportions.
Step-by-Step Instructions
Step 1: Prepare the Cherries
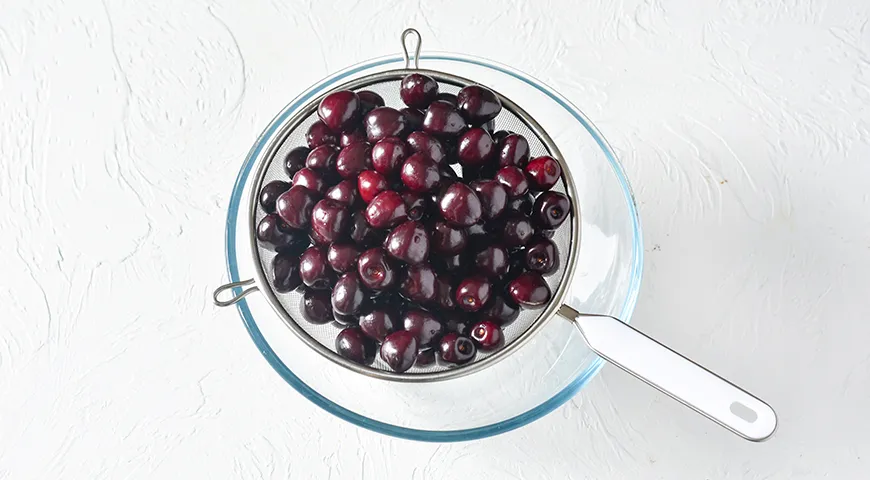
Gather all your ingredients. Rinse the cherries thoroughly under cold running water. Sort through them, discarding any bruised or damaged fruit. Gently remove the stems, leaving the pits intact. The pits are essential—they impart a delicate bitterness that balances the sweetness. If you prefer a seedless version, you can pit them, but the character changes. Place the cleaned cherries in a bowl and set aside.
Step 2: Blanch the Cherries
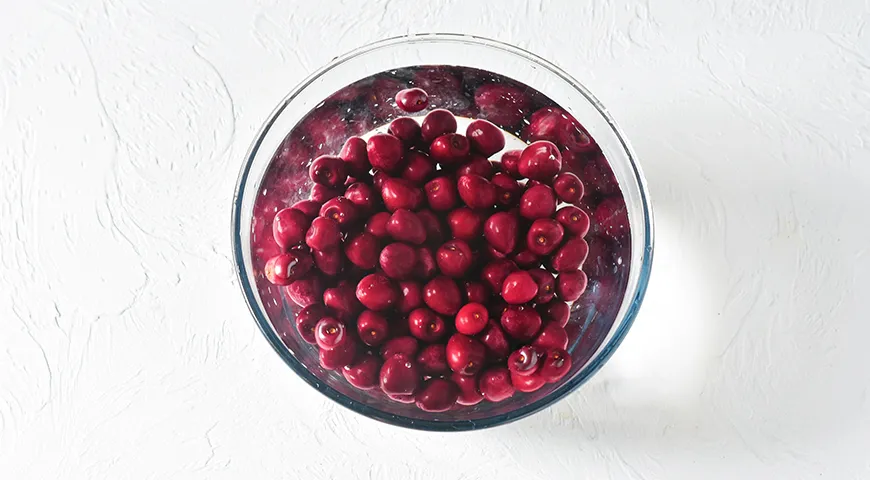
Bring a large pot of water to a rolling boil. Carefully add the cherries and blanch them for 1–2 minutes. The water will turn a pale pink, and you'll notice the skins tightening slightly. Immediately drain them in a colander and rinse with cold water to stop the cooking process. This blanching step is non-negotiable: it prevents the skins from wrinkling during the subsequent cooking, ensuring each cherry remains smooth and glossy.
Step 3: Make the Syrup
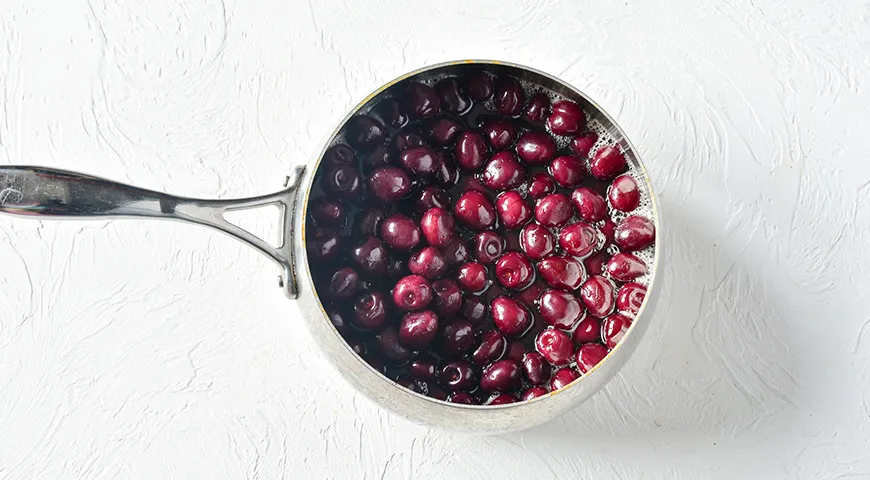
In a wide, heavy-bottomed saucepan, combine the water and sugar. Stir to moisten the sugar, then place over medium heat. Bring to a gentle boil, stirring occasionally, until the sugar is completely dissolved—about 1–2 minutes. Do not walk away; sugar syrups can scorch quickly. Once the syrup is clear and bubbling, add the blanched cherries. Stir them gently to coat each fruit with syrup, then bring the mixture back to a boil.
Step 4: Add Flavorings and First Cook
Rinse the cherry leaves under cold water and pat dry. Place the leaves and the two cinnamon sticks into the boiling syrup with cherries. Stir gently, then reduce the heat to a low simmer. Cook for exactly 5–6 minutes. The cherries will soften slightly but should remain whole. During this first cook, the syrup begins to thicken and the color deepens. Remove the pot from the heat.
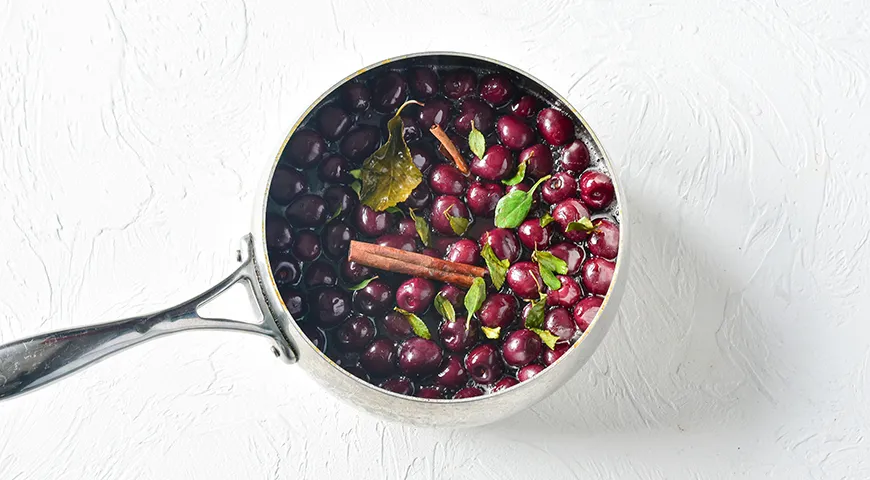
Step 5: Rest and Repeat
Cover the pot and let the jam rest for 5–6 hours at room temperature. This resting period allows the flavors to meld and the cherries to absorb syrup without becoming mushy. After the rest, return the pot to the stove and bring it back to a boil. Cook again for 5–6 minutes over low heat, then remove and cover for another 5–6 hours. This double-cooking technique is the secret to a clear, thickened syrup and perfectly tender cherries.
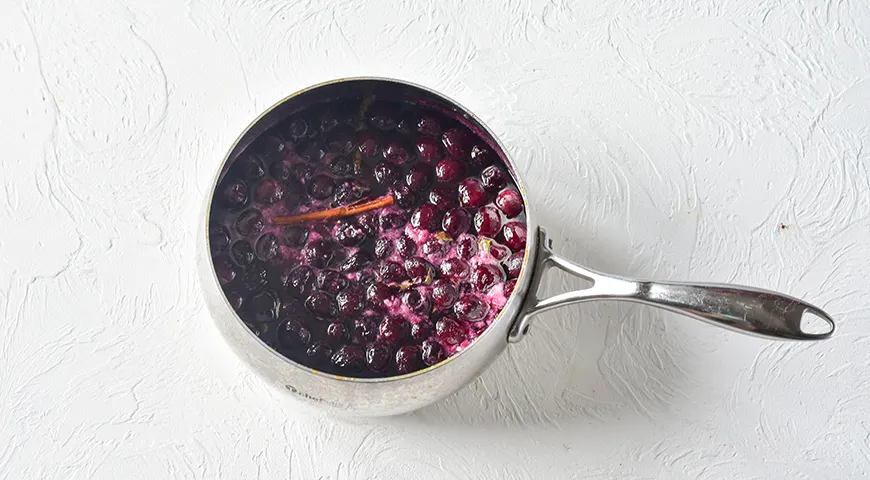
Step 6: Final Boil and Jar
Prepare your jars by sterilizing them—either by boiling in water for 10 minutes or by baking at 120°C until dry. For the third and final time, bring the jam to a boil. This time, cook for an additional 5–6 minutes, but keep a watchful eye: the syrup should be slightly thickened but still fluid. Remove the cinnamon sticks and cherry leaves; they have given their flavor and are no longer needed.
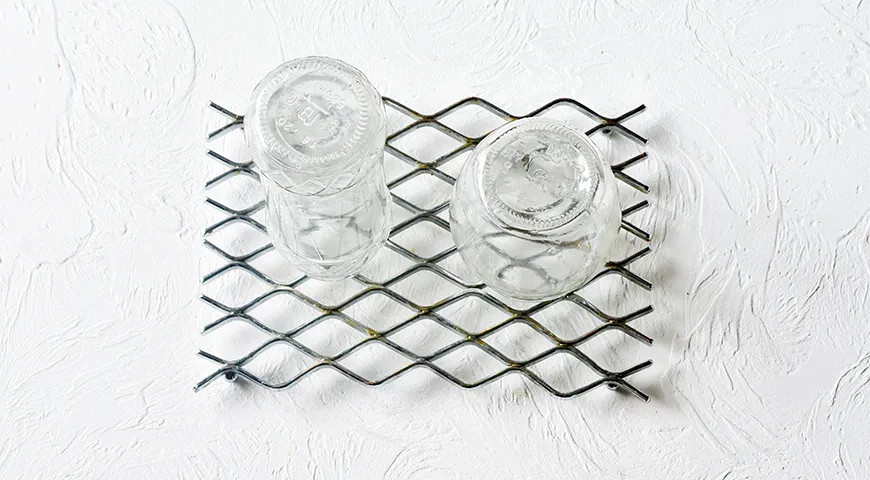
Step 7: Fill and Seal
Carefully ladle the hot jam into the sterilized jars, leaving about 1 cm headspace. Use a clean funnel to avoid spills. Wipe the rims with a damp cloth, then secure the lids tightly. Invert the jars briefly (this helps create a vacuum seal) and allow them to cool completely at room temperature. You may hear the satisfying pop as each jar seals. Store in a cool, dark place for up to a year once opened, refrigerate.
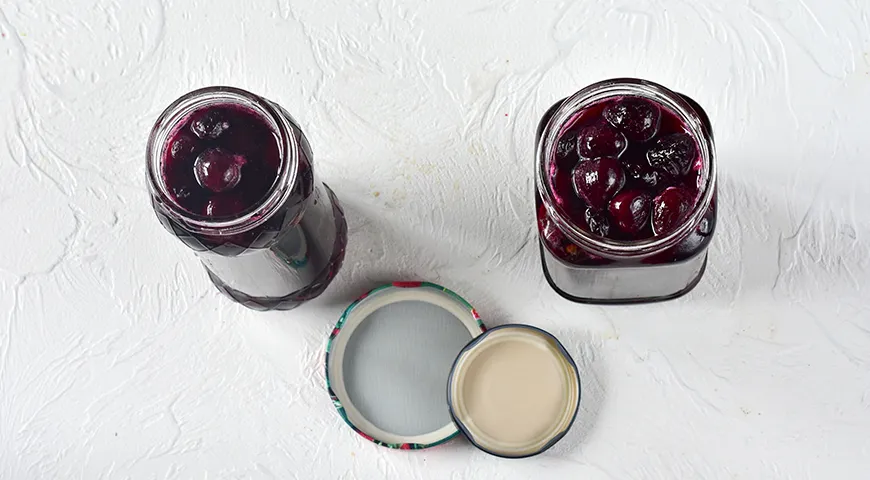
Tips for Perfect Results
- Don't skip blanching: This is the most common mistake. Without it, the skins will shrivel, giving an unappealing texture. The brief hot bath ensures a beautiful, smooth finish.
- Use whole spices: Ground cinnamon would cloud the syrup. Stick to sticks. Similarly, cherry leaves are traditional, but you can substitute with a few drops of almond extract if unavailable.
- Patience with resting: The two long rests are essential for deep flavor and syrupy consistency. Rushing leads to watery jam.
- Sterilize jars properly: Contamination is the enemy of preservation. Use a steam canner or boiling water bath for safety.
- Test for doneness: After the final boil, place a spoonful on a chilled plate; if it wrinkles when pushed, it's ready.
Variations to Explore
This cherry jam is wonderfully adaptable. For a spicier version, add a star anise or a vanilla bean alongside the cinnamon. You can reduce sugar to 500 g if your cherries are very sweet, or use honey for a different depth. For a seedless version, pit the cherries before blanching—though you'll lose the subtle almond note. Serve this jam over pancakes, swirl into yogurt, or use as a filling for Catalan sponge cake. It also pairs beautifully with aged cheeses like Manchego.
FAQ
Can I use frozen cherries?
Yes, but thaw and drain them completely before blanching. Frozen cherries are softer, so reduce the final cooking time by a minute or two.
Why did my jam crystallize?
This usually happens when the sugar-to-water ratio is too high or when the syrup is stirred too vigorously after boiling. Use a clean spoon and avoid stirring once the syrup starts to bubble.
How long does this jam keep?
Properly sealed jars stored in a cool, dark pantry will last up to 12 months. Once opened, refrigerate and consume within 3 weeks.
Can I leave out the cherry leaves?
Absolutely. The leaves add a unique flavor, but the jam will still be delicious without them. Increase the cinnamon to 3 sticks for compensation.
Do I need to remove the pits before eating?
Yes, always remove pits before serving. They are inedible and can be a choking hazard. Inform guests if gifting jars.
What dishes pair well with this jam?
Try it on warm croissants, blini, or as a glaze for roasted meats. It also makes an excellent topping for ice cream or cheesecake. For coffee lovers, a quality espresso complements the sweetness.
Final Thoughts
Making Varenye iz Chereshni s Kostochkoy is a labor of love, but the reward is a pantry filled with jars of liquid ruby. This recipe respects tradition while inviting modern modifications. Whether you're a seasoned preserve maker or a novice, the process is meditative and the result deeply satisfying. For more preservation tips, explore our guide on best chocolate-covered treats and other sweet preserves. Embrace the summer and preserve it—one cherry at a time.
Remember, good tools make the work easier. A reliable food processor isn't needed here, but a non-toxic immersion blender can help if you later decide to make a smooth sauce. For those who love advanced kitchen gadgets, a wall oven microwave combo can streamline your cooking space. This cherry jam is just the beginning of your preserving journey.







