


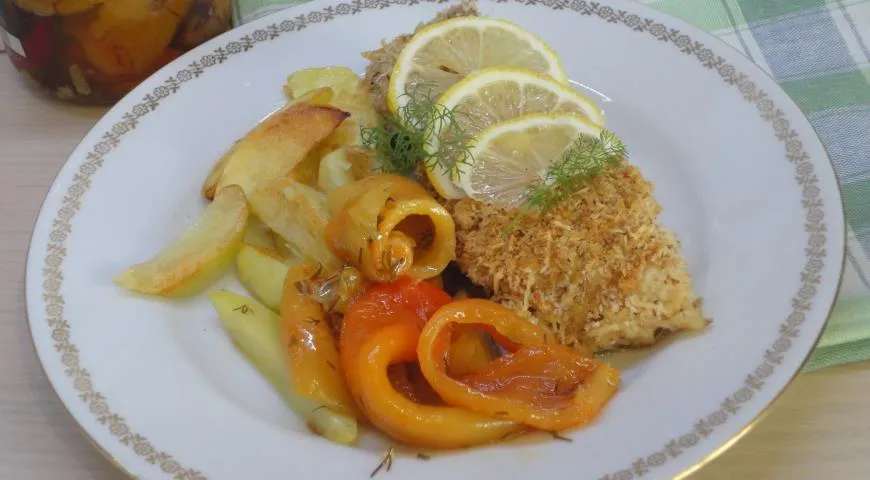
There is something profoundly satisfying about a perfectly cooked piece of cod: flaky, tender, and mild, it serves as a brilliant canvas for bold flavors. This Russian-inspired recipe transforms humble cod into a restaurant-worthy dish with a crisp, golden crust of cheese and breadcrumbs. The secret lies in the cheese-bread crumb coating, which adds a nutty, salty crunch that complements the fish's delicate texture. Whether you are cooking for a weeknight dinner or a special gathering, this dish is deceptively simple yet undeniably elegant. The combination of pan-searing and oven-finishing ensures a juicy interior and a crust that stays perfectly crisp. We will guide you through each step, from selecting the freshest cod to achieving the ideal bake. This recipe proves that with a few quality ingredients and the right technique, you can create a masterpiece in under 30 minutes.
About This Recipe
This dish, originally known as Треска в сырно-хлебном кляре, is a beloved staple in Russian home cooking. It elevates affordable white fish using common pantry staples—bread, cheese, and a touch of lemon. The technique of creating a dry crumb mixture in a food processor rather than a wet batter yields a lighter, more textured crust. The cod is first quickly seared to lock in moisture, then topped with the crumb and baked until the cheese melts and the breadcrumbs turn a deep amber. This method is versatile: you can use any firm white fish like haddock or pollock. For best results, choose a non-toxic immersion blender for pulsing the crumbs if you do not have a full processor. The recipe also works beautifully with other seafood, making it a great go-to for entertaining.

Ingredients
- 400 g cod fillets (skinless)
- 1 tbsp lemon juice
- Salt and freshly ground black pepper, to taste
- 4 tbsp olive oil (for frying)
- For the cheese-bread crumb mixture:
- 100 g fresh breadcrumbs (from 2–3 slices of sourdough or white bread)
- 80 g hard cheese (such as Parmesan or Gruyère), finely grated
- 2 tbsp butter, melted
- 1 garlic clove, minced
- 1 tsp dried oregano or thyme
- Pinch of paprika (optional)
Using a high-quality food processor for nut butter can also handle breadcrumbs with ease. For a dairy-free version, substitute the cheese with nutritional yeast and use a plant-based butter.
Step-by-Step Instructions
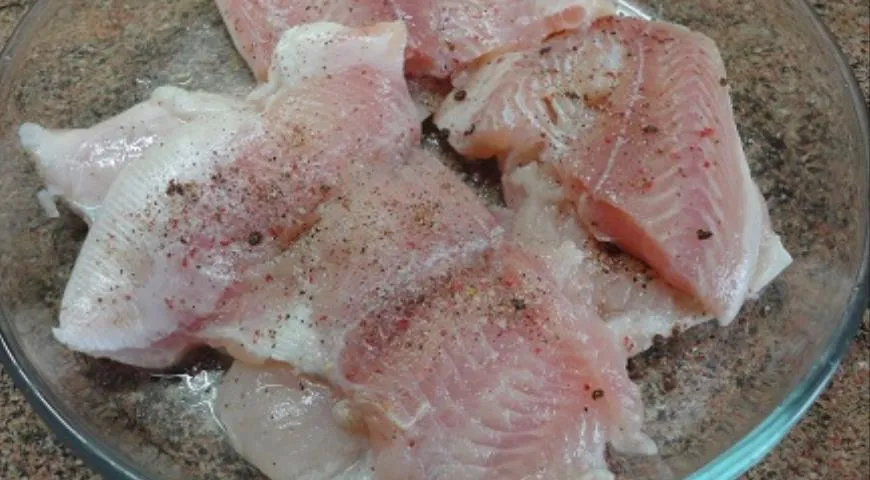
Step 1: Prepare the Cod
Rinse the cod fillets under cold water and pat them thoroughly dry with paper towels. Season both sides generously with salt and freshly ground black pepper. Drizzle with 1 tablespoon lemon juice and let the fish rest while you prepare the crumb mixture. This brief marination brightens the fish without making it soggy. For the best texture, ensure the fish is completely dry before seasoning—moisture is the enemy of a crispy crust.
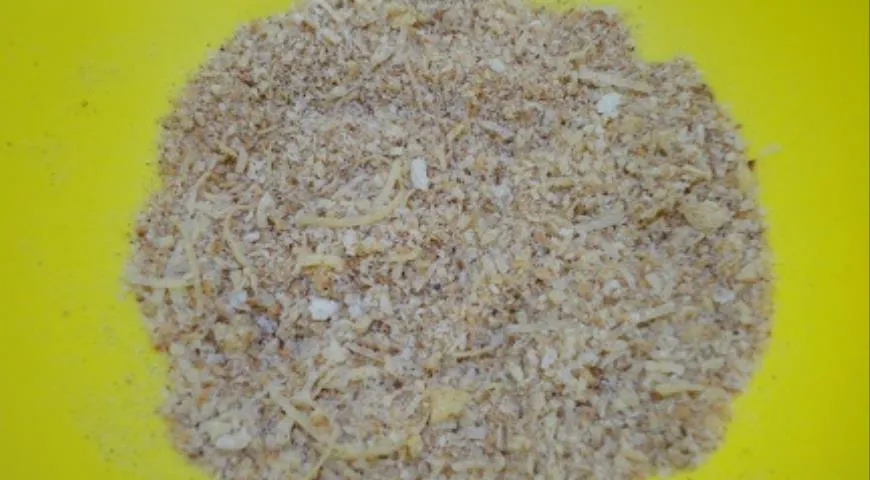
Step 2: Make the Cheese-Bread Crumb Mixture
Place the breadcrumbs, grated cheese, melted butter, minced garlic, oregano, and paprika (if using) into a blender or food processor. Pulse until the mixture resembles coarse sand—about 10–15 short pulses. Avoid over-processing; you want some texture left for crunch. If you do not have a processor, you can mix by hand. Preheating your oven to 200°C (390°F) now ensures even baking later. A microwave pressure cooker is not needed here, but a reliable oven is key.
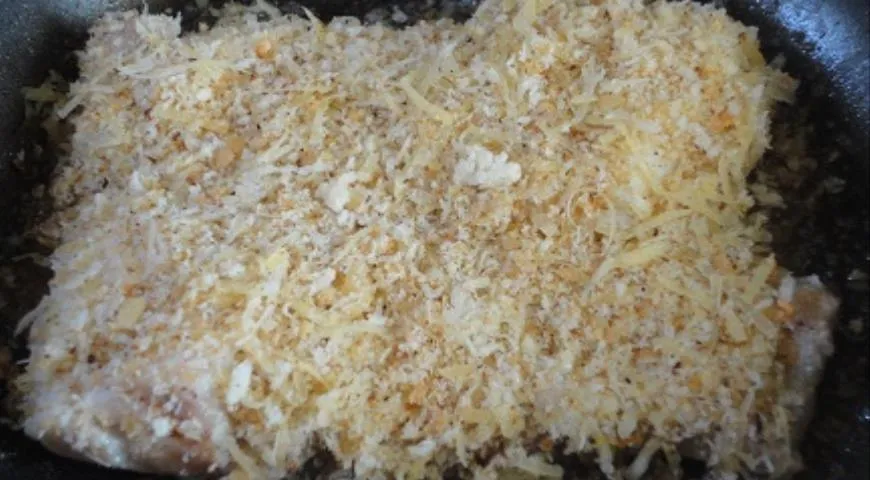
Step 3: Sear the Cod
Heat 2 tablespoons of olive oil in an oven-safe skillet over medium-high heat. Pat the cod fillets dry again with a paper towel (they may have released moisture). Carefully place the fish in the hot oil and cook for 2–3 minutes per side, until golden brown. The interior should still be slightly undercooked—it will finish in the oven. If you are making a larger batch, transfer the seared fillets to a separate baking dish. For small batches, an oven-safe skillet works perfectly. A best oil sprayer can help distribute oil evenly for a lighter sear.

Step 4: Top with Crumb and Bake
Spoon the cheese-bread crumb mixture over each fillet, pressing gently so it adheres. Make sure the crumbs cover the top completely and fill any gaps between pieces. Lightly pack the mixture with your hand to ensure even coverage. Transfer the skillet or baking dish to the preheated oven. Bake for 10–15 minutes, or until the crust is deep golden and the fish flakes easily with a fork. The internal temperature should reach 63°C (145°F). For an extra-crispy finish, you can switch to the broiler for the last 2 minutes. Serve immediately with lemon wedges and a green salad.
Tips for Perfect Cod in Cheese Breadcrumb Crust
- Use fresh breadcrumbs – stale crumbs absorb too much oil and become greasy. Homemade from crusty bread yields the best texture.
- Don’t skip patting dry – moisture causes steaming instead of searing. Use paper towels twice if needed.
- Choose a hard cheese – Parmesan or aged Gruyère melts beautifully without becoming greasy. Avoid pre-shredded cheese as it contains anti-caking agents.
- Preheat the oven fully – a hot oven ensures the crust sets quickly before the fish overcooks.
- Let the fish rest – after baking, allow the cod to rest for 2–3 minutes so the juices redistribute.
For consistent results, consider using a undercounter ice maker to keep your fish chilled before cooking.
Variations
This recipe is endlessly adaptable. Swap the cod for thick salmon fillets or even chicken breast for a different protein. Add finely chopped herbs like parsley or dill to the crumb mixture for a fresh note. For a spicy kick, mix in a pinch of cayenne or smoked paprika. If you prefer a gluten-free version, use gluten-free breadcrumbs or crushed almonds. A wheatgrass juicer is unnecessary here, but a quality blender for crumbs is essential. You can also prepare the crumb mixture ahead and store it in the refrigerator for up to three days. For a quicker weekday dinner, skip the searing step and simply bake the crumb-topped raw fillets, though the texture will be less crisp. If you have an air fryer non-toxic, you can cook the cod at 180°C for 10 minutes for an even faster method without oil.
Frequently Asked Questions
Can I use frozen cod for this recipe?
Yes, but thaw it completely in the refrigerator overnight and press out excess moisture with paper towels. Frozen fish tends to release more water, so dry it thoroughly to ensure a good sear. Using a best organic vodka is not required, but a splash in the marinade can help dry the surface.
What cheese works best for the crust?
Hard aged cheeses like Parmesan, Pecorino Romano, or aged Gruyère are ideal. They melt slowly and create a crunchy layer. Avoid soft cheeses like mozzarella as they become stringy rather than crisp.
Can I make this recipe without an oven?
If you do not have an oven, finish cooking the fish in a covered skillet over low heat after searing. The crumb will not get as golden, but you can toast it separately in a dry pan and sprinkle on top. A best wall oven microwave combo with air fryer combines functions for convenience.
How do I prevent the crust from falling off?
Press the crumb mixture firmly onto the fish after searing, and use melted butter in the crumb to help it adhere. Avoid moving the fish once it is in the oven. Let it cool slightly before serving so the crust sets.
Can I double the recipe for a crowd?
Absolutely. Use a larger baking dish and sear the fish in batches. The baking time may increase by 5 minutes depending on how tightly packed the pieces are. A 48 inch built-in refrigerator helps store ingredients for large gatherings.
Is this recipe suitable for meal prep?
The crust is best fresh and crisp. You can prep the crumb mixture and the seasoned fish separately, then assemble and bake just before serving. Reheating in an oven or air fryer restores some crunch.
What side dishes pair well with this cod?
Light sides like a lemony arugula salad, roasted asparagus, or steamed rice complement the richness. A crisp white wine such as Sauvignon Blanc balances the cheese. For a heartier meal, serve with Catalan sponge cake for dessert.
This Cheesy Breadcrumb-Crusted Cod brings together the best of Russian home cooking and modern techniques. The combination of a quick sear and a creamy, crunchy topping creates a dish that is both comforting and impressive. With the right tools—a good food processor and an oven-safe skillet—you can achieve restaurant-quality results in your own kitchen. Whether you are a seasoned cook or a beginner, this recipe rewards careful attention to detail with a meal that everyone will love. Serve it with confidence and enjoy the compliments.







