



The art of transforming simple cottage cheese into a velvety, spreadable masterpiece is a cherished tradition in Russian cuisine. Plavlenyy syr—homemade processed cheese—is a revelation: creamy, tangy, and infinitely versatile. Unlike commercial processed cheeses, this version uses real ingredients, no preservatives, and delivers a clean, dairy-forward flavor that elevates everything from morning toast to gourmet appetizers. Whether you crave a savory base for herbs and ham or a sweet canvas for chocolate and honey, this recipe is your gateway. Let’s dive into the science and soul of making plavlenyy syr at home.
About Russian Homemade Processed Cheese
Processed cheese has a storied past in Eastern Europe, where home cooks discovered that heating cottage cheese with an alkaline agent—baking soda—creates a smooth, emulsified texture. This homemade version, known as plavlenyy syr, is prized for its pure dairy taste and adaptability. Unlike many store-bought blocks, it contains no artificial thickeners or emulsifiers. The secret lies in the gentle heat of a water bath and a brief cooking time, preserving the cheese’s natural sweetness. For best results, start with full-fat cottage cheese (at least 5% fat) and a reliable non-toxic immersion blender to achieve a silky-smooth mass. The result is a cheese that spreads like a dream—perfect for pairing with crusty bread or as a base for endless flavor experiments.

Ingredients for the Perfect Melt
This recipe yields about 800 grams of processed cheese. Gather the following:
- 1 kg cottage cheese (5%+ fat, not dry)
- 2 medium eggs (size C1)
- 1 egg yolk
- 0.3 tsp citric acid
- 1.5 tsp baking soda
- 0.5–1.5 tsp salt (use less for sweet versions)
Using a best glass food processor bowl or a stainless steel bowl ensures even heat distribution. For precision measuring, a food processor for nut butter can also double as a mixing tool if you prefer a chunkier texture, though the immersion blender is ideal for complete smoothness.
Step-by-Step Guide
Step 1: Prepare Your Equipment
Choose a heatproof bowl that fits snugly over a saucepan for a water bath. The bowl should not touch the boiling water directly—just the steam. Alternatively, use a double boiler. If you’re experienced, you can cook directly in a heavy-bottomed saucepan, but beginners risk scorching. A microwave pressure cooker can also be used for a faster, controlled melt if you’re comfortable with pressure cooking.
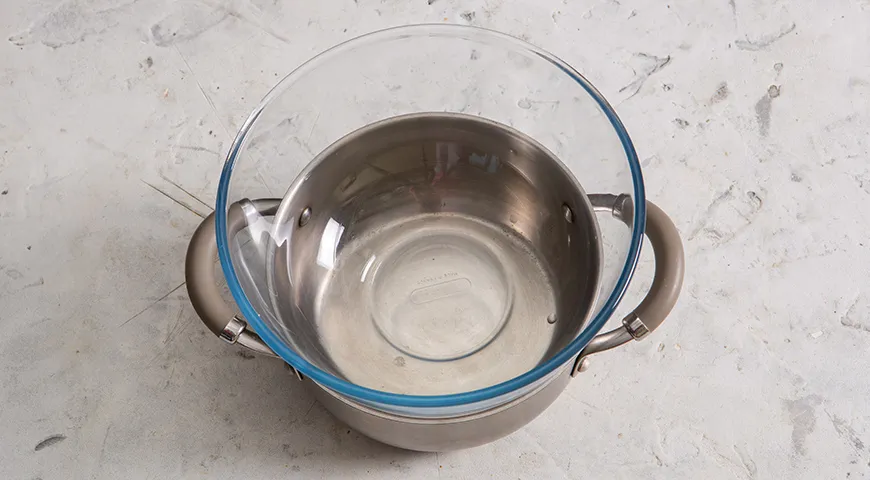
Step 2: Bring Ingredients to Room Temperature
Combine all ingredients in your heatproof bowl. If you plan to make a sweet cheese, use the minimum salt. Let the cottage cheese, eggs, and yolk sit out for 30 minutes before mixing—this ensures even emulsification. A light oil sprayer can be used to mist the bowl for easier cleanup later.
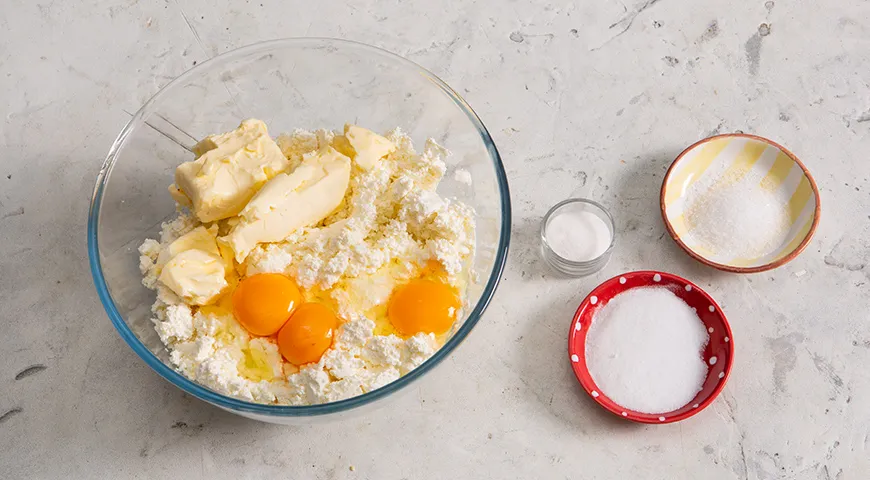
Step 3: Blend Until Smooth
Use an immersion blender to puree the mixture until absolutely no cottage cheese curds remain. This step is critical for a creamy final texture. A planetary mixer with a paddle attachment can also work for large batches, but the blender offers more control. If you don’t have an immersion blender, a standard blender or food processor for nut butter will do—just process in batches and scrape down sides.
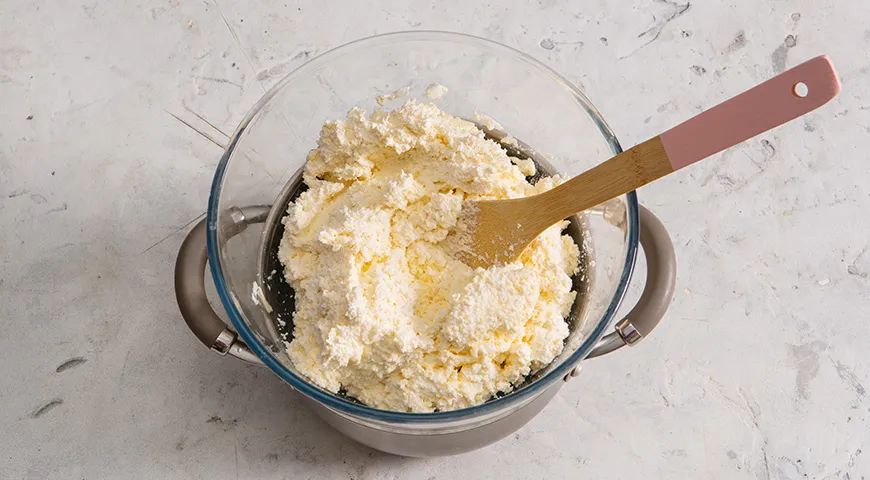
Step 4: Cook in a Water Bath
Fill a large saucepan with water and bring to a gentle boil (medium heat). Place the heatproof bowl with the cheese mixture over the saucepan, ensuring the water doesn’t touch the bowl. Stir continuously with a whisk or silicone spatula to prevent lumps. The cottage cheese will gradually melt and thicken—this takes about 8–12 minutes. You’ll see the mixture become glossy and stretchy. Remove from heat immediately to avoid overcooking. For an alternative method, a wall oven microwave combo with air fryer can be used for a dry-heat approach, but the water bath is more forgiving.
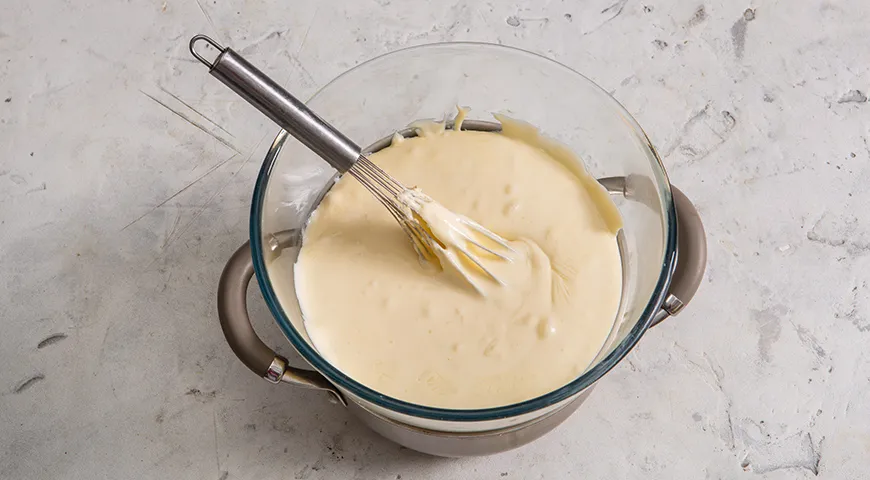
Step 5: Chill and Set
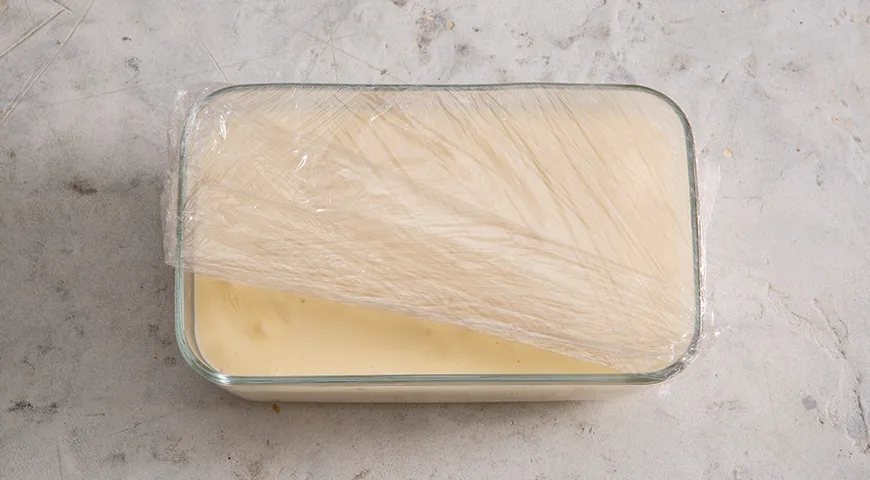
Pour the hot cheese into glass or ceramic containers. Cover directly with plastic wrap to prevent a skin from forming. Let cool completely at room temperature, then refrigerate for 12–24 hours. This resting period allows the cheese to firm up and develop its characteristic silky spread. For long-term storage, consider using best steam canner techniques to sterilize jars. A 48-inch built-in refrigerator offers ample space for multiple batches.
Pro Tips for a Flawless Melt
Always use full-fat cottage cheese—low-fat versions contain excess water that leads to a rubbery texture. Bring eggs and yogurt to room temperature before blending to prevent shocking the mixture. Stir constantly during cooking; even one unbroken curd can create graininess. If your cheese curdles, a splash of milk and an extra pinch of baking soda can rescue it. Use an air fryer non-toxic to crisp up bacon for a savory addition, or a best chocolate covered raisins for a sweet twist. For a unique pairing, serve with a best coffee maker for Airbnb brew.
Flavor Variations
Divide the finished cheese into portions and customize: add basil pesto, roasted peppers, sun-dried tomatoes, or crispy bacon bits for savory blends. For sweet versions, stir in melted chocolate, honey, or dulce de leche. A splash of best organic vodka can add a subtle warmth to savory mixes. These variations transform breakfast toast or cheese boards into gourmet experiences.
Frequently Asked Questions
Can I use low-fat cottage cheese?
It’s not recommended. Low-fat cottage cheese contains more water and less fat, resulting in a grainy, less stable emulsion. Stick with at least 5% fat for the creamiest spread.
How long does homemade processed cheese last?
Store in an airtight container in the refrigerator for up to 10 days. For longer shelf life, freeze in small portions for up to 3 months—thaw slowly in the fridge before use.
Can I make it without citric acid?
Yes, substitute with 1 tablespoon lemon juice or white vinegar. Adjust the amount to taste, but note that citric acid gives the most neutral flavor and best preservation.
Why did my cheese become grainy?
Graininess often results from overheating or using low-fat dairy. Ensure you stir constantly and remove from heat as soon as the mixture is smooth. If it happens, blend again with a tablespoon of heavy cream.
Can I freeze this cheese?
Yes, freeze in an airtight container. Thaw in the refrigerator overnight and whisk before serving. The texture may slightly change, becoming a bit more crumbly, but it remains delicious for spreading or cooking.







