


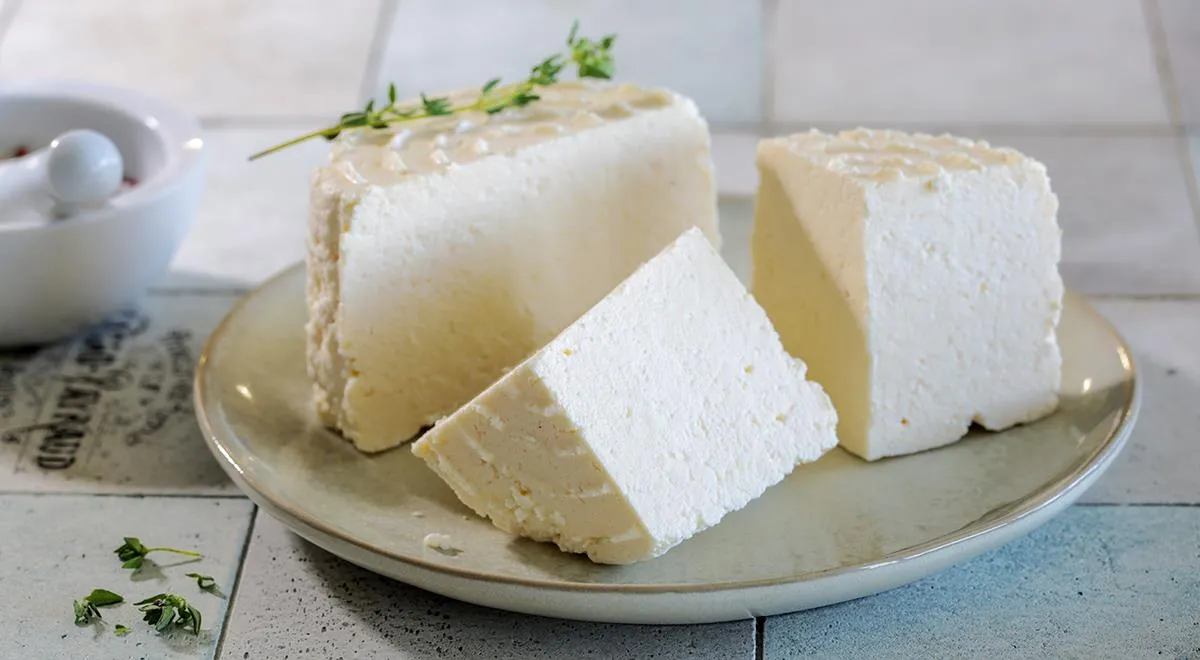
There is something deeply satisfying about transforming simple, humble ingredients into a cheese that rivals any artisan dairy. This Egg Cheese from Cow's Milk and Sour Cream—a Russian classic known as yaichnyj syr—does exactly that. It is a semi-hard cheese that requires no rennet, no pepsin, and no complicated starter cultures. Instead, eggs provide the structure, lending a tender, sliceable texture and a rich, milky flavour with a subtle tang from the sour cream. The process is surprisingly straightforward, making it an ideal project for home cooks who love the idea of cheese-making but feel daunted by traditional methods. In this article, we will explore the story behind this unique cheese, detail every step with images, and share tips and variations to help you craft the perfect wheel in your own kitchen.
About Egg Cheese
Egg cheese has its roots in Eastern European home kitchens, where resourceful cooks sought ways to use up eggs and dairy without relying on commercial additives. By combining milk, sour cream, and eggs, they created a cheese that is creamy yet firm enough to slice. Unlike many cheeses that require months of aging, this one is ready in just 12 to 24 hours—a triumph of patience over time. The high fat content (full milk and rich sour cream) ensures a lush mouthfeel, while the eggs act as a natural binder and thickener. The result is a cheese that can be enjoyed fresh, sliced on crusty bread, grated over pasta, or even melted into sauces. For those who appreciate the artistry of glass mixing bowls and precise temperature control, this recipe is a perfect introduction to cheese-making without special equipment.

Ingredients
- 1.5 litres of milk with fat content above 3.2%
- 400 g of sour cream (25–30% fat)
- 4 large eggs (size C0 or CV, about 60–70 g each)
- 1.5 teaspoons of non-iodised salt
Quality matters: use farm-fresh milk if possible, and avoid ultra-pasteurised varieties. The sour cream should be full-fat for the best texture. Non-iodised salt prevents any metallic aftertaste. For mixing, a sturdy whisk and a heavy-bottomed saucepan are essential—consider checking non-toxic immersion blenders if you want to emulsify the egg-sour cream mixture effortlessly, though a whisk works beautifully.
Step-by-Step
Follow these eight steps carefully to achieve a flawless egg cheese.
Step 1: Blend Eggs and Sour Cream
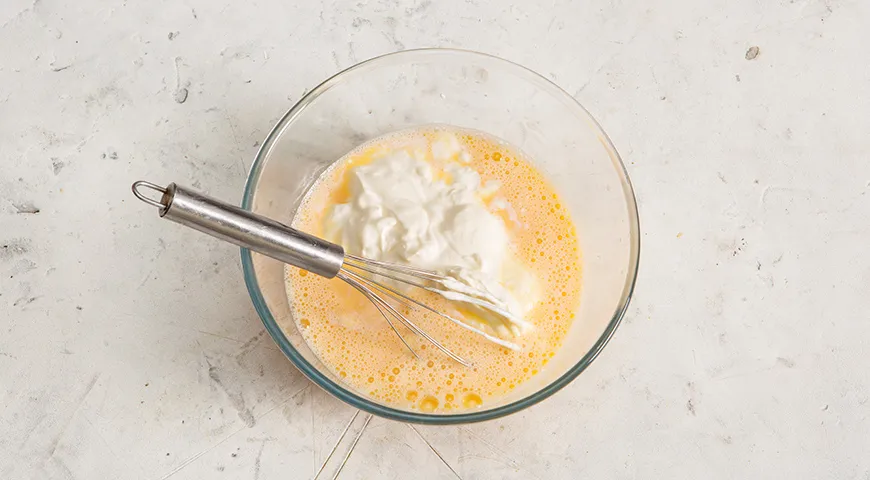
In a large bowl, whisk the eggs thoroughly until the yolks and whites are completely combined and no strands of white remain. Add the sour cream and whisk again until the mixture is smooth and homogeneous.
Step 2: Heat the Milk
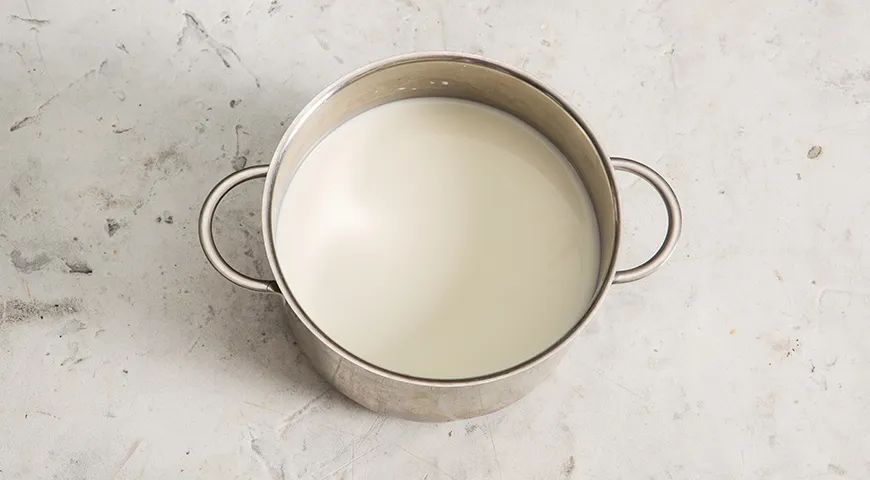
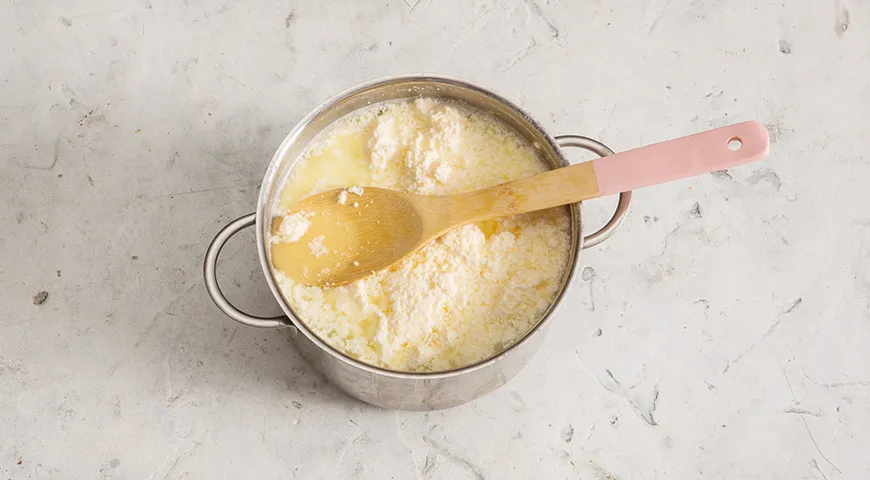
Pour the milk into a heavy-bottomed saucepan. Add the salt and stir. Place over medium-high heat and bring the milk to a gentle boil—watch for small bubbles forming around the edges. Reduce the heat to medium.
Step 3: Add the Egg Mixture
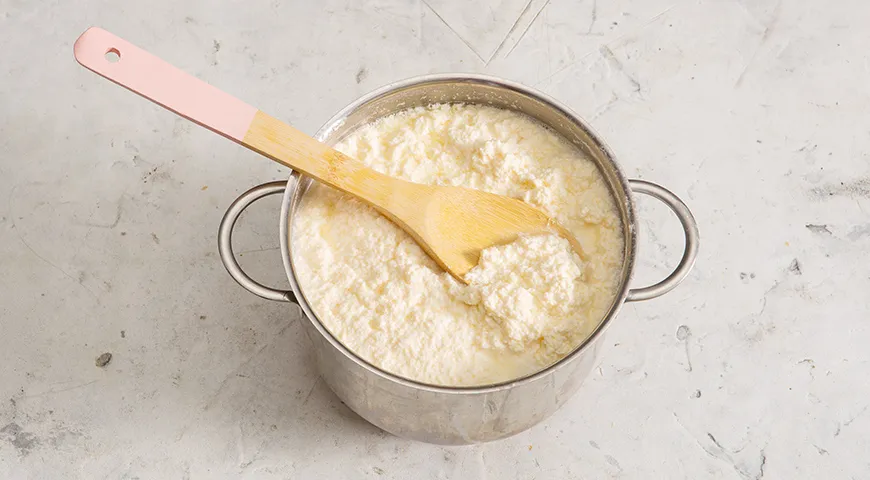
While whisking the hot milk continuously, pour the egg-sour cream mixture in a thin, steady stream. Keep whisking constantly. The mixture will start to curdle—cook for 4–5 minutes until large, fluffy curds separate from the whey.
Step 4: Prepare the Drainage Set-Up
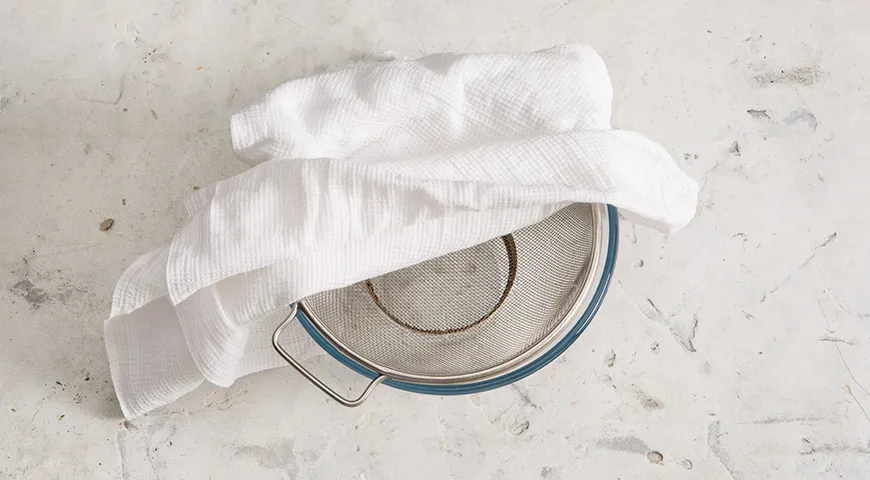
Place a large colander inside a deep bowl. Line the colander with a large kitchen towel (waffle weave is ideal) or a double- or triple-layer of cheesecloth.
Step 5: Strain the Curds
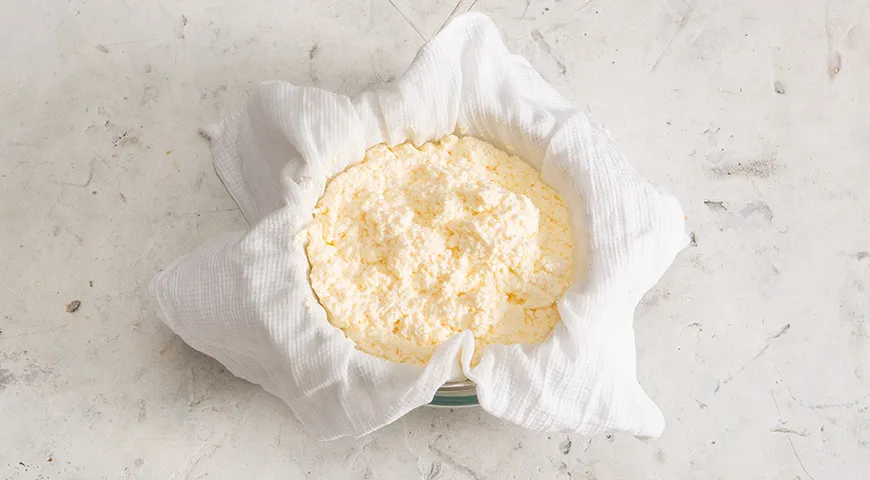
Carefully pour the entire contents of the saucepan into the prepared colander. Let it drain for 5–7 minutes.
Step 6: Press Out the Whey
Gather the edges of the towel or cheesecloth, twist them together, and gently squeeze out excess whey. Use a spatula to help press the curds.
Step 7: Shape the Cheese
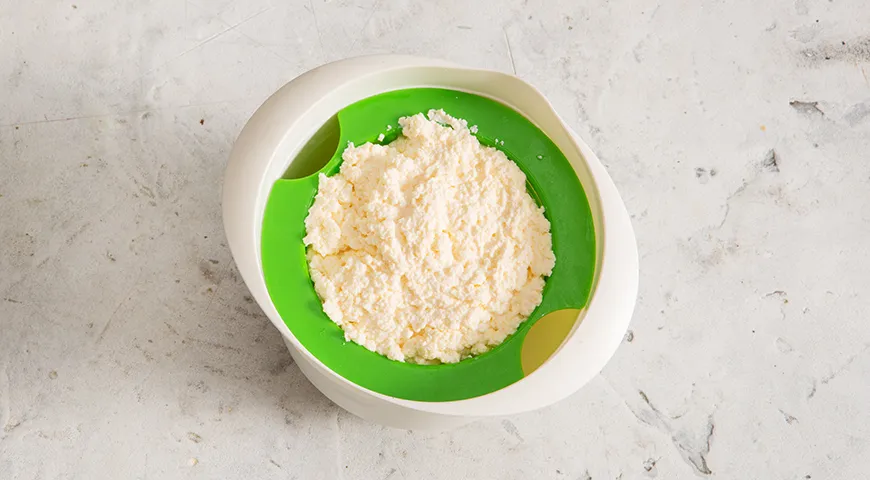
Transfer the cheese mass (still in the cloth) into a smaller colander, sieve, or a plastic container with holes punched in the bottom. This will define the final shape.
Step 8: Weight and Refrigerate
Place a small board or plate directly on the surface of the cheese. It should cover the cheese completely or almost completely. Top with a weight of 4–6 kg (for example, a heavy pot filled with water). Refrigerate the entire assembly for 12–24 hours.
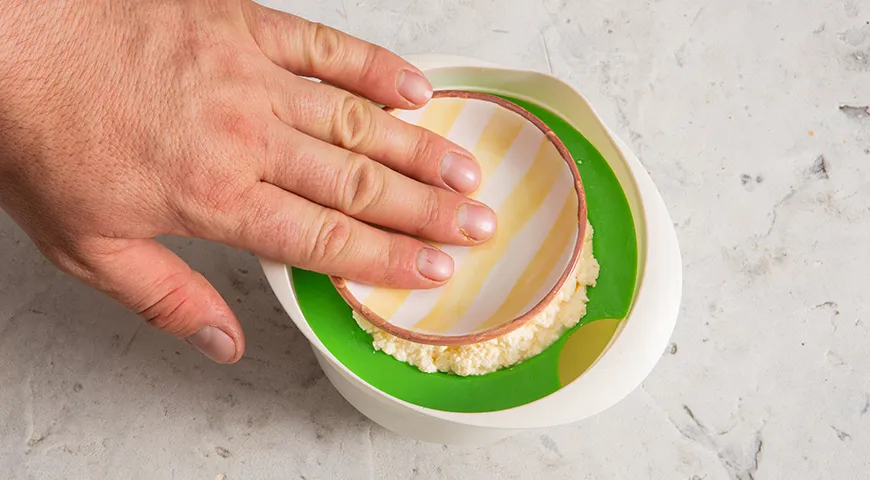
After the pressing time, unwrap the cheese. It should be firm, moist, and sliceable. Enjoy it immediately or store in the refrigerator for up to a week.
Tips for Perfect Egg Cheese
- Use a heavy-bottomed saucepan to prevent scorching. A planetary mixer isn't needed here, but consistent whisking is crucial.
- Do not boil the milk aggressively—a gentle simmer prevents curd toughness.
- If your curds are too small, the milk may have been too hot. Next time, reduce heat slightly.
- Non-iodised salt is a must; iodine can inhibit curd formation.
- For easier pressing, use a steam canner as a weight—it's heavy and fits well.
- Let the cheese rest at room temperature for 30 minutes after refrigerating for best sliceability.
Variations to Explore
Once you have mastered the basic recipe, experiment with these twists:
- Herb and Garlic: Stir 2 tablespoons of finely chopped fresh dill, chives, or parsley and a minced garlic clove into the curds before pressing.
- Spicy Kick: Add ½ teaspoon of red pepper flakes or a pinch of smoked paprika to the milk while heating.
- Smoked Cheese: After pressing, cold-smoke the cheese for 30 minutes using a smoking gun. Pair with lava flavours for an adventurous pairing.
- Milk Alternatives: While full cow's milk is traditional, you can substitute half with goat's milk for a tangier profile.
- Savory Baking: Grate the finished cheese over pasta or use it in a Catalan sponge cake for an unexpected sweet-savoury contrast.
Frequently Asked Questions
Can I use low-fat milk or sour cream?
Low-fat versions will produce a drier, crumbly cheese. For the best texture, stick with whole milk (at least 3.2% fat) and sour cream at 25–30% fat. The fat is essential for a creamy, sliceable result.
Why did my cheese come out rubbery?
Overcooking the curds is the most common cause. The egg proteins become too firm if boiled too long or at too high a temperature. Next time, watch the clock—4 to 5 minutes at a gentle simmer is enough.
How long does egg cheese keep?
Stored in an airtight container in the refrigerator, it will stay fresh for up to 7 days. For longer storage, freeze the cheese for up to 3 months—thaw in the fridge overnight before using.
Can I add rennet to make it firmer?
This recipe is designed to be rennet‑free. Adding rennet would change the texture significantly, making it more like a traditional hard cheese. If you want a firmer cheese, increase the pressing weight to 8 kg and extend pressing time to 36 hours.
What can I do with the leftover whey?
Don't discard it! Whey is wonderful for baking bread, cooking rice, or as a base for soups. You can also use it to make ricotta. For a refreshing drink, blend it with fruit—check out organic vodka if you want to turn the whey into a cocktail ingredient.
Is egg cheese suitable for melting?
Yes, it melts well, though it won't become as stretchy as mozzarella. Use it in grilled cheese sandwiches, on burgers, or in a simple cheese sauce. It pairs beautifully with a sweet, high-alcohol wine for a sophisticated pairing.







