


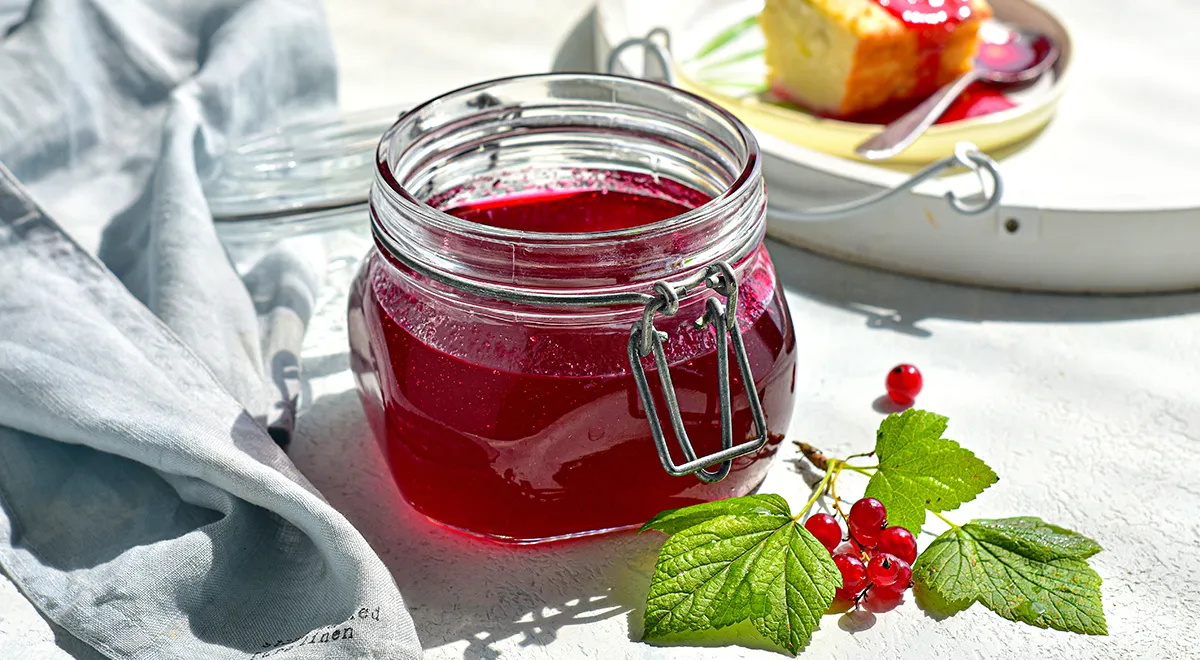
Even if your dacha has just one bush of red currants and you long to preserve the taste of summer for cozy winter tea evenings, making a jar of this jelly is pure bliss. Trust us—it’s far more elegant than a standard jar of jam. While a jar of jam yields more volume because it retains skins and seeds, the effort here is rewarded with a refined, jewel-like preserve. This is the way to capture the essence of the season.
About Red Currant Jelly
Red currant jelly is a classic Russian preserve that transforms humble berries into a translucent, ruby-red delicacy. Unlike jam, which includes fruit pulp, jelly is clarified by straining out skins, seeds, and stems, resulting in a shimmering, spreadable treasure. It’s perfect on toast, alongside cheese, or as a glaze for meats. The natural pectin in red currants means no added gelling agents are needed—just fruit and sugar. For the best results, choose berries at peak ripeness. If you’re new to canning, check our guide on best steam canner for safe preservation.

Ingredients
- 500 g red currants
- 500 g sugar
Step-by-Step Instructions
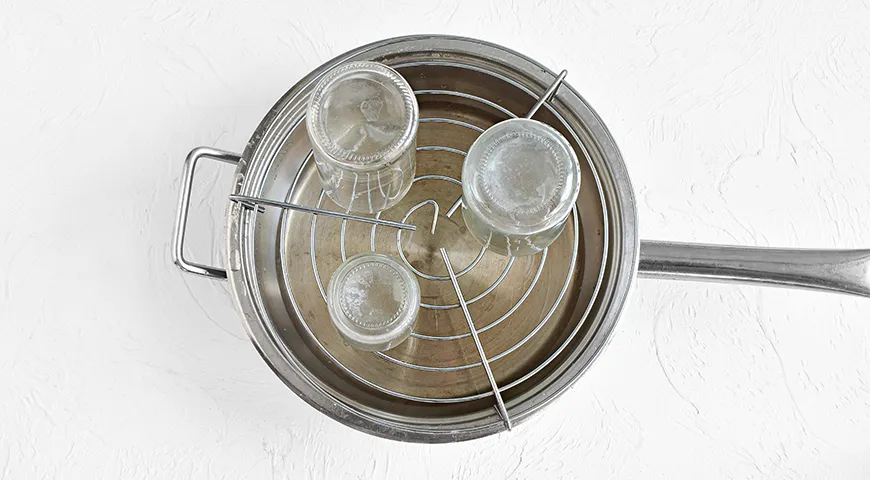
- Sterilize jars and lids using your preferred method—over steam, in the oven, or in the microwave. Jars of 150 ml capacity are ideal for this jelly. For more on sterilization techniques, read about best food processor for nut butter (though not directly related, consistent kitchen hygiene is key).
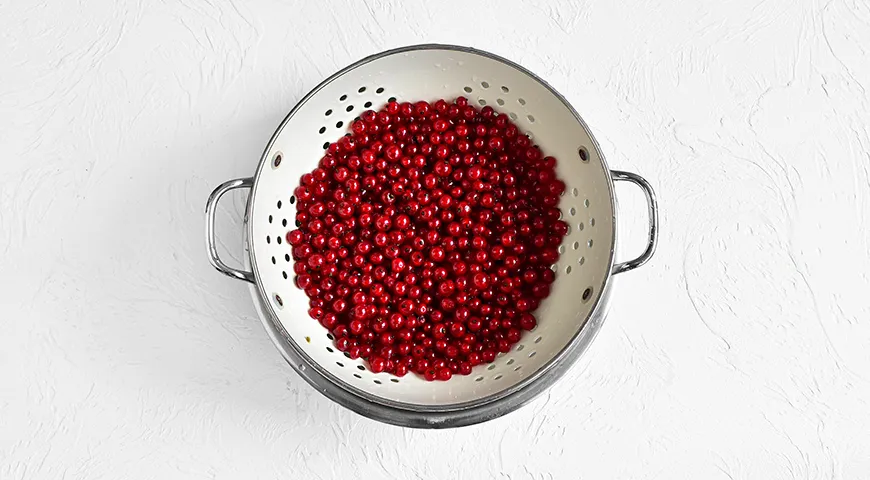
- Rinse the red currants under cold running water. Remove any debris and leaves. It is not necessary to remove the stems—they will be strained out later. Let the berries drain in a colander for a few minutes.
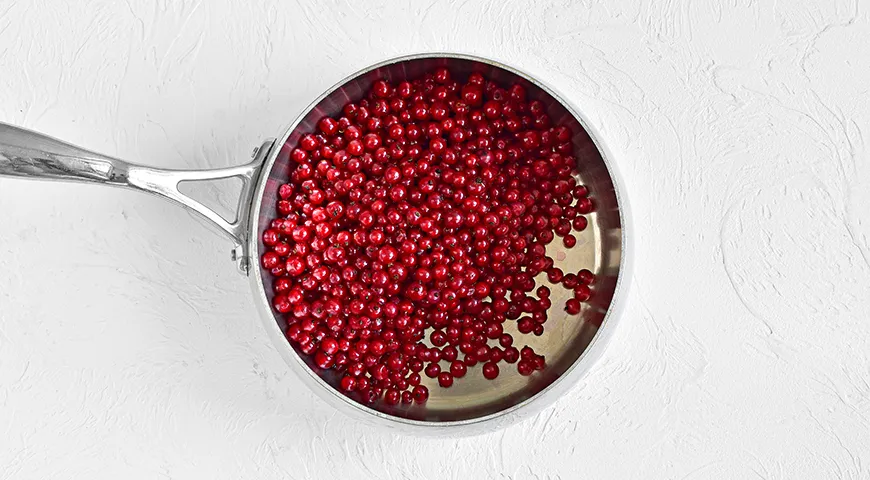
- Transfer the berries to a pot that is roughly twice the volume of the currants—foam will form during boiling. Add about one-third of the sugar and mash the berries with a potato masher or wooden spoon to release maximum juice. Once juice appears, stir in the remaining sugar.
- Place the pot over high heat and bring to a boil, stirring constantly. A thick foam will appear—do not skim it off; it will dissipate during cooking.
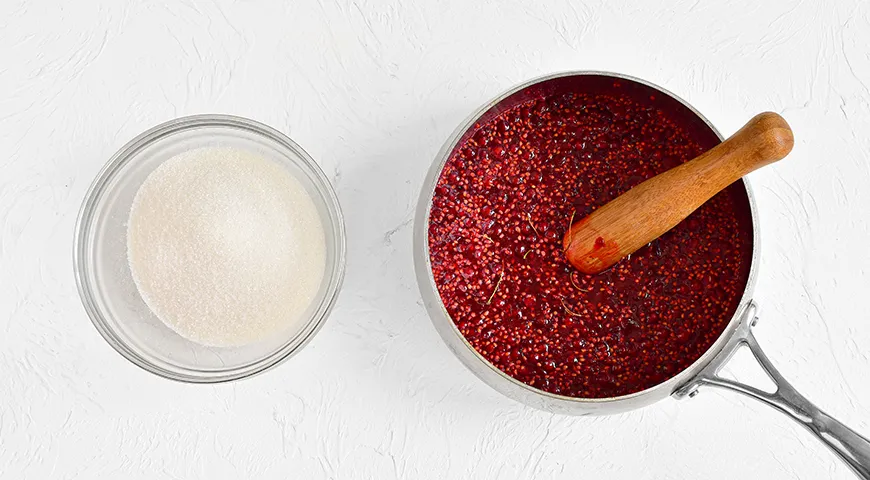
- Cook the jelly over medium heat for 7–8 minutes, stirring frequently. The mixture will become clearer, with stems, skins, and seeds floating on the surface.
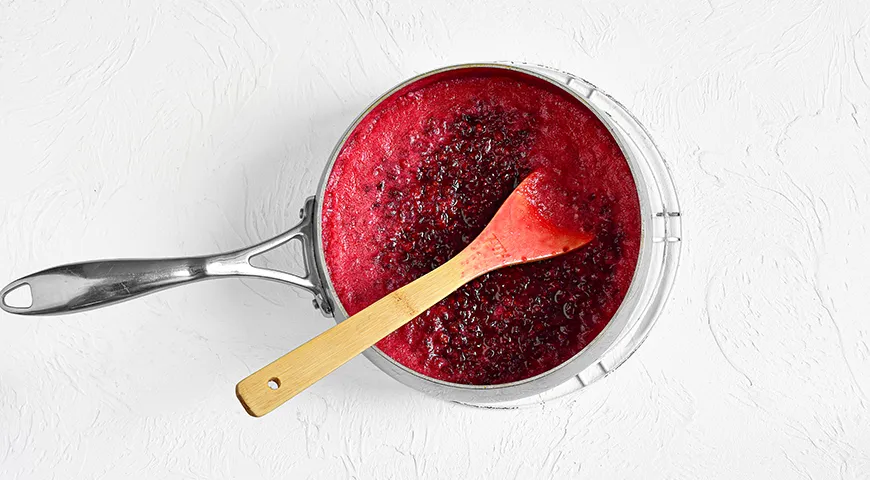
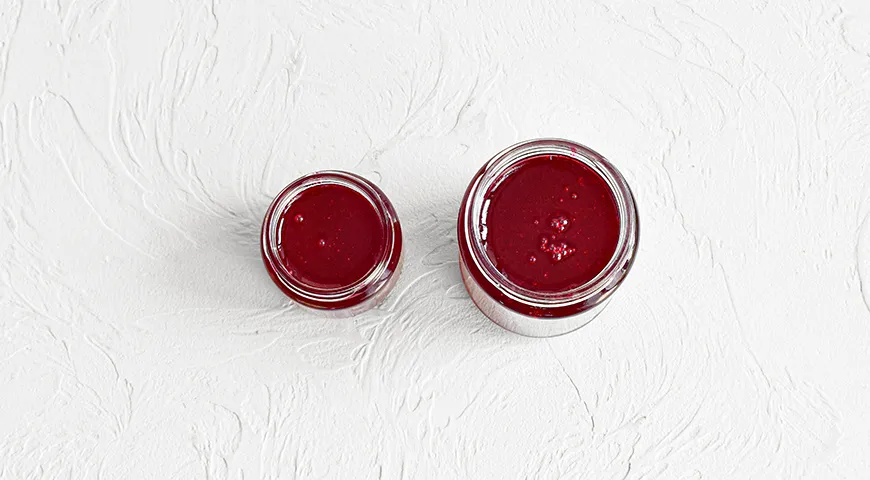
- While still hot, strain the jelly through a fine-mesh sieve to remove stems, seeds, and skins. Immediately pour into sterilized jars. Leave the jars uncovered on the kitchen counter for 3–4 hours to cool—do not cover with lids yet, to avoid condensation.
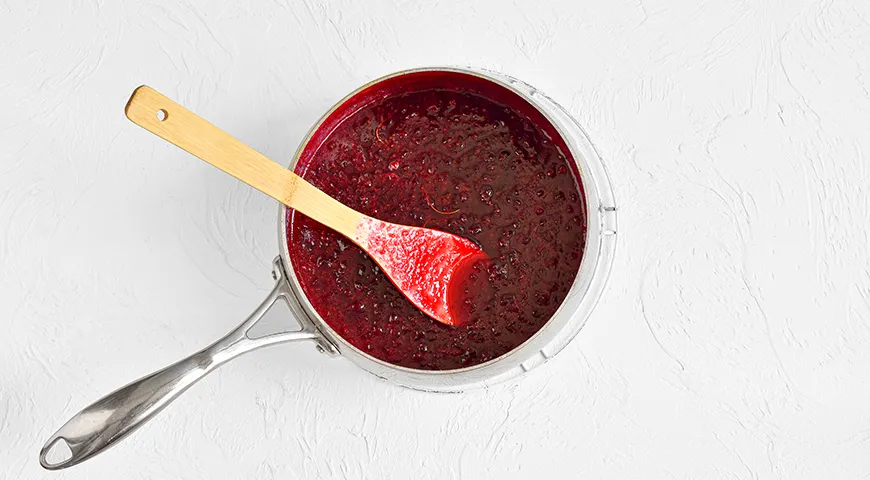
- During cooling, a thin skin will form on the surface—a sign that gelling is happening.
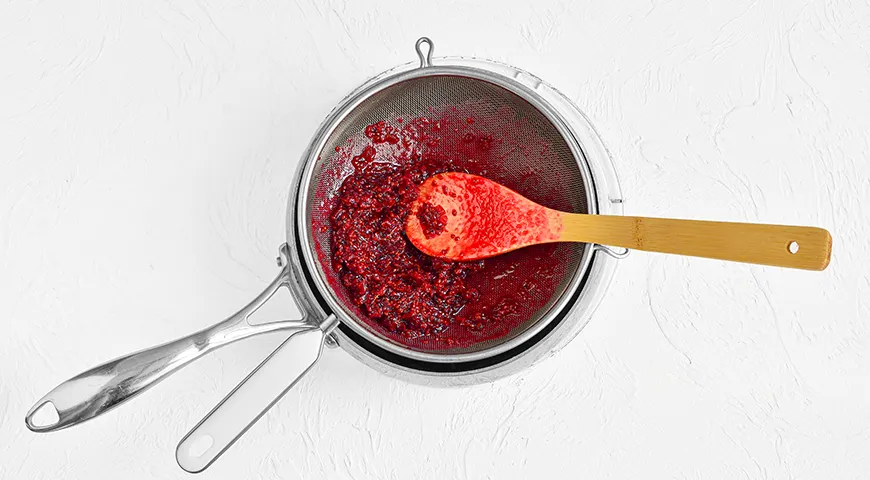
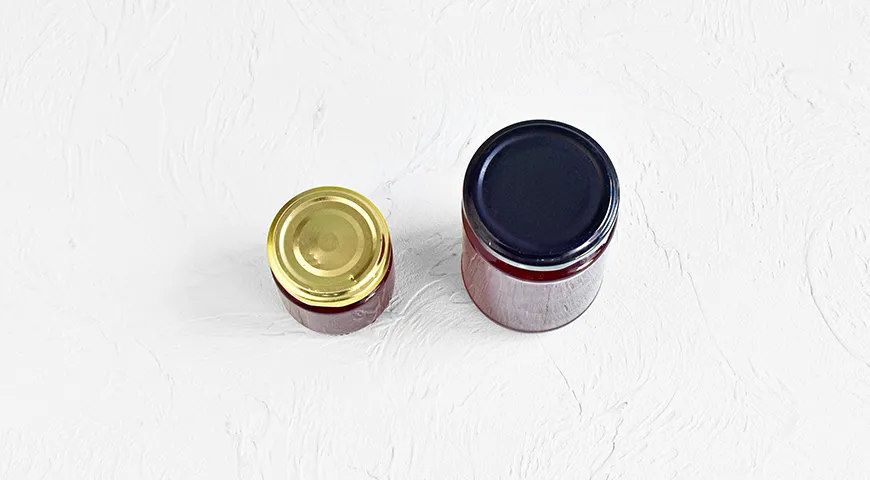
- Once fully cool, seal the jars with lids and store in the refrigerator or a cool, dry place. Come winter, enjoy the taste of summer!
- Final tip: for a perfectly set jelly, always use a reliable thermometer. Check our best refrigerant leak detector (though unrelated, precise temperature control is important in candy making).
Tips for Perfect Red Currant Jelly
- Use a heavy-bottomed pot to prevent scorching. Consider a best microwave pressure cooker for multi-purpose use.
- If you prefer a clearer jelly, let the strained liquid sit for a few minutes before pouring.
- Store in a dark, cool spot to maintain color and flavor.
- For a fun twist, add a vanilla bean or a sprig of rosemary while cooking—remove before straining.
Variations
This base recipe invites creativity. Swap red currants for black or white currants, or mix with raspberries. For a boozy version, stir in a splash of vodka after cooking—try using best organic vodka. You can also reduce sugar for a tarter spread. If you enjoy layered desserts, use this jelly in a trifle or as a filling for sponge cakes—follow Pa de Pessic Catalan sponge recipe for a perfect pairing.
Frequently Asked Questions
1. Can I use frozen red currants?
Yes, thaw them completely and drain excess liquid before cooking. The jelly may take slightly longer to gel.
2. Why didn’t my jelly set?
Possible reasons: undercooking (not enough pectin release), too much water, or insufficient sugar. Red currants are naturally high in pectin, but ensure you boil for the full time. A best non-toxic immersion blender can help puree if needed, though not for jelly.
3. Can I reduce the sugar?
Yes, but sugar acts as a preservative and aids gelling. For reduced sugar, use special pectin. Test with a small batch first.
4. How long does homemade jelly last?
Unopened, up to one year in a cool dark place. Once opened, refrigerate and use within 3 months.
5. Can I double the recipe?
Yes, but adjust cooking time slightly. Use a larger pot. Consider a best commercial countertop convection oven for sterilizing many jars at once.
6. What can I serve with red currant jelly?
It’s delicious on scones, with roast lamb, or as a glaze for poultry. For a sweet wine pairing, see best sweet wine with high alcohol content.
Conclusion
Making red currant jelly is a labor of love that rewards you with a pantry jewel. Whether you’re a seasoned preserver or a curious beginner, this recipe yields a stunning result. For more kitchen inspiration, explore best espresso machine under 2000 for your morning coffee ritual, or best air fryer non-toxic for healthy cooking. And if you ever need to refresh your canning gear, read about best chocolate covered raisins—a perfect snack while you wait for your jelly to set!







