


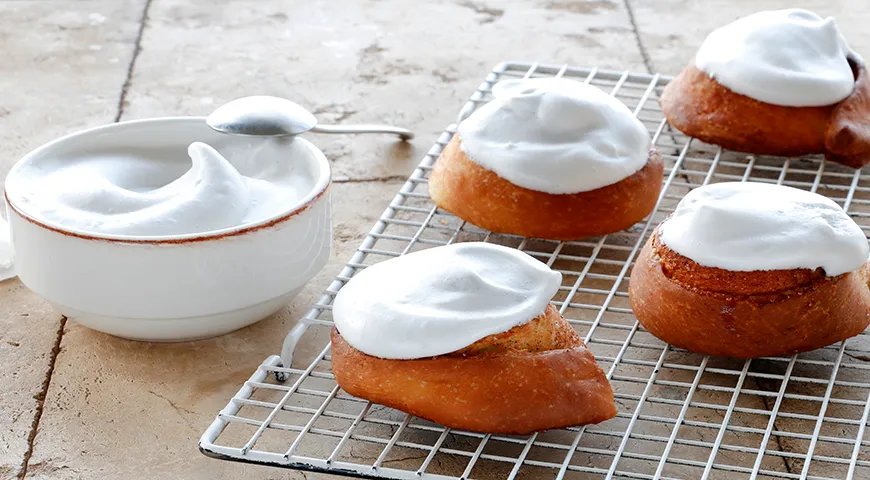
This sugar glaze with gelatin is, without exaggeration, the most delicious icing we have ever made. It holds its shape beautifully when slicing and works not only for traditional Russian Easter kulich and pound cakes but also for decorating intricate shaped cookies. The secret? Rapid‑dissolving gelatin that creates a stable, glossy finish. In this article, we will guide you through every step – from preparing the syrup to achieving that perfect thick white coating. Whether you are a home baker or a pastry enthusiast, this glaze will elevate your baked goods to professional levels.
About This Recipe
In Russian baking, a reliable sugar glaze is essential for festive desserts. Catalan sponge cake and other delicate cakes benefit from a glaze that neither cracks nor weeps. Our version uses rapid‑dissolving gelatin – no long soaking required. The result is a dense, opaque icing that dries to a brilliant white. If you prefer using regular gelatin, simply soak it in cold water for 30 minutes, then warm it gently until completely dissolved. Work quickly once the glaze is ready, as it sets fast. Let it rest for two hours after application, and you will have a firm, pure‑white coating that stays beautiful.

Ingredients
- 200 g sugar
- 100 ml water
- 5 g rapid‑dissolving gelatin
- 30 ml lemon juice
These simple ingredients come together to create a glaze that is both stable and luminous. The lemon juice not only adds a subtle tang but also helps balance the sweetness and brightens the final appearance.
Step‑by‑Step Instructions
Step 1: Hydrate the Gelatin
In a small bowl, sprinkle the gelatin over 2 tablespoons (approx. 30 ml) of boiling water. Stir vigorously until the powder is fully dissolved. If any grains remain, place the bowl in the microwave for a few seconds – but never let it boil, as heat destroys gelling properties. A microwave pressure cooker can also be used for gentle warming if needed.

Step 2: Prepare the Simple Syrup
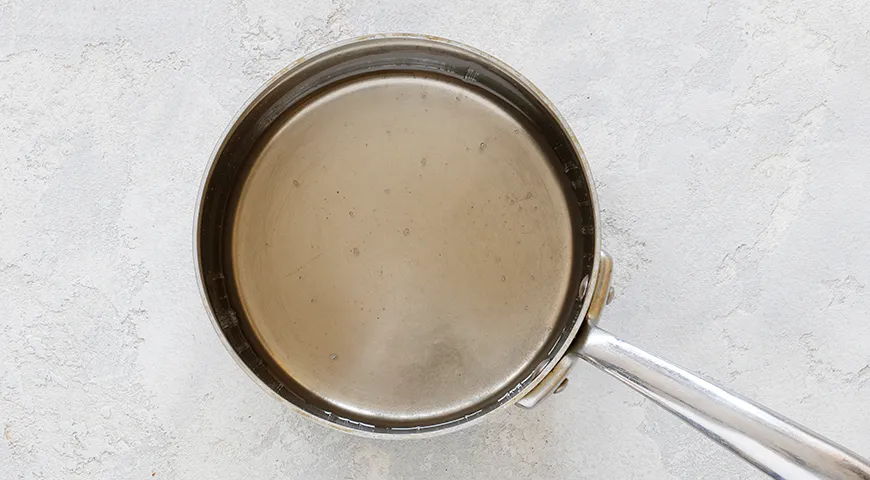
In a saucepan, combine the sugar and half the water (50 ml). Place over medium heat and bring to a boil. Continue cooking until the sugar is completely dissolved. If you have a precision thermometer (or any kitchen thermometer), aim for 110–112 °C. This is the ideal temperature for a syrup that will later support the gelatin. Remove from heat.
Step 3: Combine Gelatin and Syrup
While stirring constantly, pour the dissolved gelatin into the hot syrup. To avoid any undissolved granules, strain the gelatin through a fine‑mesh sieve directly into the syrup. This ensures a perfectly smooth glaze. For non‑toxic immersion blender enthusiasts, a quick blend at low speed can also help, but traditional whisking works wonderfully.

Step 4: Whip the Mixture
Using a hand mixer, begin whipping the syrup‑gelatin mixture on low speed, gradually increasing to high. As foam appears, add the lemon juice. Continue whipping on high until the mixture thickens significantly. The correct consistency is when the glaze falls from the beaters in a thick, continuous ribbon. A planetary mixer can handle this task effortlessly, but a standard hand mixer will also yield excellent results.

Step 5: Apply and Set
Immediately pour or spread the glaze over your cooled baked goods – it sets quickly. Use an oil sprayer to mist a thin layer if desired, but typically a thick coating is preferred. Leave the glazed items at room temperature for at least 2 hours to firm up. The glaze will become dense, opaque, and beautifully white.

Tips for Success
- Work fast: This glaze sets rapidly. Have your cakes or cookies ready before you start whipping.
- Temperature matters: Use a convection oven to ensure your baked goods are completely cool – warm surfaces can cause the glaze to slide off.
- Avoid over‑whipping: Once the mixture thickens, stop immediately. Over‑whipping can create air bubbles that ruin the smooth finish.
- Store leftovers: If you have extra glaze, you can reheat it gently in a double boiler. Adding a few drops of fresh lemon juice (or any citrus) helps restore fluidity.
Variations
This versatile glaze adapts to many flavours. Swap lemon juice for orange juice to create a citrus‑tinged version. For a chocolate variation, replace 20 g of sugar with unsweetened cocoa powder. A drop of chocolate‑covered raisin extract can also add depth. Want a subtle floral note? Use rose water instead of plain water – but reduce the quantity to 80 ml water plus 20 ml rose water. Always adjust the liquid to maintain the 100 ml total.
FAQ
1. Can I use regular gelatin instead of rapid‑dissolving?
Yes. Soak 5 g of regular gelatin in 30 ml cold water for 30 minutes, then warm gently until dissolved. Proceed with the recipe as written. A leak detector is not needed here – just your eyes and a gentle touch.
2. Why did my glaze turn out runny?
This often happens if the syrup was not heated to the right temperature (110–112 °C) or if the gelatin was not fully dissolved. Ensure your syrup reaches that temperature with a refrigerator thermometer? No – use a candy thermometer. Also, whipping time may be insufficient.
3. How long does the glaze keep?
Glazed items stay fresh for up to 3 days at room temperature in an airtight container. The glaze itself can be stored for 24 hours and reheated once. For long‑term storage, freeze the unglazed baked goods and add glaze fresh.
4. Can I make this glaze without gelatin?
Gelatin is essential for the dense texture. Replacements like agar‑agar produce a different texture. A steam canner is not involved here – stick with gelatin for the classic result.
5. What if my glaze sets too quickly?
Keep a bowl of hot water nearby. Dip your spatula or brush into the water before applying – the heat temporarily thins the glaze. Also, work in a warm environment. A coffee maker can warm the kitchen slightly, but avoid exceeding 25 °C.
6. Is this glaze suitable for dairy‑allergic individuals?
Yes, the recipe contains no dairy. It is naturally vegan if you use a plant‑based gelatin substitute, though the texture may differ. For a dairy‑free option, pair with organic vodka? No – just enjoy the glaze as is.







