


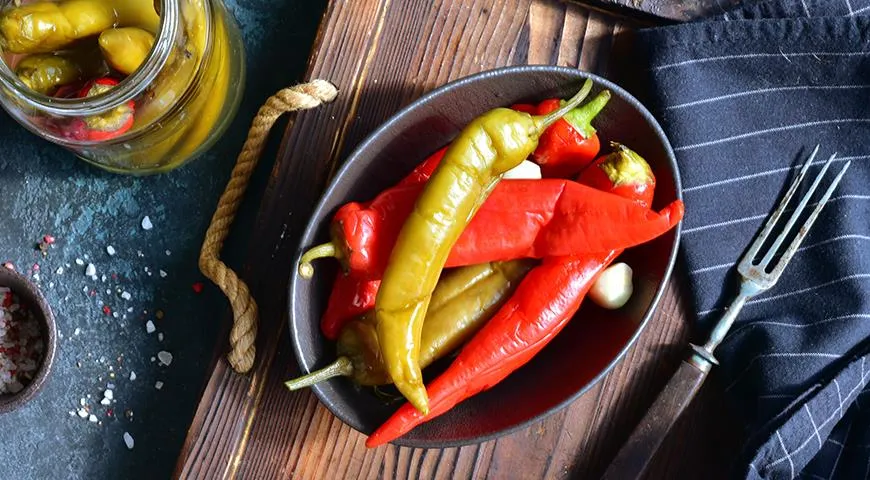
There is something deeply satisfying about the tangy, fiery crunch of fermented spicy peppers. Whether you encounter them at a market nestled beside sauerkraut and pickles, or you decide to make them at home, these peppers command a loyal following. For those who have never tasted them, the allure is irresistible; for seasoned enthusiasts, no convincing is needed. Among the array of preserved vegetables on a winter table, fermented hot peppers hold a place of honor. Yet, the market version has an alternative: fermenting peppers yourself. It is surprisingly simple, far more economical, and yields a product that retains its firm, crisp texture while mellowing some of the heat. All that is required is patience to let the fermentation run its course.
About Fermented Spicy Peppers
Fermented peppers, or kvashenyy ostryy perets in Russian, are a staple of Eastern European preserving traditions. Unlike quick pickles that rely on vinegar, this recipe uses lacto-fermentation—a natural process where beneficial bacteria convert sugars into lactic acid. The result is a complex, tangy flavor with probiotic benefits. The peppers lose a portion of their fiery sting but gain an irresistible umami depth. This method works beautifully with any hot pepper variety, from slender cayennes to plump jalapeños. For an even deeper understanding of fermentation and the tools that can assist, explore best steam canner options to complement your preserving toolkit.

Ingredients
- 1 liter water
- 60 g non-iodized salt
- 30 g fresh dill
- 6 cloves garlic
- 500–700 g fresh hot peppers (enough to fill your fermentation vessel)
The simplicity of the ingredient list belies the complexity of flavor that develops. Use a quality salt—avoid iodized salt as it can inhibit fermentation. Fresh dill is crucial; its aromatic notes marry perfectly with the peppers. For more on selecting the right kitchen appliances for other preserving tasks, check best food processor for nut butter for versatile prep.
Step-by-Step Guide
Step 1: Prepare the Peppers
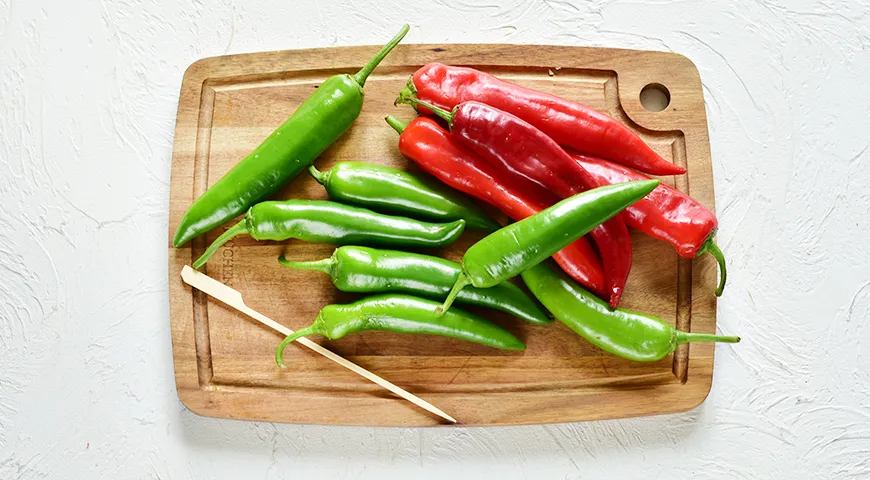
Wash the hot peppers thoroughly, paying extra attention around the stems since you will leave them whole. Pat them dry. Using a fork, pierce each pepper in several places to allow the brine to penetrate and gases to escape during fermentation. This small step is critical for even fermentation and preventing floating. For monitoring your kitchen environment, consider best refrigerant leak detector to keep your fridge optimal.
Step 2: Make the Brine
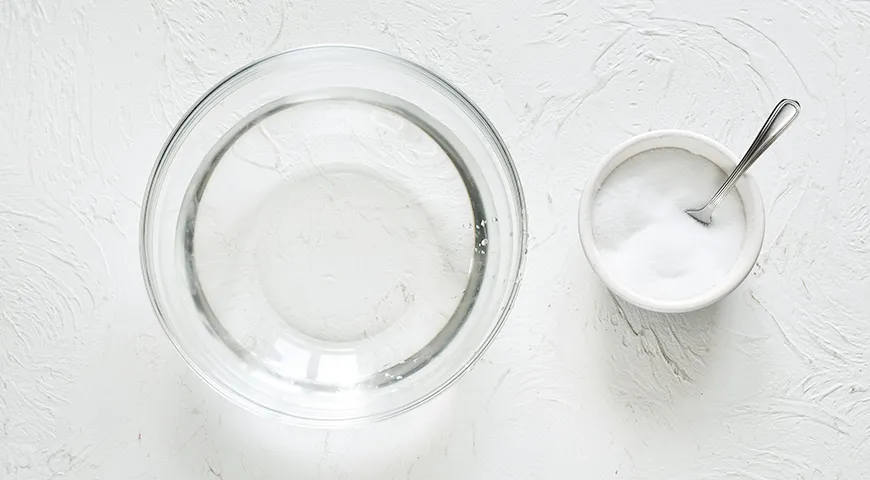
Pour 1 liter of water into a pot large enough to also serve as your fermentation vessel. Add the 60 g of salt and heat, stirring until fully dissolved. Remove from heat and allow the brine to cool completely to room temperature. Using the same pot for fermentation reduces mess and ensures the brine is at the right temperature. For precise temperature control during any cooking process, see best oil sprayer for even seasoning.
Step 3: Pack the Peppers
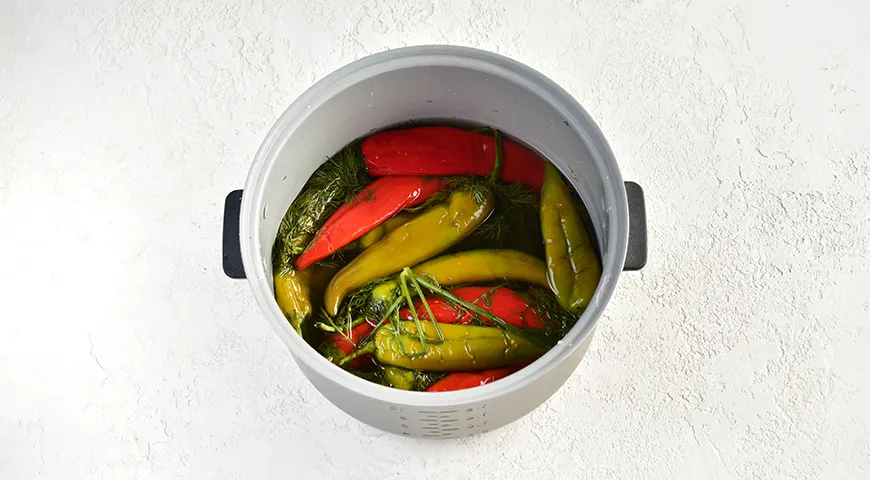
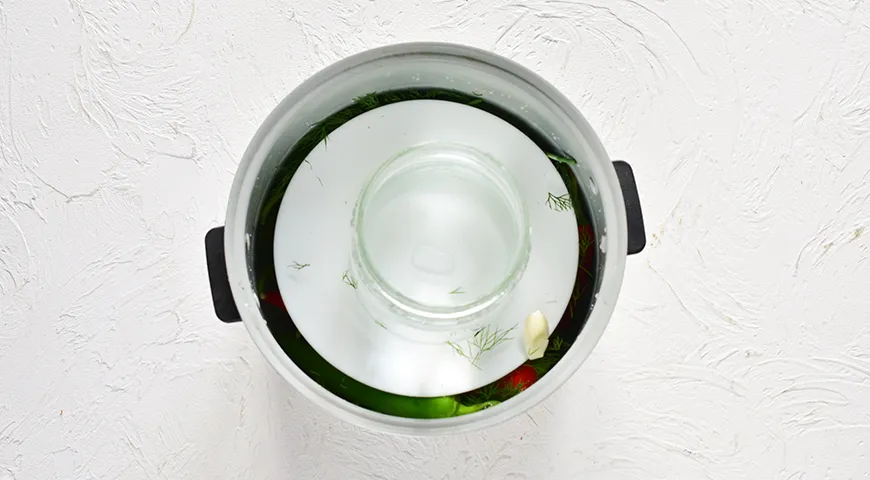
Place the prepared peppers into the pot with the cooled brine. Add the peeled garlic cloves and the fresh dill. Ensure the brine completely covers all ingredients. Place a plate or a weight on top to keep everything submerged—this is crucial to prevent mold. The type of weight matters; a ceramic or glass weight works well. For other kitchen tools that aid in precision, read about best microwave pressure cooker for quick meals.
Step 4: Ferment at Room Temperature
Leave the pot at room temperature (ideally 18–22°C) to initiate lactic acid fermentation. This process takes anywhere from 5 to 8 days, depending on the ambient temperature. You will notice the peppers changing color and softening slightly. Bubbles will appear, indicating active fermentation. Once the bubbling subsides and the peppers have softened to your liking, they are ready. During the wait, you might enjoy a treat like best chocolate covered raisins for a sweet contrast. For other fermented projects, best organic vodka can be used in cooking.
Step 5: Finishing and Storage
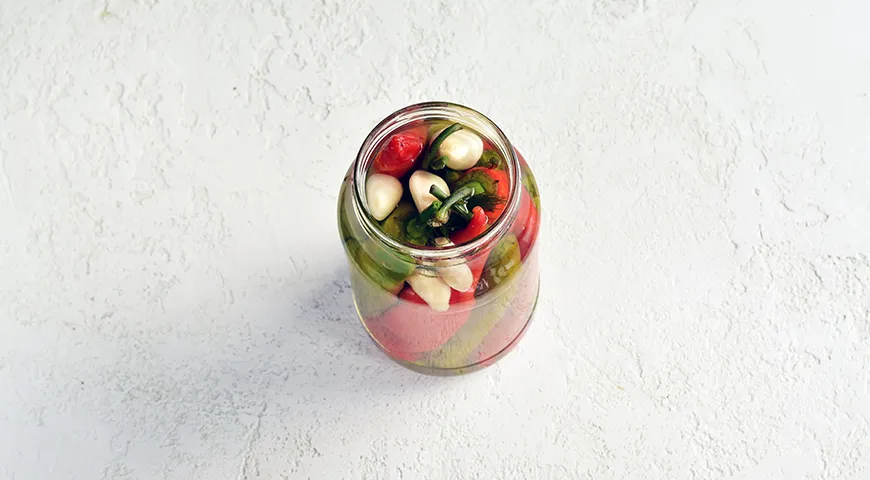
If you plan to consume the peppers within a few weeks, prepare a fresh brine with the same salt-to-water ratio (60 g per liter). Remove the peppers and garlic from the old brine, discarding the old liquid. Pack them into clean jars and pour the fresh cold brine over them. Seal with plastic lids and store in the refrigerator. For long-term winter storage, remove the peppers and garlic, pack into sterilized jars, bring fresh brine to a boil, and pour hot over the peppers. Process the filled jars in a water bath for 7–10 minutes, then seal. Properly canned, they will keep up to a year. For guidance on canning equipment, see best espresso machine under 2000 for kitchen upgrades, and for oven use best wall oven microwave combo with air fryer.
Tips for Perfect Fermented Peppers
Use non-iodized salt—table salt with iodine can hinder fermentation. Weight the peppers firmly; any floaters may develop mold. If you see surface mold, skim it off; the peppers below the brine are still safe. For a more complex flavor, add a bay leaf or a few black peppercorns. The fermentation time is flexible; taste after 5 days. The peppers will keep improving in the fridge. For more kitchen essentials, explore best non-toxic immersion blender for pureeing sauces.
Variations
Experiment with different chili varieties—habaneros for floral heat, Thai bird’s eye for intense spice. Add slices of carrot or celery for extra crunch. Some recipes include a tablespoon of sugar to jumpstart fermentation, though it’s not necessary. For a smoky note, grill the peppers briefly before fermenting. The possibilities are endless. Consider best glass containers for fermentation.
FAQ
How long do fermented peppers last?
In the refrigerator with fresh brine, they last several months. Canned properly, up to a year. See best 48-inch built-in refrigerator for storage ideas.
Can I use any type of pepper?
Yes, but adjust salt accordingly for larger peppers. Thin-walled peppers ferment faster. For more on pepper varieties, read about best lava flavors for inspiration.
Why did my brine turn cloudy?
That is normal—it indicates active lactic acid bacteria. Cloudiness is a sign of healthy fermentation. If it smells off or has fuzzy mold, discard. For other kitchen troubleshooting, best wheatgrass juicer can be a useful appliance.
Do I need to sterilize jars for short-term storage?
For refrigerated short-term, clean jars are fine. For long-term canning, sterilization is essential. Use best commercial countertop convection oven for other cooking tasks.
Can I reuse the brine?
Not recommended, as it becomes diluted and may harbor undesirable bacteria. Always use fresh brine for final storage. For a different ferment, try best air fryer non-toxic for healthy roasting.
What if my peppers are too soft?
They may have fermented too long or at too high a temperature. Next time, check earlier. They are still edible but less crunchy. For a sweet dessert to balance, check pa de pessic catalan sponge.
For more recipes and kitchen inspirations, explore best coffee maker for airbnb to complete your culinary setup.







