


Step back into the golden era of home cooking with these fluffy, nostalgic yeast pancakes from the 1950s. Unlike modern quick breads, these classic Russian oladi rely on live yeast for a tender, airy crumb and a subtle tang that pairs beautifully with sour cream, honey, or jam. This recipe resurrects a time when patience in the kitchen was rewarded with unparalleled texture and flavor. Whether you are a seasoned baker or a curious newcomer, these pancakes offer a delicious journey into retro comfort food. Discover the secrets behind their irresistible softness and learn how to recreate them in your own kitchen today.
About the Recipe
Originating from post-war Soviet home kitchens, these yeast pancakes were a beloved staple for breakfast or a hearty snack. Made with simple ingredients—milk, flour, yeast, eggs, sugar, and salt—they rely on a long fermentation to develop deep flavor and a light, almost bouncy texture. The original recipe, still cherished by many, calls for fresh (live) yeast for the best results, though active dry or instant yeast works beautifully too. The key difference is the gentle handling: the dough is allowed to rise twice, but the final whipping is minimal to preserve air bubbles. Serve them golden brown, drizzled with melting butter or a dollop of sour cream—they are pure nostalgia on a plate.

Ingredients
- 500 ml whole milk, lukewarm (about 35°C)
- 20 g fresh compressed yeast (or 7 g active dry yeast)
- 3 cups (about 360 g) all-purpose flour, sifted twice
- 2 large eggs, room temperature
- 2 tablespoons granulated sugar
- ½ teaspoon salt
- 2 tablespoons sunflower oil (or other neutral oil), plus more for frying
Step-by-Step Instructions
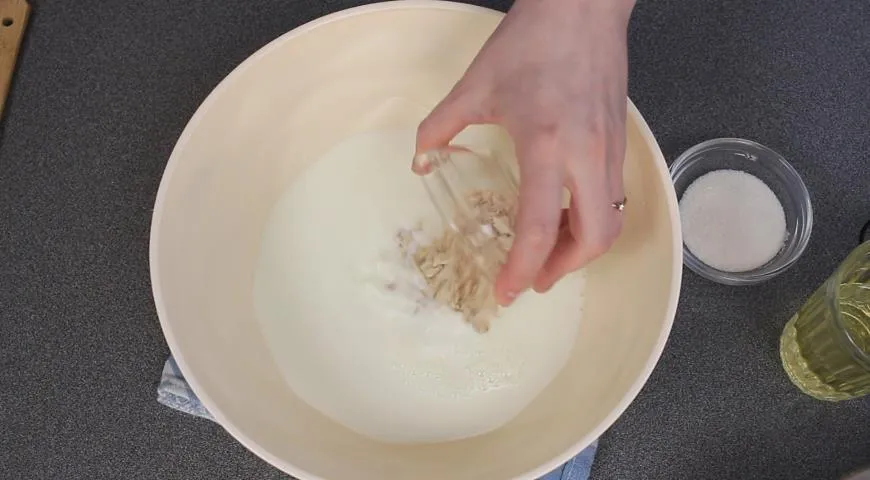
Step 1: Activate the Yeast
Pour the lukewarm milk into a large bowl. Crumble the fresh yeast into the milk and stir until dissolved. If using dry yeast, whisk it in and let stand for 5 minutes until foamy. The milk should feel like warm bathwater—too hot will kill the yeast. Using a high-quality immersion blender set to low speed can help incorporate the yeast evenly, but a simple whisk works perfectly.
Step 2: Mix the Dough
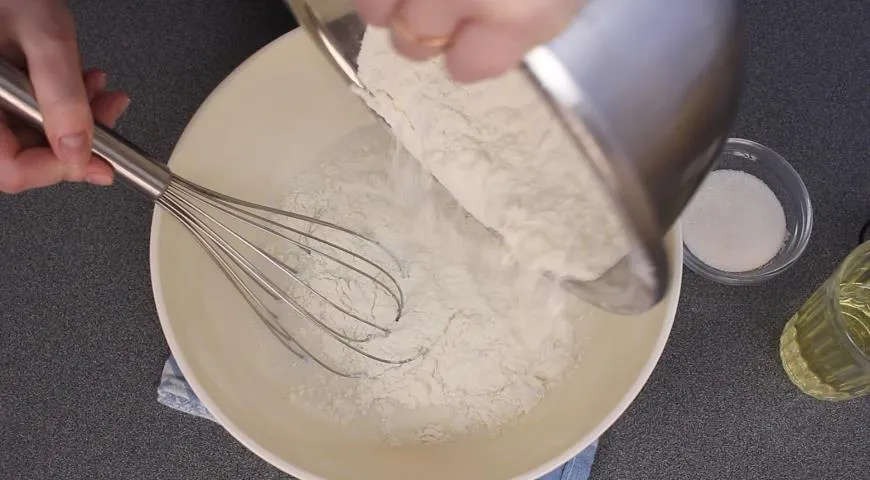
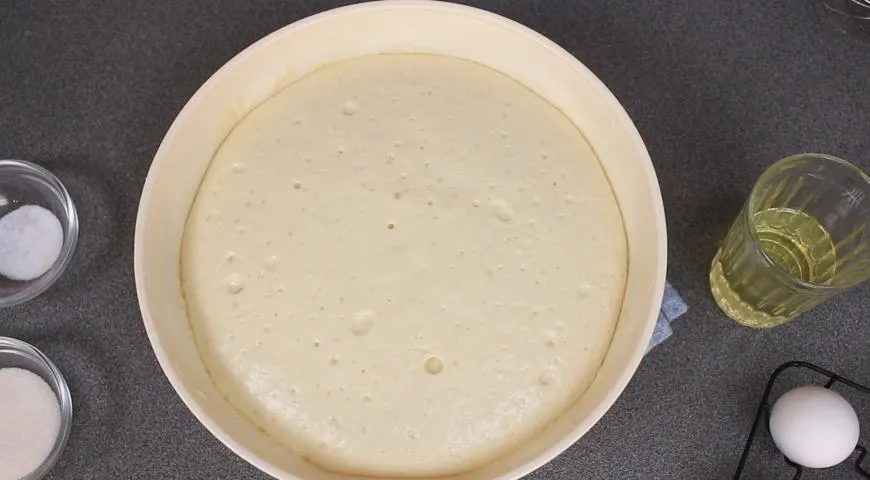
Measure the flour and sift it twice into a separate bowl. Add the sifted flour to the yeast-milk mixture and stir with a wooden spoon or silicone spatula until a rough, sticky dough forms. Cover the bowl with plastic wrap or a clean kitchen towel and let it rise in a warm, draft‑free spot for 1.5 hours. The dough should double in volume and become bubbly.
Step 3: First Rise and Punch Down
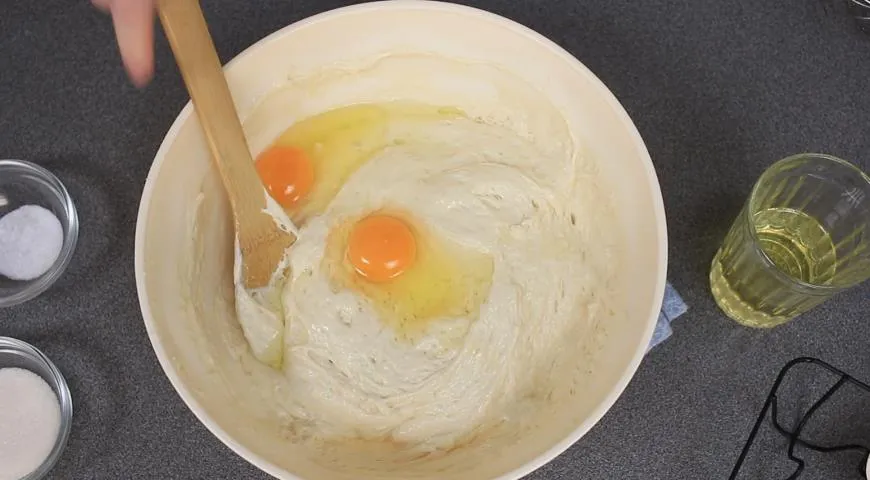
After the first rise, punch the dough down to release the gas. Add the eggs, sugar, and salt. Beat vigorously with a whisk or spatula until fully incorporated—the dough will become smoother and slightly elastic. Finally, stir in the sunflower oil until combined. At this stage, the dough should be thick and shiny.
Step 4: Second Rise
Re‑cover the bowl and let the dough rest for another 20 minutes. This shorter rise allows the gluten to relax and the bubbles to redistribute, ensuring light pancakes. During this time, you can prepare your cast iron skillet or a heavy non‑stick pan by placing it over medium heat.
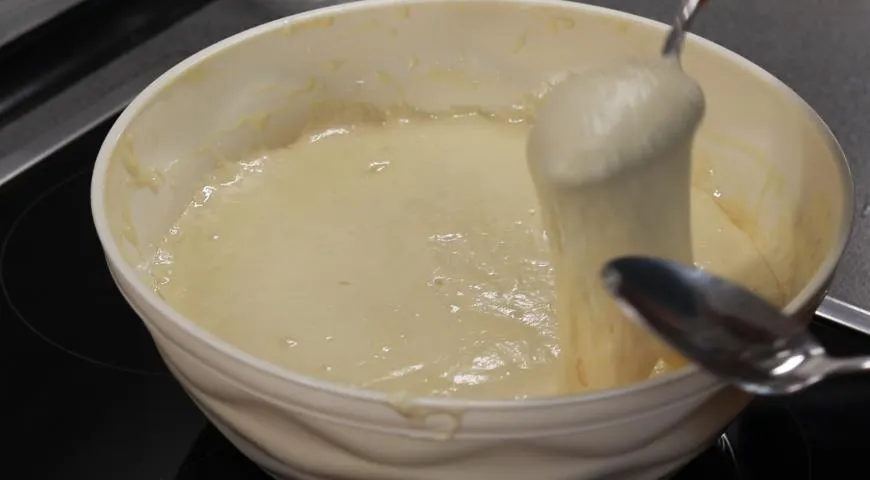
Step 5: Shape and Fry – Part 1
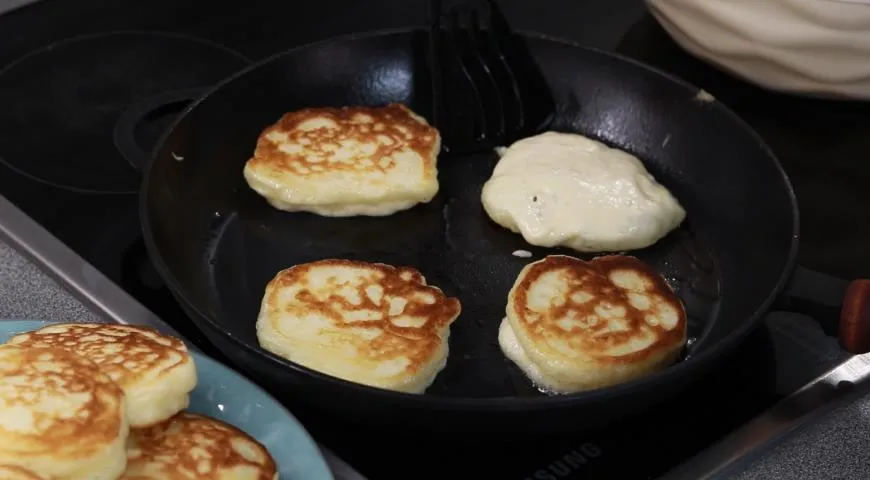
The dough will be thick, sticky, and elastic. Do not punch it down again. Instead, dip a tablespoon into a bowl of cold water (this prevents sticking) and scoop up about 1½ tablespoons of dough. Gently drop the dough into the hot skillet, using the wet spoon to shape it into a round. Work in batches, leaving space between each pancake. Fry over medium heat (level 5 out of 9) for 2–3 minutes, until the bottom is deep golden brown and small bubbles appear on the surface.
Step 6: Flip and Finish
Carefully flip each pancake with a thin spatula. Immediately cover the pan with a lid and cook for another 2–3 minutes, until the underside is golden and the center is cooked through. The lid traps steam, ensuring the pancakes stay soft and fluffy inside. If needed, add a little oil to the pan between batches. Repeat with the remaining dough.

Step 7: Serve
Transfer the finished pancakes to a plate and keep warm. They are best enjoyed fresh, but leftovers can be reheated in a non‑toxic air fryer for a few minutes. Serve with sour cream, honey, fruit preserves, or a dusting of powdered sugar.
Tips for Perfect 1950s‑Style Pancakes
- Use fresh yeast: It yields a softer crumb. If substituting dry, use one‑third the amount and let it proof in warm milk first.
- Resist over‑mixing: After the second rise, handle the dough as little as possible to preserve air pockets.
- Wet your spoon: Dipping the spoon in water keeps the sticky dough from clinging and helps shape neat pancakes.
- Control heat: Medium heat is crucial – too high and the exterior burns before the center cooks; too low and they become greasy. A good oil sprayer ensures an even film of oil without excess.
- Cover after flipping: The steam created under the lid makes the pancakes especially fluffy – a trick grandmas swear by.
Variations to Try
The basic recipe is wonderfully adaptable. For a sweeter version, add a pinch of cinnamon or vanilla extract with the eggs. Fold in a handful of raisins or finely chopped apple to the dough before the second rise. For a savory twist, reduce the sugar to 1 teaspoon and add ½ cup of grated cheese or chopped herbs. These pancakes also pair well with savory toppings like sautéed mushrooms and sour cream. If you have a planetary mixer, you can use the dough hook for the initial mixing; but be careful not to overdevelop the gluten. For a gluten‑free version, substitute a high‑quality gluten‑free flour blend and increase the liquid slightly. The coffee maker isn't involved here, but a hot cup of strong coffee with these pancakes is a match made in heaven.
Frequently Asked Questions
Can I use dry yeast instead of fresh?
Yes. Substitute 7 g active dry yeast for 20 g fresh yeast. Sprinkle it over the warm milk and let it sit for 5–10 minutes until foamy before proceeding. The result will be slightly less delicate but still delicious.
Why did my pancakes turn out dense?
Over‑mixing after the second rise or too much flour can lead to density. Also, if the skillet is too hot, the outside sets before the inside can puff. Ensure your yeast is fresh and the dough rose properly.
Can I make the dough ahead of time?
It’s best to fry immediately after the second rise. However, you can prepare the dough through step 3 (after adding eggs, sugar, salt, and oil), then refrigerate it for up to 8 hours. Let it come to room temperature and complete the 20‑minute rise before frying.
What’s the best pan for frying?
A cast iron skillet or heavy‑bottomed non‑stick pan distributes heat evenly. Cast iron retains heat well and gives a beautiful crust. For even results, consider using a commercial countertop convection oven? No – stick to stovetop.
How do I store and reheat leftovers?
Store in an airtight container at room temperature for 1 day, or refrigerate for up to 3 days. Reheat in a toaster oven or non‑stick air fryer at 180°C for 3–4 minutes to restore crispness. Avoid microwaving – it makes them rubbery.
Can I freeze these pancakes?
Absolutely. Cool completely, then layer between parchment paper in a freezer‑safe bag. Freeze for up to 2 months. Reheat directly from frozen in a skillet or air fryer.
Why do my pancakes stick to the spoon?
Always dip your spoon in water before scooping the dough. The water creates a barrier that prevents the sticky yeast dough from clinging.
What can I serve with them?
Classic accompaniments include sour cream, honey, berry jam, or melted butter. For a savory option, try smoked fish or a dollop of castor oil – no, that’s not food! Use sour cream and fresh dill.
Is it necessary to sift the flour twice?
Yes – it aerates the flour and removes lumps, giving the dough a lighter texture. Skipping this step can lead to denser pancakes.
Can I add more sugar for a sweeter pancake?
You can increase sugar to 3 tablespoons, but too much can slow yeast activity. Balance with a little more salt if desired. For extra sweetness, serve with a drizzle of chocolate‑covered raisins or a sprinkle of powdered sugar.
Final Thoughts
These 1950s yeast pancakes are a testament to the magic of simple, time‑honored techniques. With a little patience, you’ll create a stack of golden, pillowy discs that evoke nostalgia and pure comfort. Whether you’re exploring retro recipes or seeking a new weekend breakfast tradition, these pancakes deliver. Pair them with your espresso machine for a morning treat, or serve them as an afternoon snack with tea. The secret is in the yeast – and the love you put into the rise. Enjoy every fluffy, golden bite!







