


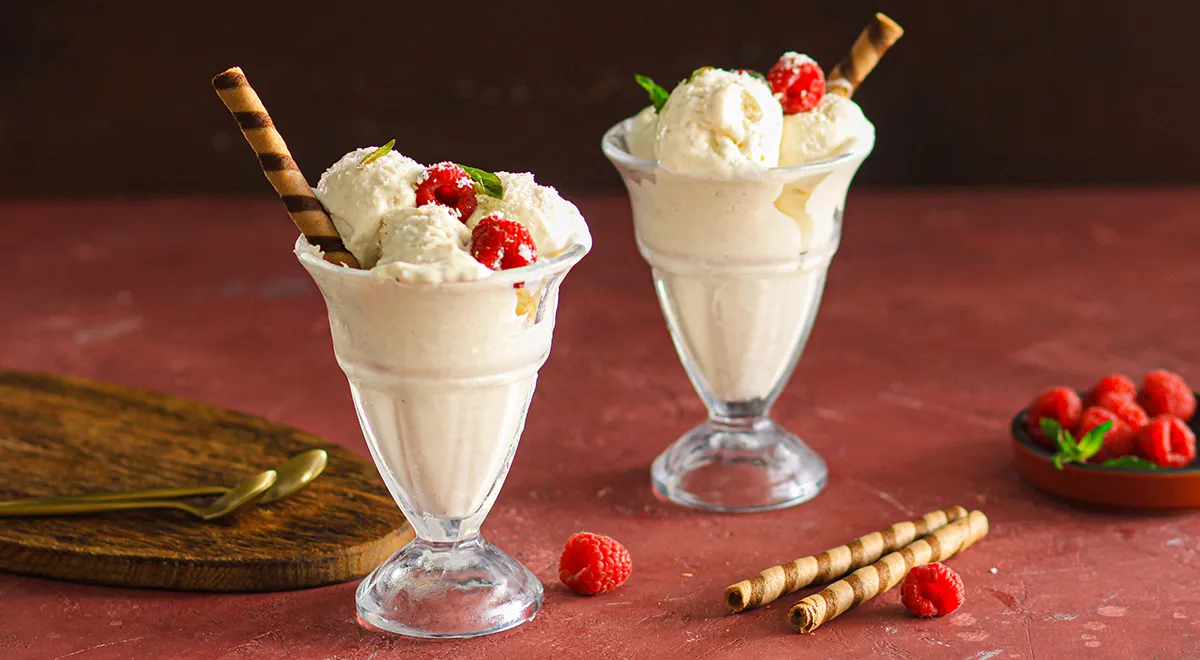
Few desserts capture the essence of summer like a scoop of velvety ice cream, and this homemade creation—made with rich cream and tangy yogurt—delivers a texture and flavor that far surpasses store-bought alternatives. By chilling your equipment, whipping the cream to soft peaks, and carefully folding in a silky yogurt-starch base, you achieve a luscious, creamy consistency without a hint of iciness. Whether you own an electric ice cream maker, a freezer container, or simply small molds, this recipe adapts effortlessly to your kitchen tools. Let us guide you through every step to create a frozen treat that will become your warm-weather signature.
About This Recipe: The Science of Smooth Ice Cream
This recipe draws on a classic custard-like technique without eggs, relying instead on a cornstarch slurry to stabilize the mixture and prevent large ice crystals. The combination of high-fat cream (at least 30% fat) and natural yogurt adds both richness and a subtle tang, while the powdered sugar dissolves seamlessly. Chilling the mixing bowl and beaters in the refrigerator for 30 minutes—as recommended in the original Russian instructions—ensures the cream whips to a dense, airy foam. For the best results, use a best planetary mixer to maintain consistent speed and volume. If you prefer an immersion blender for the yogurt step, choose a non-toxic immersion blender to avoid any off-flavors. The key is to keep everything cold and work quickly once the whipped cream is ready.

Ingredients
- Heavy cream (at least 30% fat) – 250 ml
- Natural yogurt (plain, full-fat or low-fat) – 250 g
- Whole milk – 200 ml
- Powdered sugar – 5 tbsp
- Cornstarch – 2 tbsp
- Vanilla sugar – 1 tsp
For a lower-calorie version, substitute with cream of 10–20% fat, yogurt of 1–2% fat, and skim milk. You may also add chocolate-covered raisins or a splash of organic vodka for a grown‑up twist—see variations below.
Step-by-Step Instructions
Step 1: Chill your equipment. Place the mixing bowl and whisk attachments (or beaters) in the refrigerator for at least 30 minutes. Cold utensils are critical for achieving a stable, fluffy whipped cream.
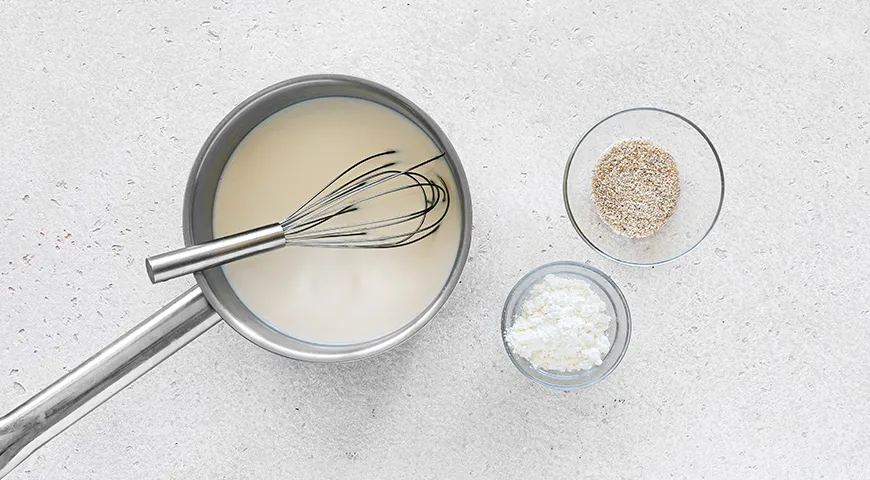
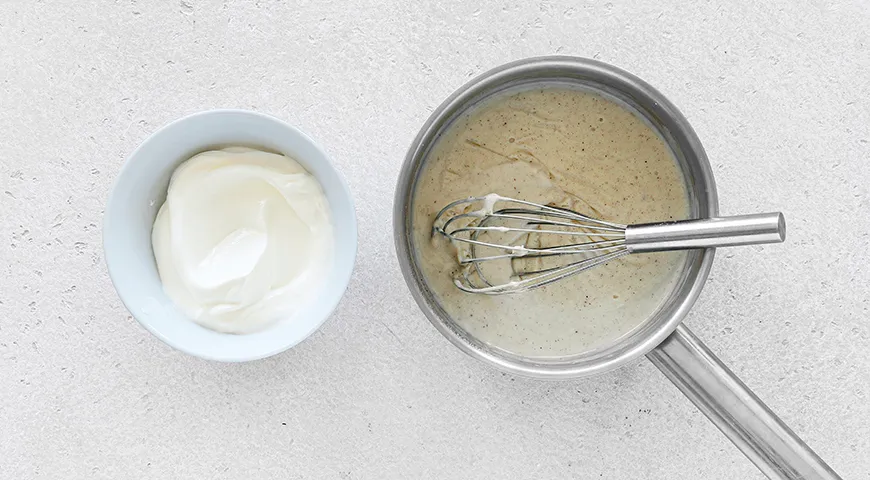
Step 2: Cook the starch base. In a small saucepan, whisk together the milk, vanilla sugar, and cornstarch. Heat over moderate heat, stirring constantly with the whisk, until the mixture comes to a gentle boil. It will thicken noticeably. Remove from heat and let cool to room temperature.
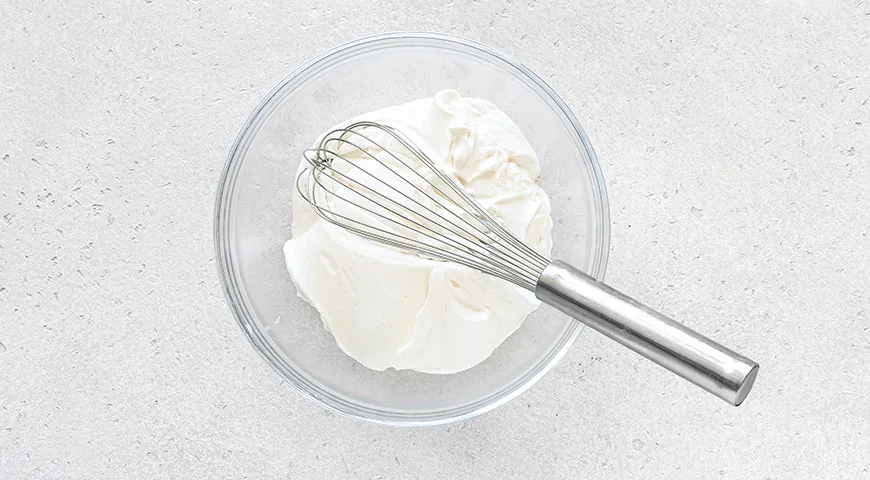
Step 3: Whip the cream. Pour the cold heavy cream into the chilled bowl, add the powdered sugar, and begin beating on low speed to prevent splashing. Gradually increase the speed to high and whip until the cream forms stiff peaks. A planetary mixer works flawlessly here, but a hand mixer with chilled beaters also does the job.
Step 4: Blend the yogurt base. Add the natural yogurt to the cooled milk-starch mixture. Using an immersion blender—ideally a non‑toxic immersion blender for safety and taste—blitz until completely smooth. This step eliminates any lumps of undissolved starch.
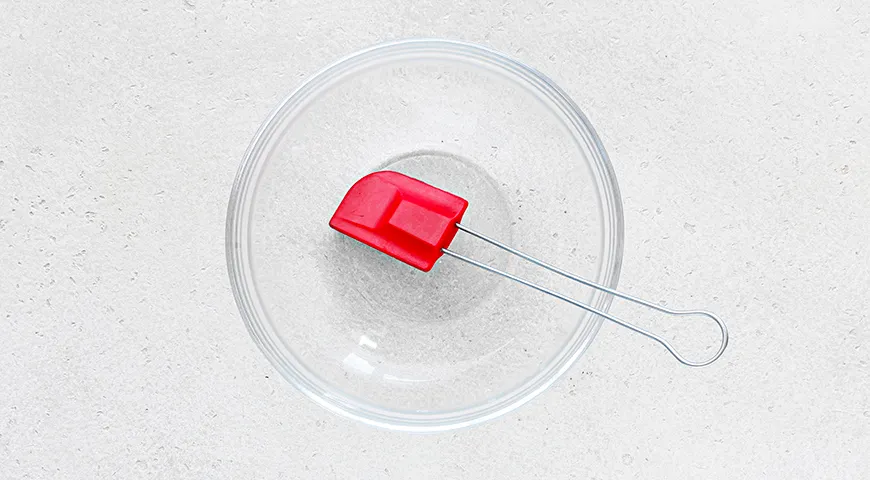
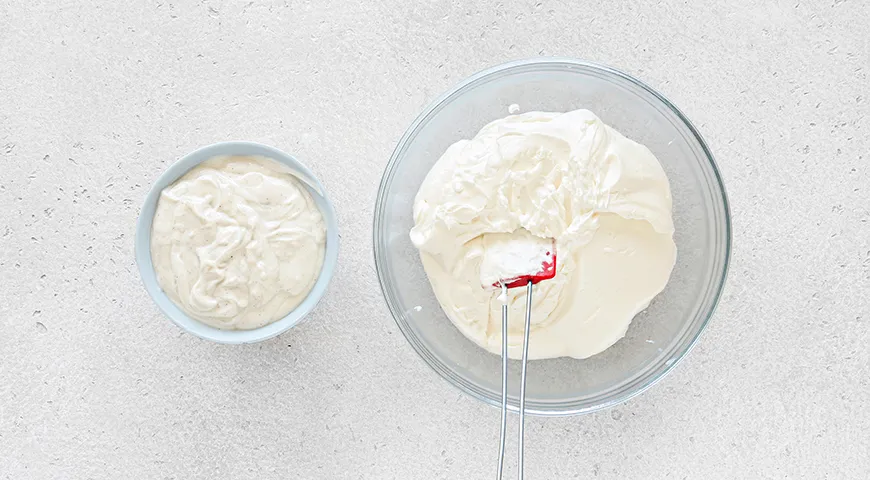
Step 5: Fold together. In three additions, gently fold the yogurt mixture into the whipped cream using a silicone spatula or the mixer on the lowest setting. The goal is to incorporate without deflating the airy cream. A glass food processor can be used if you prefer a machine-assisted fold, but manual folding gives you more control.
Step 6: Choose your freezing method.
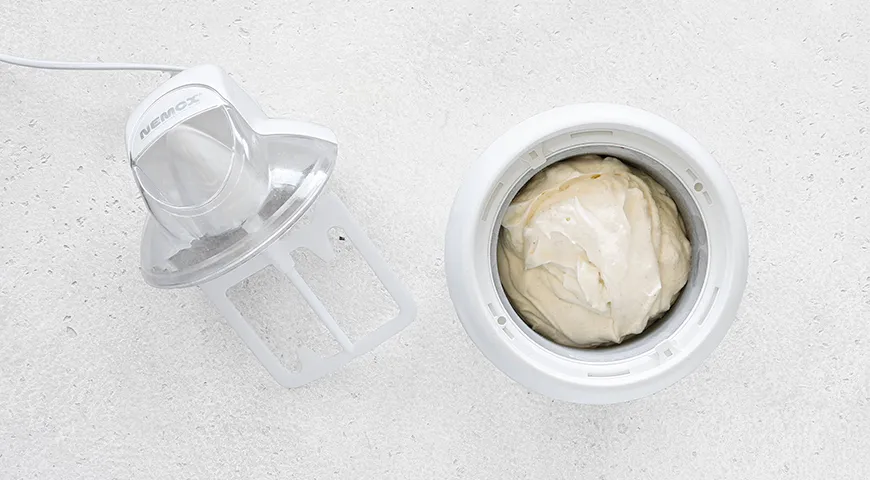
• Electric ice cream maker: Pour the mixture into a running machine and churn until it reaches a soft-serve consistency. Transfer to a container and freeze until firm.
• Container method: Pour into a lidded container, freeze for 1 hour, then remove and vigorously stir with a fork to break ice crystals. Repeat 3–4 times every hour.
• Individual molds: Spoon into silicone or plastic molds, cover, and freeze for 4–5 hours. Before serving, let sit at room temperature for 5 minutes to loosen.
Tips & Tricks for Perfect Texture
Ice crystal formation is the enemy of creamy ice cream. To minimize it, always start with cold ingredients and equipment. If you don’t have an ice cream maker, the repetitive stirring method works beautifully—just be diligent. For an even smoother result, consider using a food processor to re-blend the partially frozen mixture before the final freeze. Also, store your ice cream in a container with a tight seal in the best built‑in refrigerator to maintain consistent temperature.
Variations to Explore
Once you master the base, endless possibilities open up. Stir in chocolate‑covered raisins for bursts of sweetness, or swirl in a fruit coulis. For an adult version, add a tablespoon of organic vodka or sweet wine—the alcohol lowers the freezing point, making the ice cream even softer. Pair a scoop with a slice of Catalan sponge cake for a stunning dessert. If you prefer a dairy‑free version, substitute coconut cream and a plant‑based yogurt; the technique remains the same.
Frequently Asked Questions
Can I use low-fat cream for this recipe?
Yes. The original recipe notes that for a lower-calorie version you can use cream with 10–20% fat and low-fat yogurt. The texture will be less rich but still pleasant. A non‑toxic air fryer can also be used to create crispy toppings like toasted nuts to add crunch.
Why do I need to chill the bowl and beaters?
Cold utensils help the cream whip faster and hold peaks better. Room‑temperature cream can become grainy. For best results, also chill the cream itself—store it in the best built‑in refrigerator until the last moment.
How do I prevent ice crystals without an ice cream maker?
The container method with hourly stirring is key. You can also use an undercounter ice maker to produce crushed ice and pack the container in it during freezing. Alternatively, adding a tablespoon of corn syrup or alcohol helps inhibit crystals.
What is the best way to store homemade ice cream?
Keep it in a shallow, airtight container to minimize exposure to air. Press a piece of plastic wrap directly onto the surface before sealing. For serving, let it soften for 5–10 minutes at room temperature.
Can I make this ice cream vegan?
Absolutely. Replace the heavy cream with full‑fat canned coconut milk, the yogurt with a thick plant‑based alternative, and the milk with oat or almond milk. Use a oil sprayer to lightly grease molds for easy release. The cornstarch will still provide stability.
How long does homemade ice cream keep?
For best flavor and texture, consume within 2 weeks. After that, ice crystals may become noticeable. Always thaw briefly for a creamy scoop.
Finally, elevates your dessert presentation with an affogato—pour a hot shot of espresso from a high‑end espresso machine over a scoop of this ice cream. Or serve alongside a fresh cup of coffee brewed with the best coffee maker for Airbnb to impress guests. For a crunchy contrast, toast nuts in a commercial countertop convection oven. However you enjoy it, this homemade ice cream will become a beloved staple in your kitchen.







