


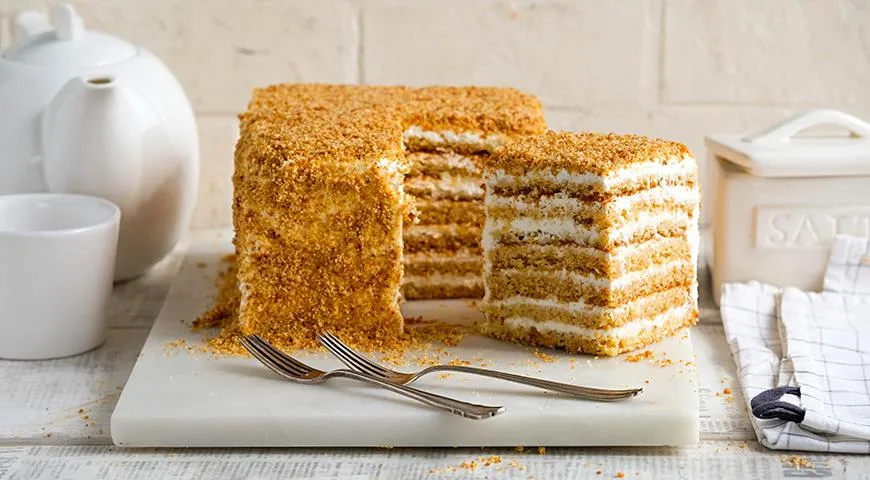
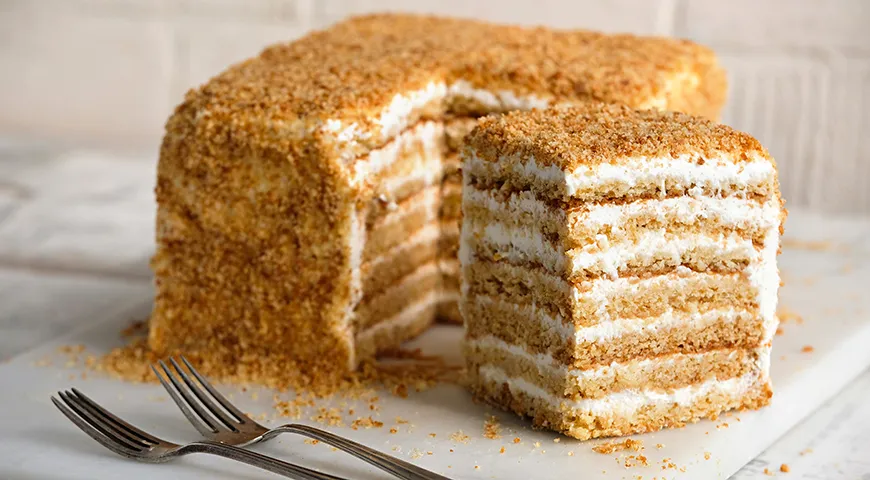
There is something profoundly comforting about a honey cake—its deep amber sweetness, the tender crumb that soaks up cream like a dream. Yet traditional recipes demand rolling out multiple thin layers, a process that tests patience and pastry skills. Enter the lazy honey cake: no rolling pin required, no chilled dough wrestling. This ingenious version bakes a single large sheet, then slices it into four perfect layers. The result? A spectacular layered cake with all the honeyed nostalgia and a fraction of the effort. Perfect for busy home bakers who crave homemade luxury without the marathon.
About This Lazy Honey Cake
Inspired by the classic Russian Medovik, this lazy adaptation trades finicky rolled rounds for a simple sheet cake baked in a 30x40 cm pan. The batter comes together in one pot—no separate mixing bowls for dry and wet. A touch of semolina (манка) adds structure, while generous honey and butter create that signature moistness. The whipped cream and sour cream frosting is ethereally light, balancing the cake's sweetness. After an overnight rest in the fridge, the layers meld into a sublime whole. This recipe is a game-changer for anyone who loves honey cake but dreads the traditional technique. For more time-saving desserts, explore our Catalan sponge cake recipe.

Ingredients
- 300 g all-purpose flour
- 40 g semolina (fine cream of wheat)
- 190 g thick honey (crystallized works perfectly)
- 220 g unsalted butter (82.5% fat), plus extra for greasing
- 4 large eggs (C1 size)
- 200 g granulated sugar
- 10 g baking soda
- 800 g sour cream (at least 25% fat)
- 400 ml heavy cream (at least 30% fat)
- 100 g honey (for the cream)
All ingredients should be at room temperature except the sour cream and heavy cream, which must be very cold for whipping. Using the right tools can make preparation even smoother—consider a best planetary mixer for effortless cream whipping.
Step-by-Step Instructions
-
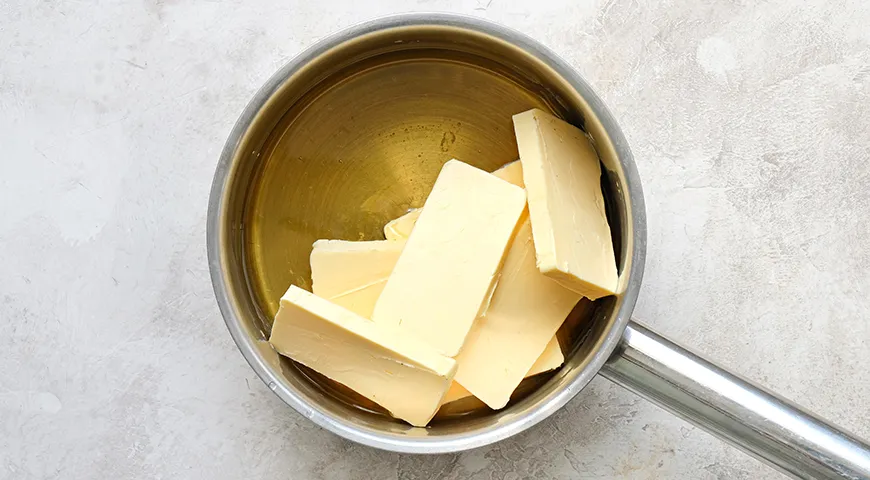
Prepare the honey-butter base. Before starting, place the sour cream and heavy cream in the refrigerator to chill thoroughly—they need to be ice-cold for the cream. In a heavy-bottomed saucepan, combine the honey and butter. Place over medium heat, stirring constantly, until the mixture comes to a boil.
-
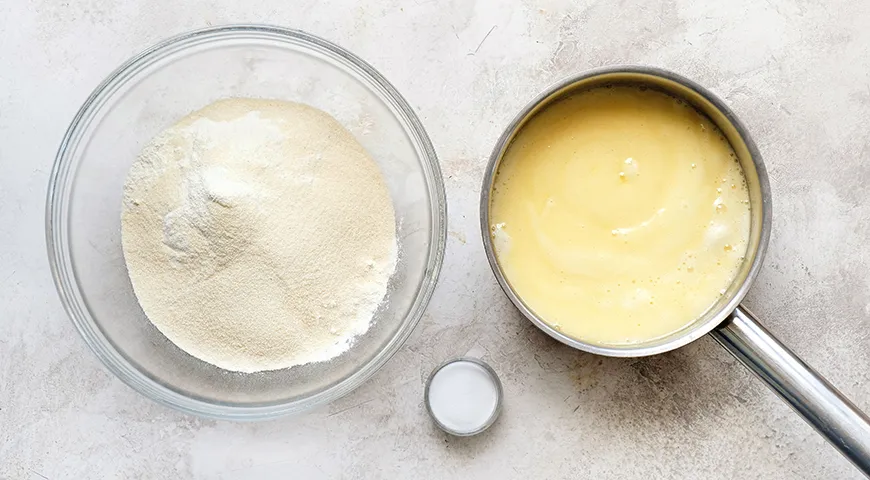
Activate the soda. Add the baking soda all at once and stir vigorously—the mixture will foam up dramatically. Remove the pan from the heat. In a separate bowl, whisk together the flour and semolina. Pour the dry ingredients into the honey-butter mixture and stir just until combined, without overworking the dough. Set aside to cool slightly.
-
Preheat and prepare the pan. Preheat the oven to 180°C (top/bottom heat, no convection). Line a 30x40 cm baking sheet with parchment paper.
-
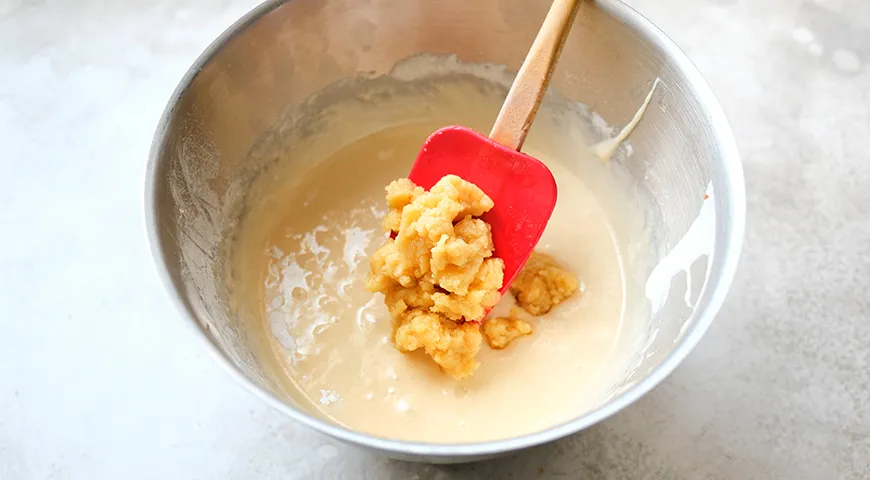
Combine eggs and sugar. In a large bowl, beat the eggs with the sugar until light, pale, and fluffy. Gradually fold the egg mixture into the cooled dough in three additions, using a spatula and gentle folding motions from bottom to top. Pour the batter onto the prepared baking sheet, tapping the sheet against the counter to release air bubbles. Bake in the center of the oven until golden brown, about 12–14 minutes. Cool the cake layer completely on a wire rack.
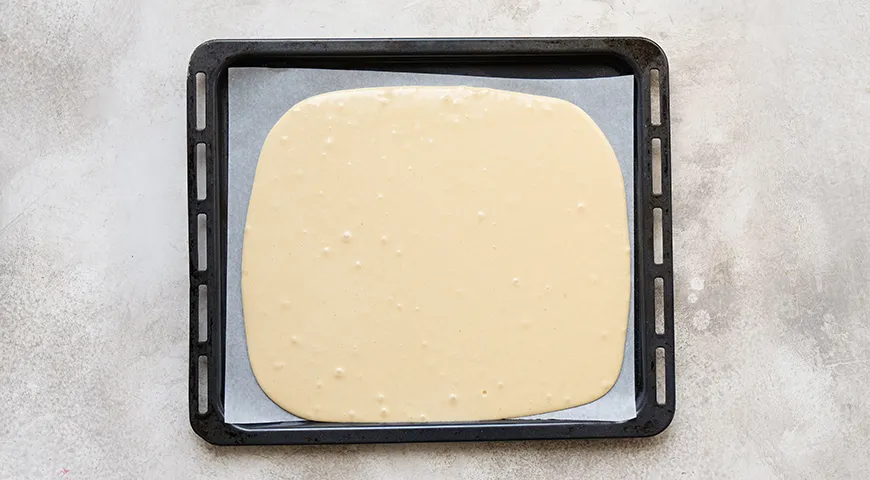
-
Make the cream. In a chilled bowl, whip the very cold heavy cream until stiff peaks form (they should not fall from the whisk). In another bowl, whip the sour cream until it becomes airy and voluminous. Gently fold the 100 g of honey into the whipped sour cream (if the honey is thick, warm it slightly in a water bath or microwave, then cool it down). Finally, fold the whipped cream into the honey-sour cream mixture in three additions, using a spatula with gentle bottom-to-top strokes to keep the cream light.
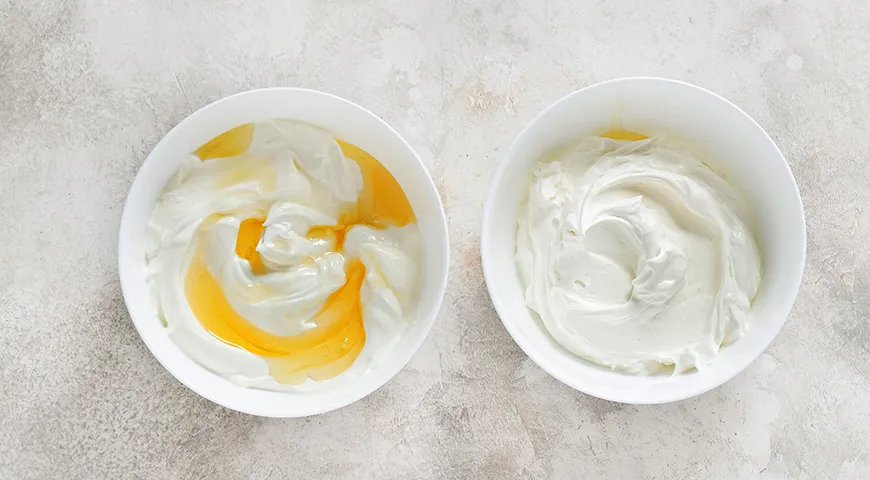
-
Prepare the dry crumbs. Trim the edges of the baked cake layer. Place the trimmings on the baking sheet and return them to the turned-off but still warm oven to dry out completely. Meanwhile, cut the main cake layer into two rectangles of 20x30 cm each. Then slice each rectangle horizontally through the middle to yield four layers total.
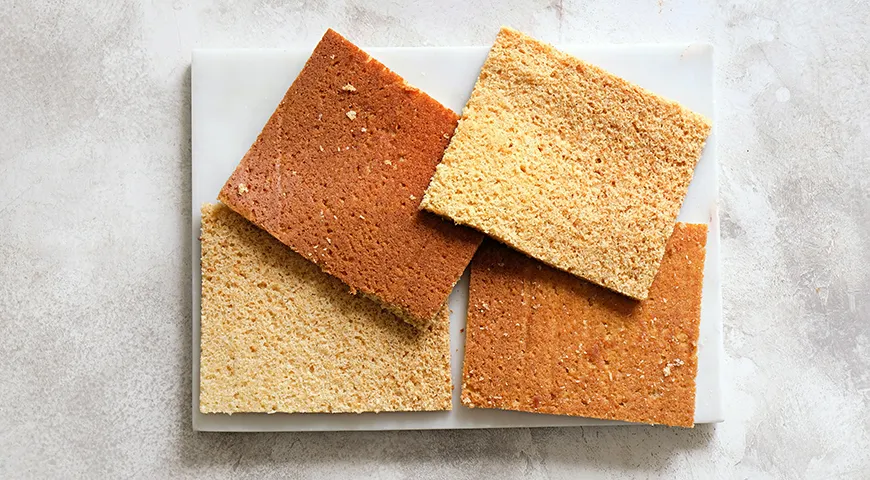
-
Assemble the cake. Place one cake layer on a serving plate. Spread a generous amount of cream evenly on top. Repeat with remaining layers, stacking them neatly. Spread the remaining cream over the top and sides of the assembled cake.
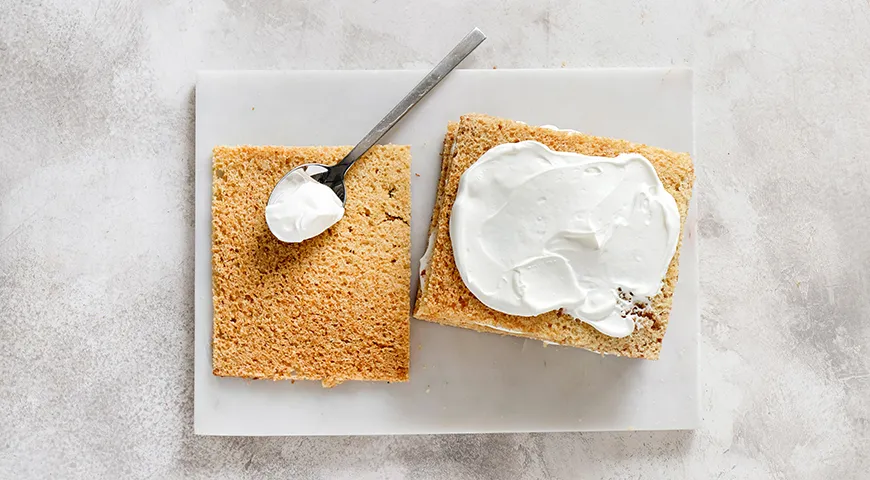
-
Finish with crumbs and chill. Crush the dried cake trimmings into fine crumbs. Sprinkle the crumbs over the top and sides of the cake, pressing gently to adhere. Refrigerate the cake for at least 4 hours, preferably 12 hours, to allow the layers to soften and meld.
For evenly whipped cream, a durable best non-toxic immersion blender or a quality hand mixer can be invaluable. Ensuring your cream is properly cold is key—check out best refrigerant leak detector if your fridge temperature is inconsistent.
Tips for Perfect Lazy Honey Cake
Honey selection: Crystallized honey works wonderfully because it melts evenly and gives a deeper flavor. If using liquid honey, reduce the heat slightly to avoid scorching. For a floral twist, try buckwheat or acacia honey. Interested in quality ingredients? See our best organic vodka guide—though not for the cake, it speaks to sourcing purity.
Cream stability: Use full-fat sour cream (at least 25%) and heavy cream over 30%. Chill both for at least 30 minutes before whipping. An best planetary mixer ensures stable peaks without overbeating.
Even soaking: After assembling, let the cake rest in the fridge overnight—the semolina in the batter absorbs moisture, making the layers tender yet structured. A covered container or cake dome prevents drying. For additional no-bake cake inspiration, browse our Catalan sponge cake.
Variations to Explore
– Chocolate twist: Replace 30 g of flour with cocoa powder for a chocolate-honey layer. Pair with a chocolate cream instead of honey cream.
– Nutty crunch: Fold 100 g of toasted chopped walnuts or almonds into the cream between layers for texture.
– Citrus zest: Add finely grated orange or lemon zest to the batter for a bright contrast to the honey.
– Spiced version: Add 1 tsp ground cinnamon and ½ tsp ground ginger to the flour mixture for a winter-spiced adventure.
For more creative baking ideas, explore our best chocolate-covered raisins review—they can be a delicious topping.
FAQ
Can I make this honey cake gluten-free?
Yes, substitute the all-purpose flour with a gluten-free flour blend (with xanthan gum) and replace semolina with an equal amount of fine cornmeal or gluten-free oat flour. Adjust baking time slightly as gluten-free batters may need a few extra minutes.
Why did my cream separate while whipping?
Most likely the cream was not cold enough. Ensure both sour cream and heavy cream are thoroughly chilled—ideally below 4°C. Over-whipping can also cause separation. Use an best air fryer non-toxic for other tasks, but for cream, a hand mixer on medium speed is safest.
Can I freeze this honey cake?
Absolutely. Freeze the assembled (but not crumb-coated) cake for up to 1 month. Thaw in the refrigerator overnight, then add the crumb coating before serving. The texture remains exceptionally moist. For more freezer-friendly tips, check out best 48 inch built-in refrigerator.
How long does the cake stay fresh?
Stored covered in the refrigerator, this honey cake tastes even better after 2–3 days as the flavors meld. It stays fresh for up to 5 days. If you notice excess moisture, pat dry before serving.
Can I use a different pan size?
Yes, but adjust baking time. A smaller pan (e.g., 20x30 cm) will yield a thicker cake that requires longer baking—about 18–20 minutes. Watch for golden edges. For an alternative pan idea, see best undercounter ice maker machine—obviously not for baking, but keeping your kitchen organized!
For more summery cakes and cold desserts, visit our collection of best steam canner guides—though canning is different, we love preserving flavors.
Finally, a best espresso machine under 2000 could be your perfect partner for serving this honey cake alongside a rich coffee.







