


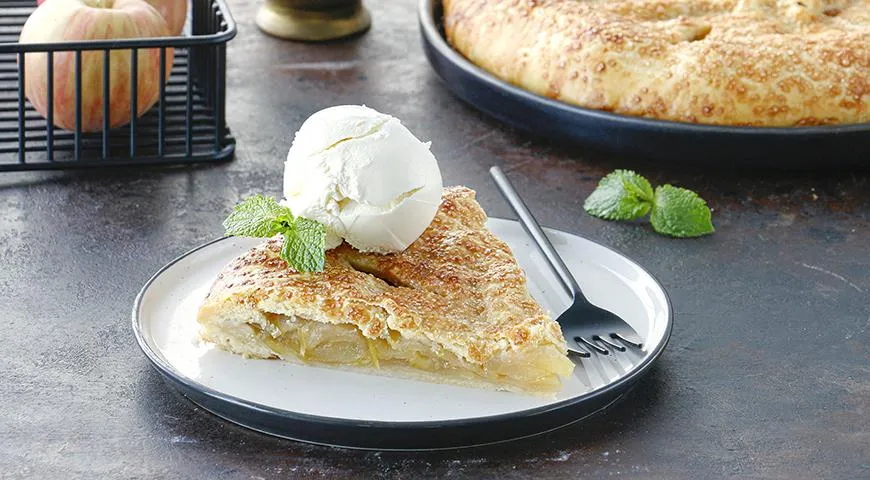
There are apple pies, and then there are crispy apple pies—where the crust shatters with each forkful and the filling stays juicy, not soggy. This Russian-inspired recipe delivers exactly that: a buttery, sugar-crusted pie that pairs perfectly with a scoop of vanilla ice cream. The secret lies in a cold-handling technique, a brief chill in the refrigerator, and a generous sprinkle of brown sugar on top. Whether you are a seasoned baker or a novice, this pie will become your weekend go-to.
About This Recipe
This crispy apple pie—known in Russian as khrustyashchiy pirog s yablokami—celebrates the natural sweetness of apples with just a whisper of cinnamon and vanilla. The dough is a simple rustic shortcrust, intentionally not overworked, so it bakes into flaky layers. What sets this pie apart is the sugar crust: a coating of coarse brown sugar that caramelizes in the oven, creating a delightful crunch. Allowing the assembled pie to rest in the fridge for 30 minutes before baking ensures the butter firms up, preventing the crust from shrinking and keeping the apples perfectly sealed. For the best results, use a high-quality food processor to cut the butter into the flour quickly, or work by hand if you prefer a more meditative approach.

Ingredients
- For the dough: 250 g all-purpose flour, ½ tsp fine sea salt, 150 g cold unsalted butter (cut into small cubes), 4–6 tbsp ice water (plus more if needed)
- For the filling: 6 medium apples (such as Granny Smith or Honeycrisp), 2 tbsp granulated sugar (optional, adjust based on apple sweetness), 40 g unsalted butter (cold, cut into small pieces)
- For the topping: 1 large egg yolk, 1 tsp milk or water, 2 tbsp brown sugar (preferably dark for deeper flavor)
Pro tip: invest in a reliable oil sprayer to lightly grease your baking sheet, or simply use parchment paper as recommended.
Step-by-Step Instructions
Follow these steps closely to achieve that irresistible crispy crust.
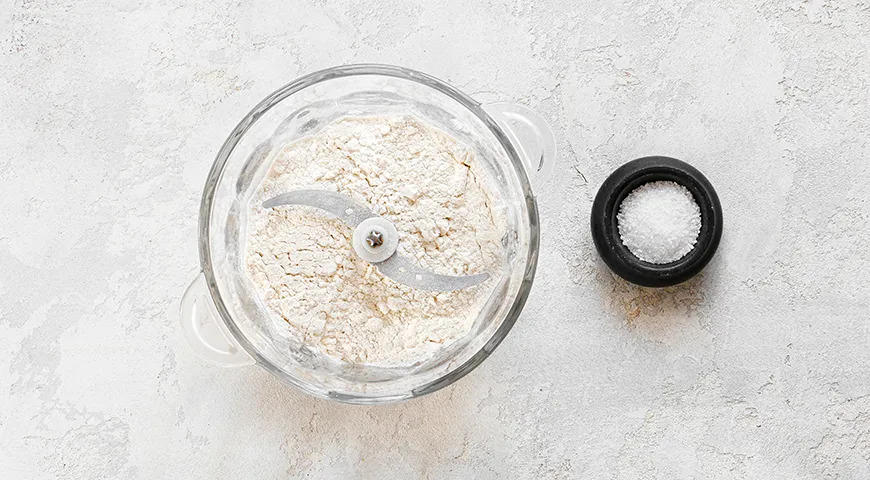
Step 1: In a food processor (or by hand in a large bowl), pulse together the flour and salt until combined.
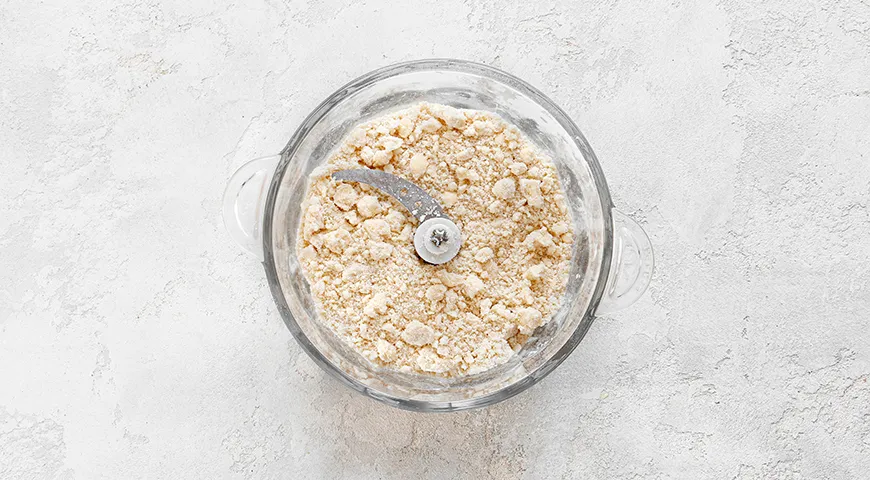
Step 2: Add the cold butter cubes and pulse until the mixture resembles coarse crumbs with some pea-sized pieces. (If working by hand, use a pastry cutter or your fingertips.)
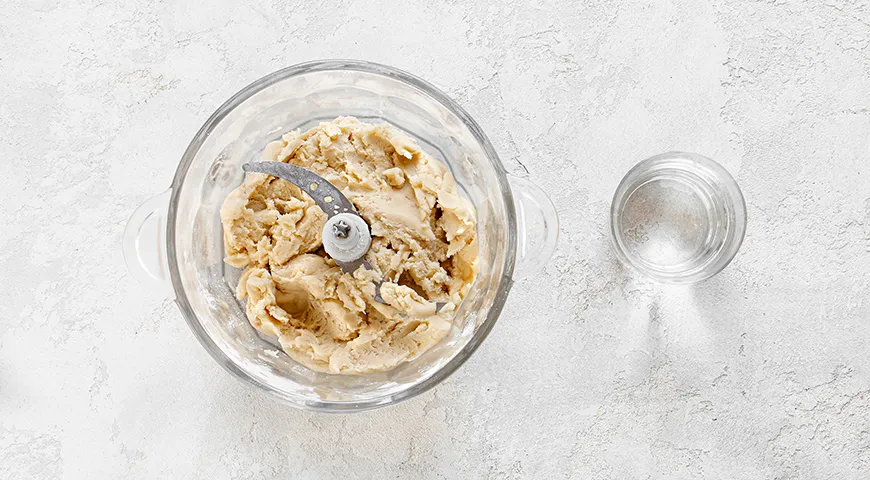
Step 3: Drizzle 4 tablespoons of ice water over the mixture and pulse just until the dough starts to come together. If it seems dry, add more water 1 tablespoon at a time. Do not overmix; the dough should be shaggy.
Step 4: Turn the dough out onto a floured surface, divide it in half, and shape each half into a disc. Wrap tightly in plastic wrap and refrigerate for at least 30 minutes.
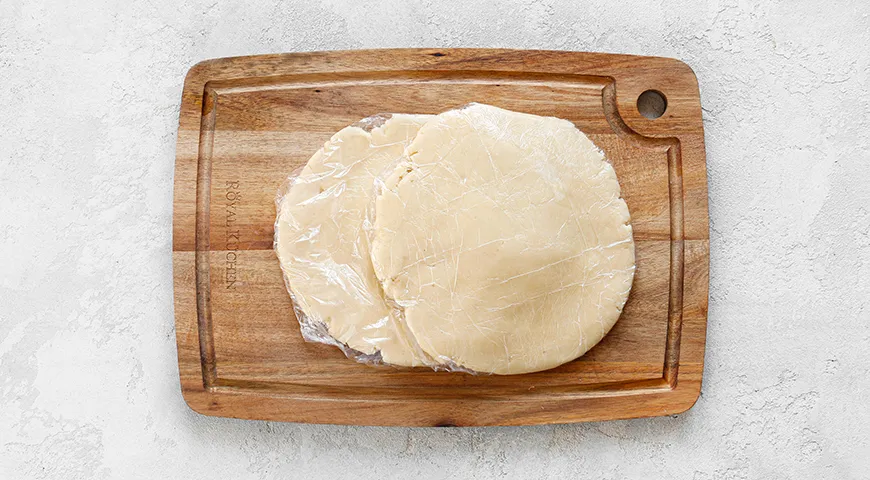
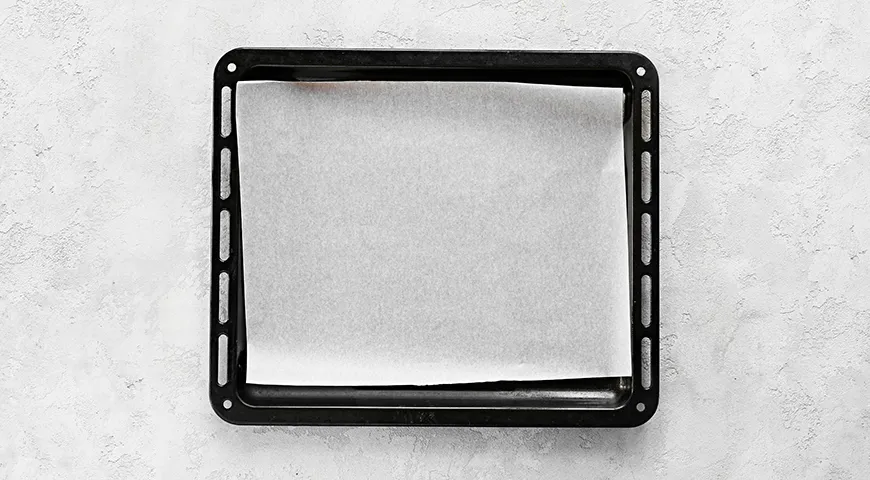
Step 5: Preheat your oven to 200°C (400°F). Line a baking sheet with parchment paper.
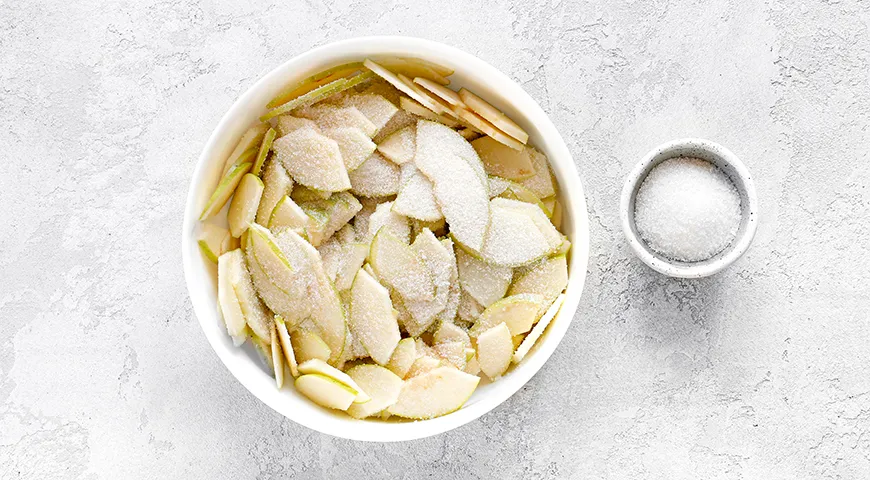
Step 6: Core and slice the apples into thin wedges. Toss with the granulated sugar (if using) and let sit for 5 minutes to release juices.
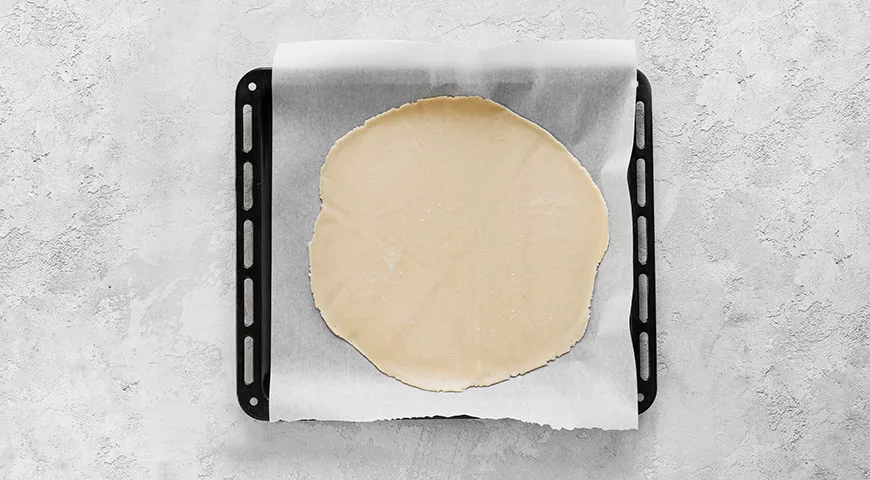
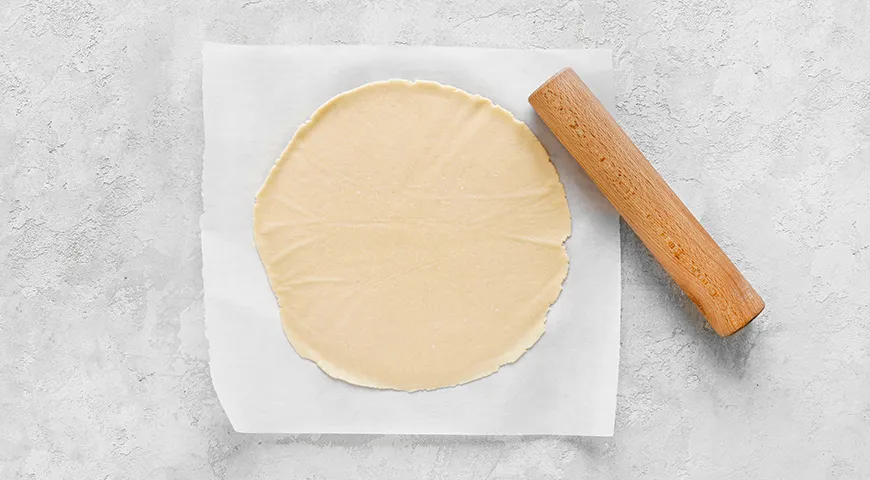
Step 7: On a floured surface, roll out one disc of dough into a 36-cm (14-inch) circle. Transfer carefully to the prepared baking sheet.
Step 8: Arrange the apple slices in an even layer on the dough, leaving a 5-cm (2-inch) border around the edge.
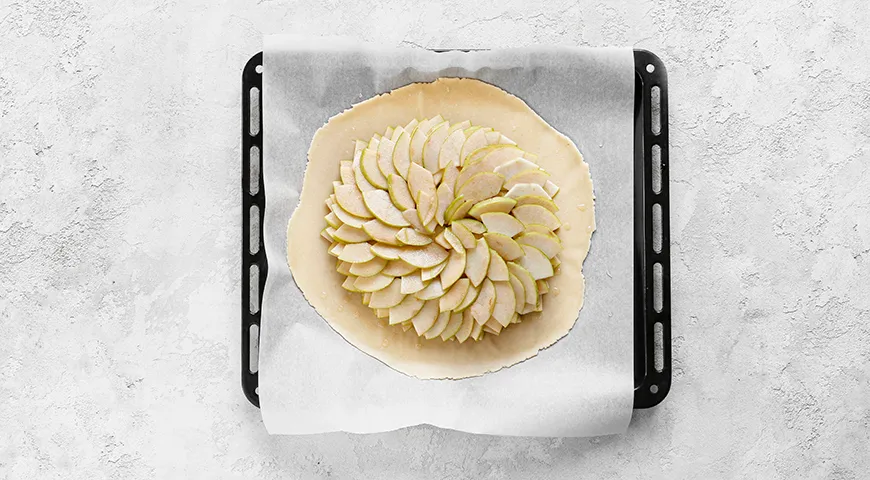
Step 9: Dot the apples with the 40 g of cold butter cut into small pieces.
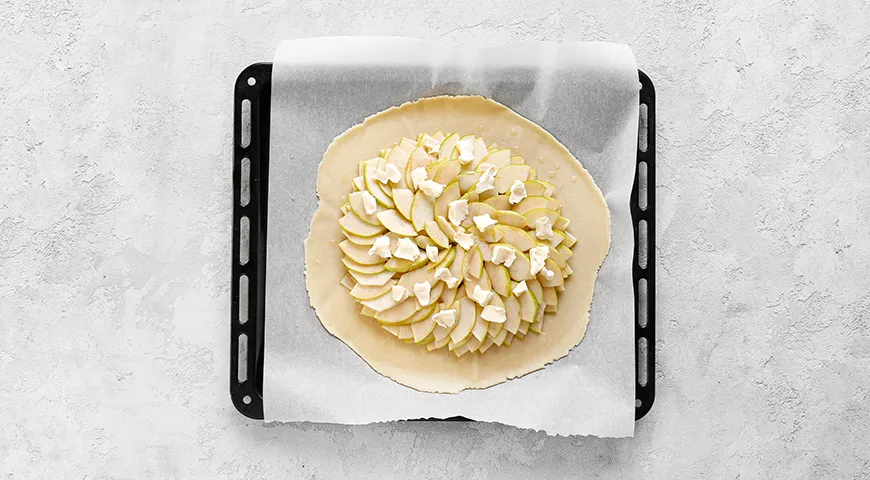
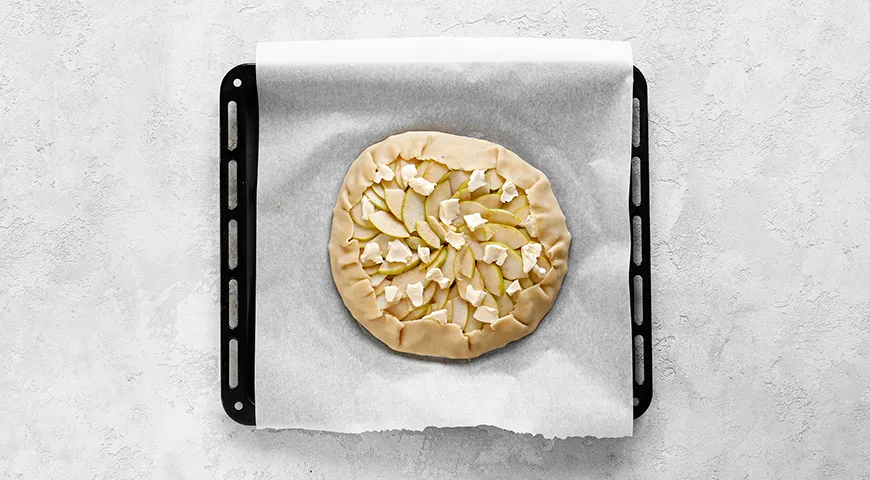
Step 10: Fold the dough border up and over the apples, pleating as needed to create a rustic edge.
Step 11: Roll out the second disc of dough into another 36-cm circle.
Step 12: Place the second round over the apples. Tuck the top crust edges underneath the bottom crust, pressing to seal tightly—this traps the apples and juices inside.
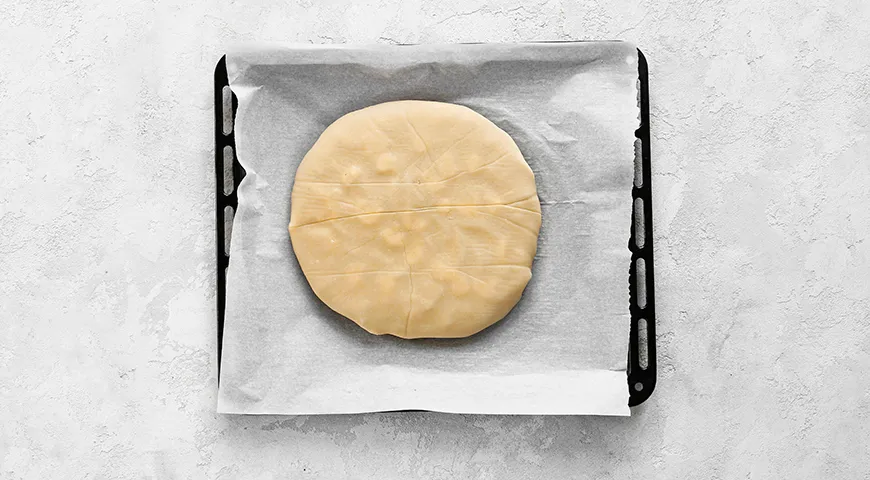
Step 13: In a small bowl, whisk the egg yolk with 1 teaspoon milk or water. Brush this egg wash over the top crust. Sprinkle generously with the brown sugar.
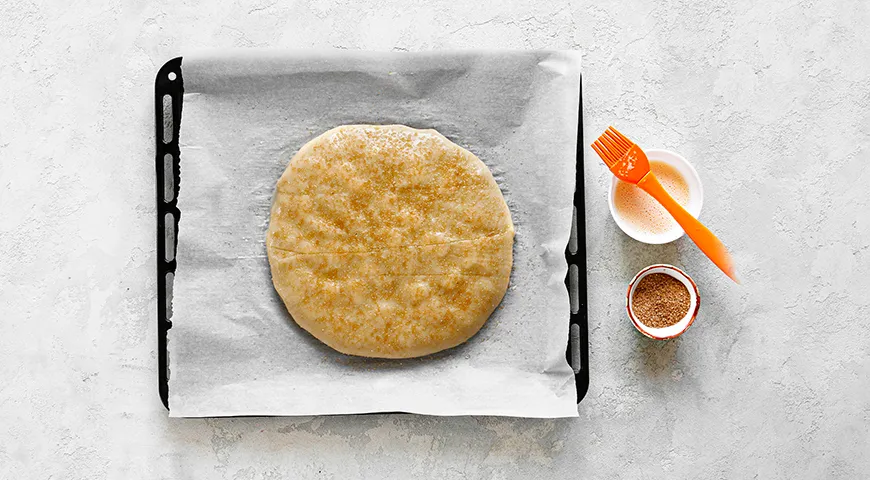
Step 14: Using a sharp knife, cut four steam vents (about 5 cm long) in the top crust. Place the pie in the preheated oven.
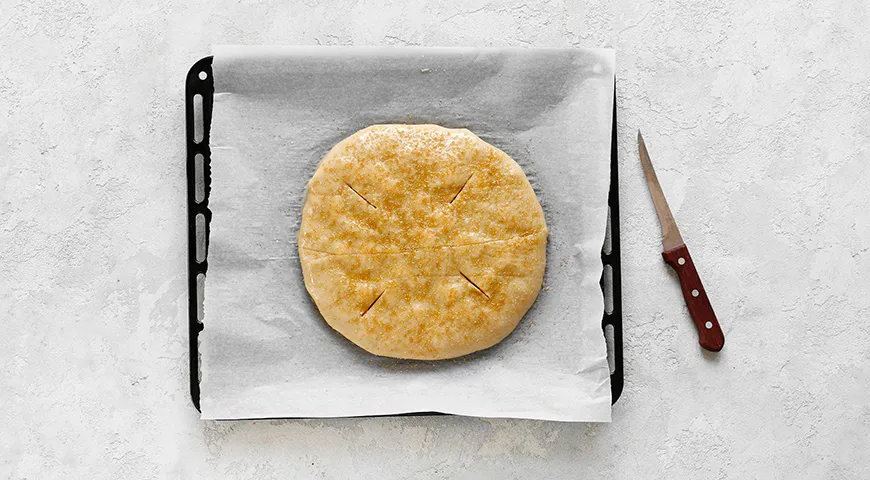
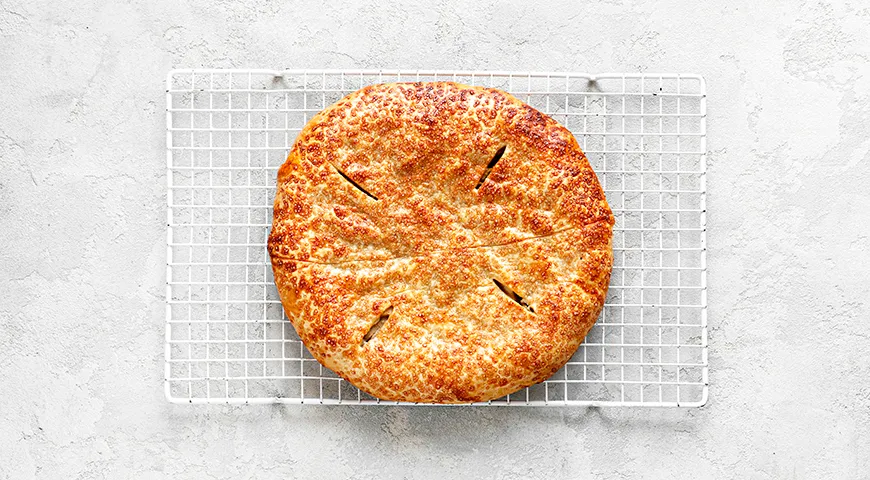
Step 15: Bake for 35 minutes, until the crust is deep golden brown and the juices bubble through the vents. Remove from the oven, let rest for 5 minutes, then transfer to a wire rack to cool slightly. Serve warm with vanilla ice cream.
Tips for the Perfect Crispy Apple Pie
- Keep everything cold: Cold butter and ice water are non-negotiable for a flaky crust. If your kitchen is warm, chill the flour and bowl before starting. Use a refrigerant leak detector to ensure your fridge is maintaining proper temperature.
- Rest the dough: The 30-minute chill in the refrigerator allows the gluten to relax and the butter to firm up, preventing shrinkage and promoting crispiness. Consider storing your dough in a built-in refrigerator for consistent cooling.
- Don't skip the sugar crust: The brown sugar topping creates a crackly shell. For an even crunchier finish, use a food-grade castor oil to lightly grease the top before adding sugar (optional).
- Check your oven temperature: An accurate oven is key. Bake at a consistent 200°C (400°F). A commercial countertop convection oven can enhance browning if you have one.
Variations
This recipe is wonderfully adaptable. Try adding a teaspoon of cinnamon and a pinch of vanilla powder to the apples for classic spiced flavor. For a savory twist, sprinkle the top with flaky sea salt after brushing with egg wash. If you want a more decadent dessert, serve with a drizzle of honey or a dollop of chocolate-covered raisins on the side. For a gluten-free version, substitute the all-purpose flour with a planetary mixer-friendly gluten-free blend, adding an extra tablespoon of water if needed.
Frequently Asked Questions
Can I prepare the dough a day ahead?
Absolutely. The wrapped dough discs can be refrigerated for up to 2 days or frozen for 3 months. Thaw in the fridge overnight before rolling. For long-term storage, ensure your freezer is reliable—check out our guide to undercounter ice makers for cold storage tips.
Why did my crust shrink during baking?
Overworking the dough or not chilling it long enough are common culprits. The gluten becomes too elastic. Also, make sure to let the pie rest for 30 minutes after assembling. Using a microwave pressure cooker to warm the filling before sealing can help relax the dough.
Can I use a food processor for this dough?
Yes, a food processor is ideal for quickly cutting butter into flour without warming it. We recommend a best food processor for nut butter (also perfect for pie crusts) for its powerful motor and sharp blades.
What apples work best for this pie?
Firm, tart apples like Granny Smith, Honeycrisp, or Braeburn hold their shape and balance the sweetness. Avoid overly soft varieties like Red Delicious. For a unique pairing, serve with a sweet wine with high alcohol content to complement the caramel notes.
How do I store leftovers?
Cover the pie loosely with foil and keep at room temperature for up to 2 days. To re-crisp the crust, warm slices in an air fryer (non-toxic) at 180°C for 3–4 minutes. Avoid refrigerating, as it softens the crust.
Ready to indulge? This crispy apple pie is a celebration of simple ingredients handled with care. Pair it with a scoop of vanilla ice cream and enjoy the satisfying crackle of that sugary crust. For more bakespiration, explore our Catalan sponge cake recipe or learn about best organic vodka for pairing with desserts. Happy baking!







