


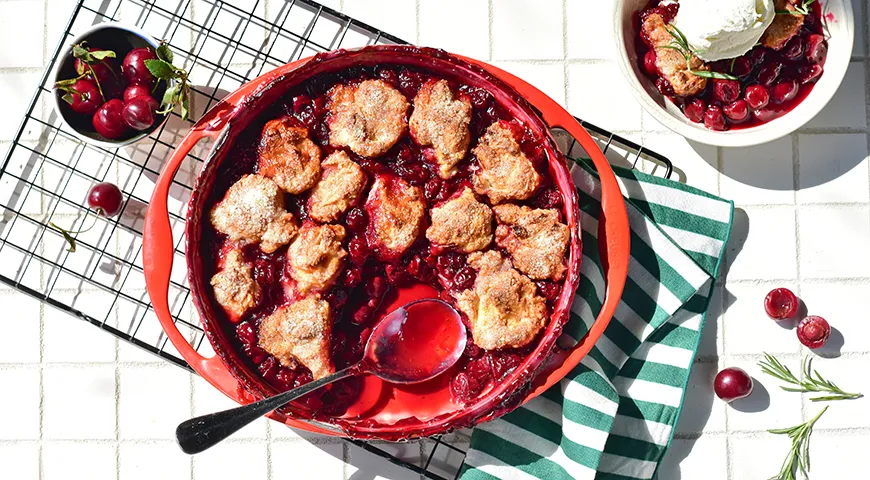
Cherry cobbler is a beloved American dessert that combines a luscious, jammy cherry filling with tender, cloud-like dumplings of dough. This version, steeped in tradition yet elevated with fresh rosemary, transforms a simple skillet meal into a sophisticated finale. The contrast between warm, tart cherries and cool vanilla ice cream is irresistible, while the aromatic herb adds an unexpected layer of complexity. Perfect for summer gatherings or cozy winter nights, this cobbler is as versatile as it is delicious. Using a planetary mixer for the dough ensures a light, airy texture, while a wall oven microwave combo with air fryer can quickly crisp the top for an even richer result.
About Cherry Cobbler
Originating in the early American colonies, cobbler was a practical dessert that adapted British steamed puddings to the ingredients available in the New World. The name "cobbler" likely comes from the cobblestone-like appearance of the dough topping. Unlike a pie, which requires a precise crust, cobbler welcomes rustic, drop-biscuit dough that bakes into golden, tender morsels. This recipe uses a buttermilk-based dough leavened with baking powder and soda, yielding a soft, scone-like texture that soaks up the cherry juices without becoming soggy. The addition of rosemary — an unexpected twist — cuts through the sweetness and echoes the herbaceous notes of the cherries’ natural flavor. For those who appreciate a sweet wine with high alcohol content for pairing, this cobbler pairs beautifully with a late-harvest Riesling.

Ingredients
- 750 g pitted cherries (fresh or frozen, thawed)
- 180 g granulated sugar
- 3 tablespoons cornstarch
- 2 sprigs fresh rosemary
- ¼ teaspoon salt
- 210 g all-purpose flour
- 50 g granulated sugar
- 1½ teaspoons baking powder
- ¼ teaspoon baking soda
- 180 ml buttermilk (or liquid sour milk)
- 60 g unsalted butter, melted and cooled
- 2 tablespoons granulated sugar (for sprinkling)
- Vanilla ice cream, for serving
- Fresh rosemary leaves, for garnish
Using a non-toxic immersion blender to purée a few cherries for the sauce base adds extra depth. For the best results, choose ripe, juicy cherries — either sweet or sour varieties work well. If using frozen, allow them to thaw and drain excess liquid, which you can reserve for the sauce.
Step-by-Step Instructions
Step 1: Preheat and Prepare Butter
Preheat your oven to 200°C. Melt the butter in a small saucepan or in the microwave, then let it cool to room temperature. Cooling is essential to avoid cooking the buttermilk later. While the butter cools, set out your best oil sprayer to lightly grease the skillet if needed, though the butter in the dough usually suffices.

Step 2: Mix the Dough
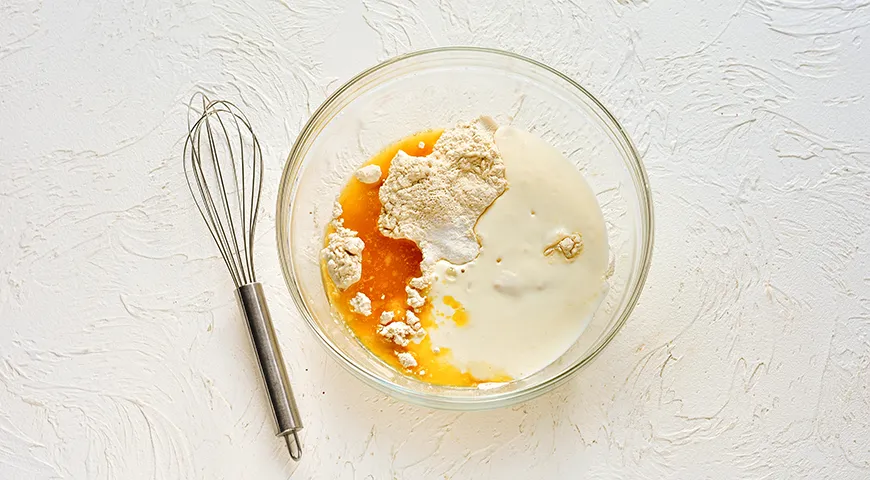
In a medium bowl, whisk together the flour, 50 g sugar, baking powder, baking soda, and salt. Pour in the buttermilk and the cooled melted butter. Stir with a wooden spoon or spatula until just combined — the dough will be sticky and shaggy. Do not overmix; a few lumps are fine. Cover the bowl with plastic wrap or a clean kitchen towel and set aside while you prepare the filling.
Step 3: Create the Cherry Sauce Base
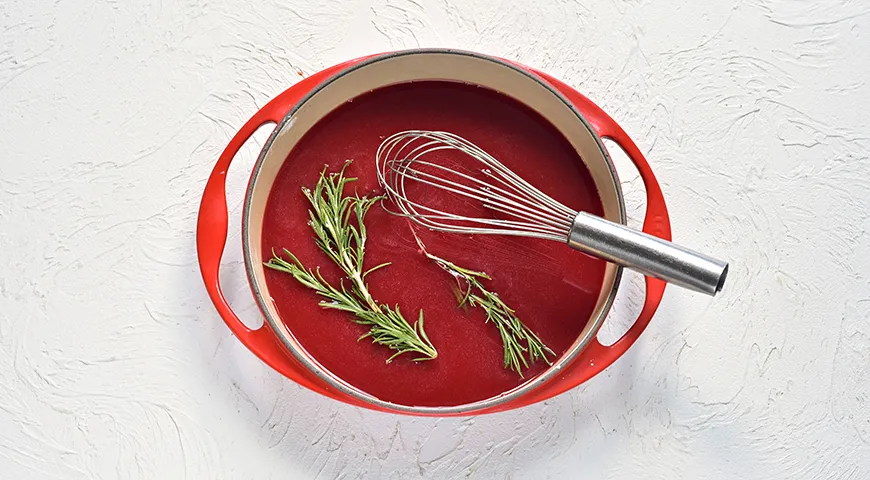
In a wide, ovenproof skillet (cast iron or stainless steel works best), combine the 180 g sugar, cornstarch, and ¼ teaspoon salt. Whisk gently to break up any lumps. Gradually add 120 ml of reserved cherry juice (or water if no juice is available) while whisking continuously. Add the two sprigs of rosemary. Place the skillet over medium-high heat and cook, stirring frequently, until the mixture comes to a boil and thickens slightly — about 5 minutes. The sauce should be glossy and translucent.
Step 4: Finish the Filling
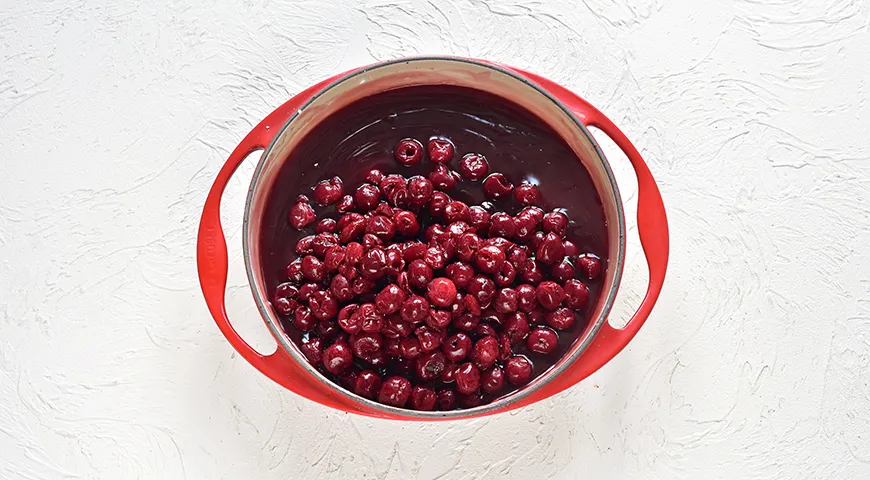
Remove the skillet from the heat. Discard the rosemary sprigs — they have imparted their flavor. Gently fold in the pitted cherries, coating them evenly with the warm sauce. Return the skillet to the stove? No, keep it off heat. The residual heat will begin to soften the cherries without cooking them into mush. If you need to speed up the process, a microwave pressure cooker can do the same in minutes, but the stovetop method is preferable for control.
Step 5: Assemble the Cobbler
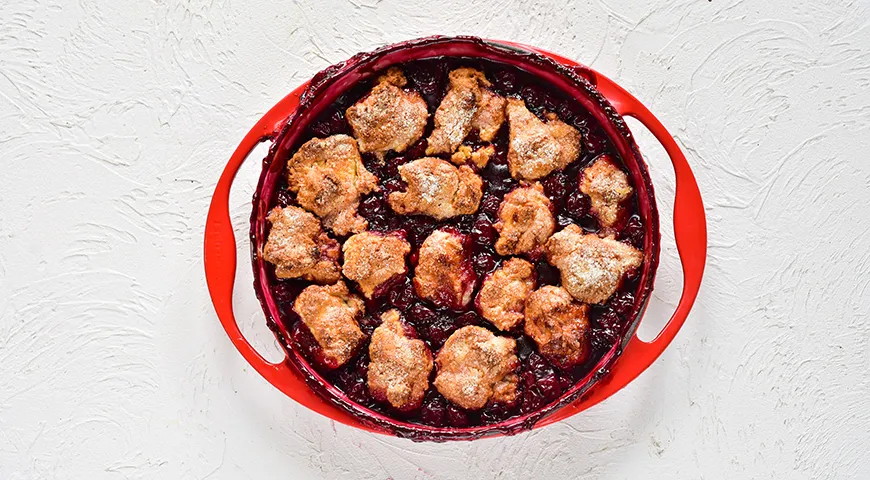
Using a tablespoon, drop rounded spoonfuls of the reserved dough onto the cherry filling. Space them about 1.5 cm apart — they will spread and puff during baking. Sprinkle the tops with the remaining 2 tablespoons of sugar for a crackly, caramelized crust. Place the skillet in the preheated oven. For even baking, consider using a commercial countertop convection oven which circulates hot air for a uniformly golden top.

Step 6: Bake and Rest
Bake for 25–30 minutes, until the dough is golden brown and the filling is bubbling thickly around the edges. A toothpick inserted into a dough piece should come out clean. Remove the skillet from the oven and place on a wire rack. Let the cobbler cool for 15–20 minutes — this allows the filling to set so it doesn’t run when served. For an extra treat, serve while still warm with a scoop of vanilla ice cream and a sprinkle of fresh rosemary leaves.
Tips for Perfect Cherry Cobbler
- Choose your cherries wisely: Sour cherries (like Montmorency) provide a tart contrast, while sweet bing cherries yield a dessert that is deeply sweet. A mix of both is ideal.
- Don’t skip the cornstarch: It thickens the cherry juices into a glossy, spoonable sauce. If you prefer a looser filling, reduce the cornstarch to 2 tablespoons.
- Fresh vs. frozen: Frozen cherries work well; just thaw and drain them, reserving the juice for the sauce. Adding too much liquid can make the cobbler watery.
- Rosemary substitution: If rosemary isn’t your thing, try thyme, lemon zest, or a cinnamon stick for a different aromatic profile. The key is to remove the herb before adding the cherries.
- Make ahead: You can prepare the filling a day in advance and store it in the refrigerator. Bring to room temperature before topping with dough and baking.
For those who love precision, using a food processor for nut butter can grind rosemary into a fine powder for even distribution (though sprigs are better for infusion). A non-toxic air fryer can also reheat leftover cobbler, reviving its crisp topping in minutes.
Variations
Stone Fruit Cobbler: Replace cherries with a mixture of peaches, plums, and nectarines for a summer medley. Reduce sugar slightly if using very ripe fruit.
Berry Cobbler: Use a combination of blueberries, raspberries, and blackberries — add 1 tablespoon more cornstarch as berries are juicier.
Spiced Cobbler: Add ½ teaspoon cinnamon and ¼ teaspoon nutmeg to the dough for a warm, autumnal flavor that pairs beautifully with cherries.
Gluten-Free Option: Substitute all-purpose flour with a 1:1 gluten-free baking blend. A lava flavor experience might inspire you to add a swirl of chili-lime sauce for a surprising kick!
FAQ
Can I use frozen cherries without thawing?
Yes, but be aware that frozen cherries release more liquid during baking, which can make the filling runny. Increase the cornstarch to 4 tablespoons and extend baking time by 5–10 minutes. Alternatively, thaw and drain them first.
How do I prevent the dough from becoming soggy?
Ensure your filling is thickened properly before adding the dough. Also, drop the dough onto the hot filling — the heat helps set the bottom quickly. Avoid pressing the dough pieces into the liquid.
What if I don’t have a cast-iron skillet?
You can use any ovenproof baking dish (9x13 inch works). The cooking time may vary slightly; check for doneness around the 25-minute mark. A undercounter ice maker is handy for producing ice cream serving cubes, but not essential.
Can I make the dough ahead of time?
While best made fresh, the dough can be covered and refrigerated for up to 4 hours. Let it sit at room temperature for 15 minutes before using, as cold dough may not spread evenly.
What is the best way to store leftovers?
Cover the skillet with foil and refrigerate for up to 3 days. Reheat in a 180°C oven for 10 minutes or in a microwave. For a crispier topping, use your espresso machine under 2000? No, that’s for coffee — but a toaster oven works.
Pair with a chocolate-covered raisin snack for dessert or serve alongside a organic vodka cocktail for an adult twist. The cobbler’s versatility extends from casual family dinners to elegant dinner parties, thanks to its rustic charm.
For more inspiration, explore our Catalan sponge cake recipe or learn about steam canning to preserve seasonal fruit for year-round cobblers. And if you’re hosting, a coffee maker for Airbnb might be your next kitchen investment!







