


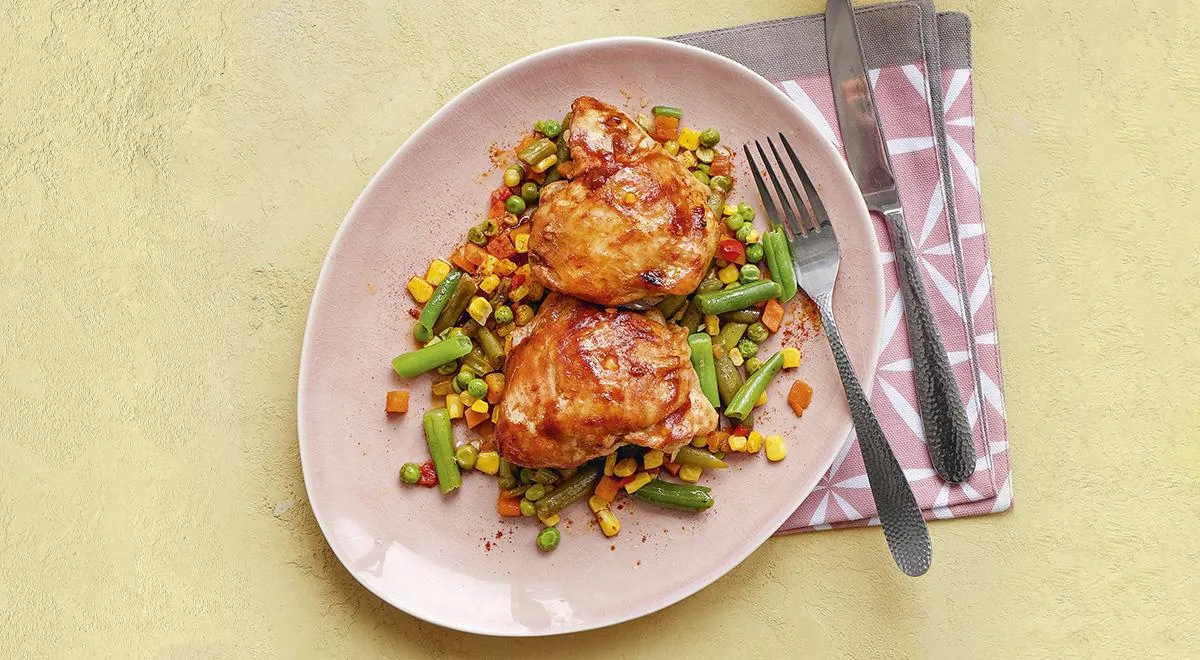
There are few things more satisfying after a long day than a dinner that requires minimal effort yet delivers maximum flavor. These Barbecue Chicken and Vegetable Foil Packets—known in Russian as konverty s kuritsey barbekyu i ovoshchami—are precisely that: a complete meal baked in a sealed foil envelope, where the chicken stays succulent and the vegetables steam to perfection. The genius lies in the technique: a tight seal traps steam, cooking everything gently, then a final blast of heat with extra sauce creates a caramelized, sticky crust. This recipe from Gastronom.ru is a weeknight hero, and we’ve adapted it into a comprehensive, SEO-optimized guide complete with expert tips, variations, and answers to your most pressing questions.
About This Recipe
Foil packet cooking is a beloved method for busy home cooks because it virtually eliminates cleanup while locking in moisture and flavor. Inspired by the Russian original, this version features chicken thighs (known for their forgiving richness) slathered in barbecue sauce, nestled on a bed of frozen vegetables, and baked until tender. The half‑hour sealed steam phase ensures the poultry is perfectly cooked, while the final uncovered minutes produce a glossy, caramelized finish. For those who love rich, savory sauces, this recipe pairs beautifully with extra barbecue or even a side of au jus. The key tools? A reliable oven and good‑quality foil—or you can use parchment for a more eco‑friendly approach. Check out non‑toxic air fryer options if you want to adapt this to an air fryer later.

Ingredients
- 8 chicken thighs (bone‑in, skin‑on or skinless – your choice)
- ½ teaspoon paprika
- 2 cloves garlic, finely chopped
- Salt to taste
- Your favorite barbecue sauce (store‑bought or homemade – about 120 ml / ½ cup, divided)
- 400 g frozen mixed vegetables (such as bell peppers, corn, peas, and carrots)
All quantities are metric. For the best texture, use a glass food processor to chop the garlic quickly, or an immersion blender if you’re making your own sauce.
Step‑by‑Step Instructions
Step 1: Preheat and Prepare Foil
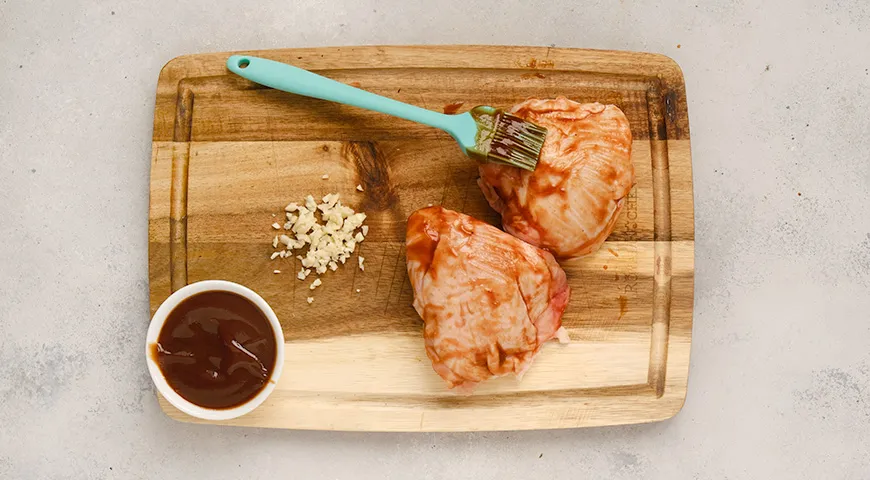
Preheat your oven to 200 °C. Cut 4 sheets of heavy‑duty aluminum foil, each measuring 40 cm by 25 cm. Lay them flat on a baking sheet. If your foil is lightweight, double‑layer it to prevent tearing. Brush the chicken thighs with half of the barbecue sauce (about 60 ml) and set aside. Finely chop the garlic.
Step 2: Assemble the Packets
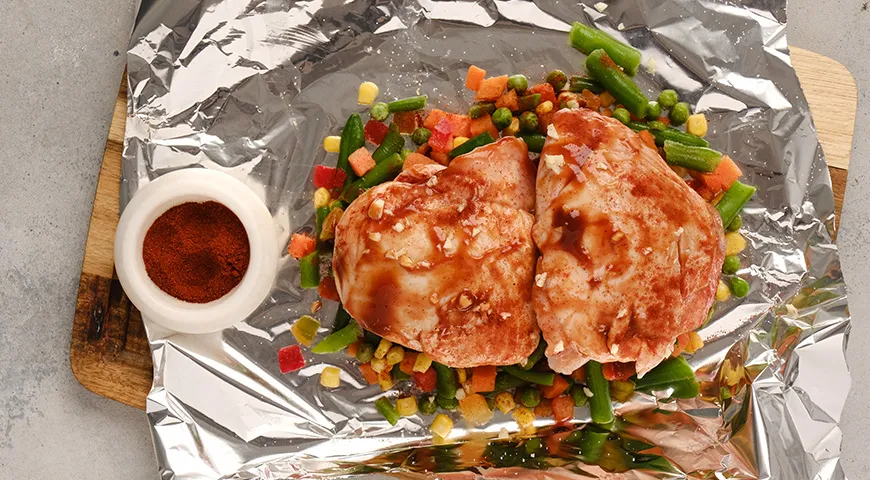
Working with one foil sheet at a time, place a quarter of the frozen vegetables in the center. Top with 2 chicken thighs. Season with salt, the chopped garlic, and a pinch of paprika. Bring the long edges of the foil together over the chicken and fold them over several times to create a tight seam. Then fold in the short edges to form a sealed packet. Repeat for the remaining three packets. A secure seal is crucial—it traps steam so the chicken and vegetables cook gently, much like a microwave pressure cooker effect.
Step 3: Bake and Finish
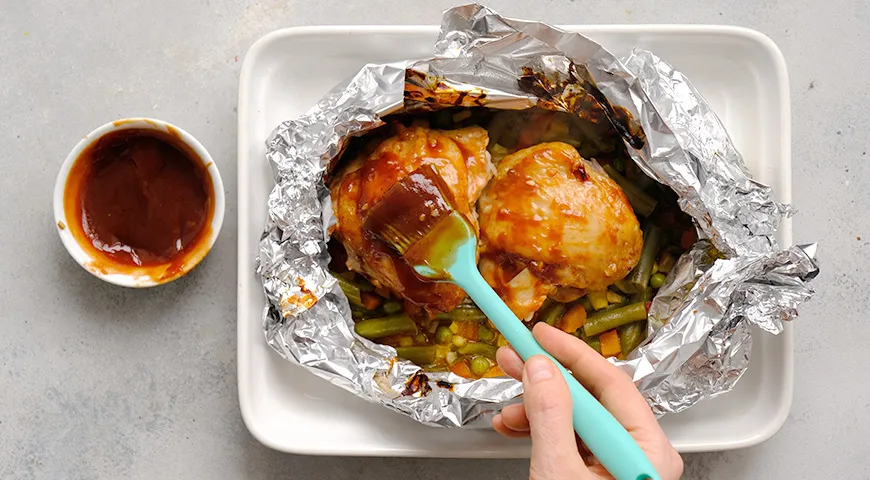
Place the baking sheet with the packets in the preheated oven and bake for 50 minutes. Carefully open one packet (watch out for hot steam!) and check that the chicken is cooked through—the internal temperature should reach 74 °C. Brush the remaining barbecue sauce over the chicken thighs. Return the opened packets to the oven and bake for another 10 minutes, until the sauce is sticky and caramelized. Serve immediately, spooning the steamed vegetables alongside. If you enjoy extra crunch, finish under the broiler for 2 minutes, but watch it closely. For an alternative cooking method, you can adapt this recipe using a wall oven microwave combo with air fryer for a faster result.
Tips for Perfect Foil Packet Chicken
- Seal tightly: A loose wrap lets steam escape, drying out the chicken. Use a double fold.
- Don’t overfill: Leave room for steam circulation. About 2 chicken thighs per packet is ideal.
- Swap the sauce: Try a honey‑soy glaze or a spicy chipotle version for variety. For a more refined taste, consider organic vodka in a marinade for a unique twist.
- Use a thermometer: Chicken thighs are forgiving, but 74 °C ensures safety without drying.
- Rest before opening: Let the packets sit for 5 minutes after baking so the juices redistribute.
Variations to Explore
This recipe is endlessly adaptable. Swap chicken thighs for boneless breasts (reduce sealed time to 35 minutes). Add sliced apples or pineapple for sweetness, or toss in sliced mushrooms for earthiness. For a dairy‑free version, use a vinegar‑based barbecue sauce. If you’re a fan of chocolate‑covered raisins as a dessert contrast, serve these savory packets alongside a crisp slaw. For a vegetarian version, replace chicken with firm tofu or cauliflower steaks, brushing with sauce and baking for 30 minutes sealed, then 10 open. And if you love grilling, these packets can go straight onto a barbecue grate—just keep the heat medium‑low to avoid burning the foil.
Frequently Asked Questions
Can I use parchment paper instead of foil?
Yes, but parchment is less sturdy. Use two layers and fold edges carefully. Alternatively, invest in a reusable silicone baking mat that can withstand high heat—check out best oil sprayers to lightly grease the paper.
How do I prevent the chicken from drying out?
The sealed steam cooking method already prevents drying, but brushing with sauce after the initial bake adds moisture. Always use bone‑in, skin‑on thighs for maximum juiciness.
Can I prepare these packets ahead of time?
Absolutely! Assemble the packets up to 24 hours in advance, store them in the fridge, and bake when ready. Add 5–10 minutes to the cooking time if starting from cold.
What vegetables work best?
Frozen mixed vegetables are super convenient, but fresh ones like zucchini, bell peppers, and red onions also shine. Cut them into uniform pieces so they cook evenly.
How do I get a crispy skin?
For crispy skin, open the packets after the initial 50 minutes, brush with sauce, then broil on high for 2–3 minutes. Watch closely to avoid burning. A commercial countertop convection oven can also achieve excellent crispness.
Is this recipe gluten‑free?
It can be—just use a gluten‑free barbecue sauce. Most store‑bought sauces contain wheat, so check labels or make your own with proper storage guidelines.







