


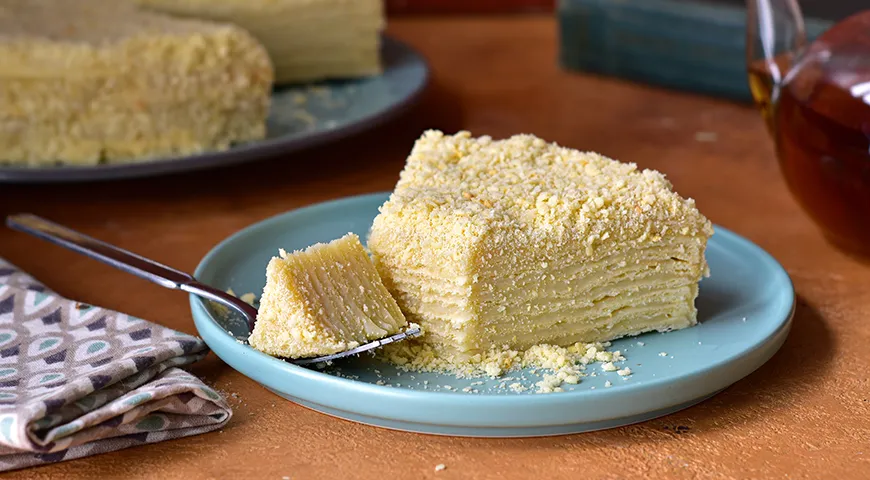
Few desserts evoke nostalgia and culinary mastery quite like the iconic Soviet Napoleon Cake. This layered puff pastry creation, filled with a silky vanilla custard, is a centerpiece of Eastern European celebrations. While many versions exist, the true Soviet-style Napoleon demands patience, quality ingredients, and a few time-honored techniques. In this guide, we’ll walk you through every step to recreate that majestic, flaky, cream-soaked cake at home. Whether you're a seasoned baker or a curious novice, this recipe rewards your effort with a slice of history.
About the Soviet Napoleon Cake
The Soviet Napoleon Cake (Торт Наполеон советский) is not a quick dessert—it’s a labor of love. Originating from the mille-feuille tradition, it was adapted across the USSR into a beloved homemade treat. Unlike its French cousin, the Soviet version uses a yeast-free, butter-rich dough that bakes into ultra-thin, crisp layers. These are then stacked with a generous amount of pastry cream, allowing the cake to soften overnight into a perfect harmony of tender pastry and luscious filling. The result is a towering cake that slices cleanly, revealing dozens of delicate layers—a testament to the baker’s skill.

For best results, use high-quality butter and fresh eggs. A planetary mixer can streamline the dough and cream preparation, ensuring a smooth, lump-free texture. If you’re exploring other classic desserts, try our Catalan sponge cake for a lighter alternative.
Ingredients
For the dough:
- Flour – 510 g
- Milk – 260 ml
- Egg – 1 (large)
- Butter – 190 g (unsalted)
- Salt – 3 g
- Sugar – 50 g
- Vinegar 6% – 10 ml
For the pastry cream:
- Milk – 300 ml
- Egg – 1 (large)
- Flour – 30 g
- Butter – 200 g (softened)
- Sugar – 180 g
- Vanilla sugar – 10 g
Step-by-Step Instructions
Step 1: Prepare the Dough Base
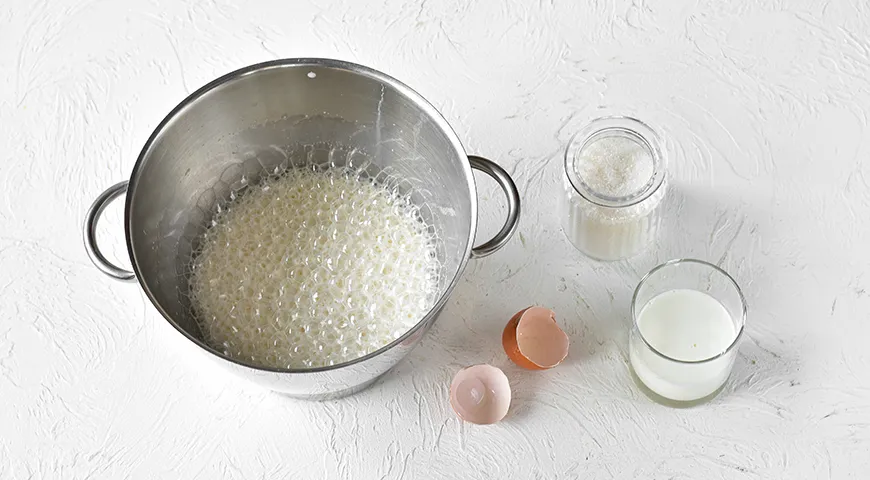
In a deep bowl, combine sugar, salt, vinegar, and the egg. Whisk until smooth. Pour in the 260 ml of milk and whisk again until fully incorporated.
Step 2: Add Melted Butter
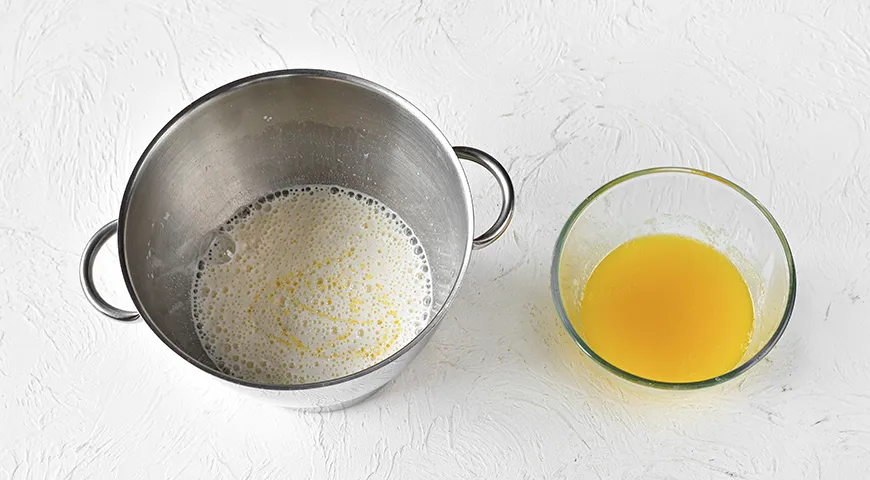
Melt the 190 g of butter on the stove or in the microwave, then let it cool slightly. Gradually pour the melted butter into the egg-milk mixture while whisking continuously. This step ensures a rich, tender dough.
Step 3: Incorporate Flour
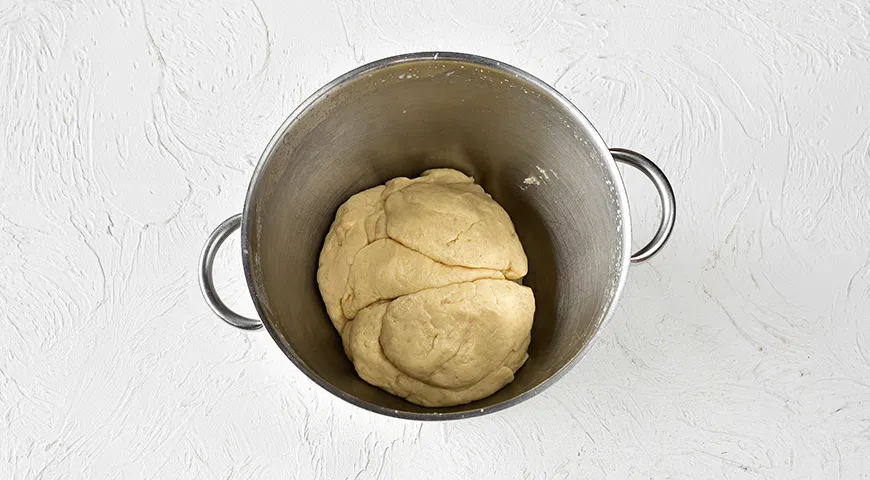
Sift the 510 g of flour and add it to the bowl in small portions, mixing constantly. The dough should come together as a homogeneous, elastic ball without lumps. If it sticks, add a tiny dusting of flour, but avoid overworking.
Step 4: Roll and Bake the Layers
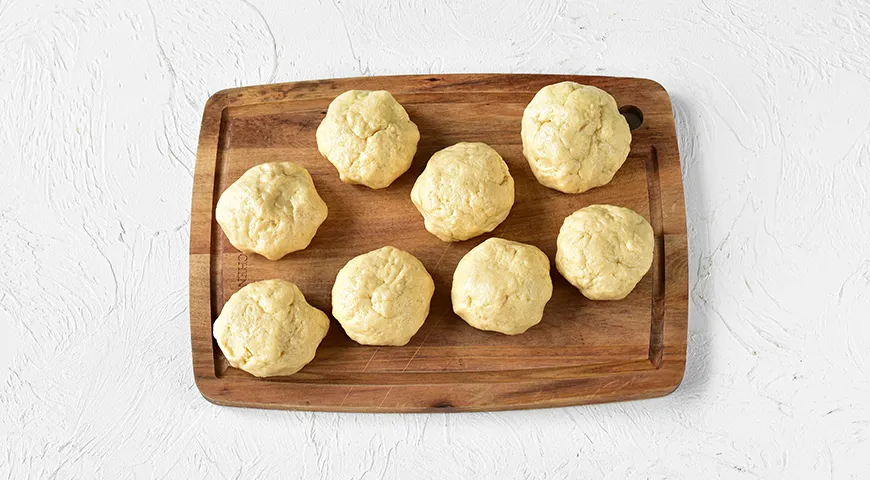
Preheat your oven to 180°C (356°F). Divide the dough into 8 equal pieces. On a lightly floured surface, roll each piece into an ultra-thin sheet (about 2–3 mm). Prick the dough all over with a fork to prevent bubbling. Transfer to a parchment-lined baking sheet and bake for 4–5 minutes until lightly golden. Repeat with all pieces. Use a non-toxic air fryer if you prefer smaller batches, but the oven works best for even browning.
Step 5: Make the Pastry Cream
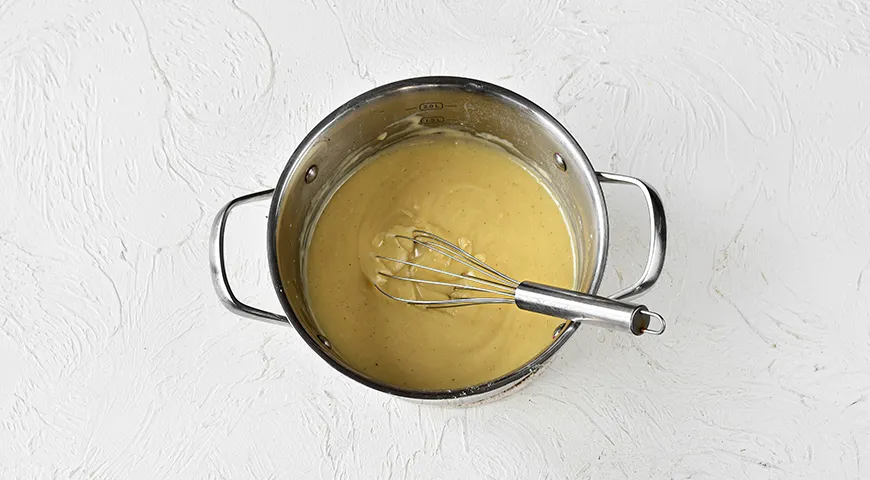
In a saucepan, whisk together the sugar, vanilla sugar, and flour. Add the egg and mix until smooth. Pour in the 300 ml of milk and stir thoroughly. Place the saucepan over medium heat and bring the mixture to a boil, whisking constantly. Cook for 6–8 minutes until thickened. Remove from heat and let cool completely. In a separate bowl, beat the softened 200 g butter with a mixer until pale and fluffy. Gradually add the cooled custard, a spoonful at a time, beating well after each addition. Immersion blenders can help ensure a silky cream if lumps appear.
Step 6: Assemble the Cake
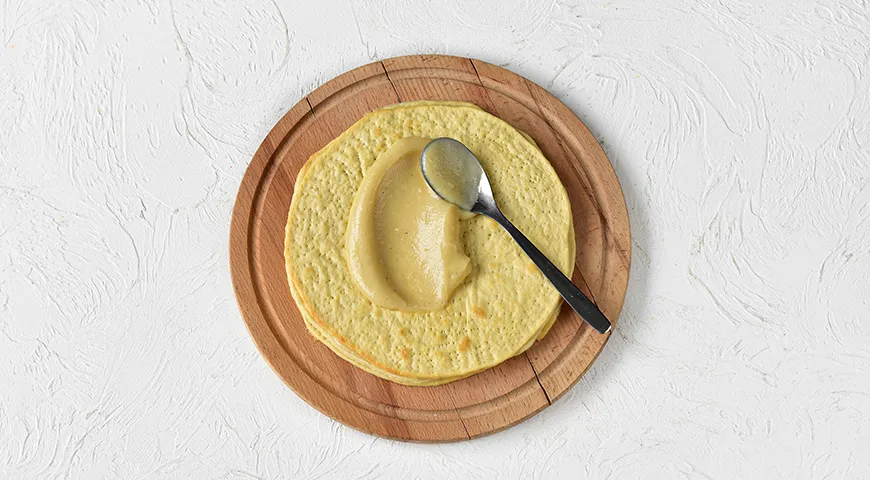
Crumble one of the baked layers into fine crumbs for decoration. Set aside 1/5 of the cream for covering the top and sides. Place the first whole layer on a serving plate and spread a generous portion of cream evenly. Repeat with the remaining layers, ending with a top layer (do not cream the top yet). Cover the cake with plastic wrap and refrigerate for at least 2–3 hours—overnight is even better. Once chilled, coat the top and sides with the reserved cream and sprinkle with the crumbs. Slice with a sharp knife and serve.
Tips for Perfect Soviet Napoleon
- Chill the dough: If the dough becomes sticky, refrigerate for 20 minutes before rolling. This makes handling easier and layers crispier.
- Uniform thickness: Use rolling guides or a food processor with a dough attachment for consistent thickness.
- Avoid overbaking: Layers should be pale gold—they darken during the second bake when the cream soaks in. Overbaked layers become brittle.
- Soft butter: For the cream, ensure butter is at room temperature (not melted) to achieve a light, airy texture.
- Patience: Let the assembled cake rest at least 2–3 hours, ideally overnight. The cream softens the layers, creating that signature melt-in-the-mouth feel.
Variations
- Chocolate Napoleon: Add 30 g of cocoa powder to the dough flour or stir melted dark chocolate into the cream.
- Nutty twist: Fold chopped toasted walnuts or hazelnuts into the cream or sprinkle between layers.
- Berry Napoleon: Layer fresh raspberries or sliced strawberries between the cream for a fruity contrast.
- Lighter version: Substitute half the butter in the cream with Greek yogurt for a tangy, lower-fat filling.
- Individual servings: Cut the baked layers into rectangles before assembling for personal-sized cakes. Great for parties—use chocolate-covered raisins as a garnish.
FAQ
Why is my Napoleon cake soggy?
Sogginess usually comes from underbaking the layers or using too much cream. Bake until fully dry and crisp, and use the cream sparingly—about 2–3 tablespoons per layer is enough. Also, ensure the cream is not too thin; a thick custard holds better.
Can I freeze Napoleon cake?
Yes! Freeze the unbaked dough layers or the assembled cake (without crumb topping). Thaw overnight in the fridge and finish with the crumb coating. For best texture, do not freeze after the cream has been applied for more than a week—use an ice maker for perfect serving temperature.
How do I prevent the layers from cracking?
Roll the dough evenly and handle gently. If your dough cracks, press it back together with your fingers. Let it rest for 10 minutes before rolling again. A steam canner isn’t needed here, but steaming the dough briefly can relax gluten.
What’s the best way to crumble the top layer?
Place one baked layer in a zip-top bag and crush it with a rolling pin into fine crumbs. Alternatively, use a food processor on pulse mode. Avoid powder—you want small flakes for texture.
Can I use all-purpose flour instead of bread flour?
Yes, all-purpose flour works perfectly. Bread flour may produce slightly chewier layers, but it’s not traditional. For a gluten-free version, substitute with a 1:1 gluten-free flour blend and add 1/2 teaspoon xanthan gum.
How long does the cake keep?
Storage: up to 3 days in the fridge, covered. The texture improves after 24 hours. Not recommended at room temperature for more than 2 hours due to dairy. For longer shelf life, freeze the cream separately—reassemble as needed.
What drink pairs well with Soviet Napoleon?
A strong black tea or a glass of sweet wine like high-alcohol sweet wine complements the rich cream and flaky pastry. For a non-alcoholic option, try a rosehip infusion or George Howell coffee.
Final Thoughts
The Soviet Napoleon Cake is more than a recipe—it’s a journey into the heart of Eastern European baking. Each layer tells a story of household traditions and festive gatherings. With careful technique and the right tools—like a reliable espresso machine for post-dessert coffee—you can recreate this masterpiece in your own kitchen. Don’t be intimidated by the number of steps; the results are spectacular. Serve it at your next celebration, and watch it disappear slice by slice.
For more classic desserts, explore our lava cake flavors or try a beef au jus for a savory pairing. Happy baking!







