


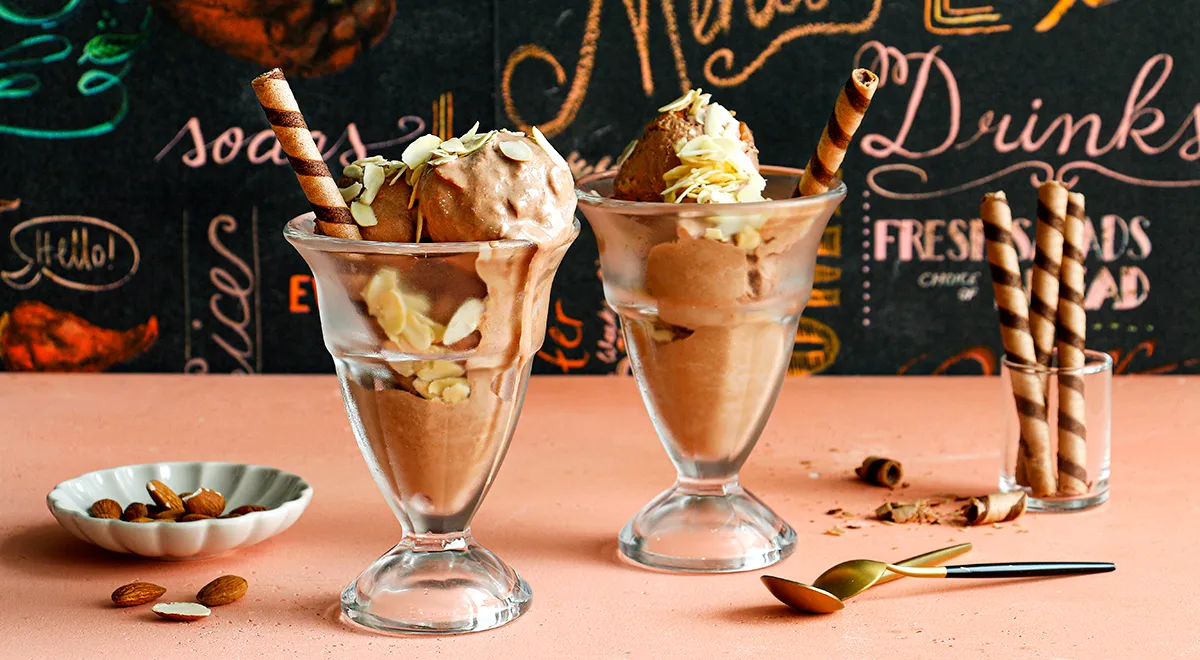
Indulge in a velvety, sophisticated chocolate ice cream that transforms simple ingredients into a sublime frozen dessert. This recipe for rich chocolate ice cream with cream harnesses the deep intensity of bittersweet chocolate and the luxurious texture of heavy cream, resulting in a classic French-style glace without an ice cream maker. Perfect for impressing guests or treating yourself on a warm evening, this homemade chocolate ice cream delivers a smooth, creamy consistency and a profound cocoa flavor that store-bought versions can only dream of.
About This Decadent Chocolate Ice Cream
This homemade chocolate ice cream recipe elevates the traditional Russian approach to frozen desserts by using a double-cream method. The combination of 20% cream for melting chocolate and 33% heavy cream for whipping creates an airy, luscious base that freezes beautifully. The inclusion of high-quality bittersweet chocolate with nuts (70% cocoa) adds complexity, while the manual churning every few hours ensures a silky texture without crystals. For those new to making ice cream from scratch, this recipe is a foolproof introduction to the art of homemade frozen treats. If you love experimenting with textures, you might also enjoy our guide on Catalan sponge cake for a delightful pairing.

Ingredients
- Heavy cream (33% fat) – 300 ml
- Regular cream (20% fat) – 100 ml
- Bittersweet chocolate with nuts (70% cocoa) – 100 g
- Sugar – 60 g
For best results, use cream with no additives and chocolate with a high cocoa content. The nuts in the chocolate (often hazelnuts or almonds) provide a pleasant crunch that complements the smooth cream. If you prefer a nut-free version, opt for plain bittersweet chocolate. To achieve perfect whipping, ensure your cream and whisk are well chilled – a tip that also applies when using an immersion blender for other recipes.
Step-by-Step Instructions
Step 1: Prepare the Chocolate Base
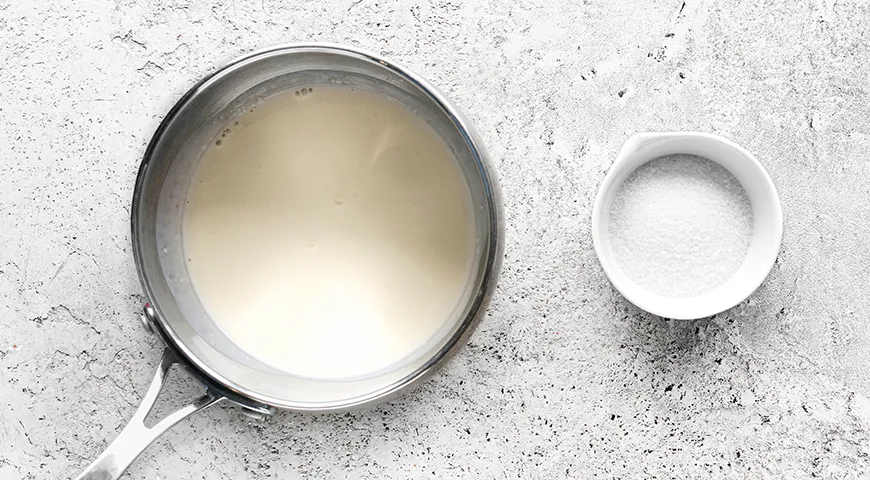
In a small saucepan, combine the 20% fat cream and sugar. Place over medium heat and stir continuously until the sugar dissolves completely. Do not let the mixture boil – remove from heat as soon as it steams and the sugar has integrated. This gentle heating preserves the cream's delicate flavor.
Step 2: Melt the Chocolate
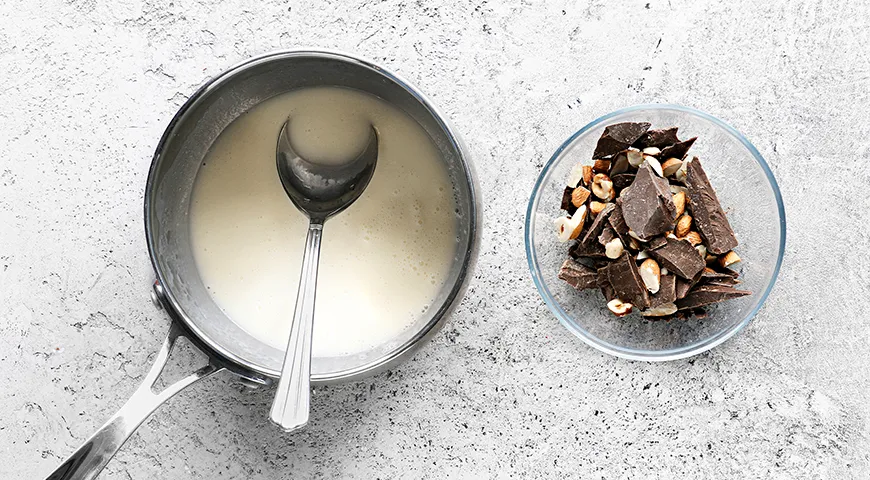
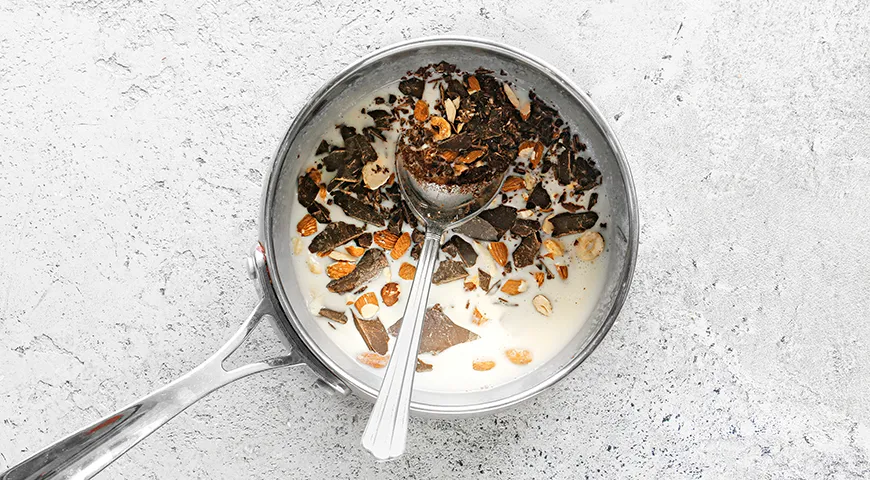
Break the bittersweet chocolate into small pieces and add them to the hot cream mixture. Stir gently with a spoon until the chocolate is fully melted and the mixture becomes smooth and glossy. This emulsion should be uniform, with no streaks of chocolate. The residual heat of the cream is sufficient – no need to return to the stove.
Step 3: Whip the Heavy Cream
Prior to whipping, chill the 33% heavy cream and your whisk or mixer beaters in the refrigerator for at least 15 minutes. Pour the cold cream into a tall bowl and begin whipping on low speed, gradually increasing to medium-high. Continue until soft peaks form – the cream should be thick and airy but not stiff. Over-whipping can turn it into butter, so watch carefully. For a flawless texture, consider using a quality planetary mixer if you make large batches.
Step 4: Fold Together
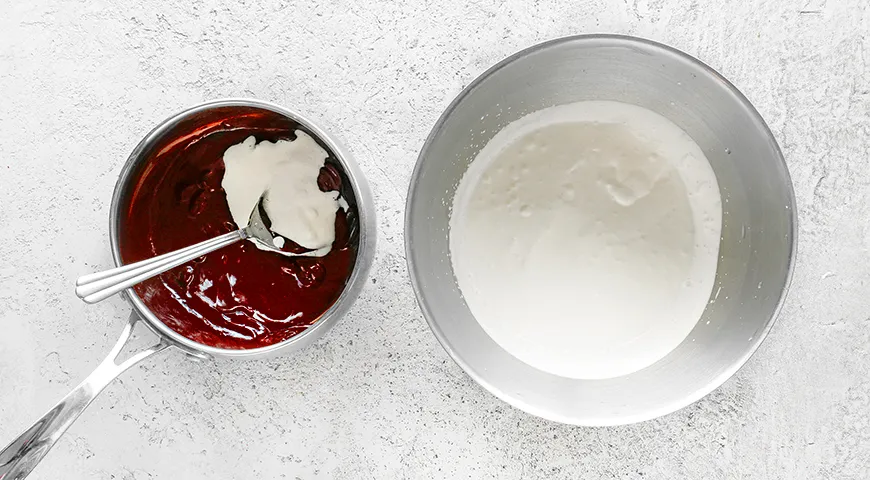
Add the whipped cream to the cooled chocolate base in small portions, using a spatula to fold gently from the bottom upward. Be careful not to deflate the cream – a light hand is essential. Continue until the mixture is uniform and a light chocolate mousse-like consistency forms. This folding technique is similar to that used in our nut butter recipes to maintain airiness.
Step 5: Freeze with Occasional Stirring
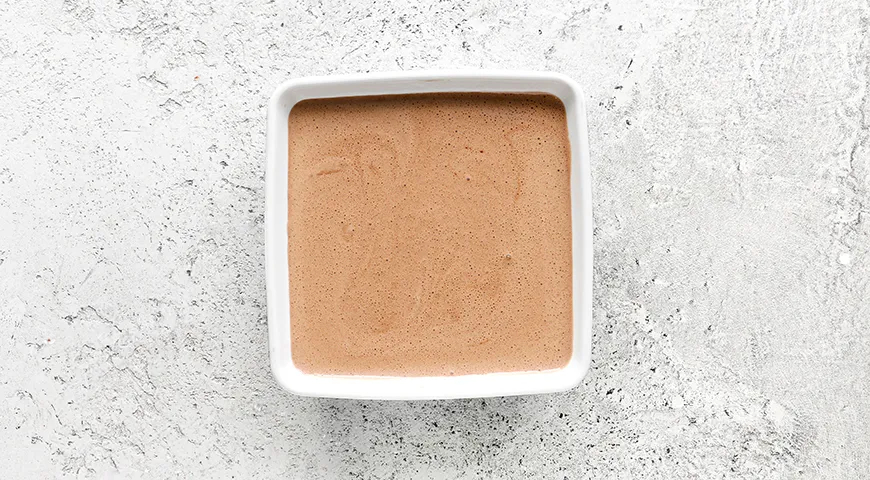
Transfer the chocolate mixture to a freezer-safe container with a lid. Smooth the top, cover, and place in the freezer for 4–6 hours. Every 2 hours, remove the container and stir vigorously with a fork or spatula to break up any ice crystals. This manual churning ensures a creamy, scoopable texture. If you own an ice maker machine, you can use it for consistent results.
Step 6: Serve and Enjoy
About 30 minutes before serving, move the container from the freezer to the refrigerator to soften slightly. Scoop into chilled bowls and garnish with fresh berries, chopped nuts, or a dollop of whipped cream. For an extra touch, drizzle with a high-quality chocolate-covered raisin or a splash of liqueur.
Tips for Perfect Ice Cream
- Chill everything: Cold cream, chilled whisk, and a cool room all help whipping success. Pre-freeze the container for fewer ice crystals.
- Don't skip stirring: The every-2-hour agitation is crucial for a creamy texture. Set a timer if needed.
- Use high-fat cream: The 33% fat content is non-negotiable for a rich mouthfeel. Lower fat will yield icy results.
- Fold gently: Over-mixing deflates the air, resulting in dense ice cream. Use a gentle hand.
- Adjust sweetness: Bittersweet chocolate can be intense – add an extra tablespoon of sugar if you prefer a sweeter dessert. For more on balancing flavors, see our article on sweet wine pairings.
Variations to Explore
- Mint chocolate chip: Add 1 teaspoon of peppermint extract and fold in 100 g of dark chocolate chips before freezing.
- Spiced Mexican chocolate: Stir in 1/2 teaspoon cinnamon and a pinch of cayenne pepper for a warm kick.
- Vegan option: Replace dairy cream with full-fat coconut cream (chilled) and use dairy-free dark chocolate.
- Nutty delight: Use chocolate with whole hazelnuts or fold in toasted almonds. For grinding nuts, a food processor works perfectly.
- Boozy twist: Add 2 tablespoons of your favorite liqueur (e.g., orange liqueur or bourbon) to the base before freezing for a sophisticated adult version.
FAQs
Why did my ice cream turn icy?
Icy texture often results from insufficient fat content or infrequent stirring. Ensure you use 33% heavy cream and stir every 2 hours during freezing. For a smoother result, consider using a juicer for other fruit purees but stick to this method for ice cream.
Can I make this without an ice cream maker?
Yes, the recipe is designed for a no-churn method. The occasional stirring substitutes for a machine. If you have a planetary mixer, you can also use its whisk attachment for the cream.
How long will this ice cream keep?
Stored in an airtight container, it stays fresh for up to 2 weeks in the freezer. For best texture, consume within the first week. To prevent ice crystals, press plastic wrap directly onto the surface before sealing.
Can I use milk chocolate instead of bittersweet?
Yes, but reduce sugar to 30 g since milk chocolate is sweeter. The result will be creamier but less intense. For a richer cocoa flavor, stick with 70% chocolate as recommended.
What can I serve with this ice cream?
It pairs beautifully with brownies, fresh fruit, or a drizzle of caramel. For a festive touch, serve alongside a slice of Catalan sponge cake or a warm chocolate lava cake. You might also enjoy a glass of sweet wine to complement the chocolate.
Can I double the recipe?
Absolutely. Double all ingredients and use a larger container. The stirring time may need to be extended slightly. For large batches, a convection oven isn't needed here, but a big freezer is helpful.
How do I know when the cream is whipped enough?
Soft peaks should hold their shape briefly but melt back into the bowl when lifted. Avoid stiff peaks as they can make the ice cream dense. For visual guidance, our oil sprayer article includes tips on achieving airy textures in different contexts.
Enjoy this luxurious homemade chocolate ice cream – a testament to the magic of simple, high-quality ingredients. For more dessert inspiration, explore our collection of chocolate treats and pairing ideas. And if you're looking for the perfect kitchen tools to make your culinary creations even easier, check out our reviews on the best built-in refrigerators for storing your homemade ice cream.







