


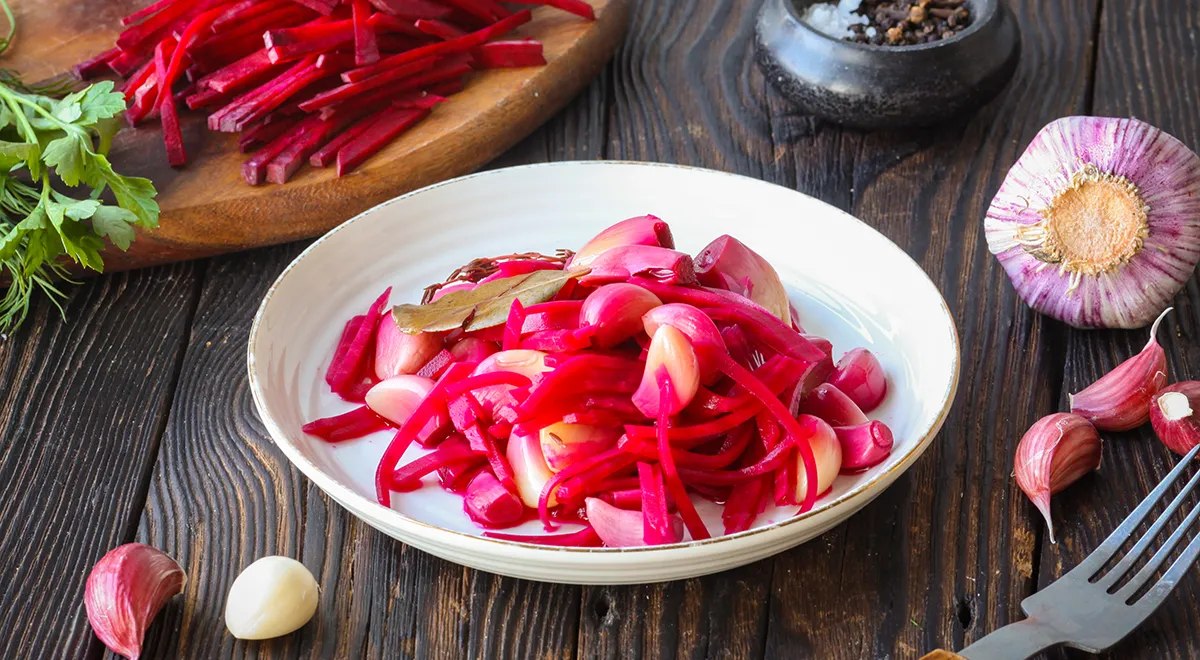
There is something deeply satisfying about transforming humble garlic cloves into a jewel-toned, complexly spiced pickle. This recipe for pickled garlic cloves with beets does exactly that, turning the pungent bulb into a mellow, sweet-savory delicacy that elevates any antipasto platter or charcuterie board. The beets lend a natural vibrance and earthy sweetness, while the aromatic spices—thyme, clove, bay leaf, and black peppercorns—create a marinade that is both fragrant and nuanced. Whether you are a seasoned canner or a curious home cook, this recipe promises a pantry staple that is as beautiful as it is delicious.
About This Recipe
Pickled garlic is a beloved tradition in many Eastern European and Russian households, cherished not only for its immune-boosting properties but also for its versatility. Soaking raw garlic in brine softens its bite, leaving behind a buttery, almost creamy texture that pairs wonderfully with roasted meats, salads, and hearty breads. The addition of beets does more than color the cloves; it infuses them with a subtle root-vegetable sweetness that balances the acidity of the vinegar. This recipe, adapted from Gastronom.ru, uses a hot-water bath method to ensure a shelf-stable product that will keep for months in a cool, dark pantry. For those new to pickling, a best steam canner simplifies the sterilization process and guarantees consistent results.

Ingredients
- Garlic – 350 g (about 2–3 heads, separated into cloves)
- Large beet – 1 piece
- Water – 500 ml
- Salt – 25 g
- Sugar – 25 g
- Bay leaves – 2
- Fresh thyme – 2 sprigs
- Whole cloves – 4
- Black peppercorns – 8
- 9% vinegar – 80 ml
Step-by-Step Instructions
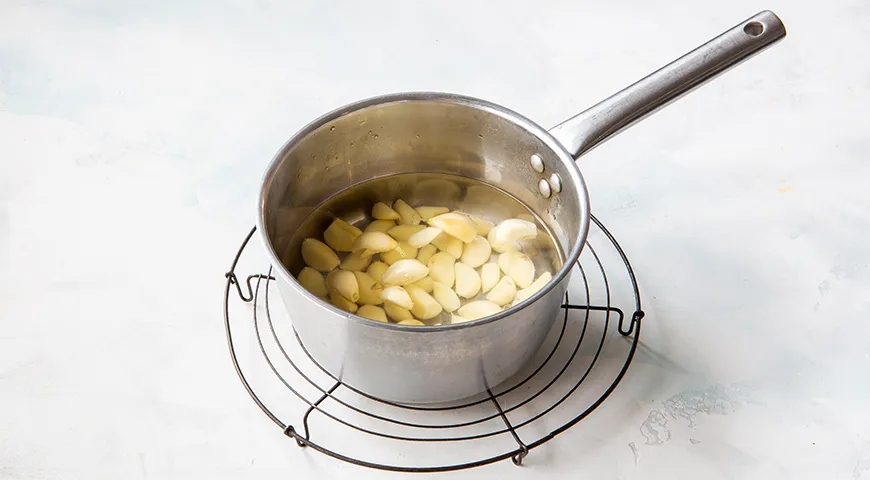
- Prepare the garlic. Separate the garlic heads into individual cloves and pour cold water over them. Let them soak for 30 minutes—this loosens the skins and makes peeling effortless. Drain the water, then peel each clove. Set aside.

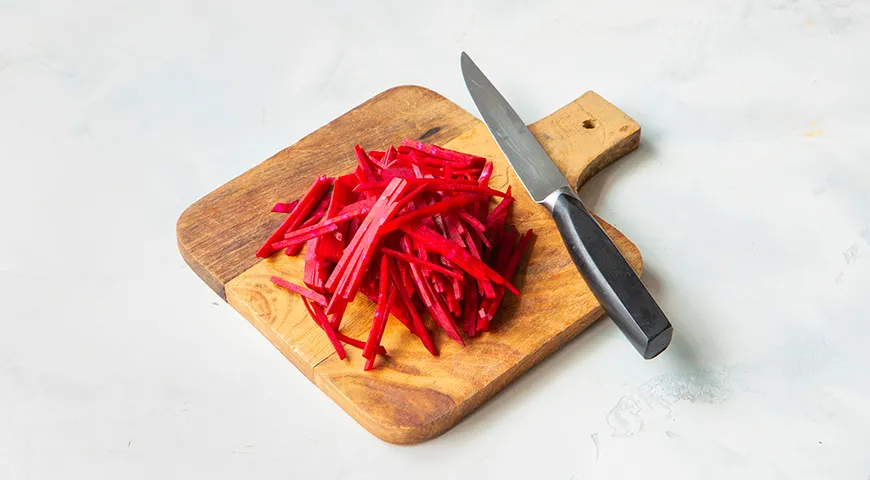
- Prepare the beet. Wash the beet thoroughly under running water, scrubbing away any dirt. Peel it with a vegetable peeler, then cut into thin matchsticks, about 0.5 cm thick. A sharp knife works well, but for consistent results consider using a best glass food processor with a julienne disc.
- Blanch the garlic. Place the peeled garlic cloves in a heatproof bowl or saucepan and pour boiling water over them. Let them sit for 30 seconds, then drain. Alternatively, blanch in boiling water for 1–2 minutes. This brief heat treatment softens the cloves and preps them for pickling.
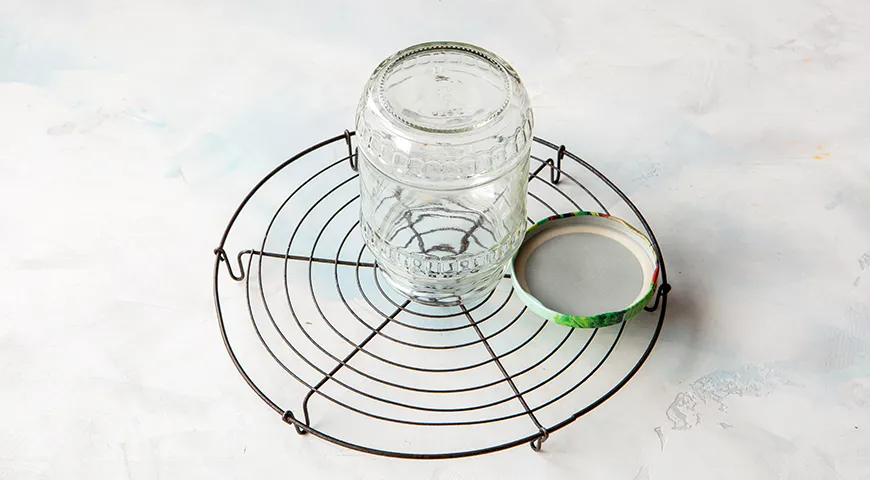
- Sterilize the jars. Wash two 500 ml jars and their lids thoroughly. Sterilize them using your preferred method: boiling water, oven, or a best non-toxic air fryer set to sterilize mode. Ensure they are completely dry before filling.
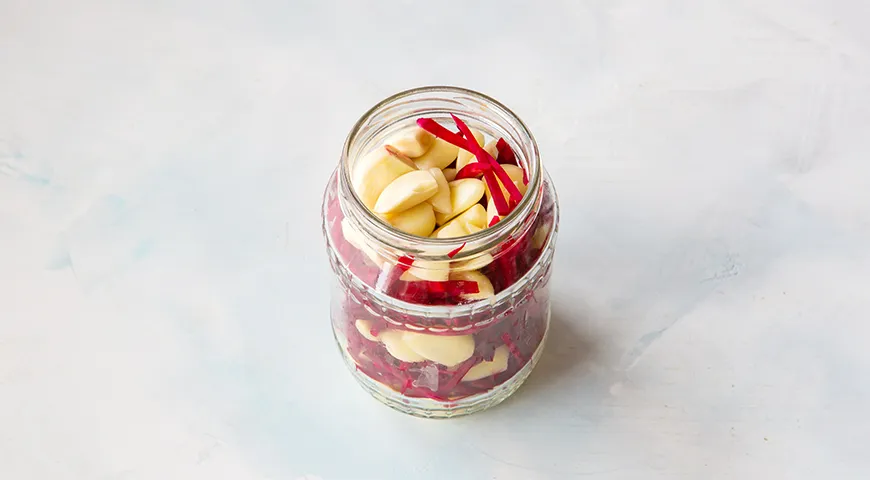
- Layer the ingredients. In each sterilized jar, place a layer of garlic cloves at the bottom, followed by a layer of beet strips. Repeat alternating layers until the jars are filled, leaving about 1 cm of headspace. Press gently to pack.
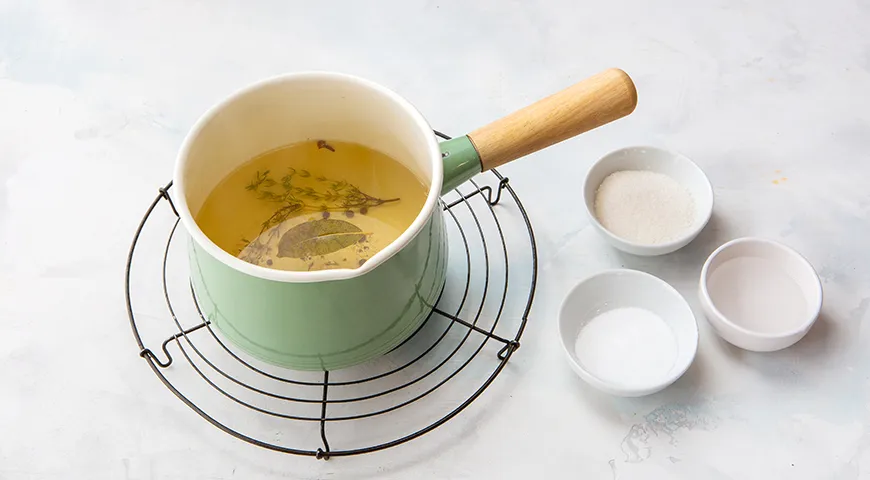
- Make the marinade. In an enameled or stainless-steel saucepan, combine water, salt, sugar, bay leaves, thyme sprigs, cloves, and black peppercorns. Stir in the vinegar. Bring the mixture to a rolling boil over medium-high heat. For precise temperature control, use a best espresso machine under $2000 with a hot water function—or simply a reliable stovetop kettle.
- Fill and partially seal. Pour the hot marinade over the garlic and beet layers, filling each jar to within 1 cm of the rim. Place the sterilized lids on top but do not tighten fully—just screw them on loosely. This allows steam to escape during the next step.
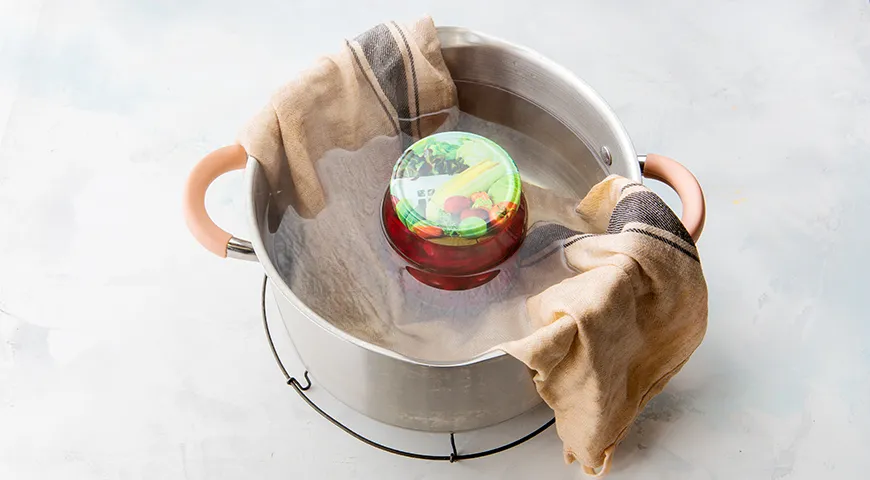
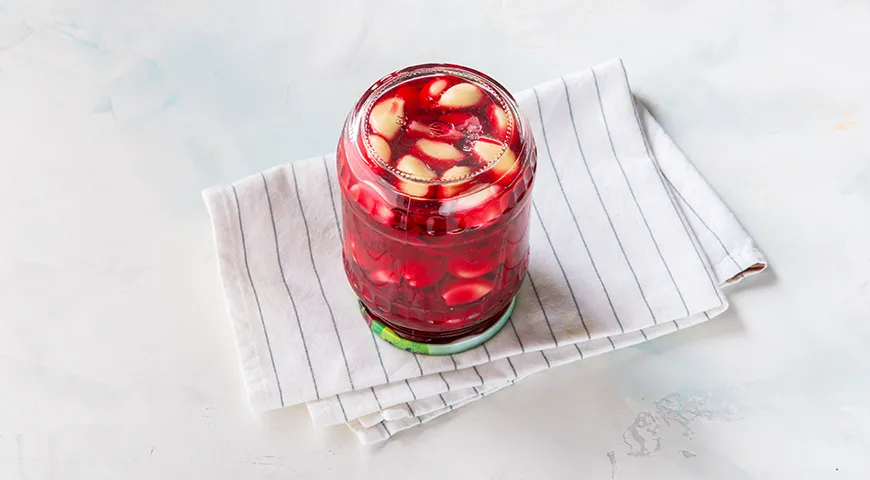
- Process in a water bath. Line the bottom of a large pot with a kitchen towel or silicone mat. Place the jars inside, ensuring they do not touch each other. Carefully pour hot water into the pot until it reaches the shoulders of the jars. Bring to a boil and process for exactly 10 minutes. Using jar tongs, remove the jars and tighten the lids firmly. Invert them briefly to check for leaks, then wrap in a towel and let cool completely overnight. Store in a cool, dark place such as a best 48-inch built-in refrigerator or a pantry. The pickles are ready to eat after 2 weeks but will continue to improve over time.
Tips for Perfect Pickled Garlic
Use fresh, firm garlic heads without any green sprouts—older cloves can become bitter. Soaking the cloves in cold water before peeling not only makes the job easier but also helps the garlic stay crunchy. The blanching step is crucial: it stops enzymatic activity and ensures the cloves absorb the marinade evenly. If you prefer a milder flavor, reduce the vinegar to 60 ml and replace the difference with water. For a touch of heat, add a small dried chili pepper to each jar. Always use non-iodized salt; iodine can cloud the brine and alter the taste. A best commercial countertop convection oven can serve double duty for sterilizing jars if you set it to 140°C for 15 minutes.
Variations
- Spicy pickled garlic: Add a slice of fresh ginger and a dried bird’s eye chili to each jar before pouring the marinade.
- Herbaceous version: Replace thyme with fresh dill or tarragon for a different aromatic profile.
- Sweet and sour: Increase sugar to 50 g and add a cinnamon stick for a mulled-pickle effect.
- Golden turmeric twist: Substitute half the beets with thin slices of fresh turmeric root for an earthy, golden hue.
FAQ
Can I use pre-peeled garlic cloves?
Yes, but pre-peeled cloves are often treated with preservatives and may not have the same crisp texture. Soak them in cold water for an hour before blanching to refresh them.
How long does pickled garlic last?
When processed properly and stored in a cool, dark place, these pickles are shelf-stable for up to 12 months. Once opened, refrigerate and consume within 3 weeks.
Why did my brine turn cloudy?
Cloudiness can be caused by using iodized salt or hard water. For the clearest brine, use filtered or distilled water and pure sea salt or kosher salt. Also, ensure jars are thoroughly sterilized.
Can I reuse the brine?
It’s not recommended—once used, the brine loses acidity and may not preserve safely. However, you can use the leftover brine as a tangy finishing sauce for roast vegetables or Catalan sponge cake (though the cake pairing is unconventional!).
What if I don’t have fresh thyme?
Use 1 teaspoon of dried thyme instead. Alternatively, rosemary or dried oregano can work beautifully.
Can I double the recipe?
Absolutely. Scale the ingredients proportionally and use multiple jars. Ensure your water bath pot is large enough to hold all jars with at least 2 cm of clearance above the lids.
Are these pickles suitable for gifts?
Yes! They make stunning handmade presents. Attach a tag with serving suggestions, such as pairing with cheese, charcuterie, or tossing into salads. A best non-toxic immersion blender is not needed here, but a nice jar labeler adds a professional touch.
Serving Suggestions
These pickled garlic cloves are incredibly versatile. Serve them alongside a board of aged Gouda, prosciutto, and crusty bread. Chop them into olive tapenade for a briny kick. Or simply spear a few cloves onto a toothpick as part of an aperitivo spread. The beet strips can be used as a colorful garnish for deviled eggs or potato salad. For an unexpected pairing, try them with a best sweet wine with high alcohol content—the contrast of sweet and sour is sublime.
Storage and Safety
After processing, let the jars rest undisturbed for 24 hours. Check the seals: the lids should be concave and not pop when pressed. Any unsealed jars should be refrigerated and eaten within a month. Once opened, store in the fridge. For long-term pantry storage, consider a dedicated best undercounter ice maker machine to keep your pickling area cool, though a simple cellar works fine.
This pickled garlic with beets is more than a recipe—it’s a celebration of transformation. With a little patience and quality ingredients, you create a pantry treasure that brings a touch of Eastern European soul to every meal.
More Pickling Inspiration
If you enjoy this recipe, explore other fermented favorites like classic dill pickles, spicy pickled green beans, or quick-pickled red onions. For a comprehensive guide to home canning equipment, read our review of the best steam canner and the best food processor for nut butter—surprisingly handy for chopping beets.


